
Dewinterizing a house is an integral condition for keeping a building safe with all its systems working while nobody is living there. Those who have summer houses know this pretty well. But what to do if you meet this task for the first time?
How to de-winterize a home and do it correctly?
Below you will find all the possible answers.
What Does Winterized Mean at All?
We are pretty sure that there are many people who have never heard of winterization at all. To explain this term shortly, the winterized house is a house that is not being used for quite a long time, and its owners prepare it for the wintertime by draining all the water out of the system.
This method allows the owner to save the pipes and plumbing system from being frozen and ruined in winter.
Respectively, unwinterizing a house means that the plumbing system and the heater are ready to work again for the next season.
A Detailed Instruction for De-Winterizing a House
Let’s imagine that you need to leave.
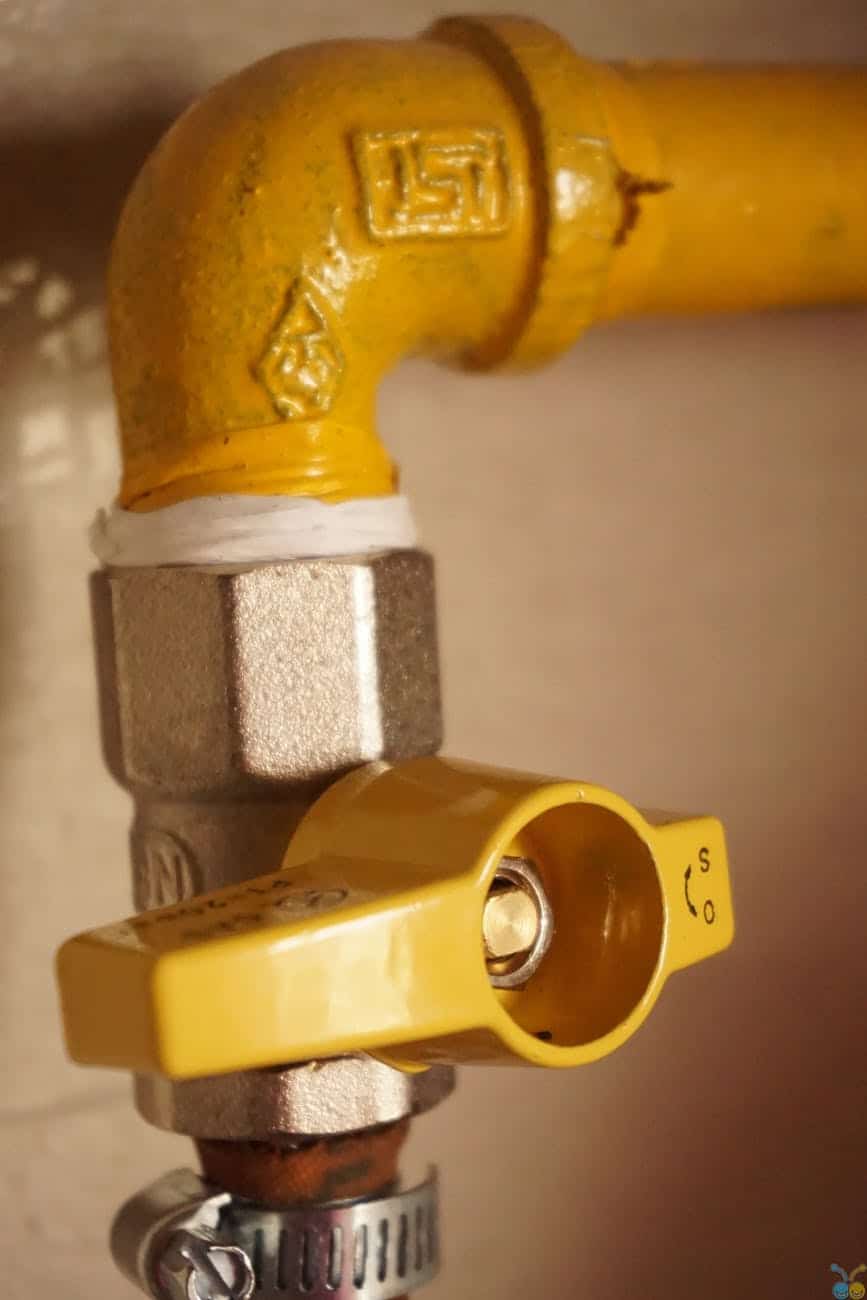
What to do in such a situation?
The correct answer is to prepare your home, especially if you will be absent for the whole winter, too. But what to do when you back again? Yes, you will have to de-winterize all the systems.
To do everything right, follow the next advice:
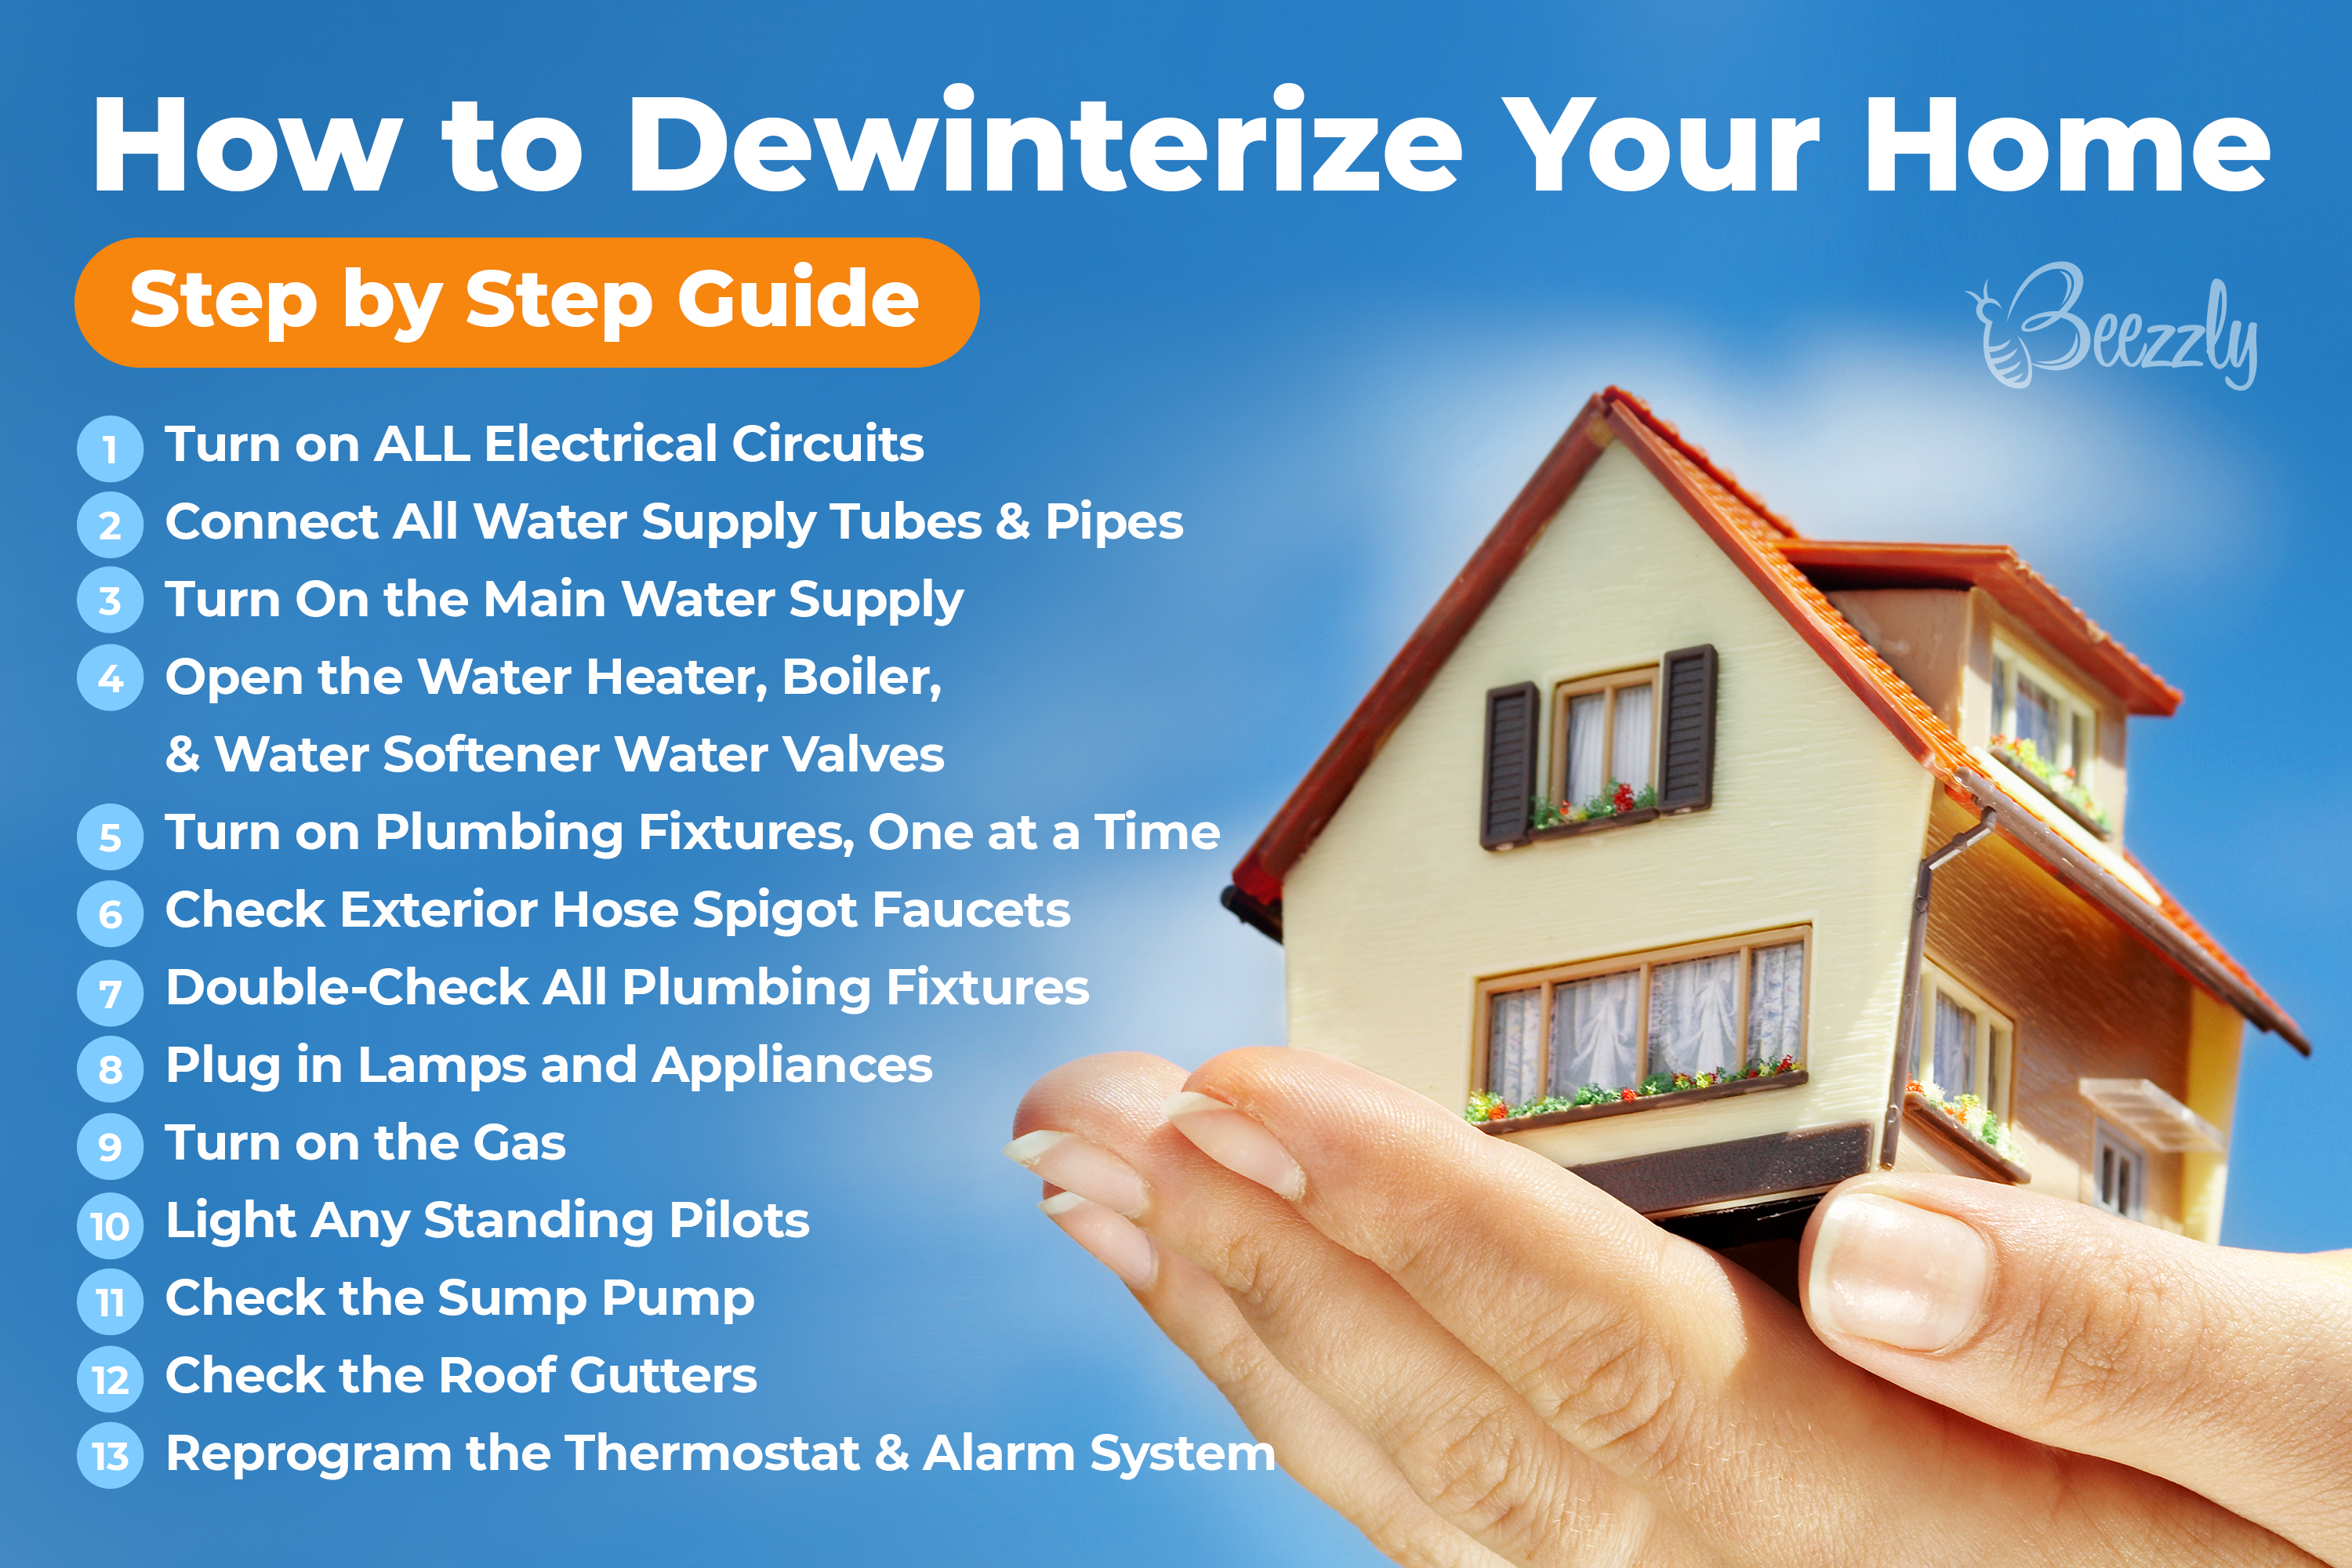
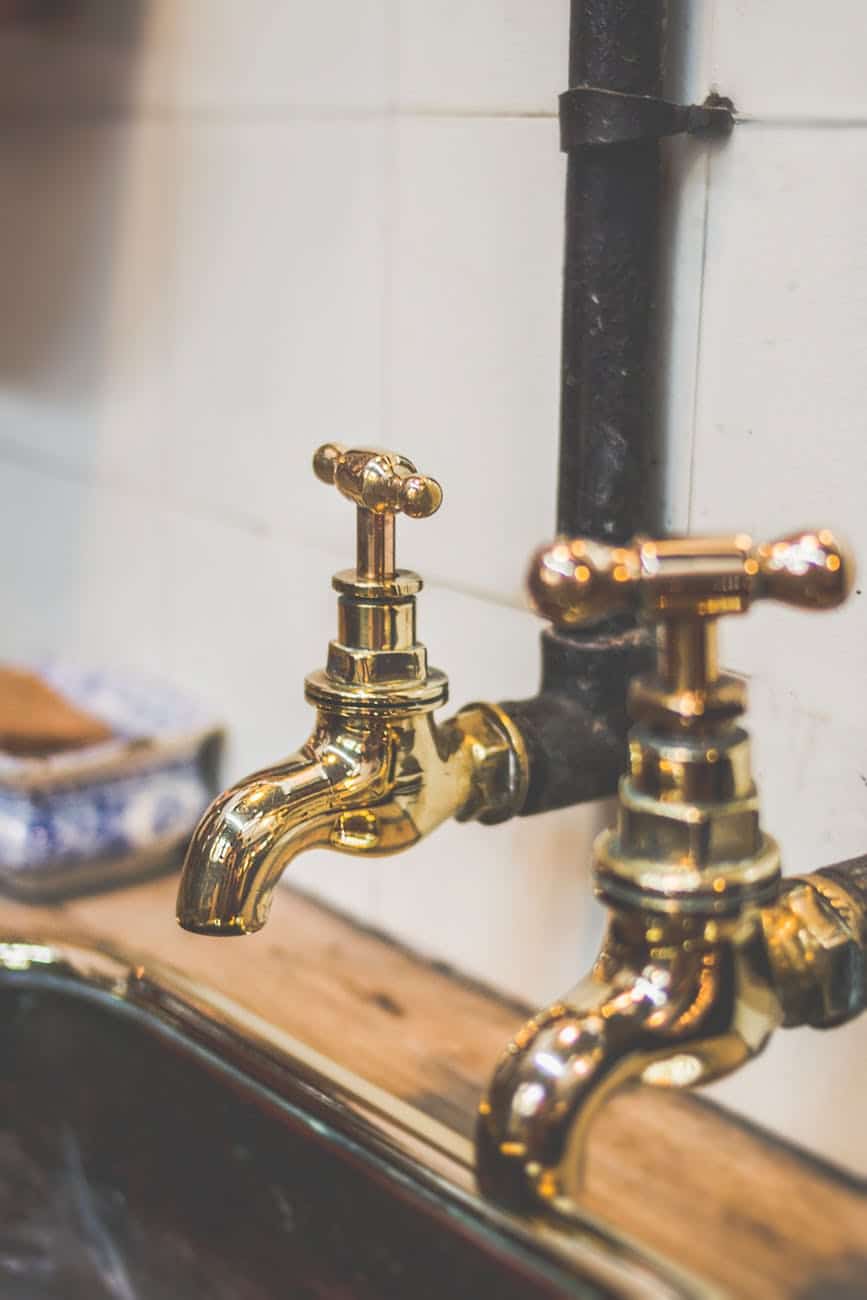
- The very first thing is to remove the aerators from the faucets. Which means including all the sinks in the house whether it is a kitchen sink, a sink in the laundry room or a vanity sink.
- The next stage is to open all the valves. You can find them under the sink. An important moment here is to check that all the handles of the faucets are closed.
- The next stage is the kitchen and its sink. Take a look at the supply line which goes to the fridge and a freezer. If it so happens that you notice this supply line is unconnected from the unit, you must immediately close its valves
- Now, take care of the machine that heats your water! Revise the steps described above, and start with opening the supply vent. Double-check that, before you reach the water gauge and open its vent, you open the hose bib. It is required because then it will be clear whether the water is on, besides, it will relieve a part of the pressure after you connect the system back to the house
- After you are done with the previous actions, go to the water gauge. Open its vent gradually, don’t hurry. Why so? Because in this case the pressure will not damage the plumbing system and the house will avoid the leaks
- After you see the water is being transferred from the bib, go inside and double-check whether your water heating machine is also being filled up. Remember not to switch on the electric water heating until the tank is filled up!
- After you double-check that your water heating machine is doing well and is being filled up, turn on the water on all the other faucets. Do it gradually and let the water flow for a while to wash the system lines properly
- Proceed with the toilets and open the vents there. When the toilet tank is full, wash it to control that everything is working well
- Next, do all the same with the tubs and shower
- Then close the bib vent
The final stage is to go round and check it for any water loss.
If you don’t have any, feel free to install the faucet aerators again and turn on the heater after it is full
Turning water on after winterizing may seem to be a difficult and boring thing to do, but trust us, it is better to spend some time and do it correctly than making a mistake that will lead you to the reparation of all the plumbing system!
Unwinterizing a House. Extra Tips
Now that we are done with pipes, let’s go to the indoor space. Unwinterizing a house doesn’t only mean to take care of the water system, it is also about the windows and other “details” your place consists of.
So how to mind them all?
- For windows, remove all the insulation tape from them (of course, if you put on any of it).
- To make the process go easier, use a hairdryer because after the winter the tape can become too sticky.
- Wash the window frame with soapy water afterward
- Clean the windows both from inside and outside to remove all the dust
- Test your smoke alarms. Replace the batteries if they are old, leaking or drying. Vacuum the surface around the alarm to delete any dust
- Change furnace filters
- If there is a fireplace in your home, take out all the ashes and vacuum inside. Wash the insides of the fireplace with warm soapy water and check the chimney
- Vacuum and wash the floors
- Check the roof for any damages
- Clean the gutter of old leaves, sticks, and dirt
What Is the Purpose of the Antifreeze for House Pipes?
In case you need to winterize your house pipes, it is essential to take care of them and prevent them from covering with ice in the winter.
What threat do your frozen pipes bring?
First of all, they will stop getting water, and also cause a real flood!
One more damage that can happen is that the pipes when being frozen can literally burst because of the high pressure.
Among all the means of preventing your pipes from freezing, using antifreeze is one of the most effective ones. In fact, it’s the same liquid that is used for car radiators. As comes from its name, it prevents water from freezing inside the pipes.
For home use, choose non-toxic antifreeze with propylene glycol (usually marked as RV Antifreeze).
To apply the product, pour it directly into the toilet water tank after you drain the water out of it. Antifreeze can also be used for showers and tubs.
When Should You Disinfect Your Home?
To ensure that your home is adequately prepared for being used, you should not only winterize it correctly. Considering that it hasn’t been in use for quite a while (presumably for a couple of months at least), you should also clean and disinfect it thoroughly to make it safe to live in.
Except for regular cleaning, which includes wiping the dust, washing the floors, windows, and other surfaces, and vacuuming, you need to sanitize the entire home. This way, you will ensure that there are no germs and bacteria left indoors, which is especially critical if you have little children!
Unlike cleaning, disinfecting kills most germs on surfaces and objects. Disinfecting is typically done with strong bleach solutions or chemicals. Disinfection is also mandatory in homes where sick people live or if someone is at a higher risk of getting sick due to a weakened immune system (for example, people treated with drugs for cancer, organ transplants, or other illnesses, or people with HIV).
To disinfect, clean all the surfaces with soapy water first. Then, you can use either an EPA-registered disinfecting product or a strong bleach solution. In case of using the chemical, read the instructions carefully and follow them precisely!
Should you decide to use bleach instead, do the following:
- Use regular unscented household bleach with 5%–9% sodium hypochlorite. Do not use bleach products with a higher/lower percentage, such as some types of laundry bleach or splashless bleach. Those are not appropriate for disinfection.
- Follow the directions on the bleach bottle for preparing a diluted bleach solution.
- In case of no instructions, mix 5 tablespoons (1/3 cup) of bleach per gallon of room-temperature water or 4 teaspoons of bleach per quart of room-temperature water.
- Leave the bleach solution on the surface for at least 1 minute, then wipe it.
- Wash your hands after cleaning or disinfecting.
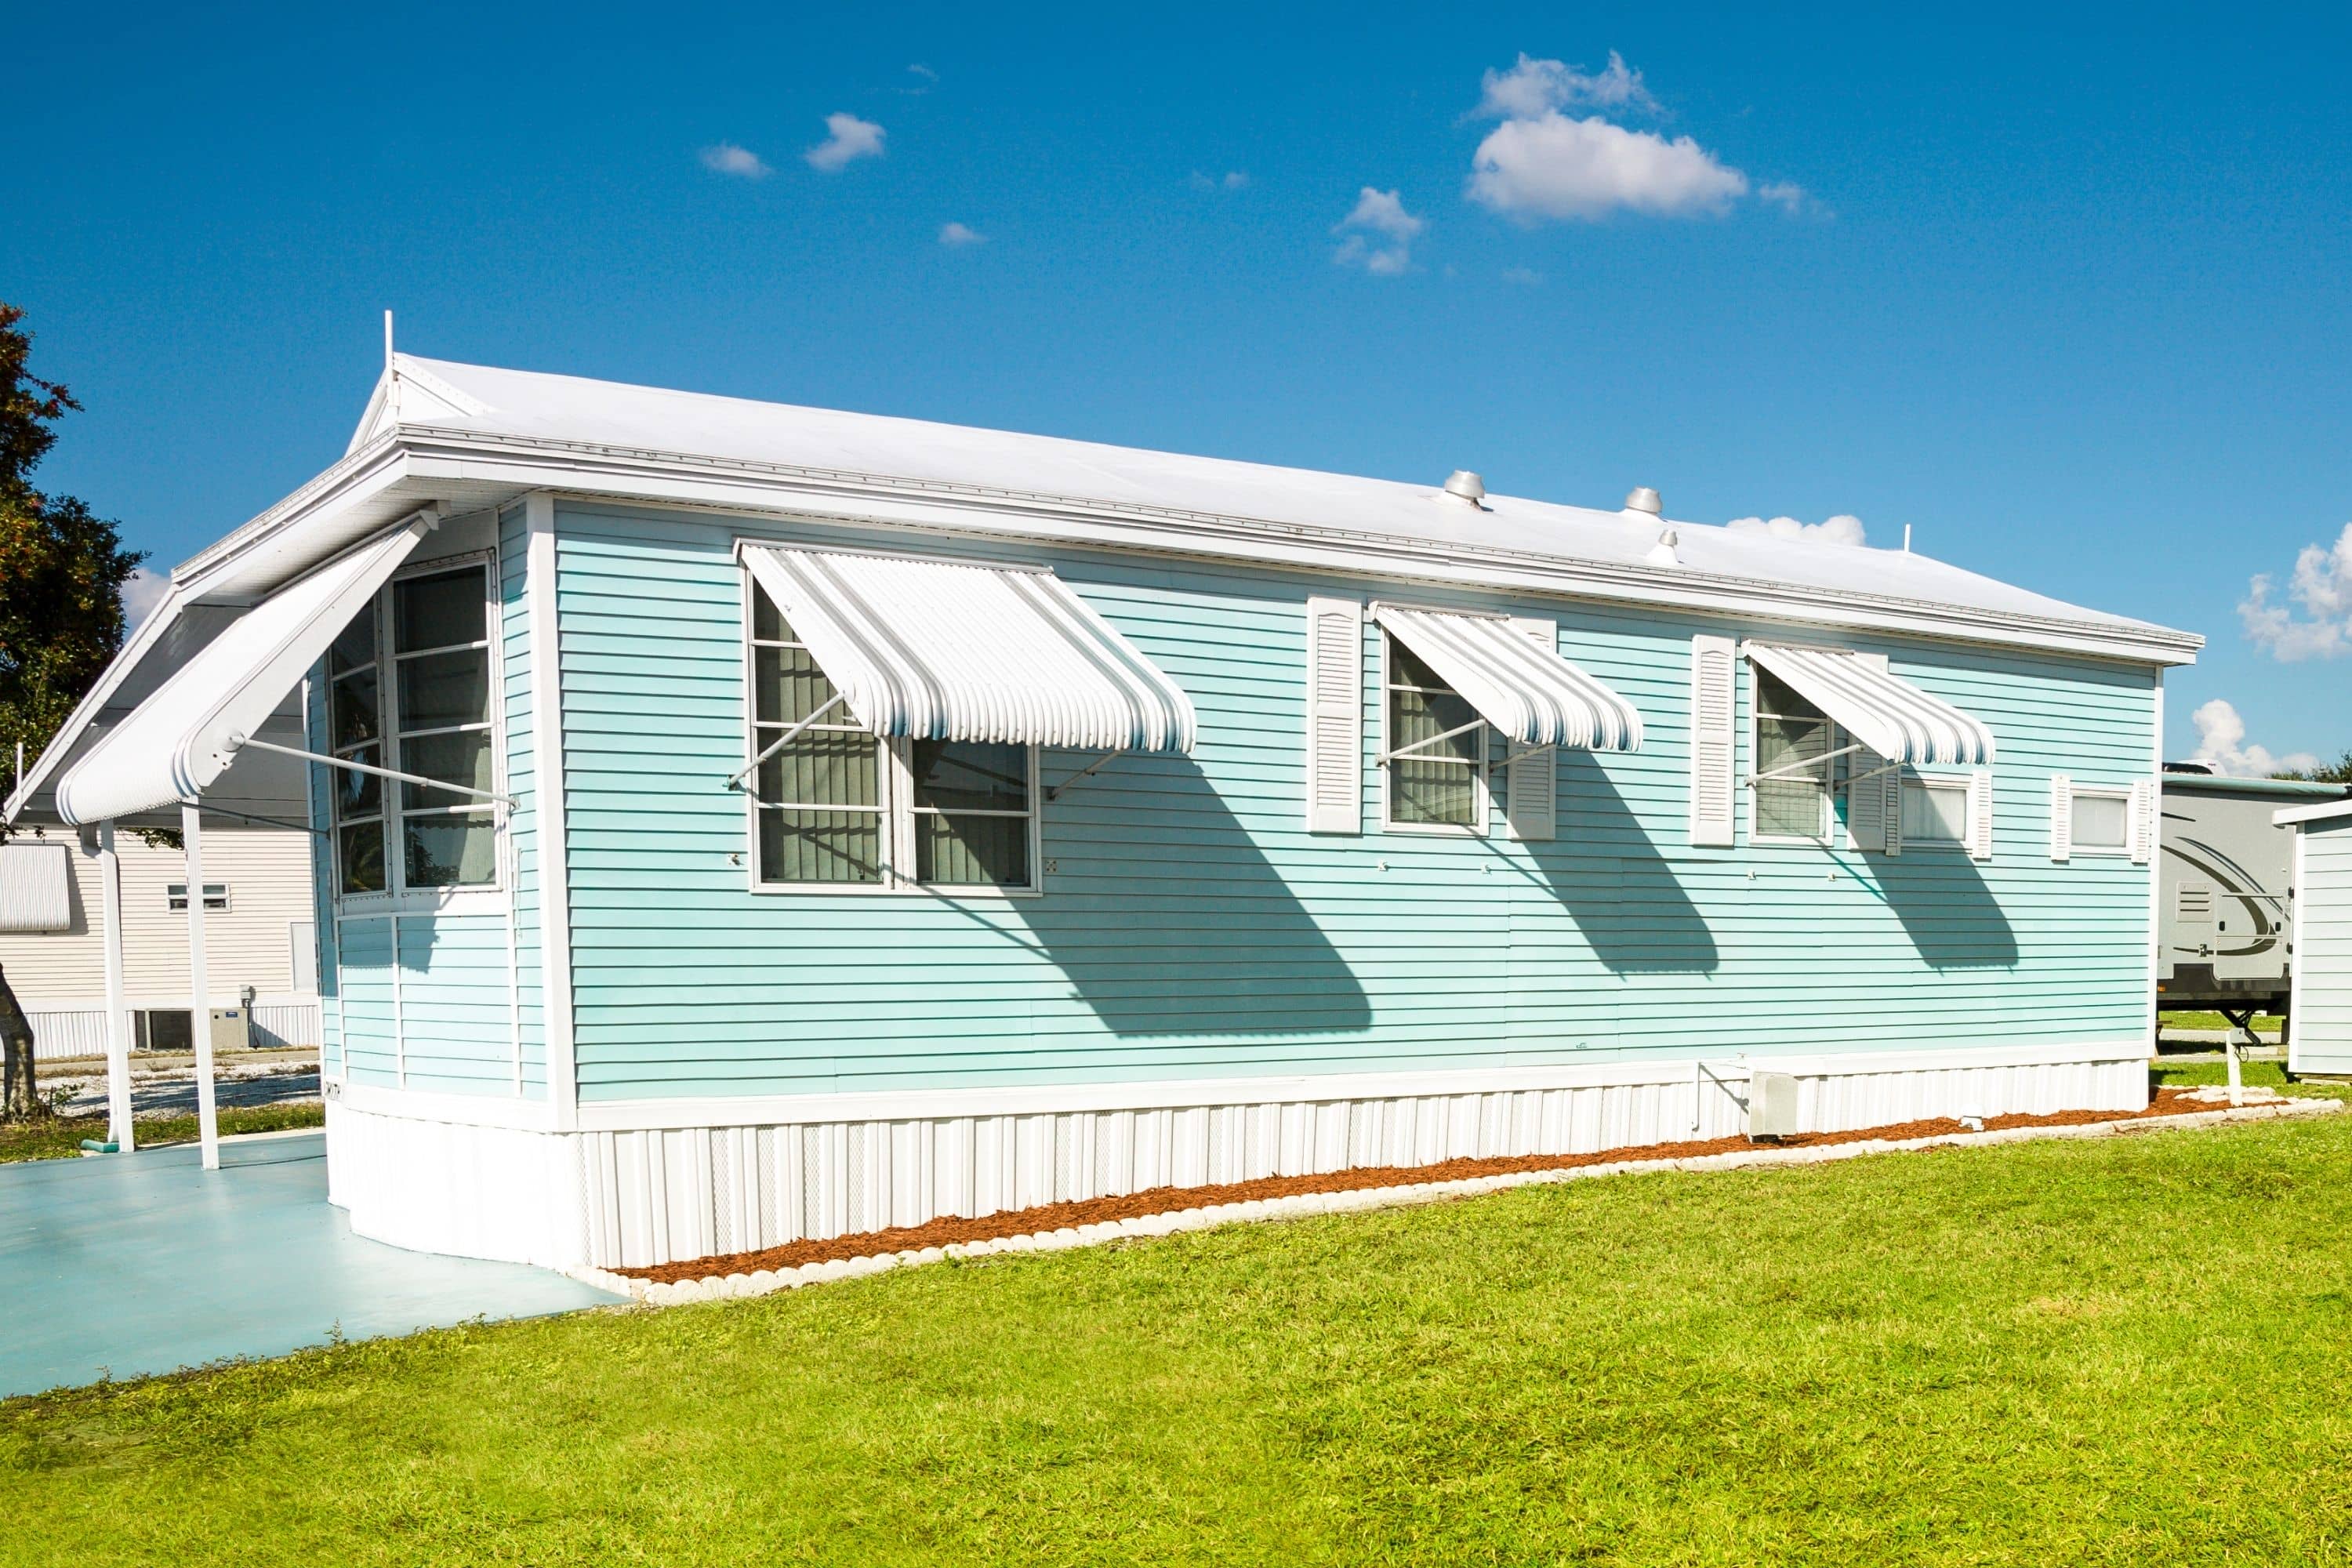
Dewinterizing an RV Or Mobile Home
If you have an RV or mobile home, and you keep it elsewhere during the winter (meaning that you are not using it), dewinterizing it when spring comes is a must. However, this procedure will differ from what we do to dewinterize our house, for example!
So to not mess up and do everything right, consider what steps you need to take to get your RV ready for summer!
- Check the tires since they tend to lose air pressure when not in use, especially during the winter months!
- Reinflate the tires if needed until they reach the manufacturer’s recommendation.
- Inspect the RV’s exterior for any cracks, damages, and leaks. Replace any sealant that’s cracked or peeling, and apply new seals if needed.
- Charge and reinstall the batteries.
- Flush your water system and sanitize it
- Check it for leaky pipes
- Check propane appliances and replace propane tanks
- Test 120-volt appliances
- Check the engine and test your generator
- Change filters, check windows and air vents
- Check safety devices (e.g. smoke alarm, fire extinguisher, LP detector)
- End with updating the insurance and registration
If you complete all of these steps in advance, you can be sure that your RV or mobile home will serve you properly during the summer months.
Tools And Supplies You Will Need to Dewinterize Your Home
Most of us tend to believe that dewinterizing a house is a whole big deal. We have pictures in our minds with lots of tools and appliances needed for this process, but in fact, to revive your home after the winter months and get it ready for summer does not require any special equipment!
All that you will need is a flashlight, wrenches, channel-lock pliers, and the owner’s manuals for appliances. We would only note that, when choosing a flashlight, stick to those that are stronger and shine brighter. Also, it will be preferable if your flashlight produces a long ray of light that is bright enough.
Thanks to it, if you are working in a dark cellar, for example, you will be able to easily find all the pipes or a service panel to turn things on. Wrench and pliers will help you to deal with the screws that are too tight. Let’s agree, that’s not too much to get prepared for dewinterizing!

Common Winterizing Actions to Keep Your Home Ready For Cold Days
When we need to prep our house for winter, there is a mandatory sequence of actions that must be taken in order to make sure that the building is ready for the cold and low temperatures. However, quite many people often miss some of those steps for different reasons.
Since it may lead to improper and incomplete winterizing of a house which can result in leaks and breaks during the winter months, we recommend you take into consideration some common winterizing actions that will surely get your house ready for the tough season!
- Clean out gutters and clear the roof
- Insulate the attic
- Make sure your heating system is serviced
- Adjust the thermostat
- Prep the plumbing system
- Call a chimney sweep
- Check your house for drafts
- Keep rodents out
If you do all this before winter comes, you can be sure that your house will successfully last until spring remaining in its best state.

Conclusion
Now you know what winterization and de-winterization of homes are and what they are done for. We also explained in detail how to winterize a home that has not been in use for an extended period of time.
In addition, now you have a complete guide on disinfecting your home using bleach. This way, you will always be able to make any house, cottage, cabin, or apartment safe for a living!
[wp-faq-schema title=”Frequently Asked Questions”]


