If you are up to any home renovation projects that include a paint job, you might also want to refresh your deck railings if you have a deck, of course.
Homeowners often do it in spring before they start using their outdoor decks regularly in summer.
And of course, you want your deck to look great in order to enjoy summer evenings on it!
But here you might face quite an issue: how to paint wood deck railing correctly so that it looks neat and nice?
Railings of your deck are rather tough to paint because they have curves and edges that are often pretty hard to reach with the paint brush.
Fortunately, we have prepared this article exactly for this case!
Read it carefully and you will learn how to paint your deck’s railings since we will provide you with a detailed step by step instruction.
Also, we will explain why your paint job on deck railings might not attach properly.
Finally, we will try to calculate how much money it might cost you to paint your deck railings, and of course, we will share a few handy tips with you.
With all that in mind, painting your deck railings will be as easy for you as painting a wall!
How to Paint Your Deck Railing?
If you have ever tried to apply paint to the deck railings, you know that this task is harder and more time and effort consuming than it seems at first.
Railings are not like walls, they have curves and angles, and they are often pretty hard to reach with a brush to apply an even layer of paint!
Yep, it is not as simple as painting a flat wall. You can’t just grab a paint brush and finish the surface with a few brush strokes!
This is why many of those who have never painted their deck railings before face certain complications when the time comes to refresh the deck’s exterior.
Also you should consider that horizontal deck railings offer more versatility in design than vertical ones. This is because the strain and upright nature limit the kind of materials and it is easier to paint it also.
And if you also wonder how to paint your deck railings correctly so that the entire work looks nice and clean, we recommend you check out a brief guide that we have prepared for you.
But first, make sure that you have prepared everything that you might need during the painting process!
You definitely don’t want to interrupt yourself simply because you forgot to get some extra drop cloths!
By the way, interrupting the painting process might affect the quality of the paint layer not in the best way.
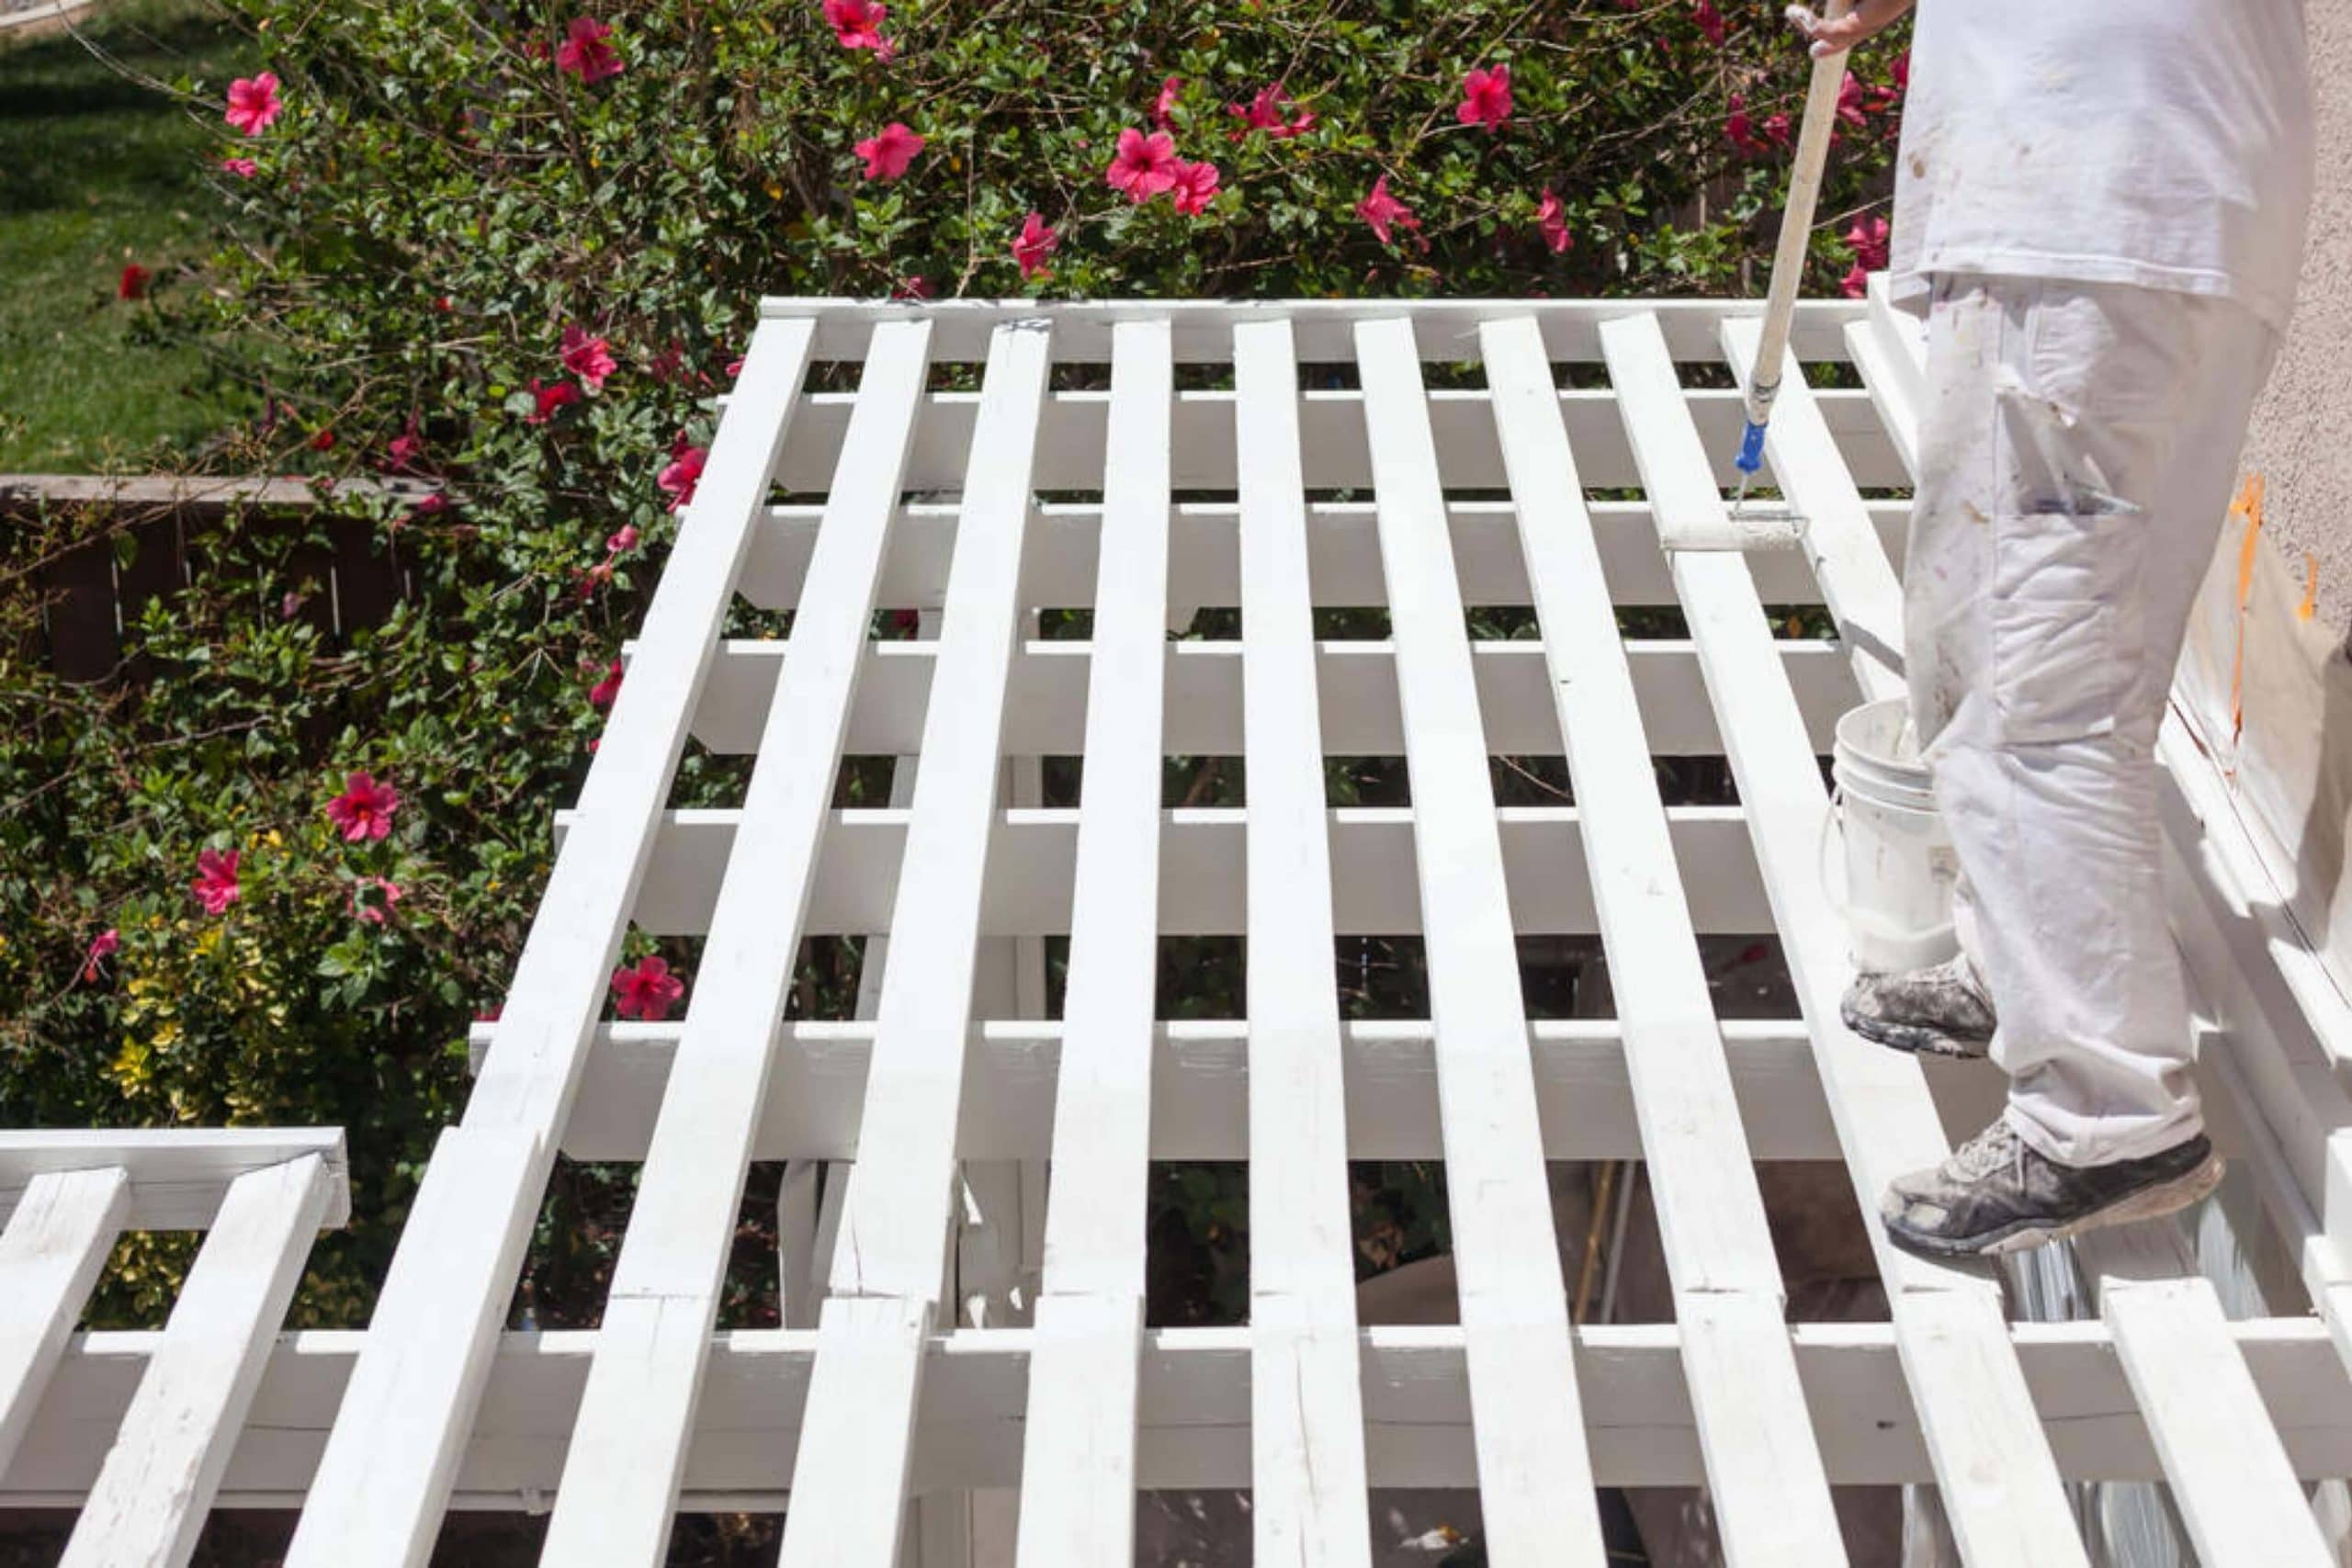
The paint might dry unevenly, and this is definitely not that you are looking for.
So here is the list of tools that you will need for painting your deck railings:
- Painter’s tape (exterior grade)
- Drop cloth
- 180-grit sandpaper
- Gloves
- N-95 mask
- Vacuum
- Oil-based primer
- Exterior wood filler
Once you get all the tools ready, it is time to proceed to the paint application process.
Fortunately, it is very simple!
The whole process will take you around four hours.
You might think that it is a lot, but you should consider the size of your deck and thus, the number of railings it has.
Four hours is the approximate time frame. The bigger the deck (and the more railings it has), the more time you will need for painting it all.
The paint application process is very easy itself:
- Use painter’s tape to protect the deck and the older railing.
- Spread a dropcloth to catch any debris or paint.
- Using 180-grit sandpaper, sand down any imperfections in the wood.
- Use a sanding block for the balusters and a random orbital sander for the posts and railings to get the job done quicker on the larger areas.
- Wear a mask and gloves to protect yourself.
- Vacuum all the debris.
- Start priming. Opt for a mini roller for the large areas, and use a paintbrush for the hard-to-reach areas.
- Focus on the bottom wood. This is where most of the water will end up.
- Let the primer dry before painting. We suggest you wait about an hour.
- Any nail holes must be filled with exterior-grade wood filler.
- Apply the paint.
- Let the first coat dry and add the second coat.
Of course, it can happen that you don’t need the second coat of paint.
But still, we would recommend you apply two coats because like this, you will ensure that the railing will look nice longer and the paint will not start peeling off way too soon.
Besides, a thicker layer of paint looks brighter and more colorful.
So if you want to paint your deck with a vivid color like yellow, green, orange or red, you should definitely consider painting it twice!
Related: How Long Does Paint Last In a Can? Detailed Guide
Handy Tips For Painting Your Railings Quickly And Easily
Some of you might say that spending four hours painting your deck railings is too much.
Well, it is quite a significant amount of time indeed, we agree, but if you want your deck to look great during the summer, we guess it’s worth spending that time on painting it properly.
However, it is always good to know a few tricks and useful tips that might help you to speed up the painting procedure a bit and make it simpler!
So below we provide you with a few tips that you will surely find helpful.

Preparation Before Painting
It does not matter whether relatively new or pretty old, the railings of your deck must be clean, dry and smooth before applying a porch or deck railing paint.
This is why for any wood railings that are not freshly installed, you should wipe them down with a tack cloth if they are relatively clean.
If they are dusty or have some dirt on, use a slightly damp rag.
And in case the railings are really dirty, make sure that you remove as much dust and dirt as possible before applying the paint. Otherwise, if you skip this step, the paint will not be able to adhere well.
Once the railings are dry, do the following:
- sand rough spots with fine-grit sandpaper
- go over the railings with your hand while wearing a glove to find potential splinters or snags
- then sand those away
- wipe the railings with a tack cloth again
- apply painter’s tape around the bottom of the posts
- cover the area beneath and around the railings with a drop cloth
- tape down the edges of the paper in order to keep the sheets from blowing away
Only when all of this is done, you can say that you have prepared your deck railings for the upcoming painting procedure!
The Best Paint for Porch Railings
Quite many homeowners get concerned about the quality of paint they want to use when painting their decks and railings.
What you need to know at this point is that there is no single brand or type of paint that is the absolute best for porch and deck railings!
However, there are a few options that can help you ensure success.
For the wood railings, both latex or oil-based exterior primers and paints hold up well.
Exterior paints are able to withstand the weather fluctuations and different temperatures, as well as elements.
They also block ultraviolet rays, which means your paint will not fade too soon.
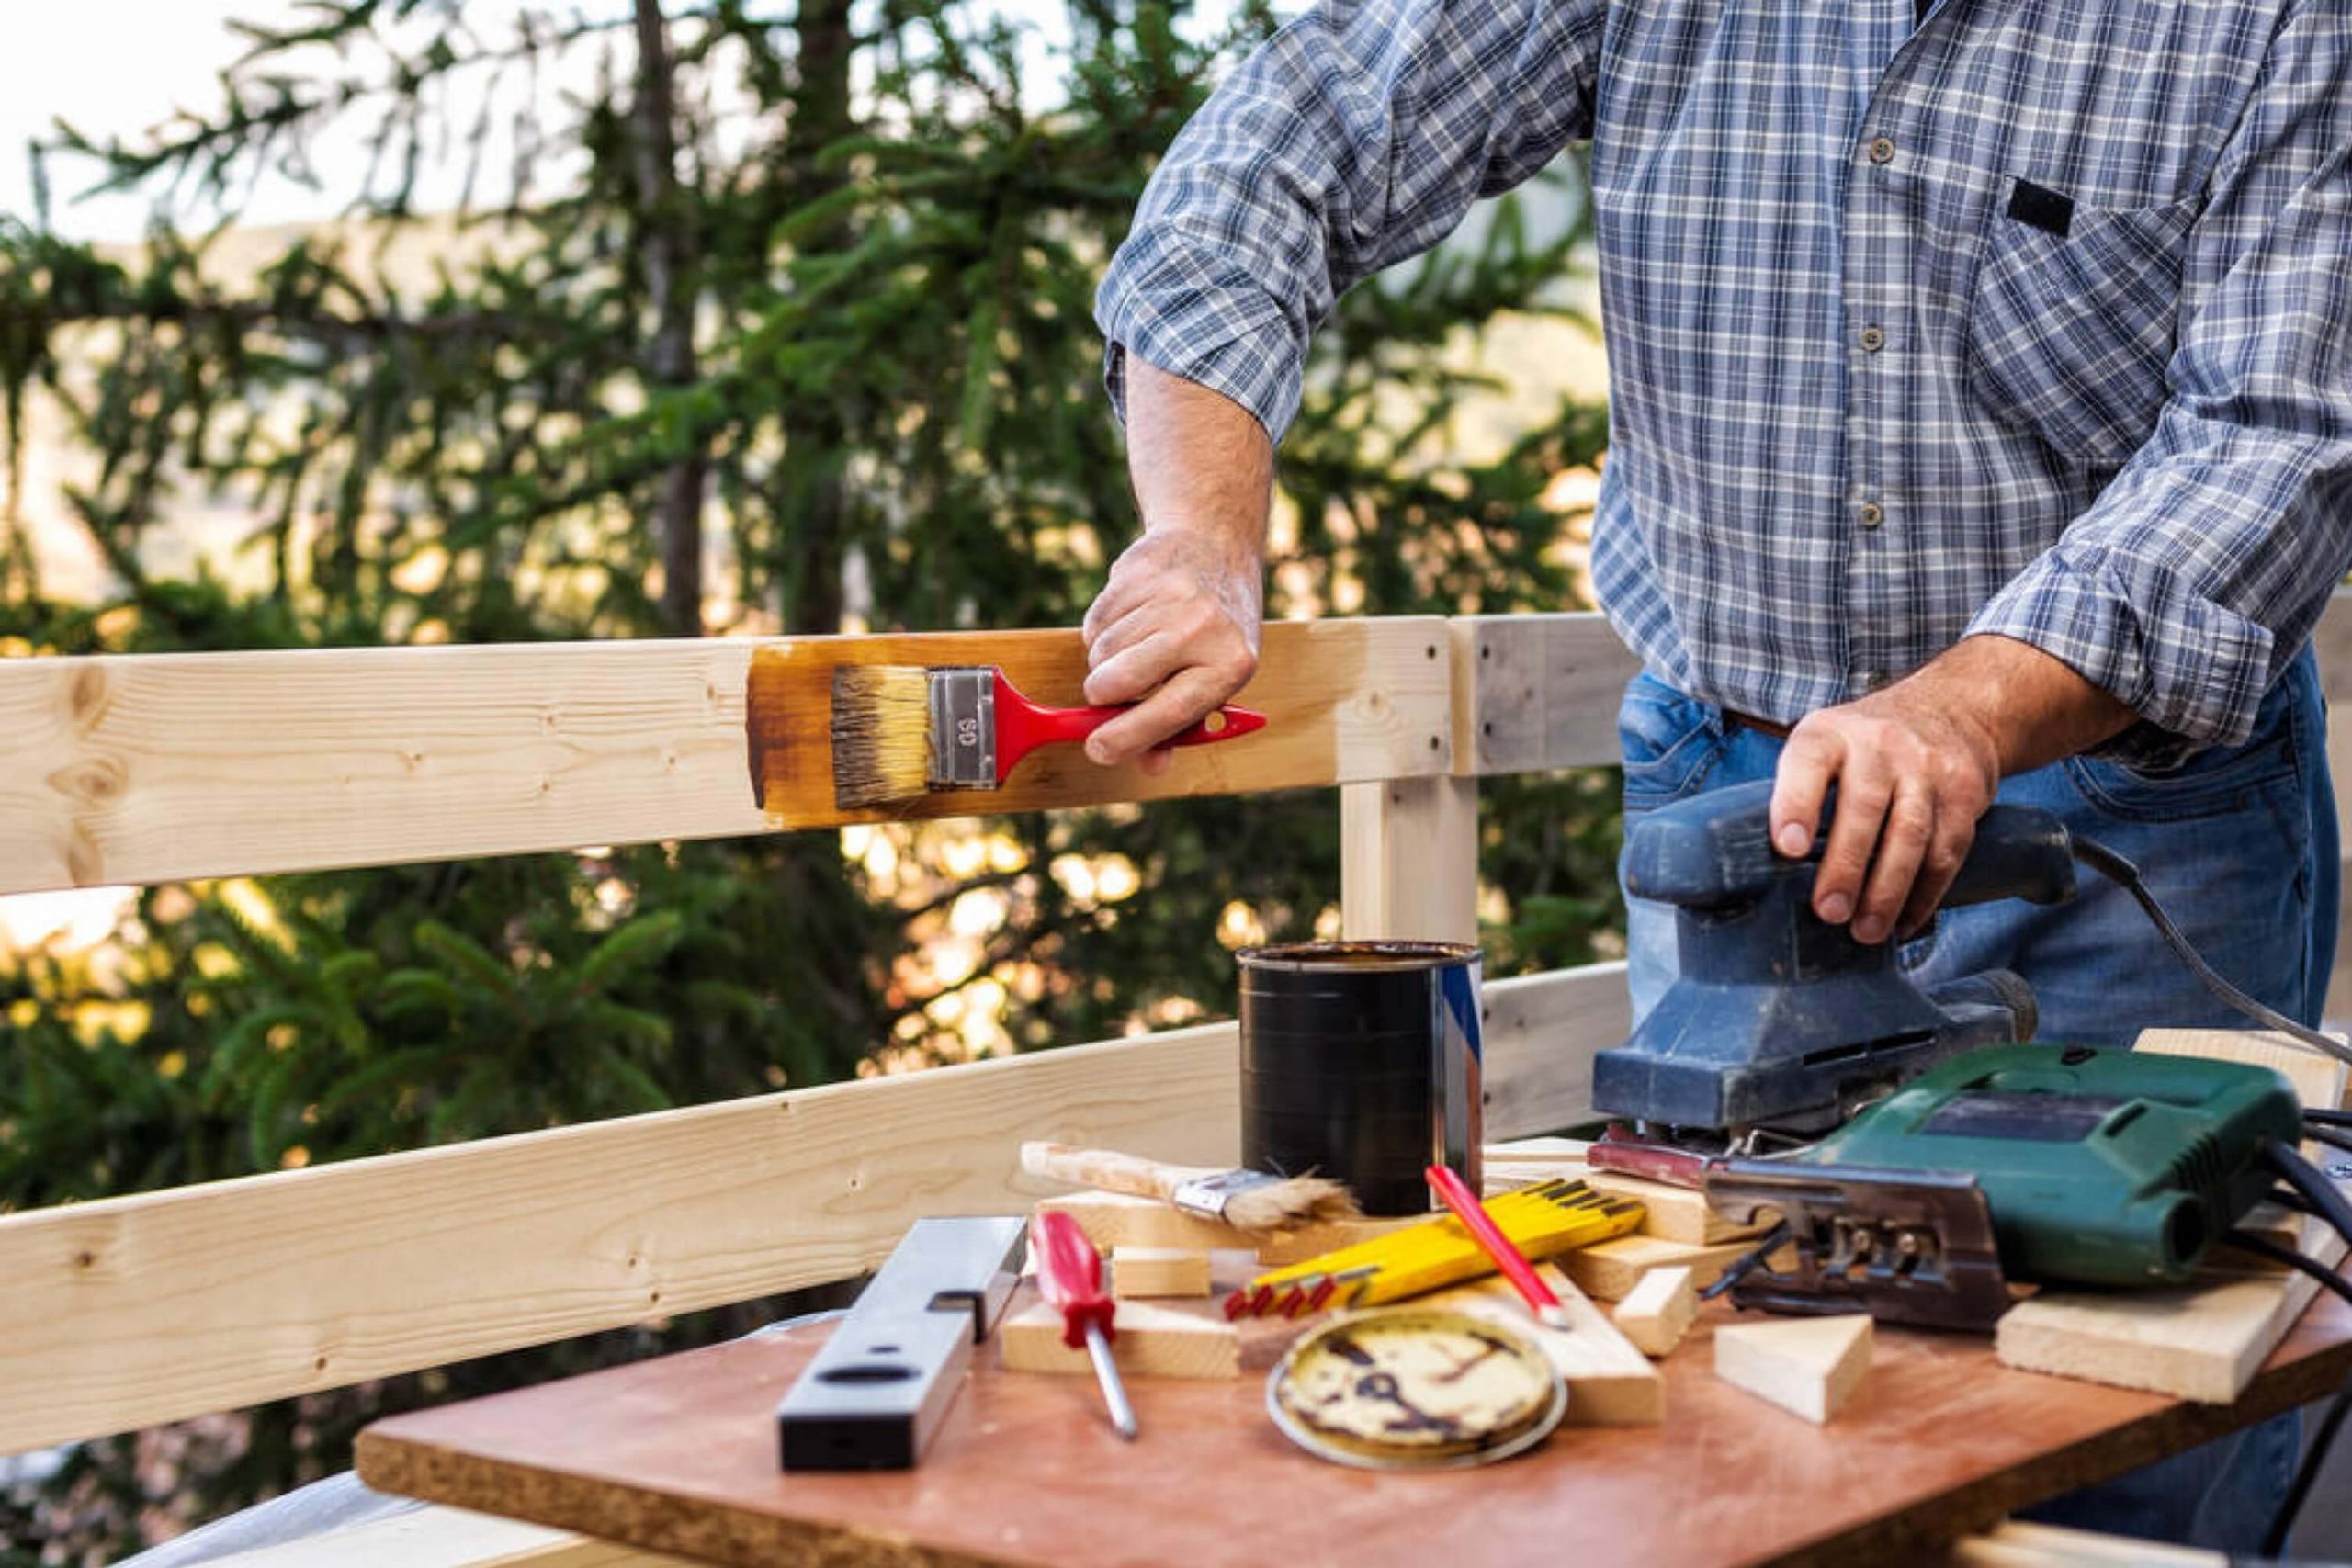
Easy Way to Paint Railings
When it comes to painting railings of your porch or deck, the vertical spindles are the most difficult part. It is because they are often narrow and there are many of them located pretty close to each other.
This is why the major rule of thumb is that you prime and paint these first, so you will still be able to touch the handrail as you lean over and work.
To help you make the spindle-painting process easier, you can opt for the following tools:
- a one-inch-wide paint brush
- a painter’s mitt
- a miniature paint roller
Try out each of these tools as you apply primer and see which works better and which you prefer.
For example, a mitt allows you to work quickly, as well as easily reach around the spindles.
On the other hand, a paintbrush works well for both straight and curved surfaces. As for the mini roller, it is fast but you will be able to manage it on flat surfaces much easier.
After you have primed the spindles, it is time to paint the posts, horizontal braces and railings.
For this purpose, you can use either a paint roller or a wider brush. Ideally, your brush or roller should be wide enough to span the narrowest part of the project piece.
Once the primer is dry all over, apply paint to spindles first, then posts and rails.
With these tips and life hacks, even the most curved railing sof your porch or deck will not become an issue or a stumbling stone for you when you decide to repaint them before summer.
Why Did My Rail Painting Fail?
Applying paint to any surface is a tricky process, especially if you are painting something that is going to spend the entire time outdoors!
This is why sometimes folks complain that their freshly painted porch or deck railings fail and the paint starts peeling off.
But why does it happen at all?
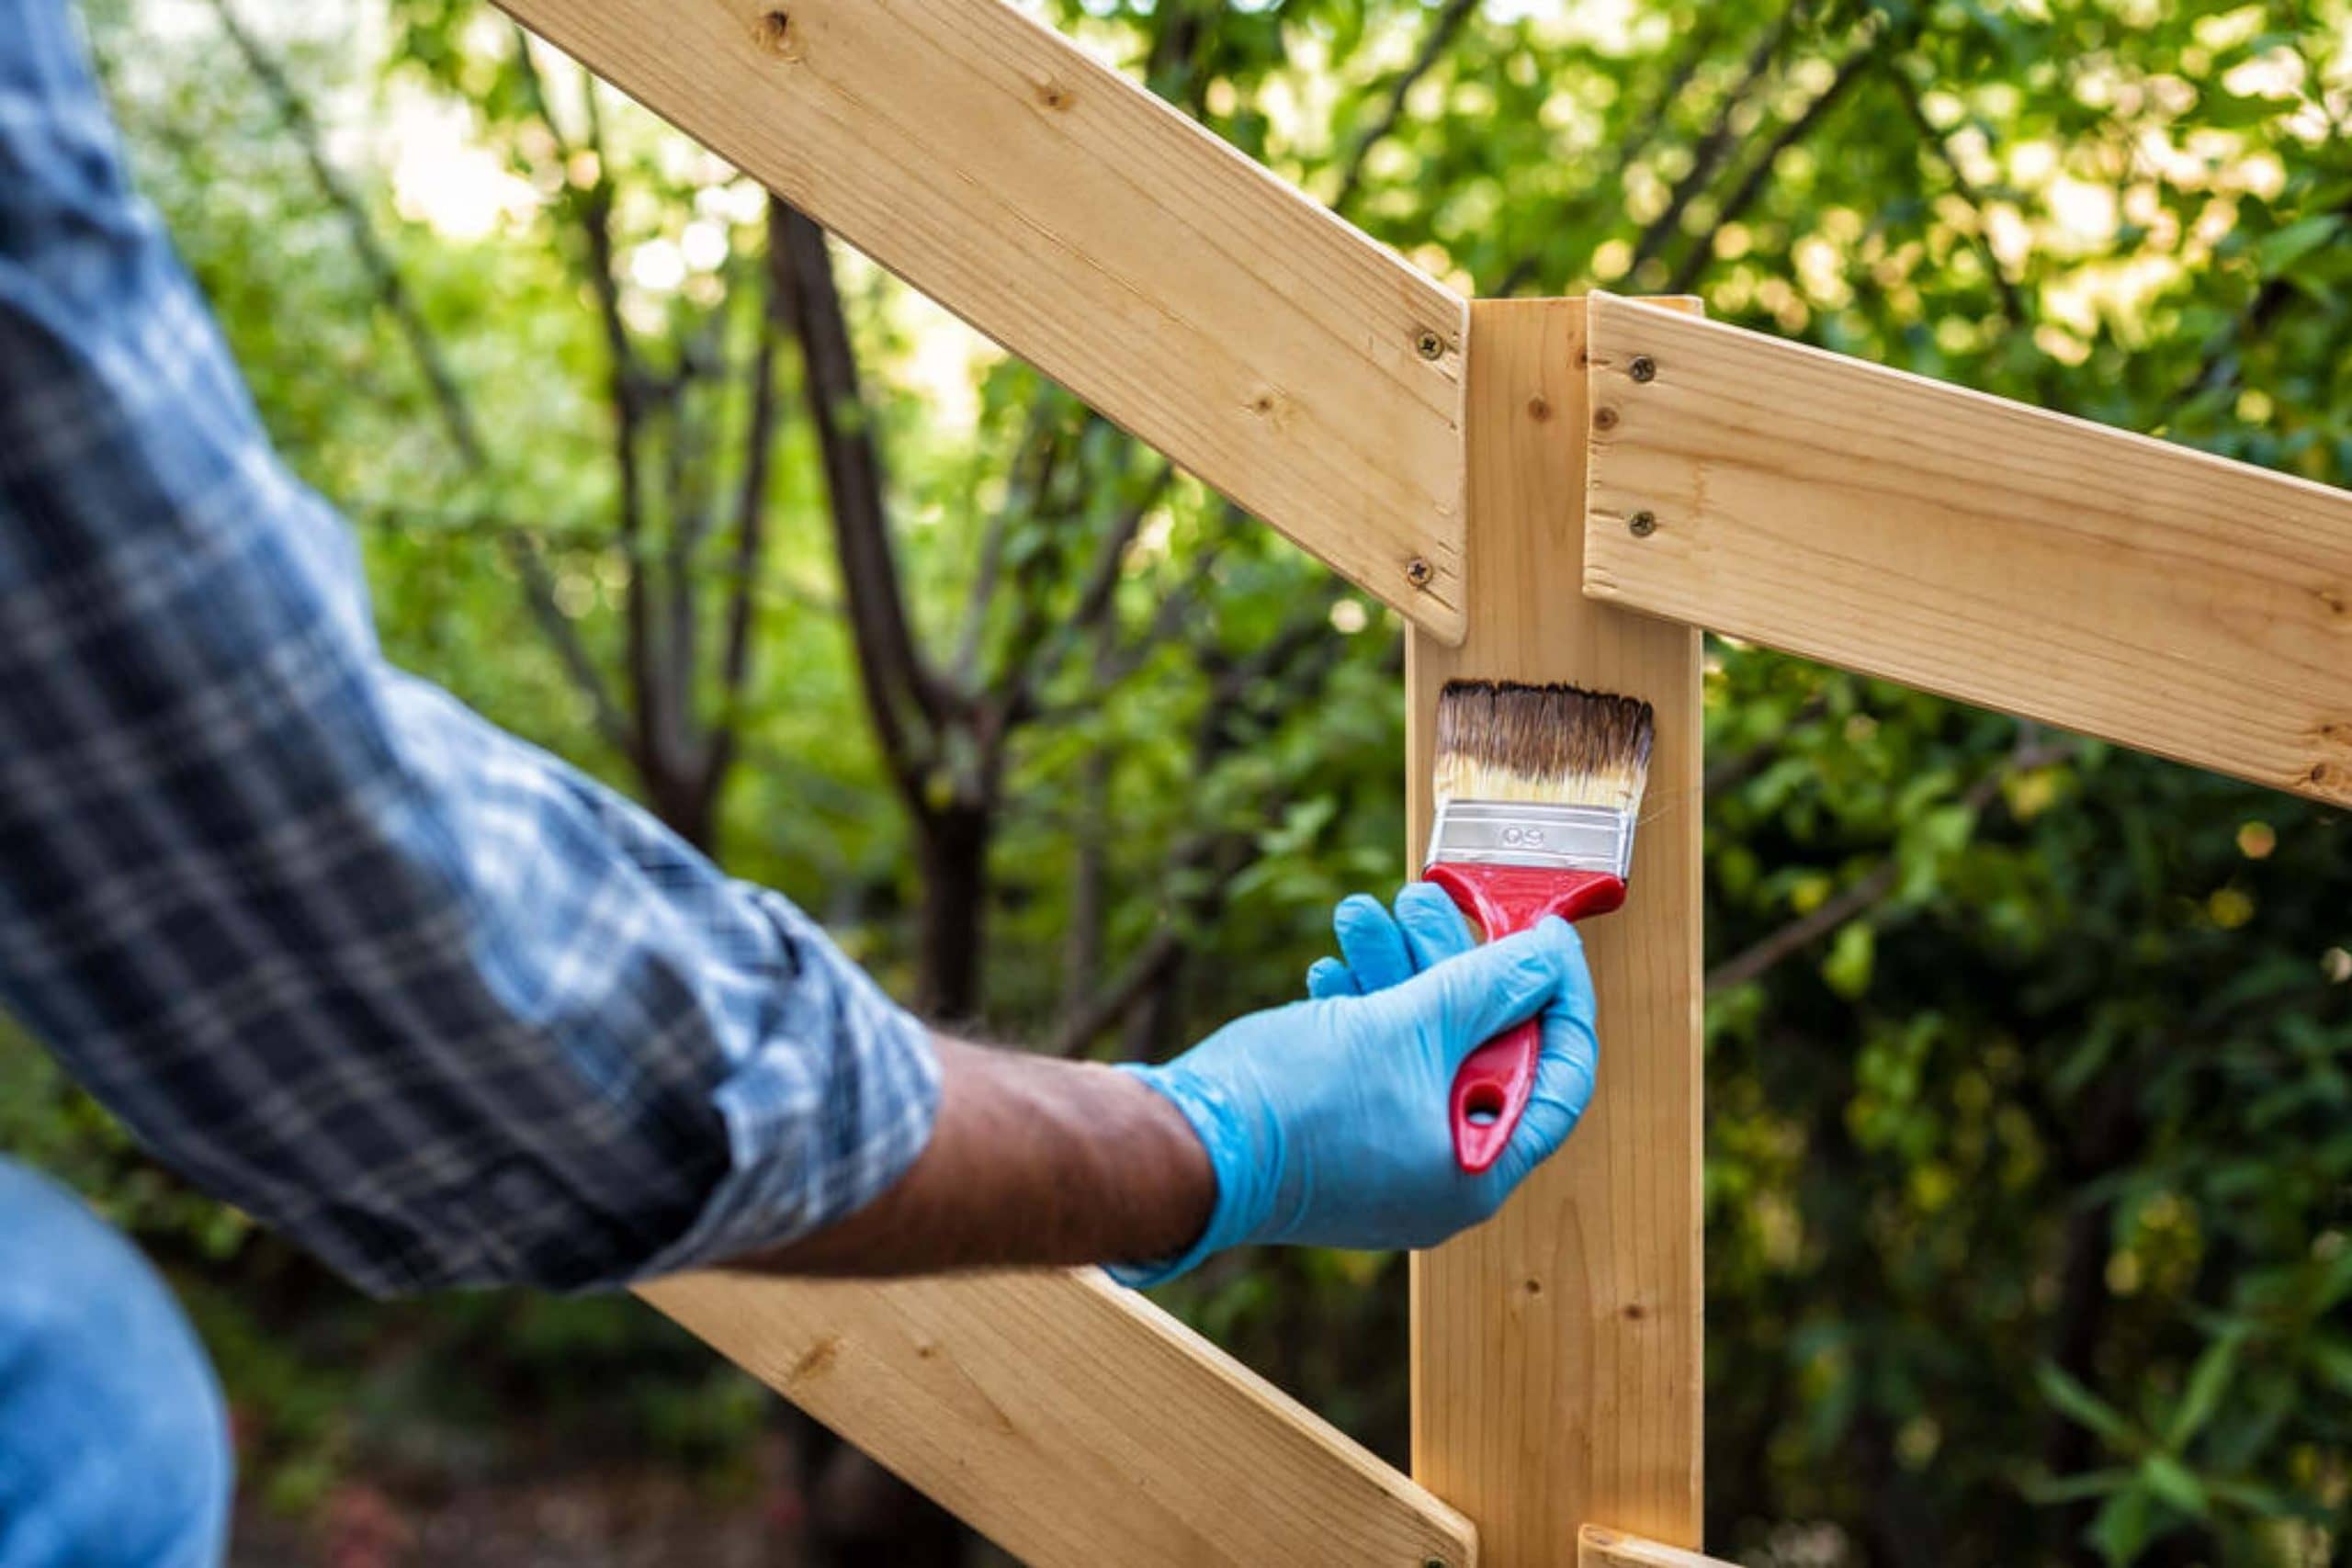
Related:Can You Paint When It Rains? Useful Tips and Advice
Wood Was Wet When You Painted It
Painting wood when it is wet or even slightly saturated may cause the paint to not adhere properly to the wooden surface.
To prevent this, make sure the wooden railings are completely dry before you start applying paint.
If the surface of the wood is wet (even a little bit!), then you should wait with painting.
The best solution is to wait for a sunny day to dry the wood prior to painting. If the wood is saturated, several sunny or windy days are necessary.
Unfinished Railings Were Exposed to Several Weeks Of Sunlight Before Painting.
Sunlight degrades the unfinished wood surface, if you know. That means that it will never hold paint the same well as fresh wood.
If the unfinished wood was exposed to sunlight for more than a few days, you need to lightly sand or power wash the surface to remove the thin layer of degraded wood before applying paint.
When using power washing, be careful not to get the nozzle too close to the railing, as this can damage the wood.
Taping a stick on the wand will force you to maintain a safe distance and prevent otherwise easily caused damage. You also have to wait for the railing to dry after power washing.
It Was Too Cold When the Wood Was Painted
Exterior temperature matters a lot when you are going to paint any object that is located outdoors. For example, oil-based paints should be applied when the temperature is at least 40 degrees Fahrenheit.
For latex paints, the temperature should be at least 50 degrees, and conditions should remain above these temperatures for 24 hours after painting.
If you are pretreating the wood with a paintable water-repellent preservative, you will be able to achieve the best results if the product is applied when temperatures are greater than 70 degrees Fahrenheit.
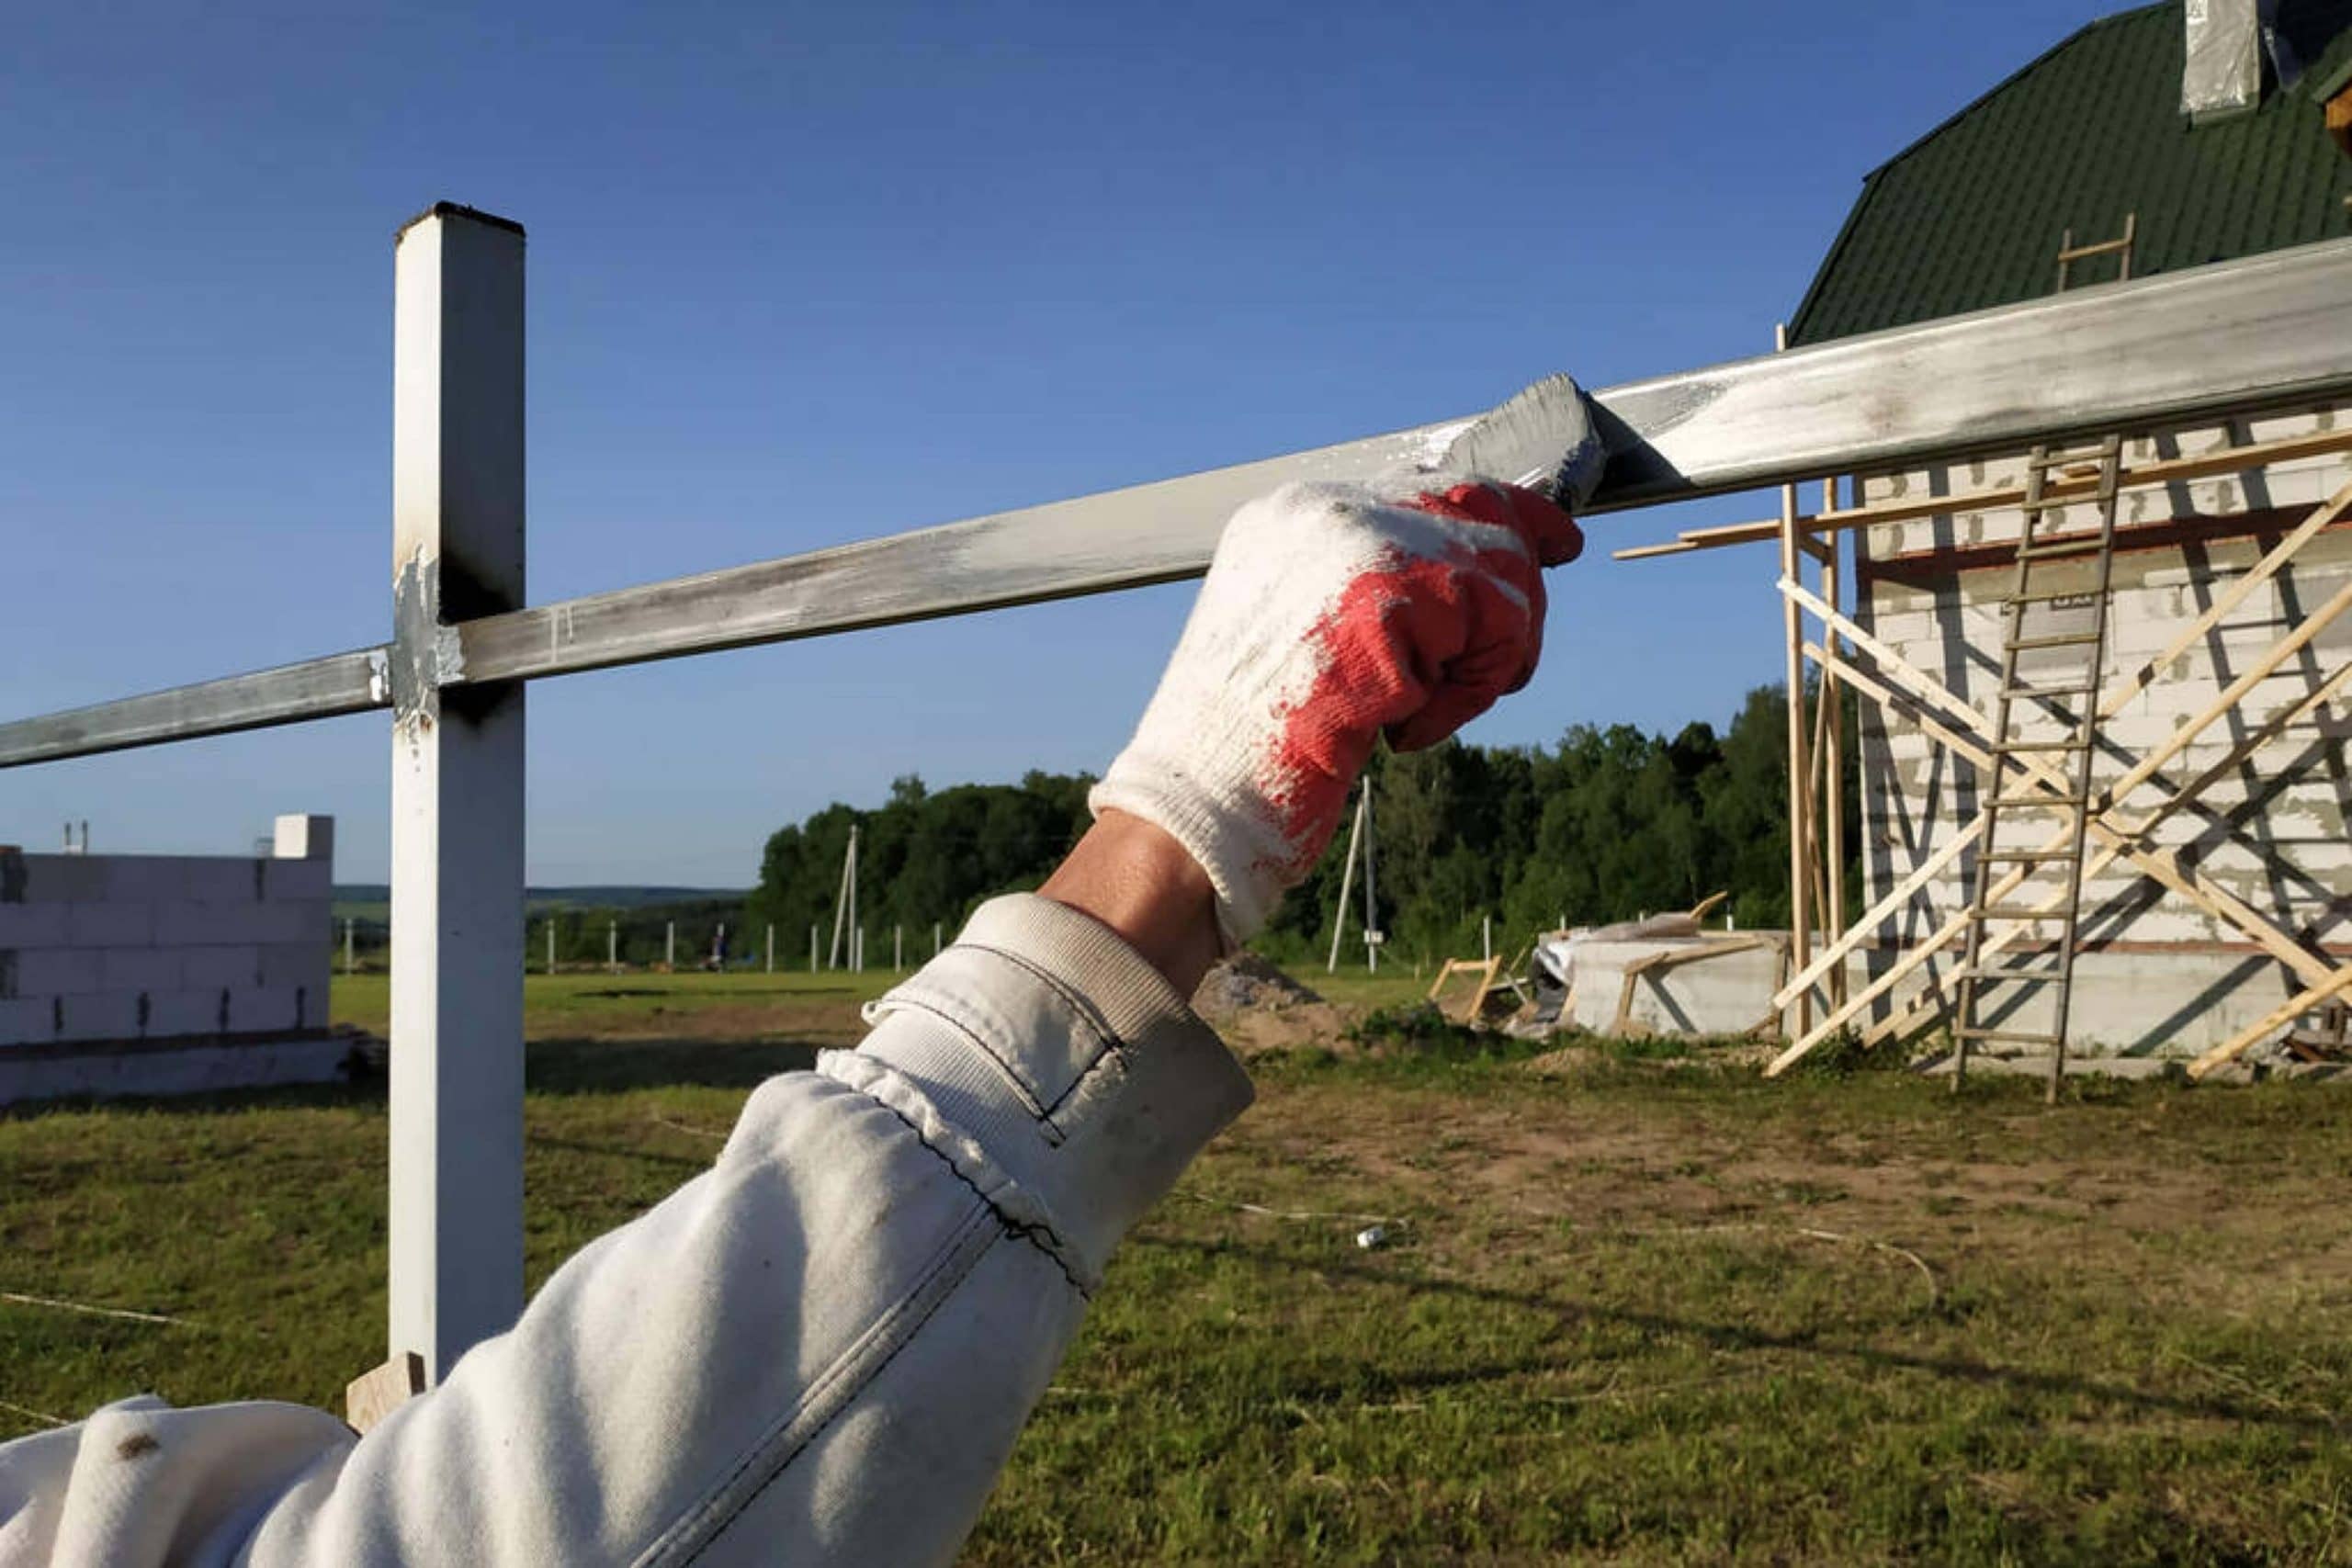
Related: How Long Does It Take to Paint a House?
Wood Was Too Hot When It Was Painted
If the wood was too hot when you painted it, or if it was heated right after the paint was applied, it may result in paint not being able to adhere properly.
This is why it is not recommended to paint wood when the outside temperature is higher than 90 degrees.
However, painting with white paint on a white surface can be okay any time of day because white generally reflects the sun’s heat.
With colored paint, the best procedure is to “follow the sun” around the deck.
For example, the east side of the railing should be painted late in the morning, whilst the south side is best to be painted in the middle of the afternoon. As for the west side, paint it late in the afternoon, unless it gets full sun.
If the west side of the deck receives full sun, it’s best to paint before noon.
The north side can be painted at any time during the day.
It Was Too Humid Outdoors When You Painted the Surface
When water-based paints cure, the water should evaporate as fast as the solvents (or even faster!). After the water has evaporated, the paint will shrink to nearly its final shape. As the solvents evaporate, the paint chemically reacts to form a hard material.
This is why, when it is too humid, water cannot evaporate and the solvents may evaporate first, causing the paint to cure while still in a water-filled state.
You cannot recover from this type of disaster. Oil-based paints may also fail if conditions are too humid.
Related: 5 Great Tips for Picking Paint Color for Your Room
These practical tips will help you to make sure that the layers of paint you are going to apply to the deck’s railings will still be there after the paint dries, and they will remain like this long enough.
And to sum up all that we have shared with you today, you should be able now to paint your deck or porch railing relatively easily since you know what paint is best to be used and when, and also, you have learned a handful of useful recommendations regarding the paint application process.
[wp-faq-schema title=”Frequently Asked Questions”]
I know how to paint wooden deck railings. But what about painting metal railings? Is the process going to be the same? Any tips are welcome! Thanks!
Hi! Well, as with wood porch or deck rails, metal railings require a bit of preparation before painting. Clean them, sand away any rust, clean them again, then wipe them down with a tack cloth. Mask off areas you wish to protect, and apply a rust-blocking primer to the metal, then go over it again with a compatible metal spray paint designed for durability.
Does anyone know how often I should repaint my deck railings? I painted them last spring and they still seem to be ok. But shall I wait until the paint starts peeling off?
No, you don’t have to wait until the paint peels off. Typically, when you notice the paint faded significantly, it is time to refresh the railings. It also depends on how sunny it is in your area. Where I live, I repaint them once every three years.
What is the easiest way to paint railings? When I do it, I always end up with an uneven paint coating. Perpahs, I’m doing something wrong?
I guess the easiest one is to spray paint them. I always use this one. But I know people use a medium pile mini (emulsion roller) and a brush. I guess it depends on your personal preferences.
Is painting deck railing with sprayer possible? I don’t feel like using a brush or even a roller since it seems way too tedious and time-consuming!
Of course it’s possible! In fact, to me, spray painting is the fastest and the easiest way to paint railing! I use only this method.
Hi! Thanks for the article, for me as a novice in painting, it was a real treasure! Could you please explain how to sand and paint deck railings?
Well, you can use a 180-grit sandpaper for this purpose. But it will take you some time of course! PLus, after you sand away any rust, clean the railings again, then wipe them down with a tack cloth.
Hello. I need your advice. How to paint metal porch railing without sanding?
Hey there! First of all, I guess you do need to sand them. Like that, you will remove any loose paint and/or rust. If you simply apply paint to a rusty surface, you won’t get an even coating. Plus, the paint won’t last long on such a surface.