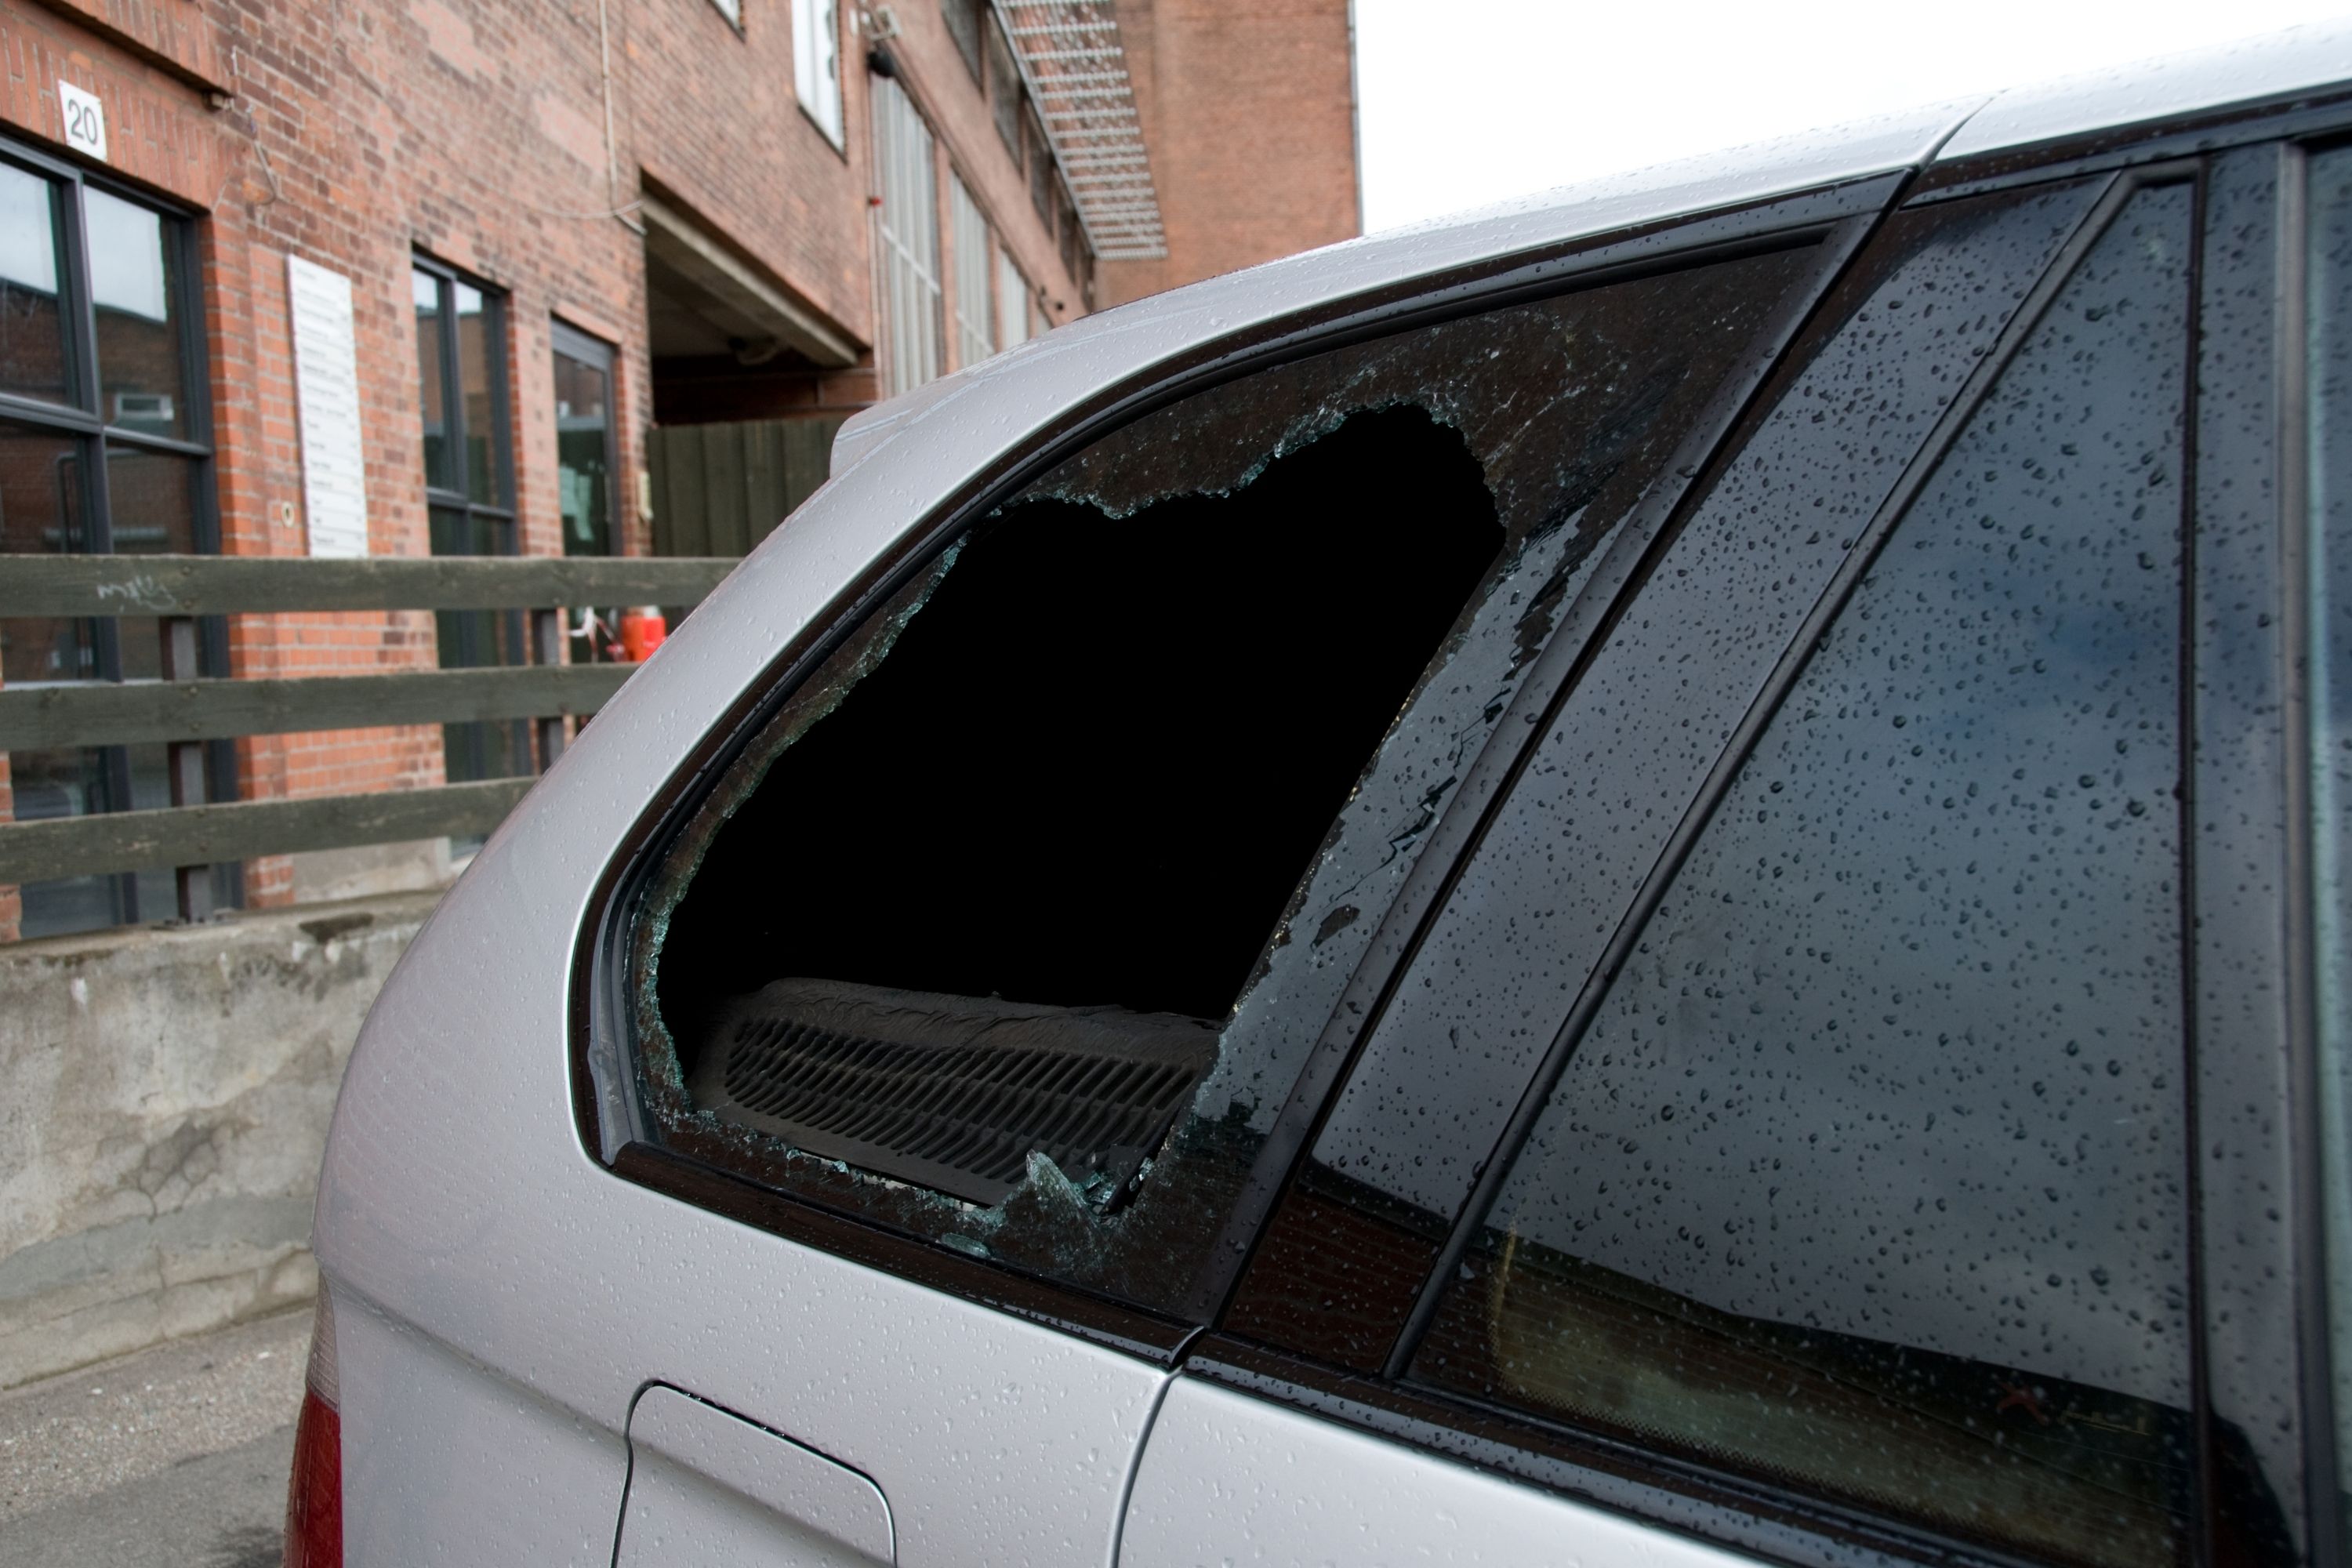
Your car window can get broken for different reasons. It may happen because of hail, or as a result of a smash and grab incident, or after an accident. In any case, dealing with the broken window in your vehicle is surely not the thing that every car owner wants to experience!
However, having a broken window in your car may lead to many unpleasant issues, and one of them is the exposure to elements and weather.
What is particularly annoying and threatening is rain. So if you want to learn how to keep rain out of your broken car window, and don’t get wet and cold this article is just for you!
Below, you will find a detailed instruction on how to make a temporary car window cover by yourself.
We will also tell you what tools and supplies you will need, as well as describe step by step what to do to have your car window properly covered from rain and other weather elements that may get inside of the vehicle.
Related: How to Protect Your Car From Snow Without a Garage?
How to Keep Rain Out Of a Car With the Broken Window
When the window in your car gets broken, it is first of all a safety issue to have it fixed properly. But before you bring your vehicle to the service station to have everything done, you need to make sure that the busted window is sealed with a cover.
Otherwise, it might not be safe for you to drive!
This is why, in case your car has experienced such an incident, you need to make sure that you make a broken car window temporary fix.
Of course, later you must bring your vehicle to the service center where the breakage will be repaired and the window will be replaced.
But often, we don’t have time to do it right after the incident happens. And so we need to make a temporary window cover.
Fortunately, this is not something that requires tons of tools and years of experience! You can easily make such a “shield” to protect your broken car window all by yourself pretty fast.
Below, you will find a detailed step by step instruction on how to do it. Follow the suggested steps precisely, and you will have your car window covered safely until it is fixed by professionals.
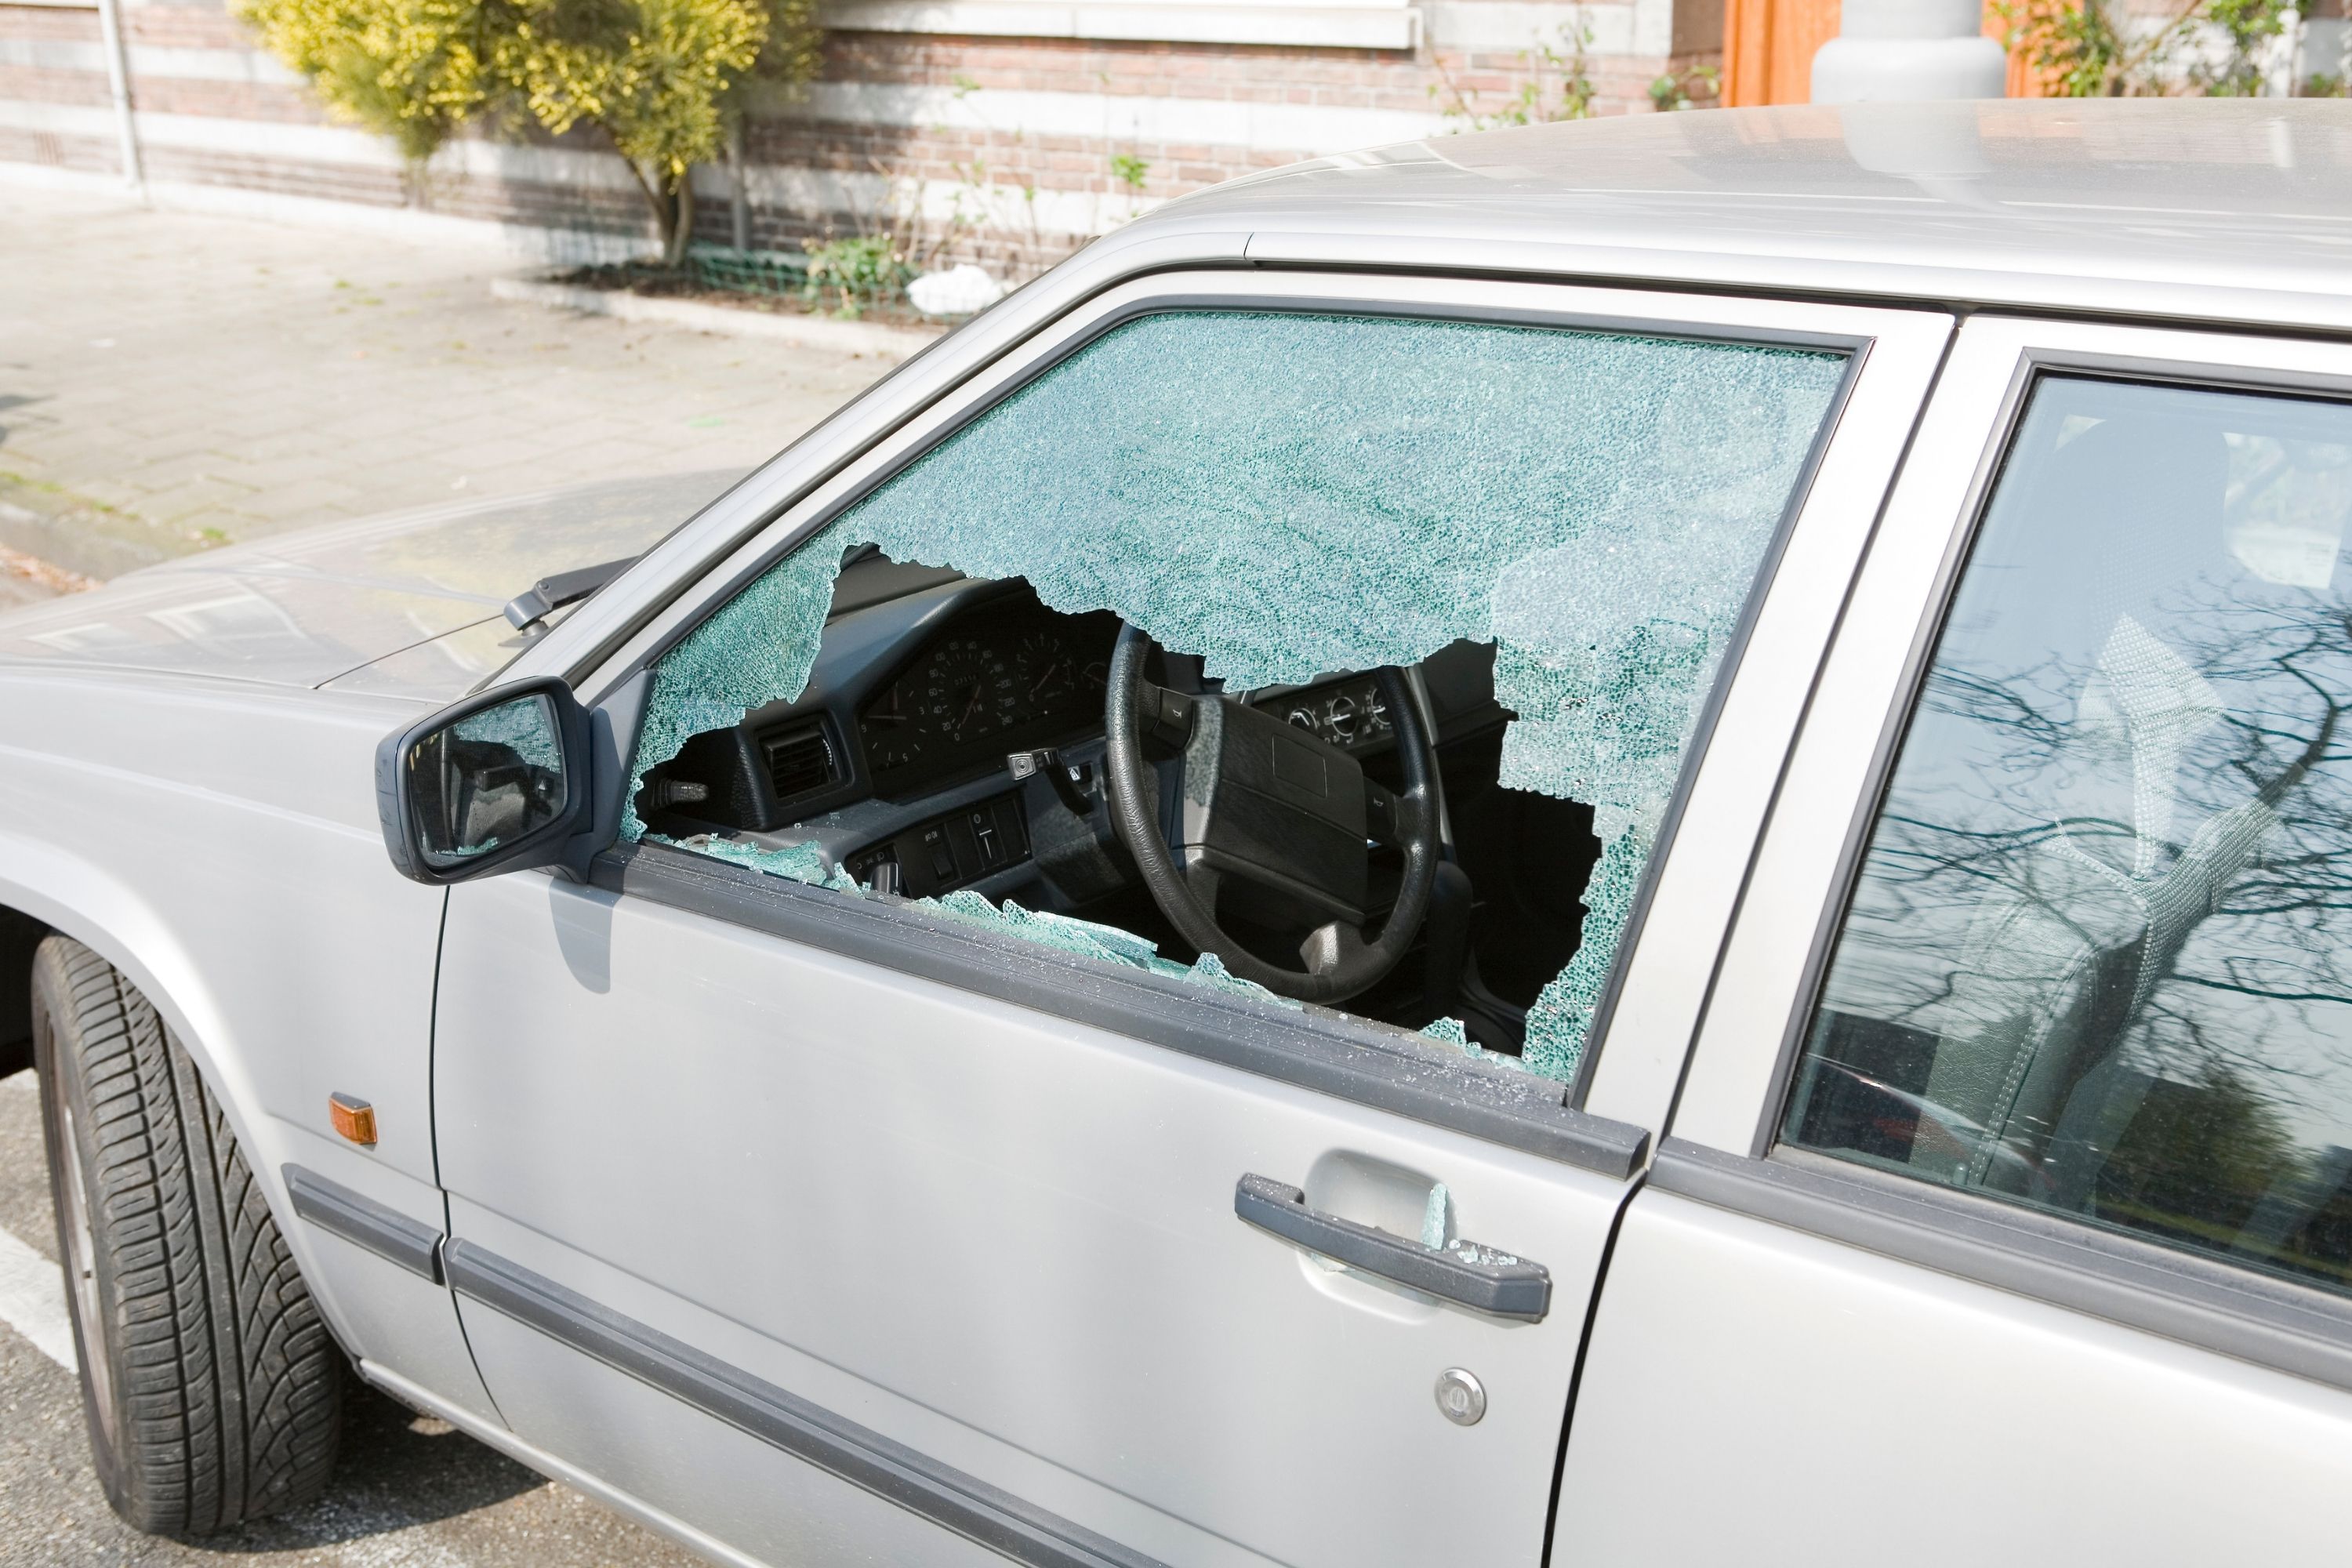
Remove the Shattered Glass
When dealing with the broken car window, the very first thing you have to do is to remove the shattered glass. First of all, because it is dangerous and you can scratch yourself by accident if you drive in a car with a smashed window.
So put on thick work gloves, and off we go!
Remove the broken glass pieces that come out from the window frame easily first of all. But be sure you are acting very carefully to avoid injuries!
Sometimes, the car window glass may not be broken fully, and so you will have parts that are pretty hard to get out of the window frame. In this case, to deal with those stubborn shards of glass, feel free to make use of a hammer.
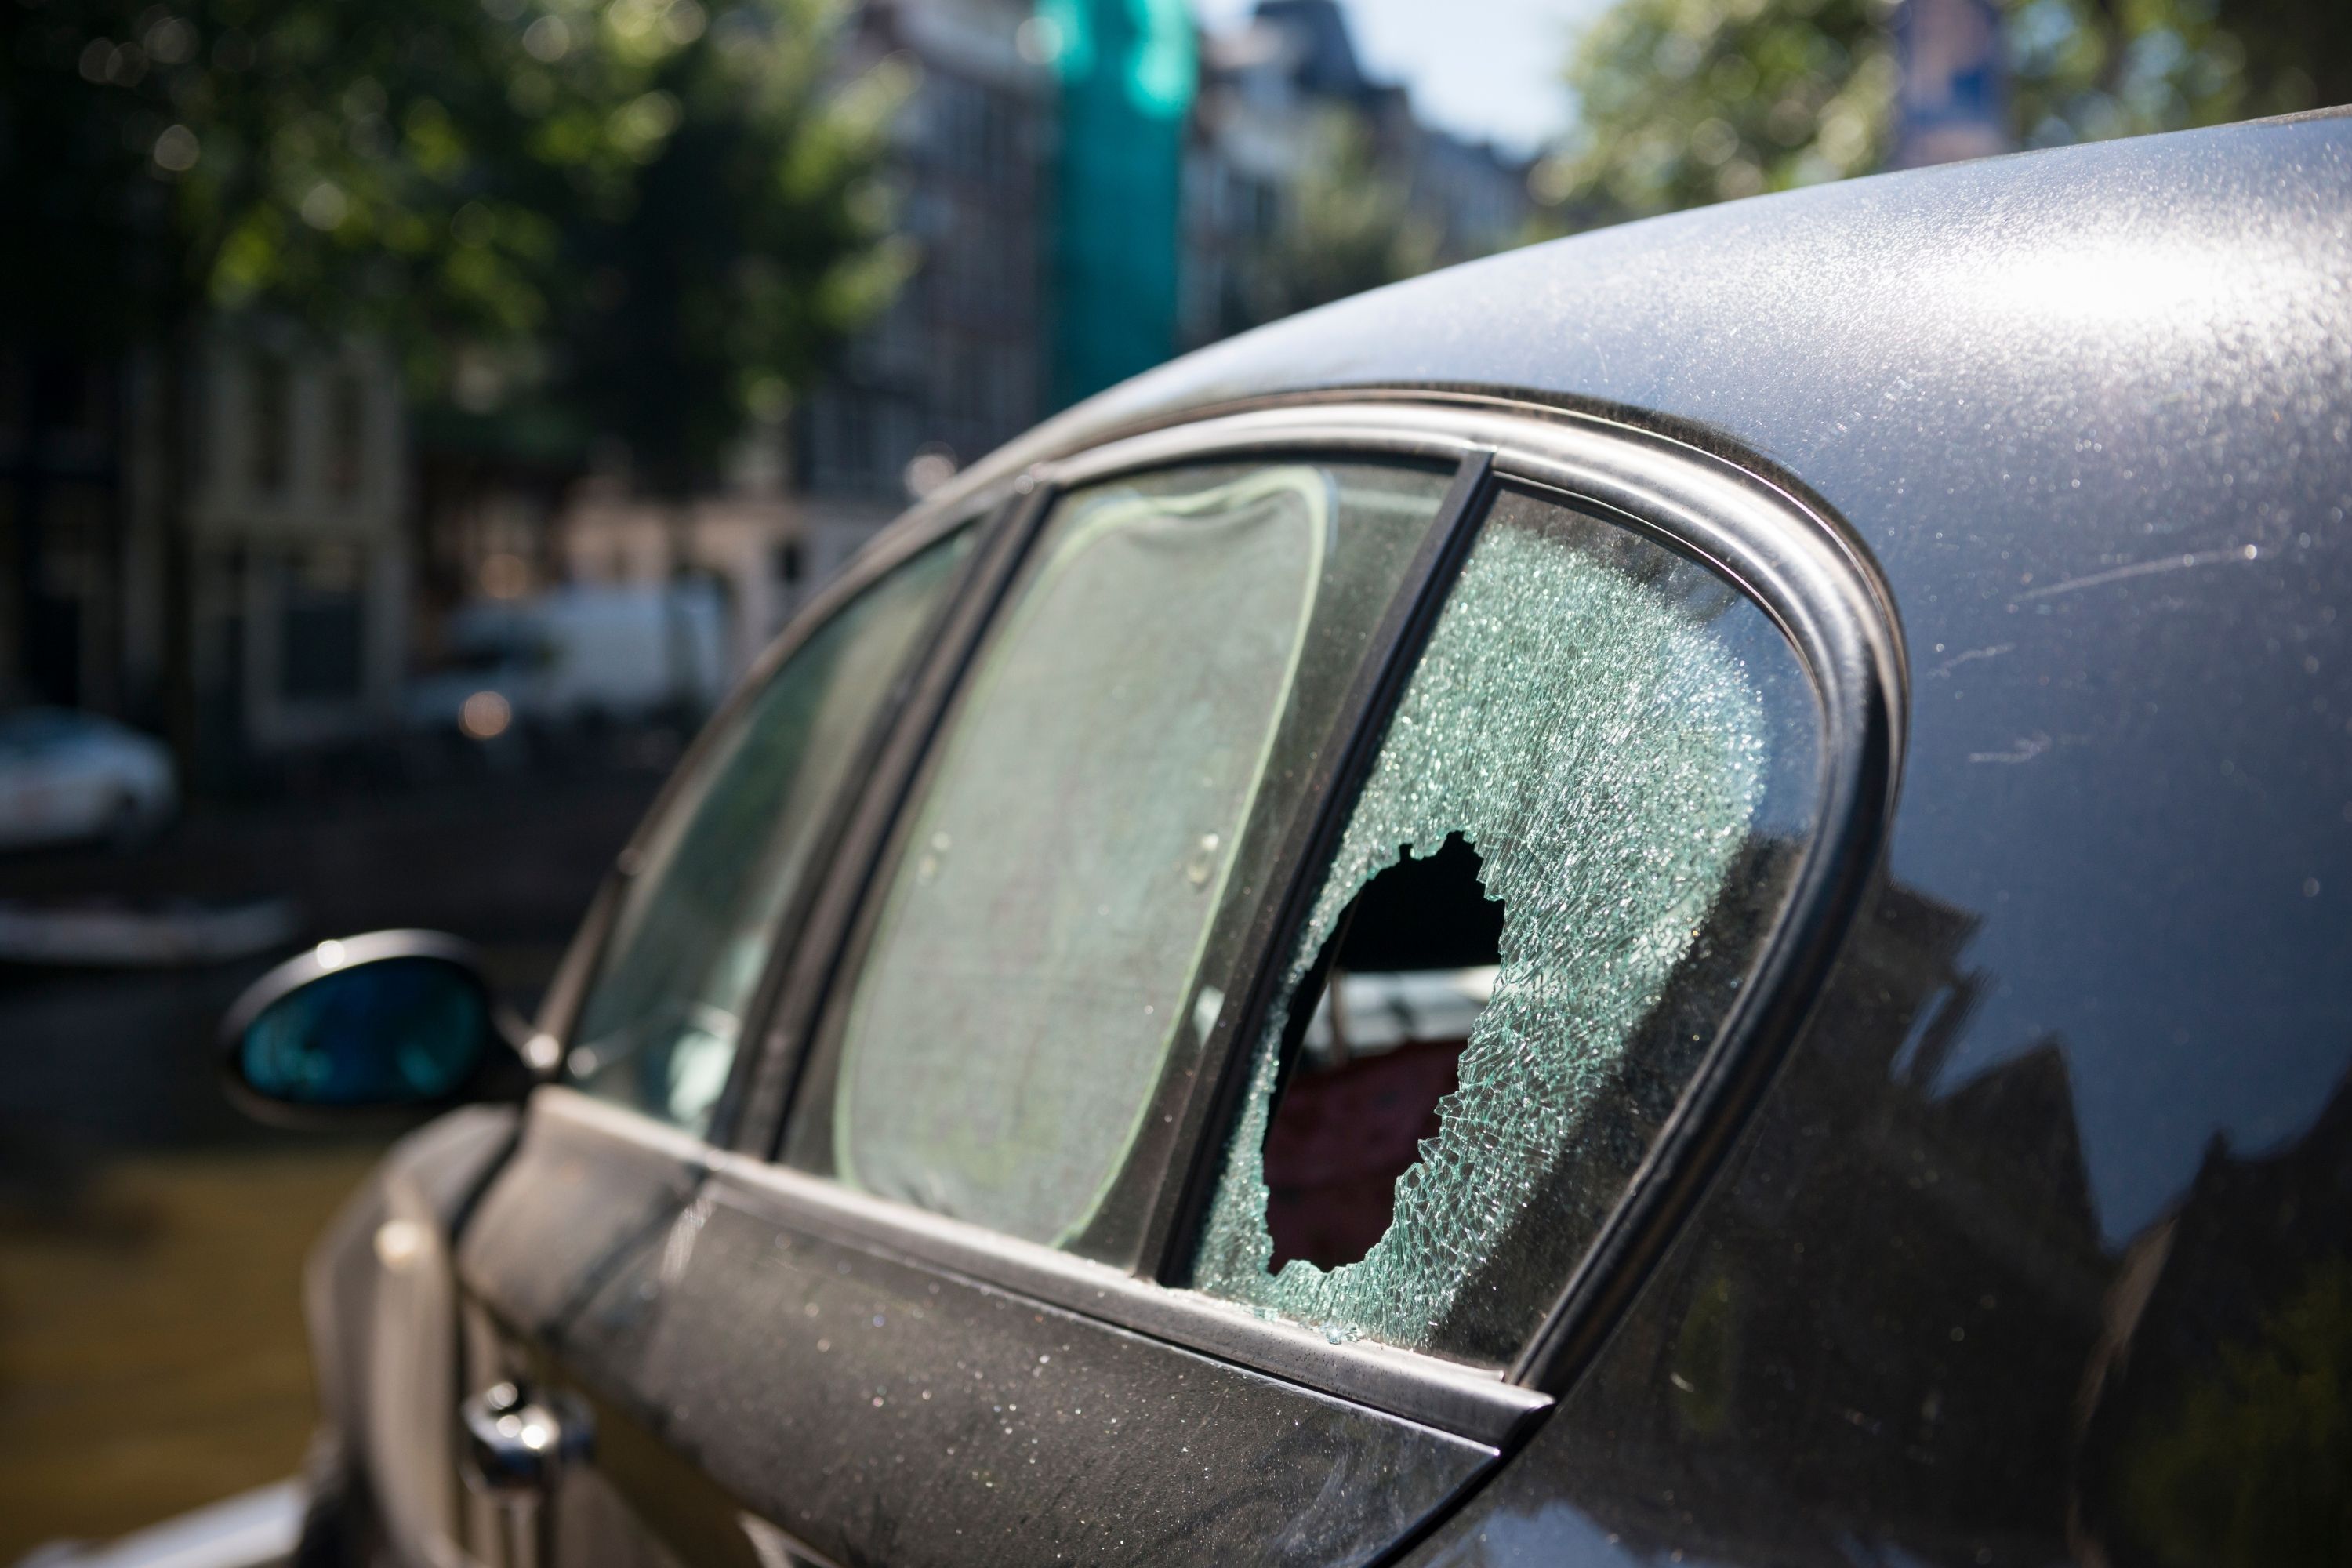
Just tap firmly on them, but make sure you are not acting excessively hard! You don’t want to have pieces of glass all around you in a car!
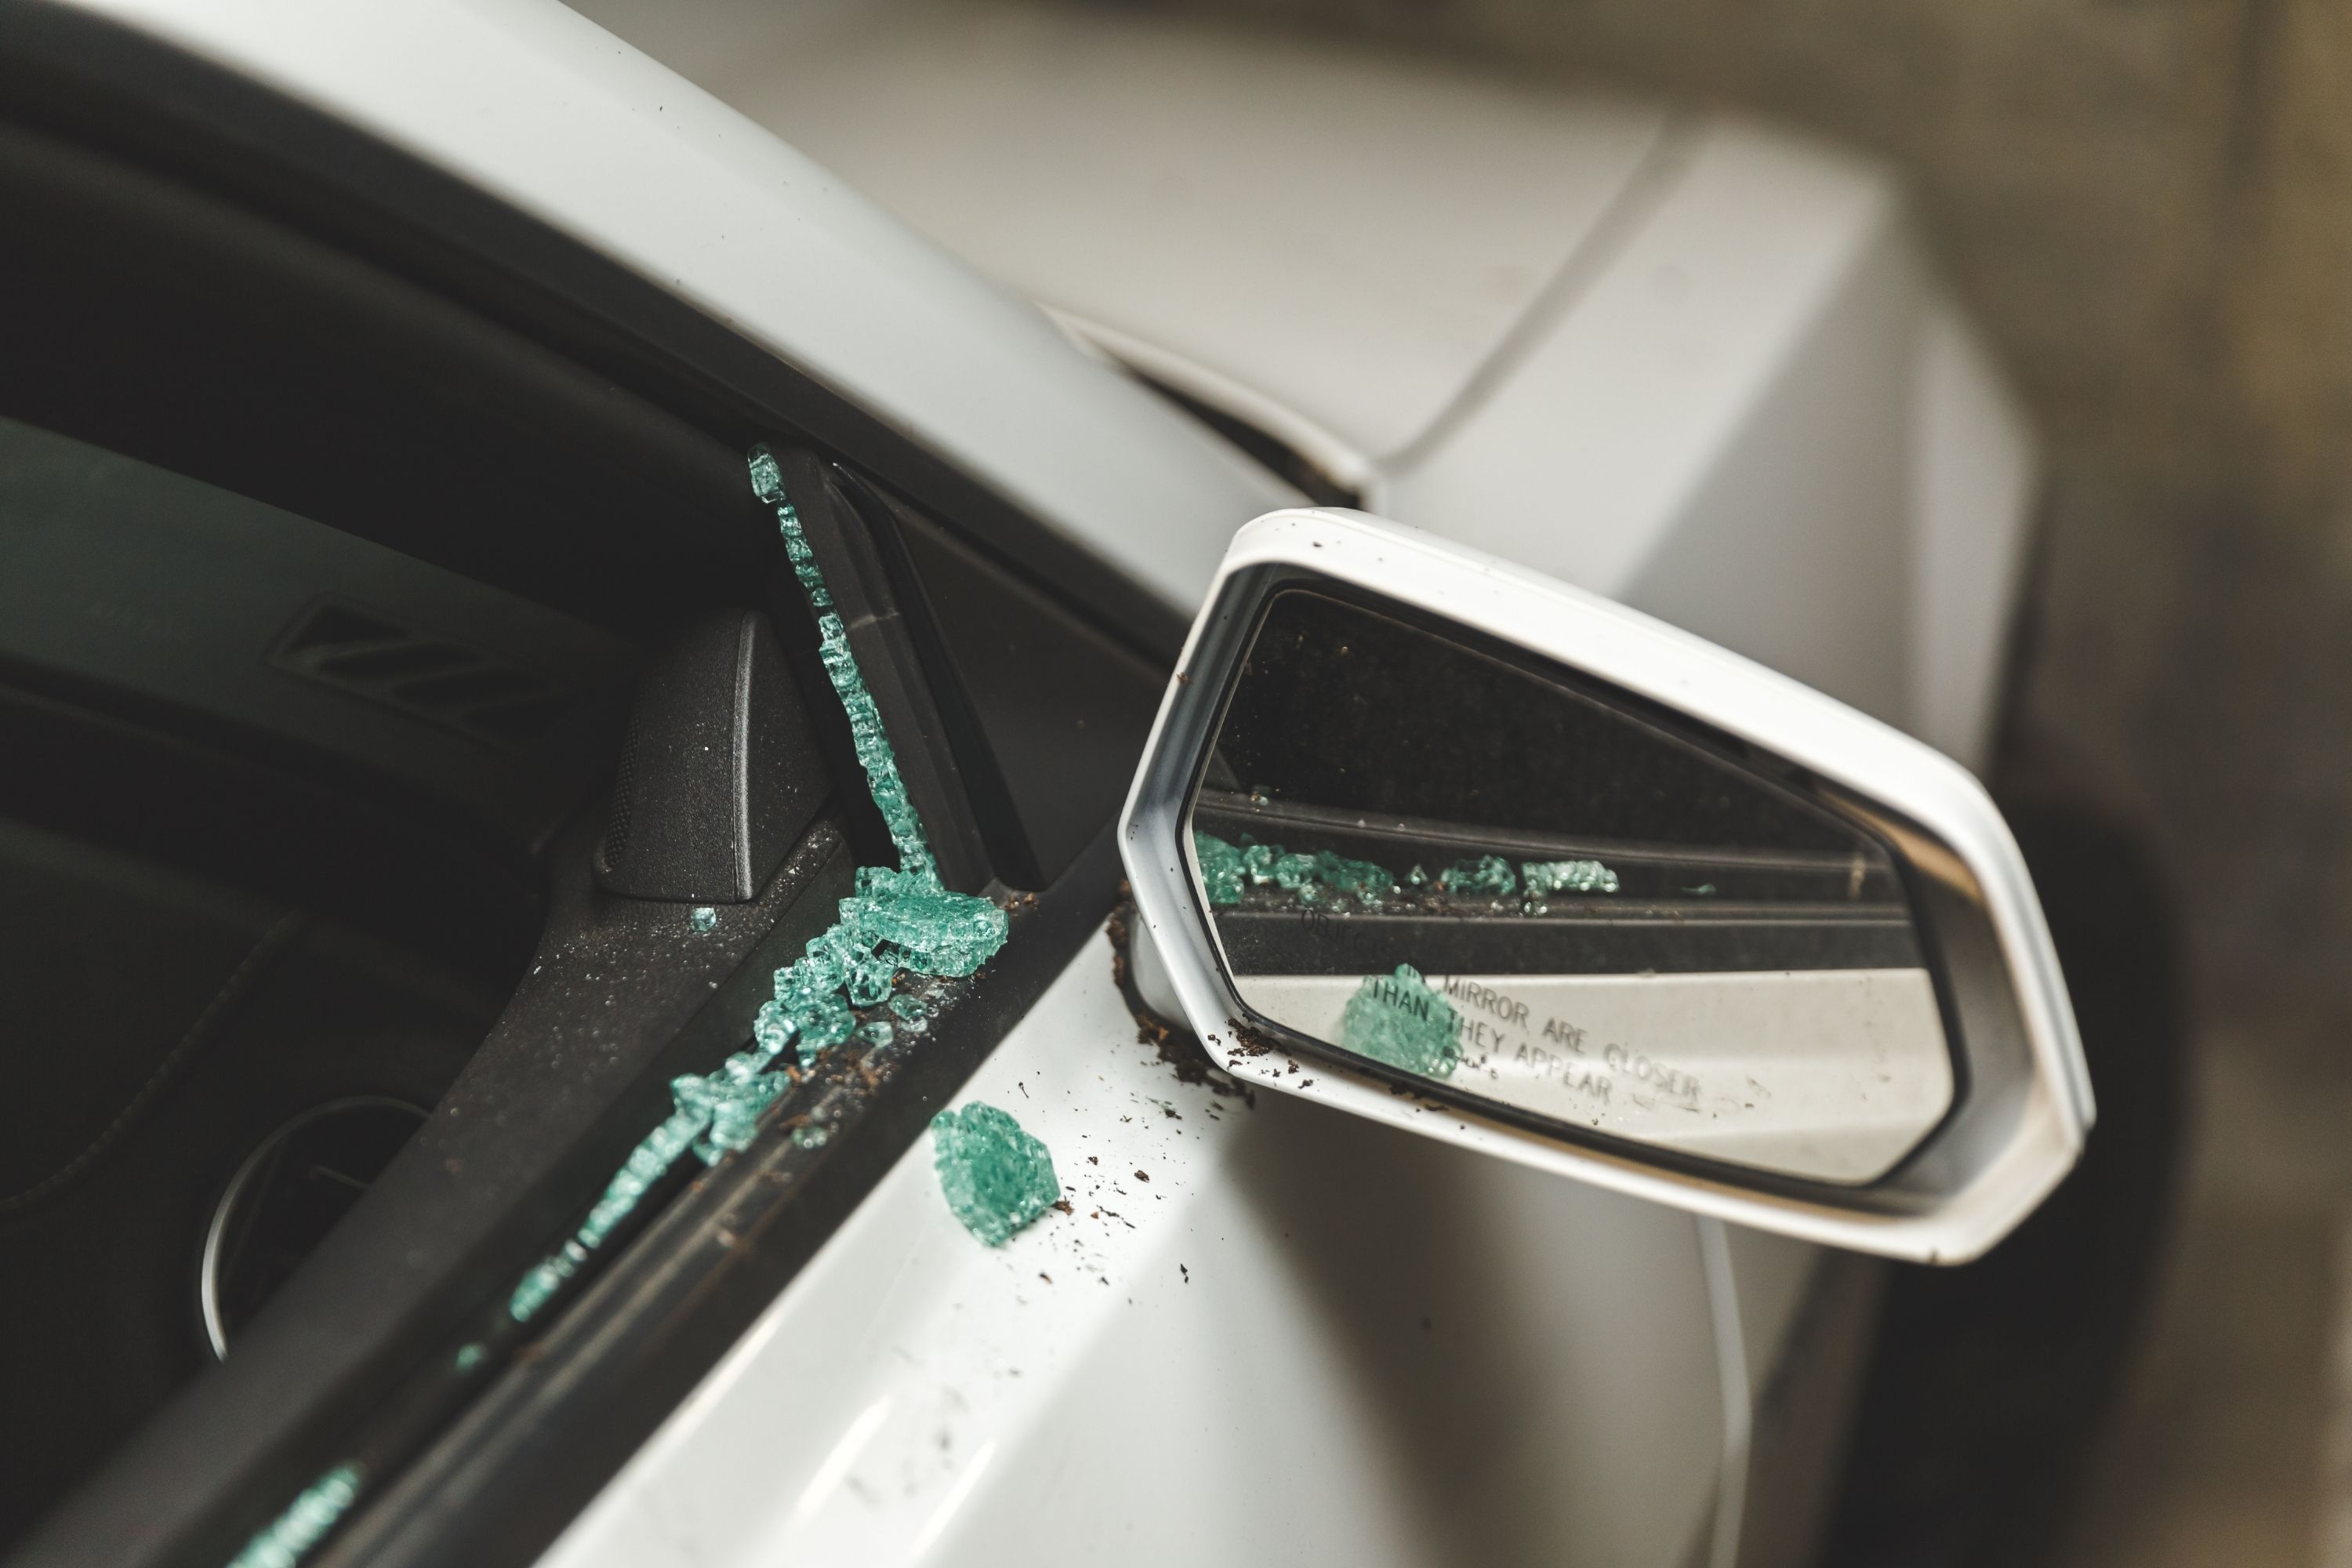
After all the broken glass is removed, dispose of it in a paper bag. Simply seal the bag tightly with tape and toss it into the trash bin. We do not recommend you use plastic packets for this purpose, by the way, since plastic is too thin.
Broken glass can easily tear it and fall out becoming a hazard for people around if they step on it by accident.
After the broken glass is removed from the window frame and you throw it away to the trash, remember to vacuum all the inside of your car thoroughly. Like this, you will be sure that no tiny piece of glass is left on the seats or on the floor.
Related: How to Keep Car Windows From Fogging Up In the Rain?
Clean the Window Frame
After you take out the broken glass, you need to take care of the busted window’s frame as well before you proceed to apply the protective cover.
Start with wiping the window frame and seal with a damp microfiber cloth to clean away all the dirt and dust.
Afterward, let the window frame and seal air dry completely. But if you are in a hurry, it’s ok if you speed up the process a bit and use a blow dryer, for example, to make everything dry quicker.
Get the Plastic And Tape Ready
Now it is time to proceed to the next step. Measure the length and the width of your car window with a measuring tape. Then, unfold the plastic garbage bag and cut a rectangle to fit your car window (plus about half an inch all around).
You should be able to pull the plastic taut and apply it with a car window tape to the vehicle without having an excessive amount of extra plastic around the edges. That’s because those extras might be tricky to cut off after the temporary car window plastic is attached.
Now cut up eight to ten pieces of masking tape, making sure that each of them is about one to two inches long.
By the way, cutting the plastic bag is easier when it’s done indoors. If you have to do it outside and it’s breezy, gather rocks or other heavy objects to press the bag and prevent it from being blown away.
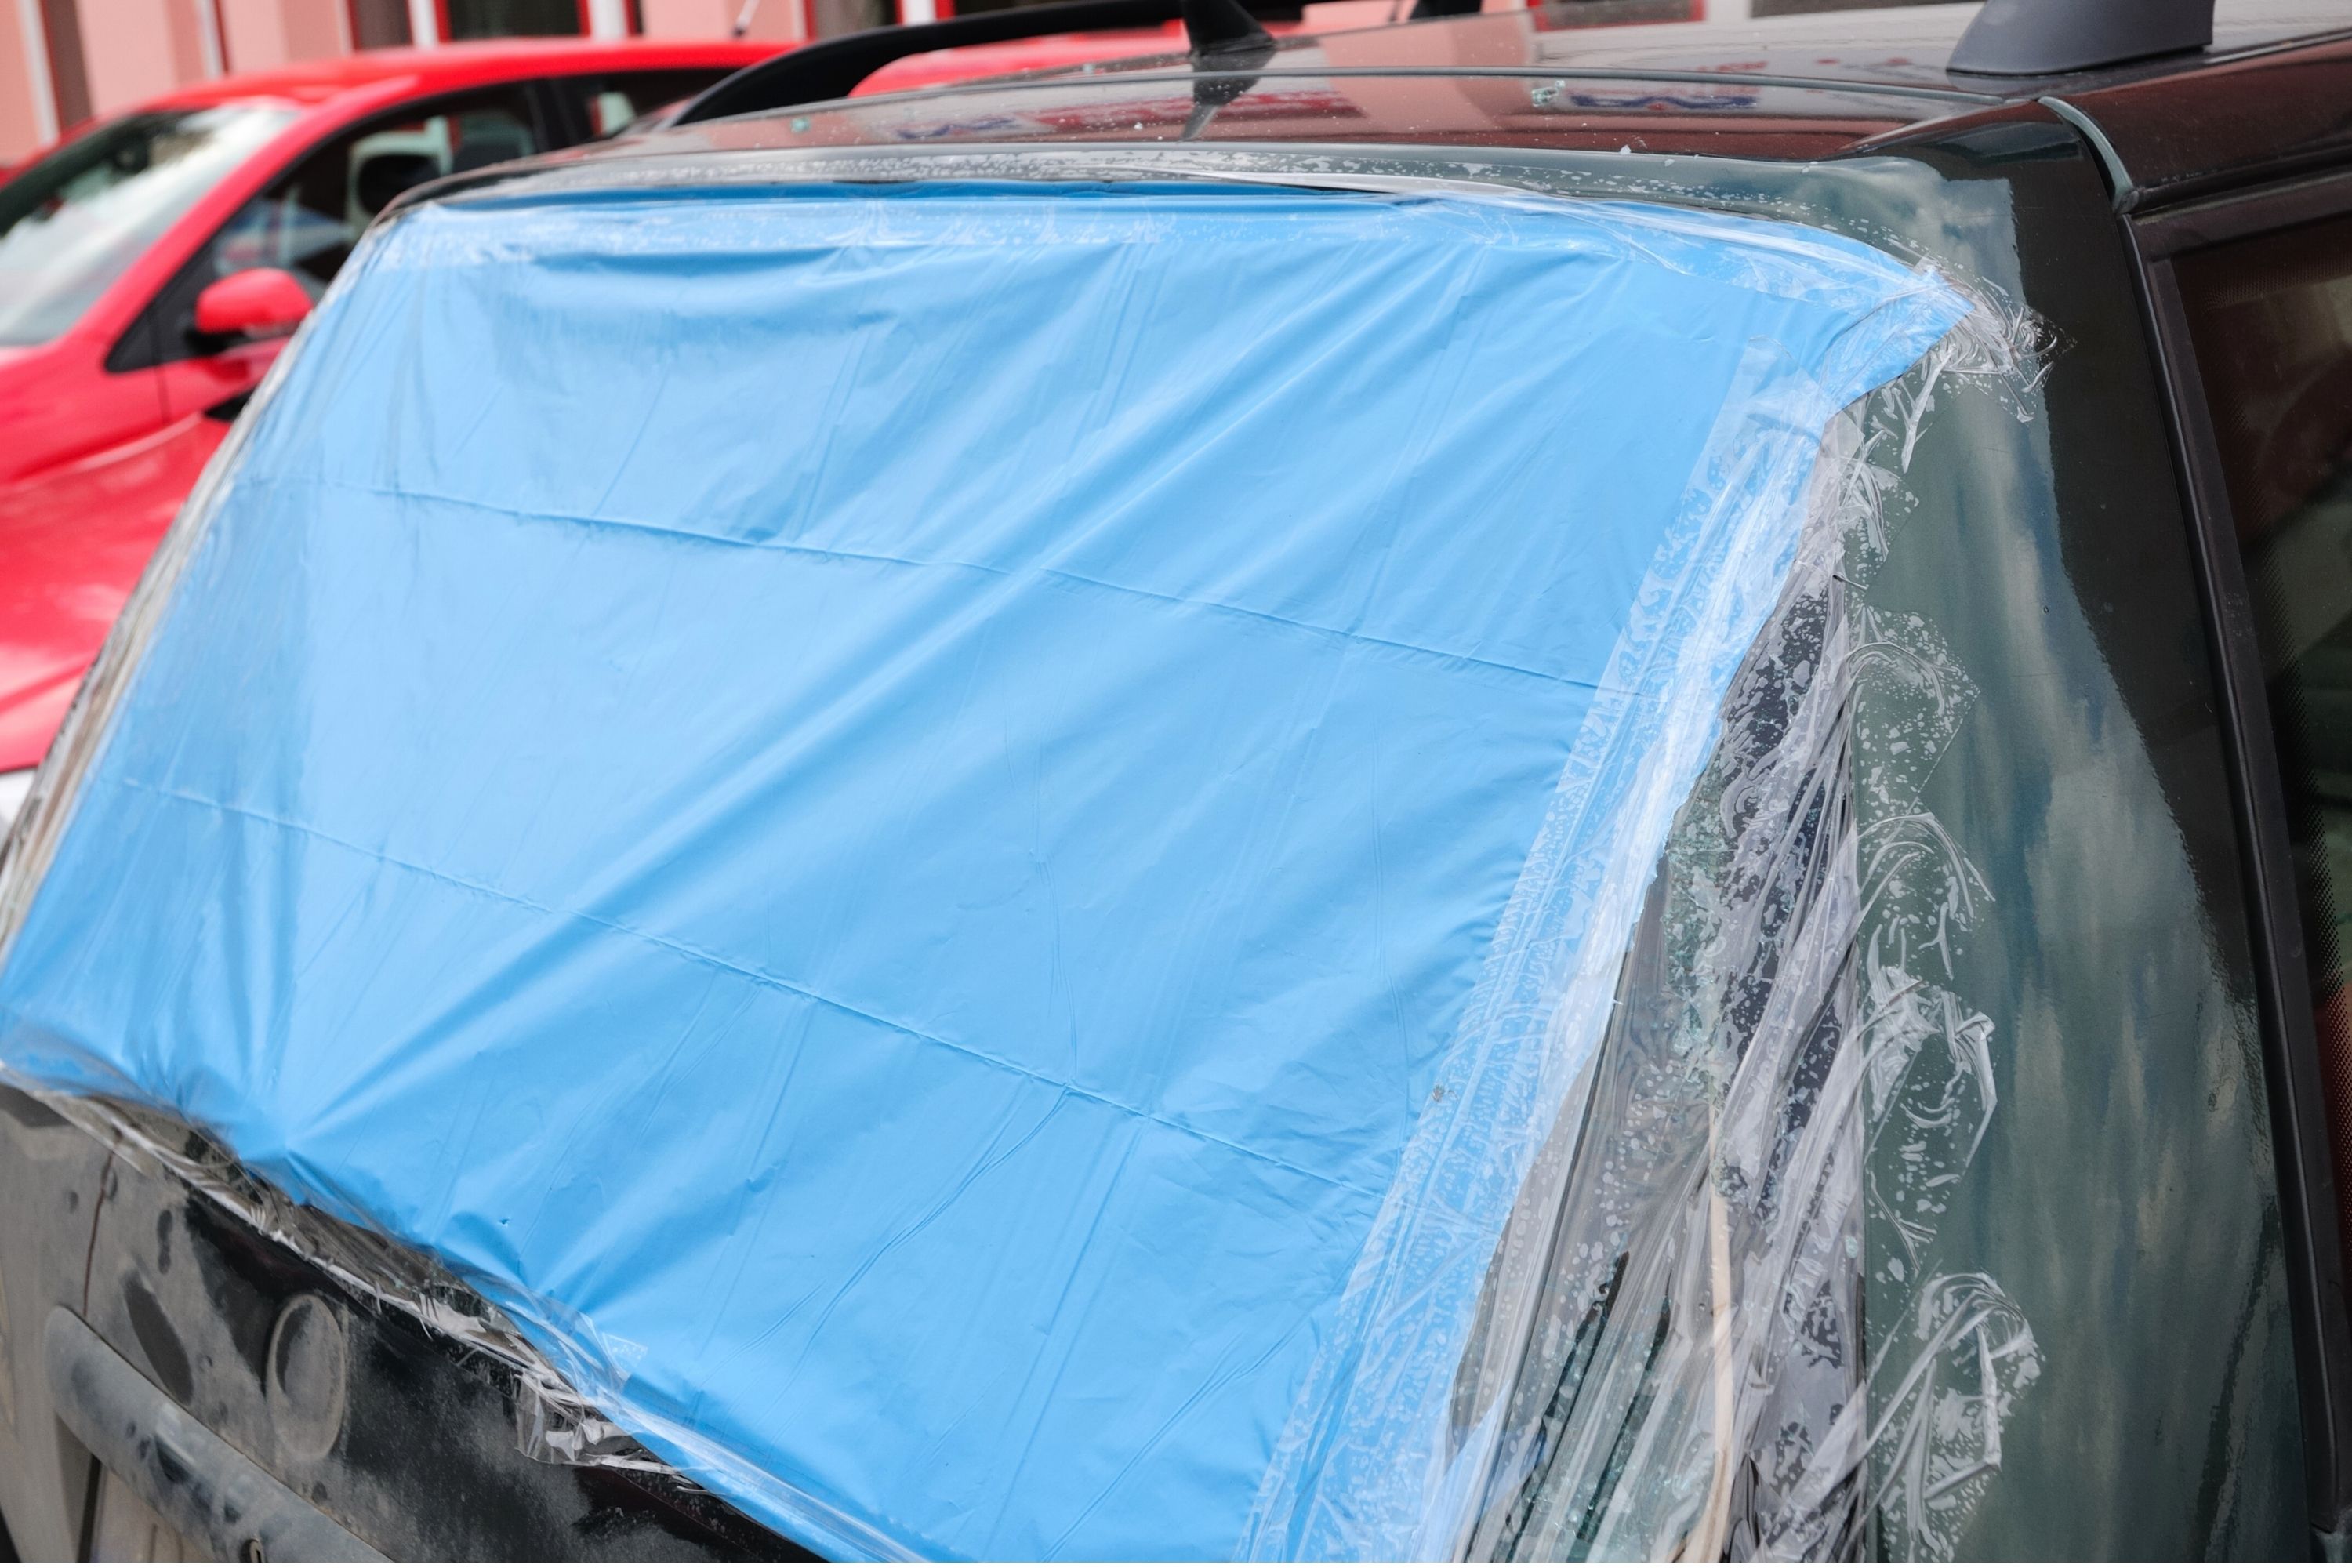
Tape the Plastic Garbage Bag
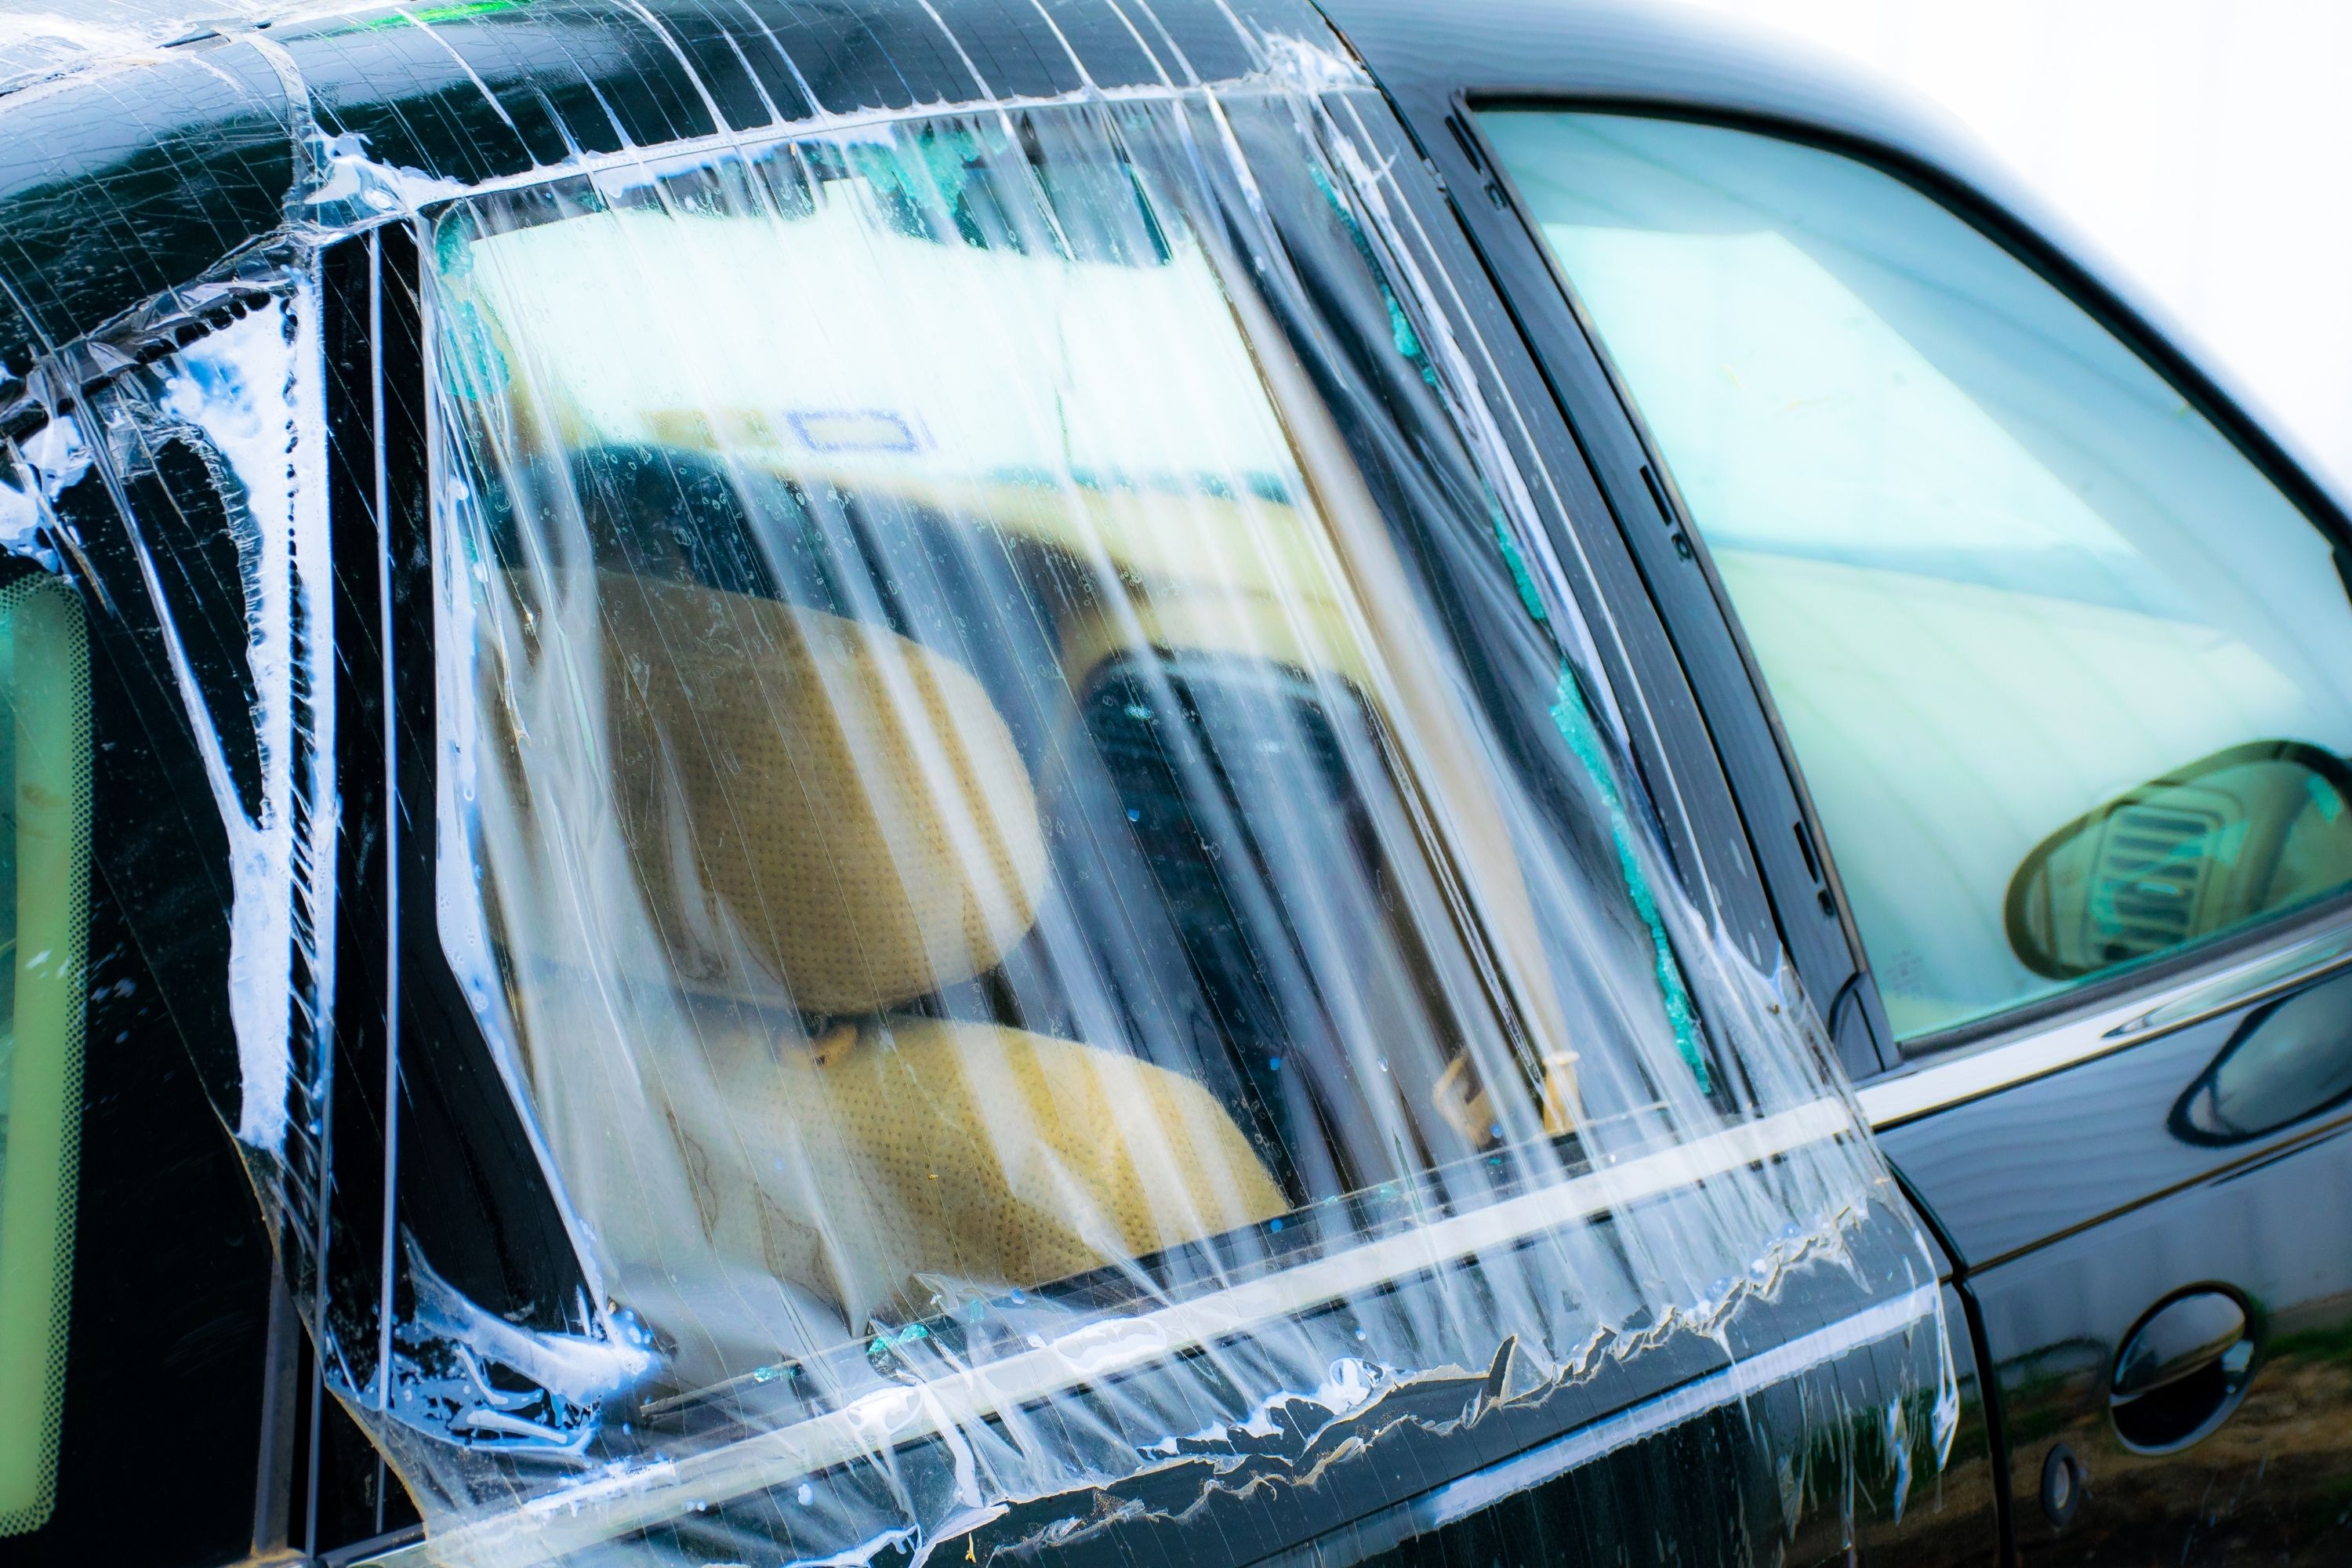
To cover the broken car window, you now have to tape the plastic bag. Open the door of your car in order to attach the bag from the inside of the vehicle. Align the plastic to the top inner corner of the car window frame.
Now, apply a piece of masking tape to the plastic bag and the car window frame, placing the tape underneath the rubber window seal. Pull the plastic taut and adhere it to the top outer corner with the use of a piece of masking tape, placing the tape underneath the rubber window seal.
Adhere one or two more pieces of masking tape along the top of the window in order to secure the plastic. Then, pull the plastic taut and adhere it to the bottom inner corner of the window frame with a piece of masking tape.
Pull the plastic taut and adhere it to the bottom outer corner of the car window frame with the use of a piece of masking tape. Now, attach one or two more pieces of tape along the sides of the window to secure the plastic.
Finally, attach one or two more pieces of tape along the bottom part of the window to secure the plastic.
You might also want to make use of duct tape for securing the plastic along the bottom if the masking tape does not adhere well enough. But we would not recommend you use it exclusively. See, duct tape tends to damage the car paint when you peel it off the frame!
Create the Seal
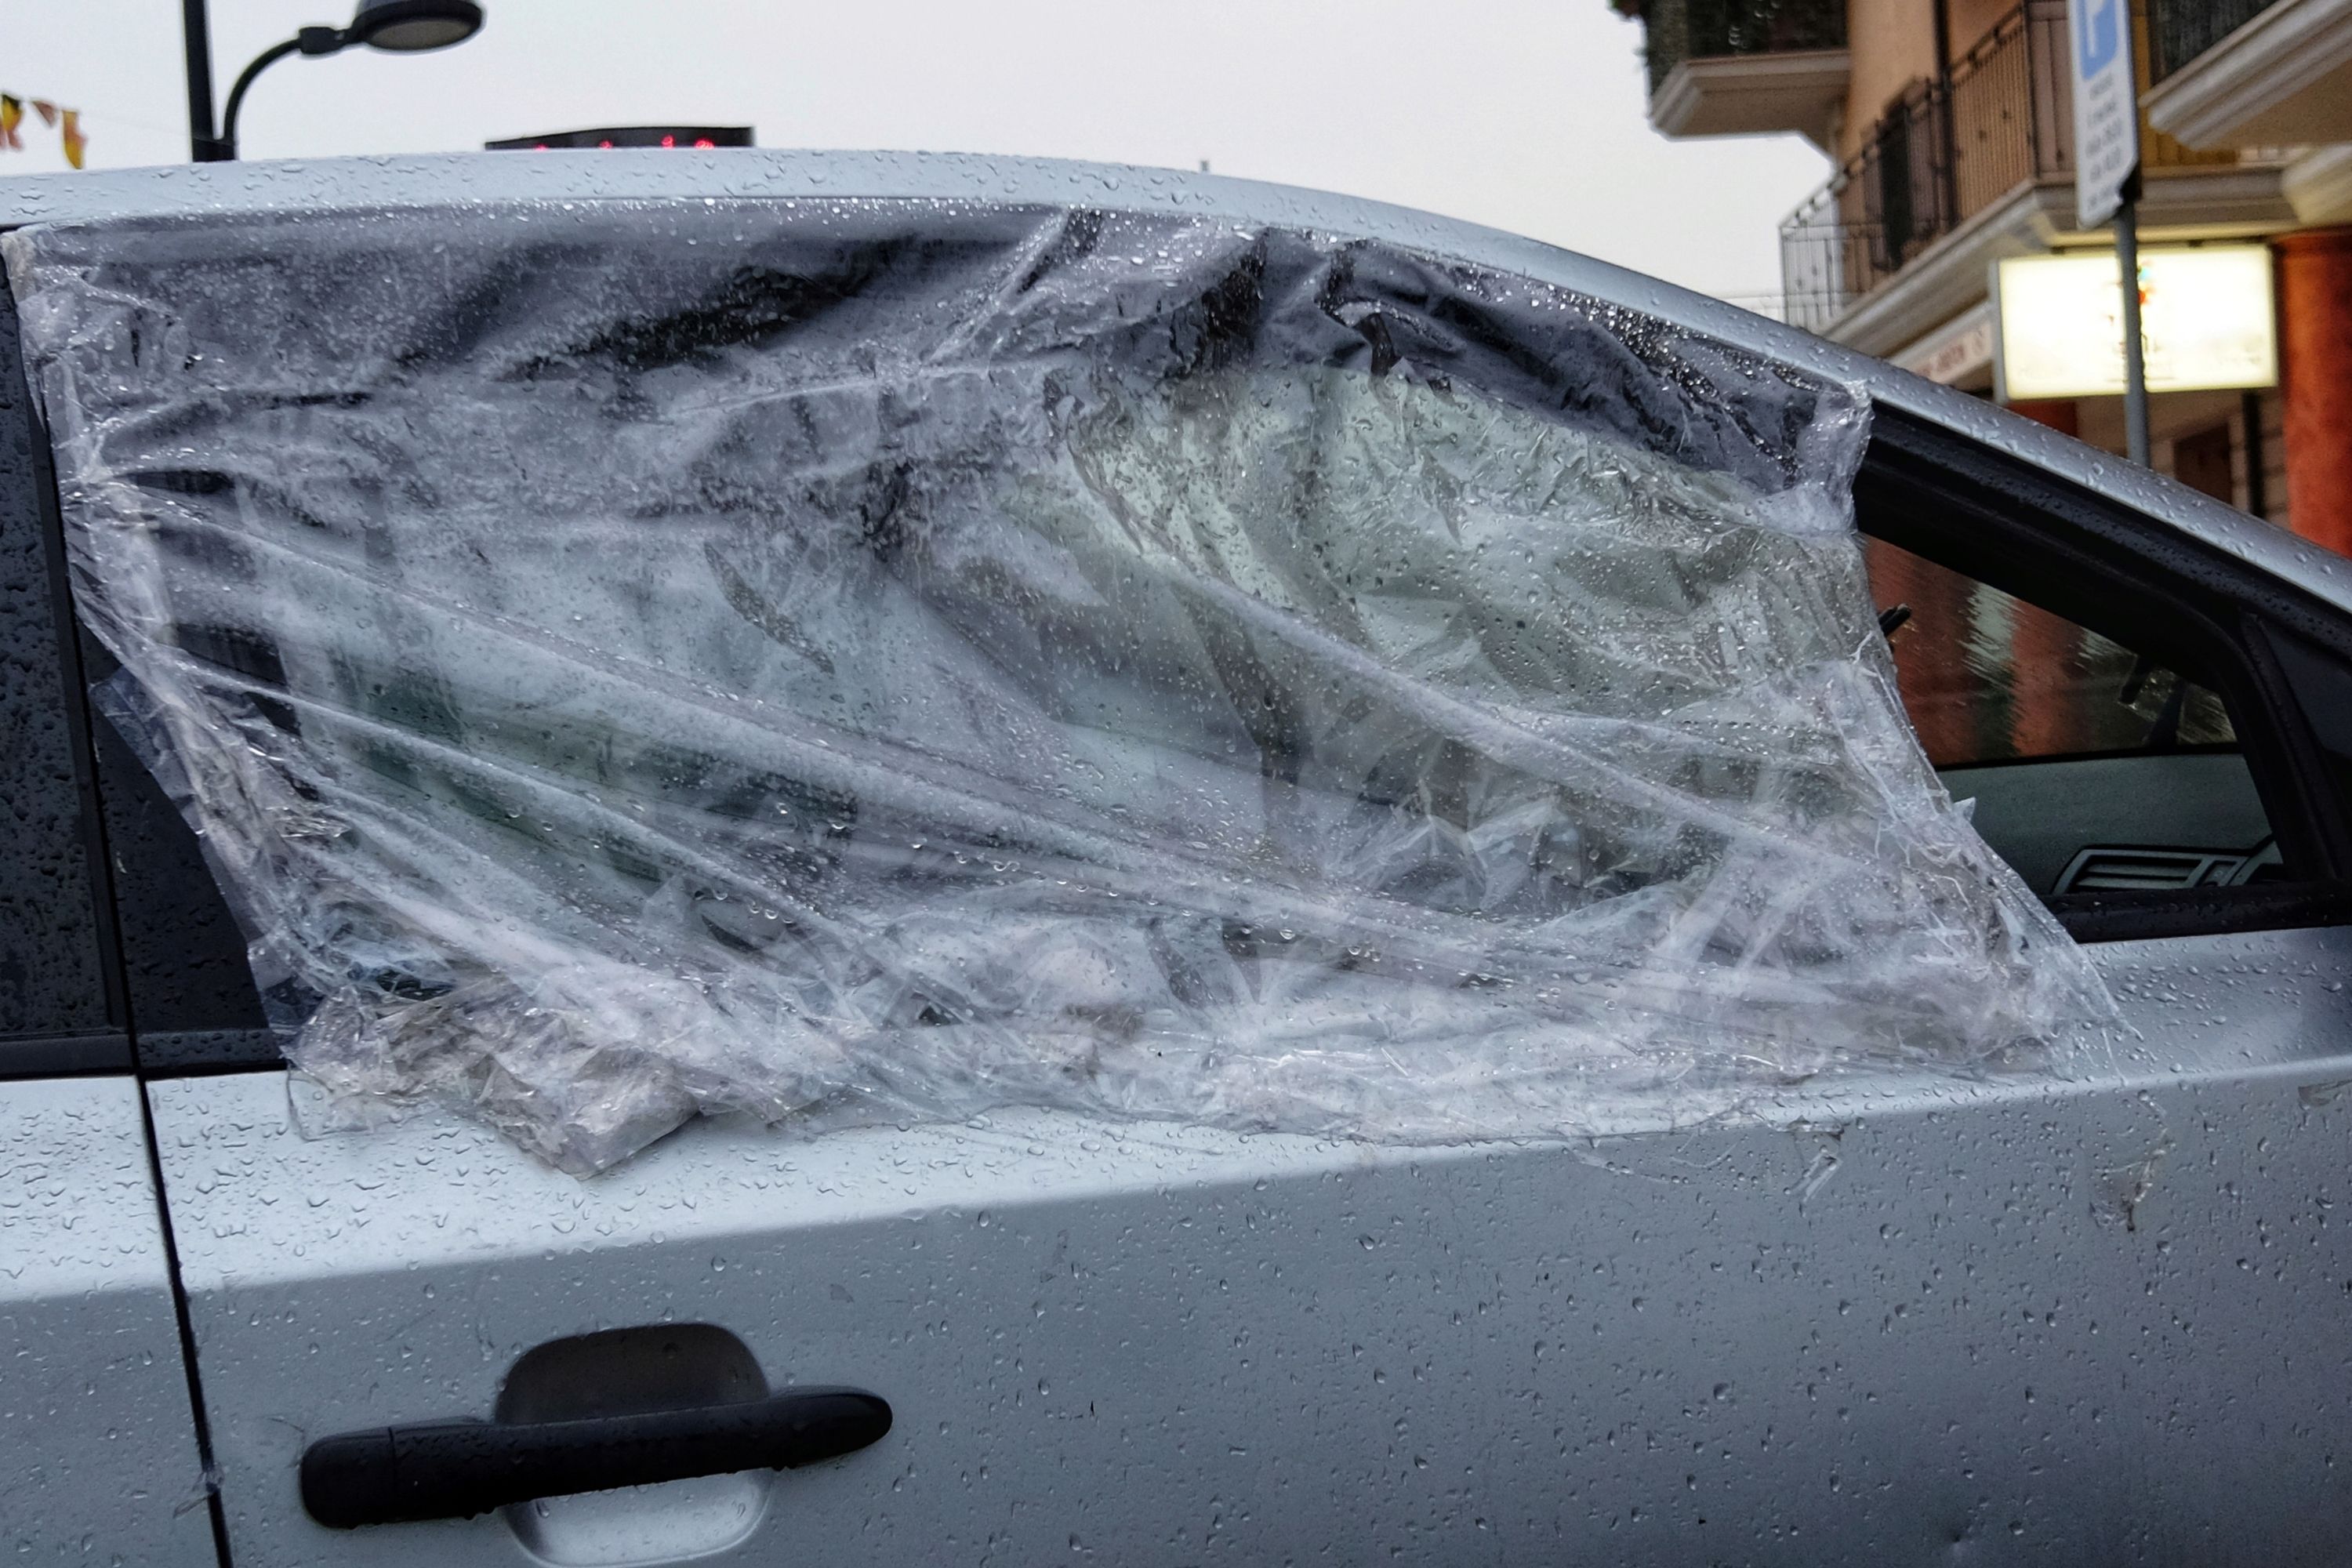
Finally, it is time to create the seal. Cut six to eight long pieces of masking tape, enough to go around the entire window perimeter. Attach the tape around the plastic to secure the first layer of tape and create a seal to keep out water and air.
In case you see that the masking tape you are using is not strong enough, it’s ok to make use of duct tape for the bottom seal.
With such a detailed and precise guideline, you will be able to create a protective plastic cover for your car’s broken window. Of course, such protection is not meant for being there all the time!
The second you have enough time and money, bring your car to the service center to have the breakage repaired. But if you do everything right according to our instructions, you can be sure that this plastic cover will last long enough.
Supplies Needed For the Broken Car Window Cover
If you have never dealt with broken windows in your car, you may not be aware of how to make a plastic protective cover for such a window. Respectively, you have no idea of what tools and supplies will be needed for the process.
This is why we decided to provide you guys with a list of all the necessary things one may need for making a plastic “shield” for a broken car window.
- Hammer
- Microfiber cloth
- Scissors
- Tape measure
- Vacuum
- Work gloves
- Masking tape for broken car window
- Duct tape (as needed)
- High-density garbage bag
- Paper bag (for broken glass disposal)
Do keep in mind that, for making a protective plastic cover for a broken car window, you need to make use of a high-density garbage bag only!
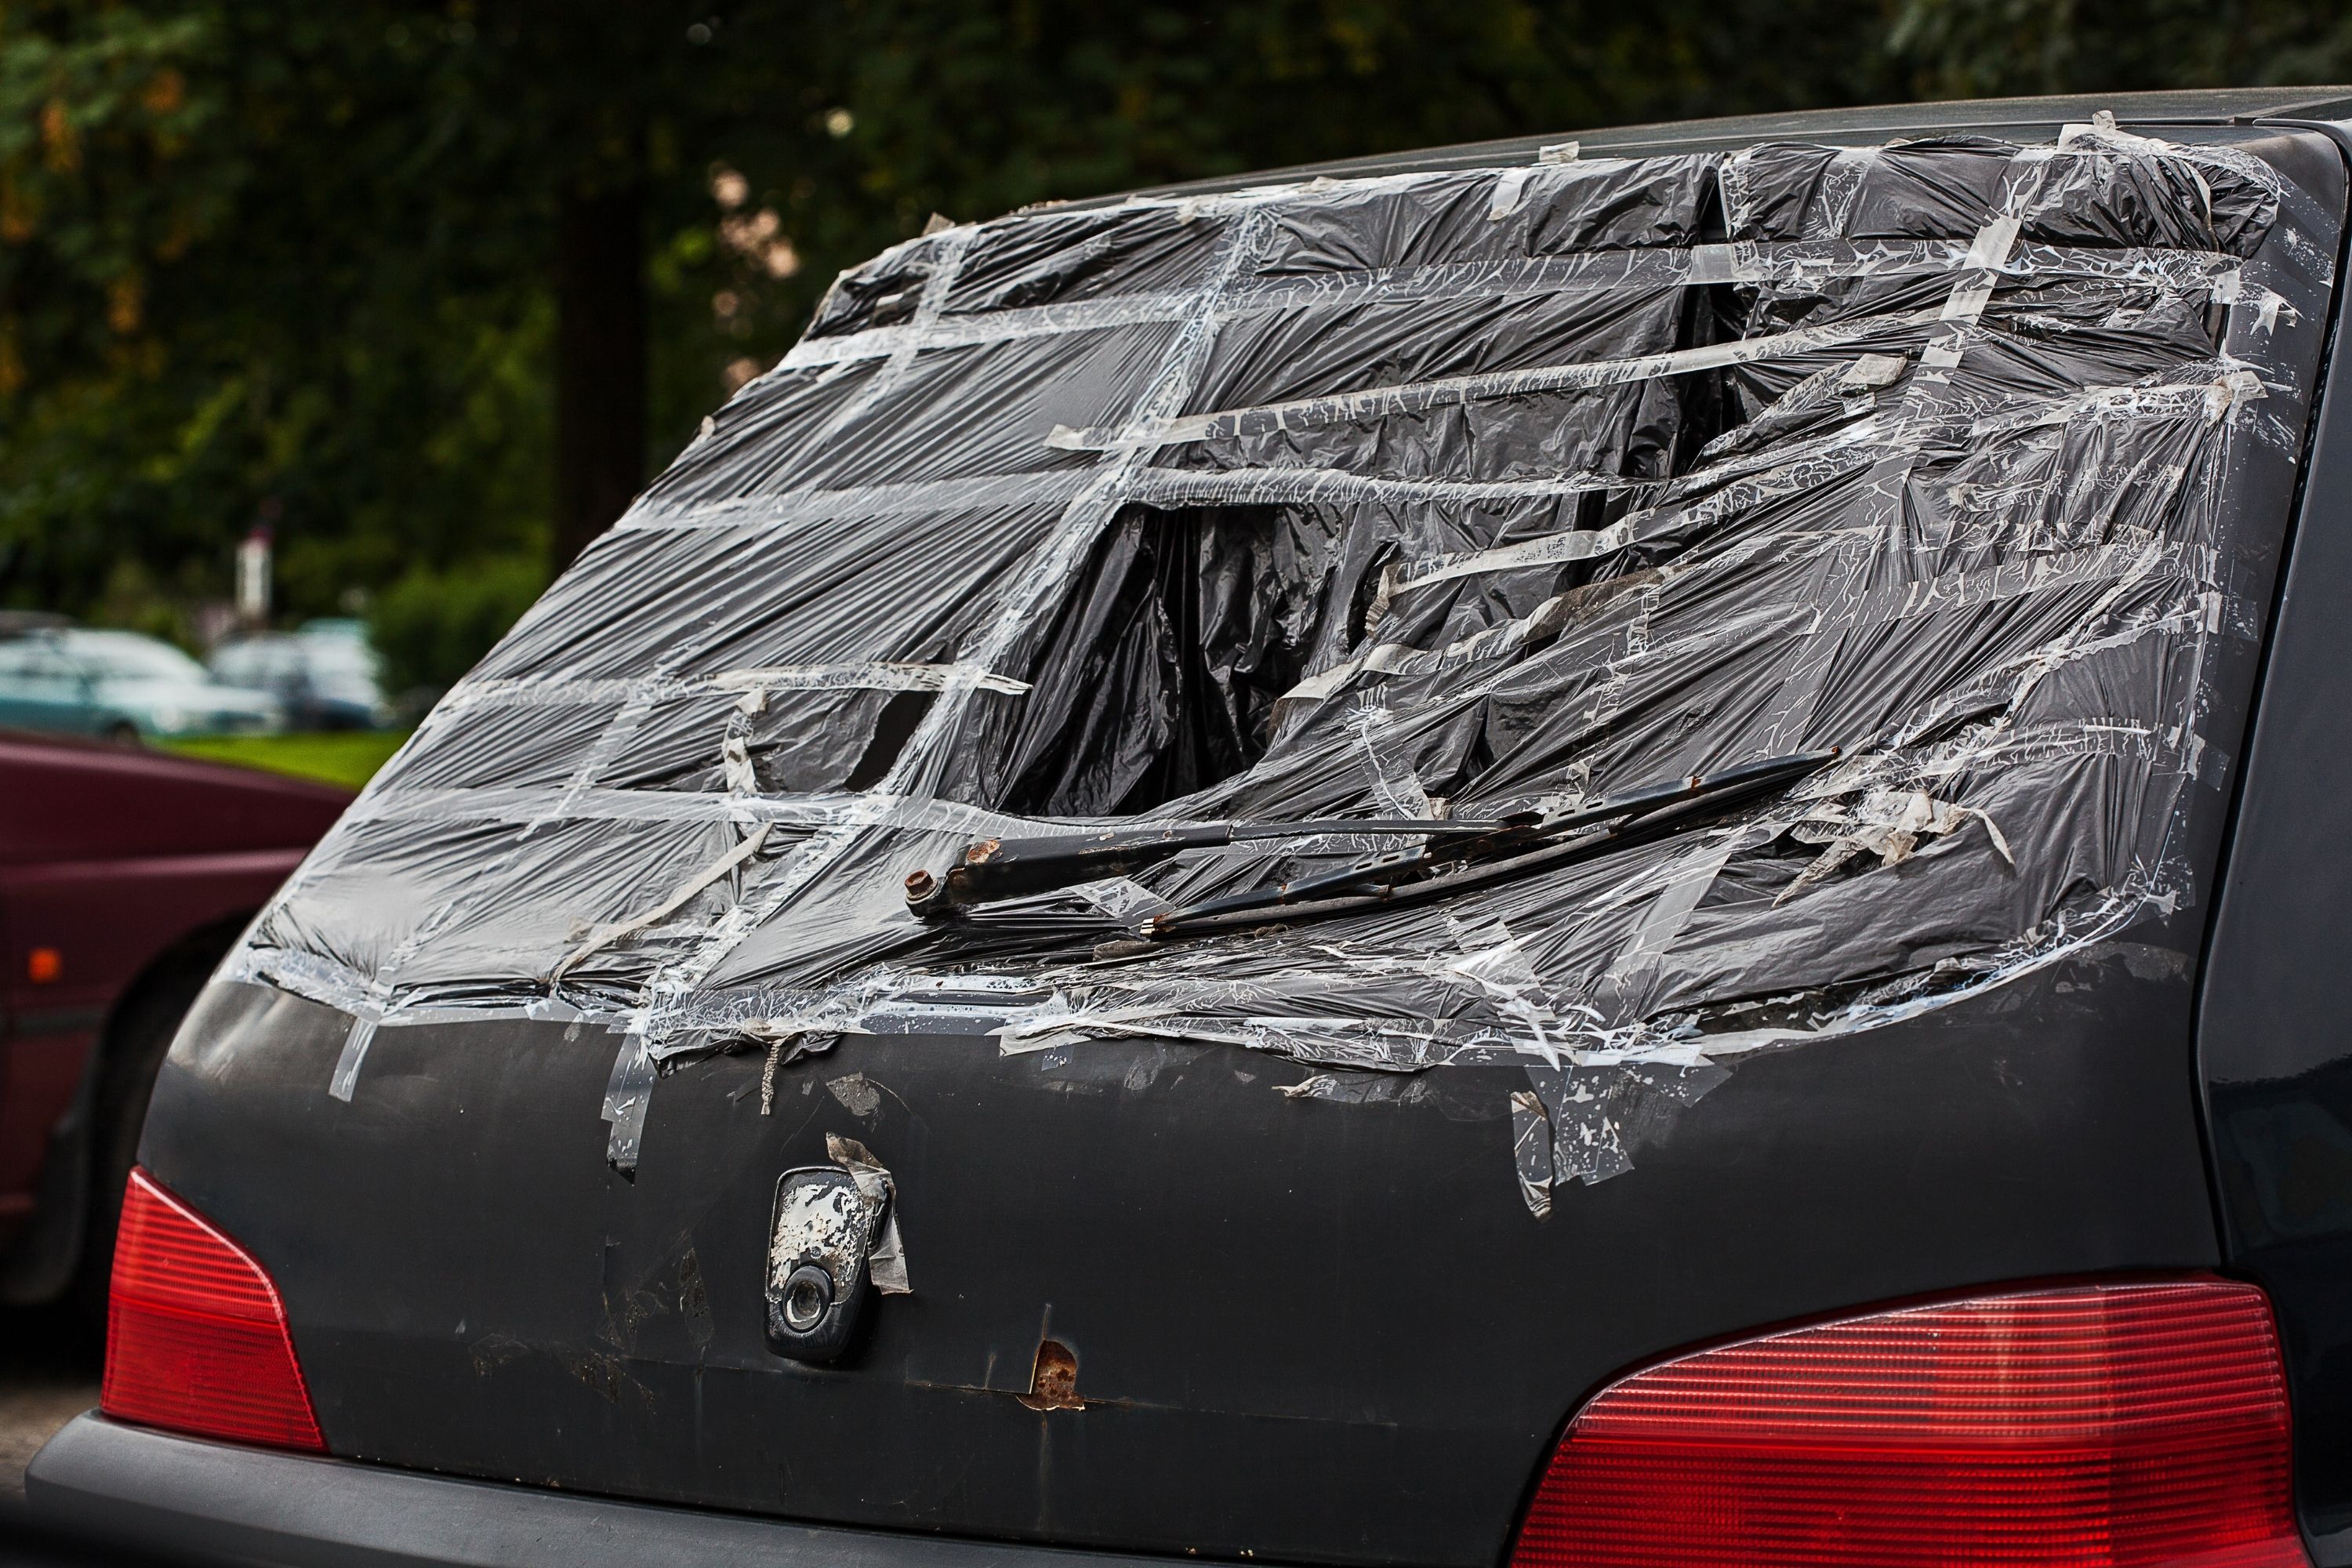
Those bags are made of resin which means that they don’t tear easily. Besides, they are clear which allows you to see at least something through the cover while driving.
Low-density garbage bags (like those we use in our kitchens) will not be a proper substitution. However, if you have no choice and your car’s broken window must be fixed right now, they can also be used.
Only remember not to drive fast or far with the window cover made of kitchen garbage packets! They don’t allow the same good visibility as high-density bags which may lead to accidents on the road.
With this list at hand, you will easily pick up the necessary tools and supplies to make your own protection for the broken car window.
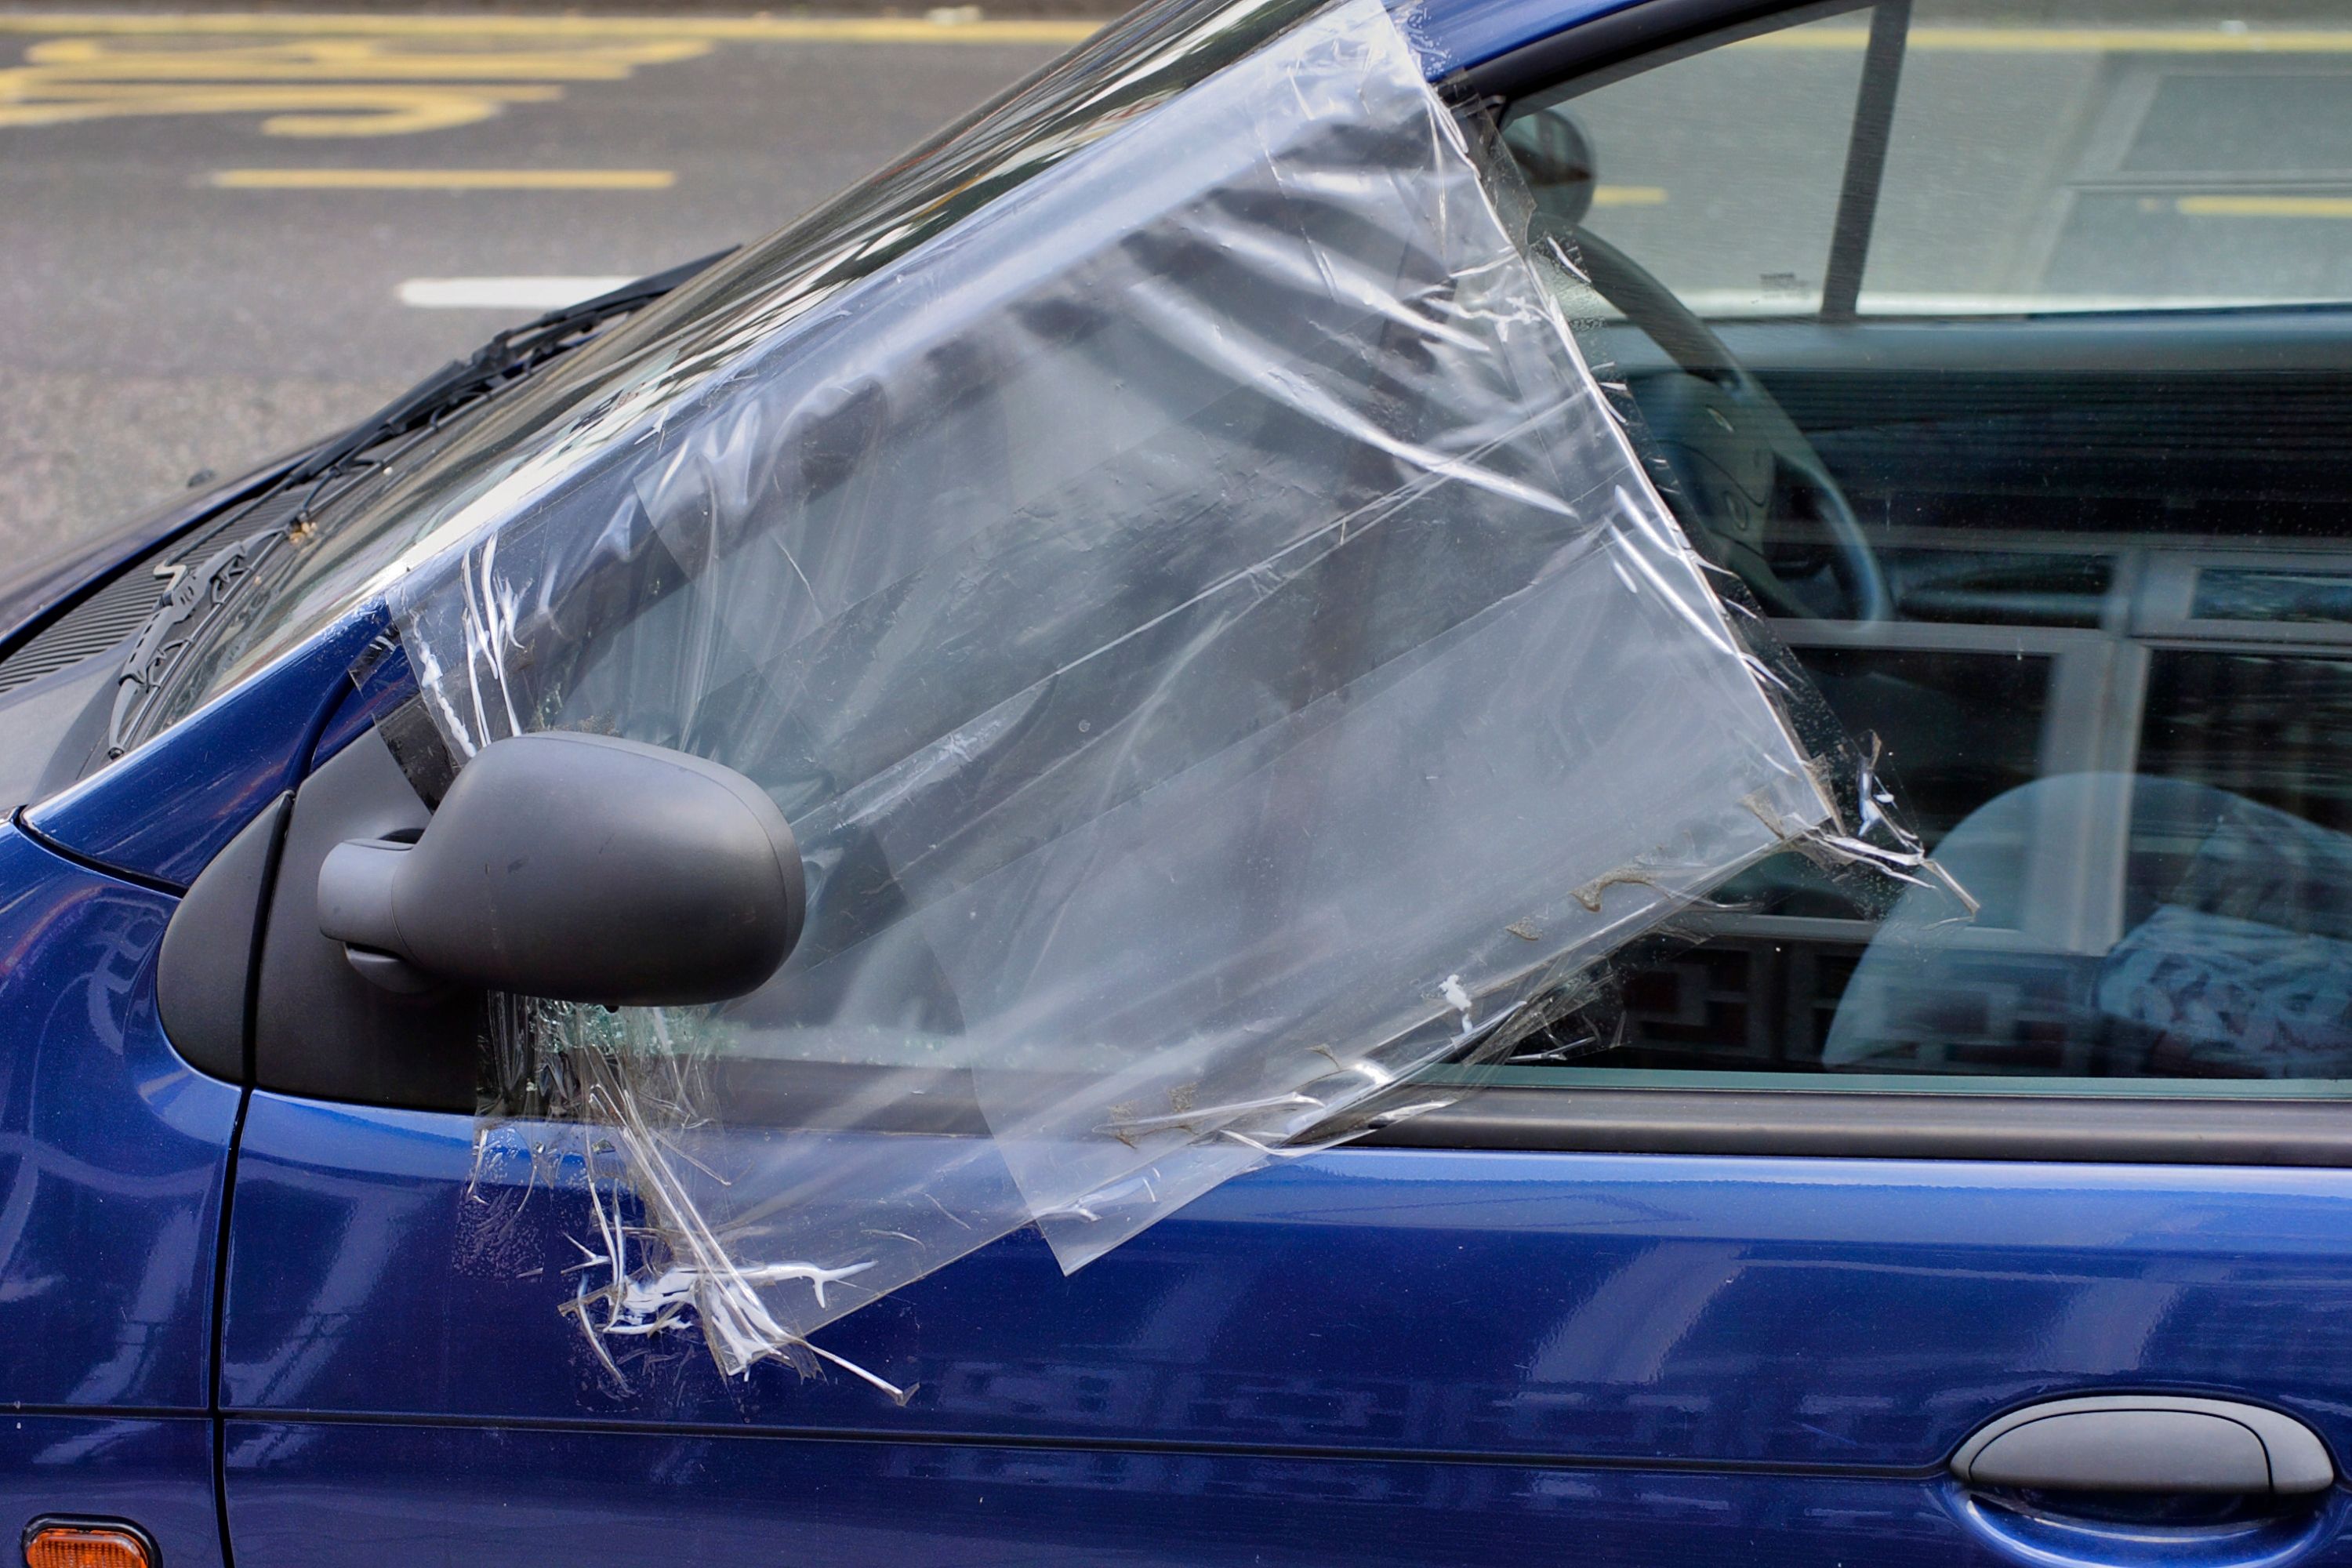
However, please keep in mind that the broken window must be repaired as soon as possible. Even if you cover it properly, it is still an easy target for thieves!
So now you know how to fix a broken car window with the use of garbage bags. Use this cover as a temporary measure and take your car to the service center asap to get the window fixed properly!
[wp-faq-schema title=”Frequently Asked Questions”]
What is the best way to cover a broken car window? I saw people using pieces of plywood (!). But isn’t it dangerous?
Well, plywood is something new to me! I can’t even imagine how one can drive in such a car since you don’t see anything from that “shielded” side! When I broke my car window, I used high-density garbage bags. They are transparent so you can still see something. And besides, they’re durable which is great when it’s raining or windy. So for me, they’re the optimal choice.
How long can this temporary fix for a broken car rear window last?
I guess it depends on the weather and climate in your area, as well as on how long you’re going to have it on the window. But I’d say it won’t last long anyway. A month, maybe. Or two?