Most of us have tumble dryers at home these days since this device is very handy when washing clothes. With its help, you don’t have to wait for hours before your clothes get properly dry so that you can wear them again.
You just need to toss the recently washed clothes into the barrel of your tumble dryer and press the STARTS BUTTON. All the rest the machine will do for you!
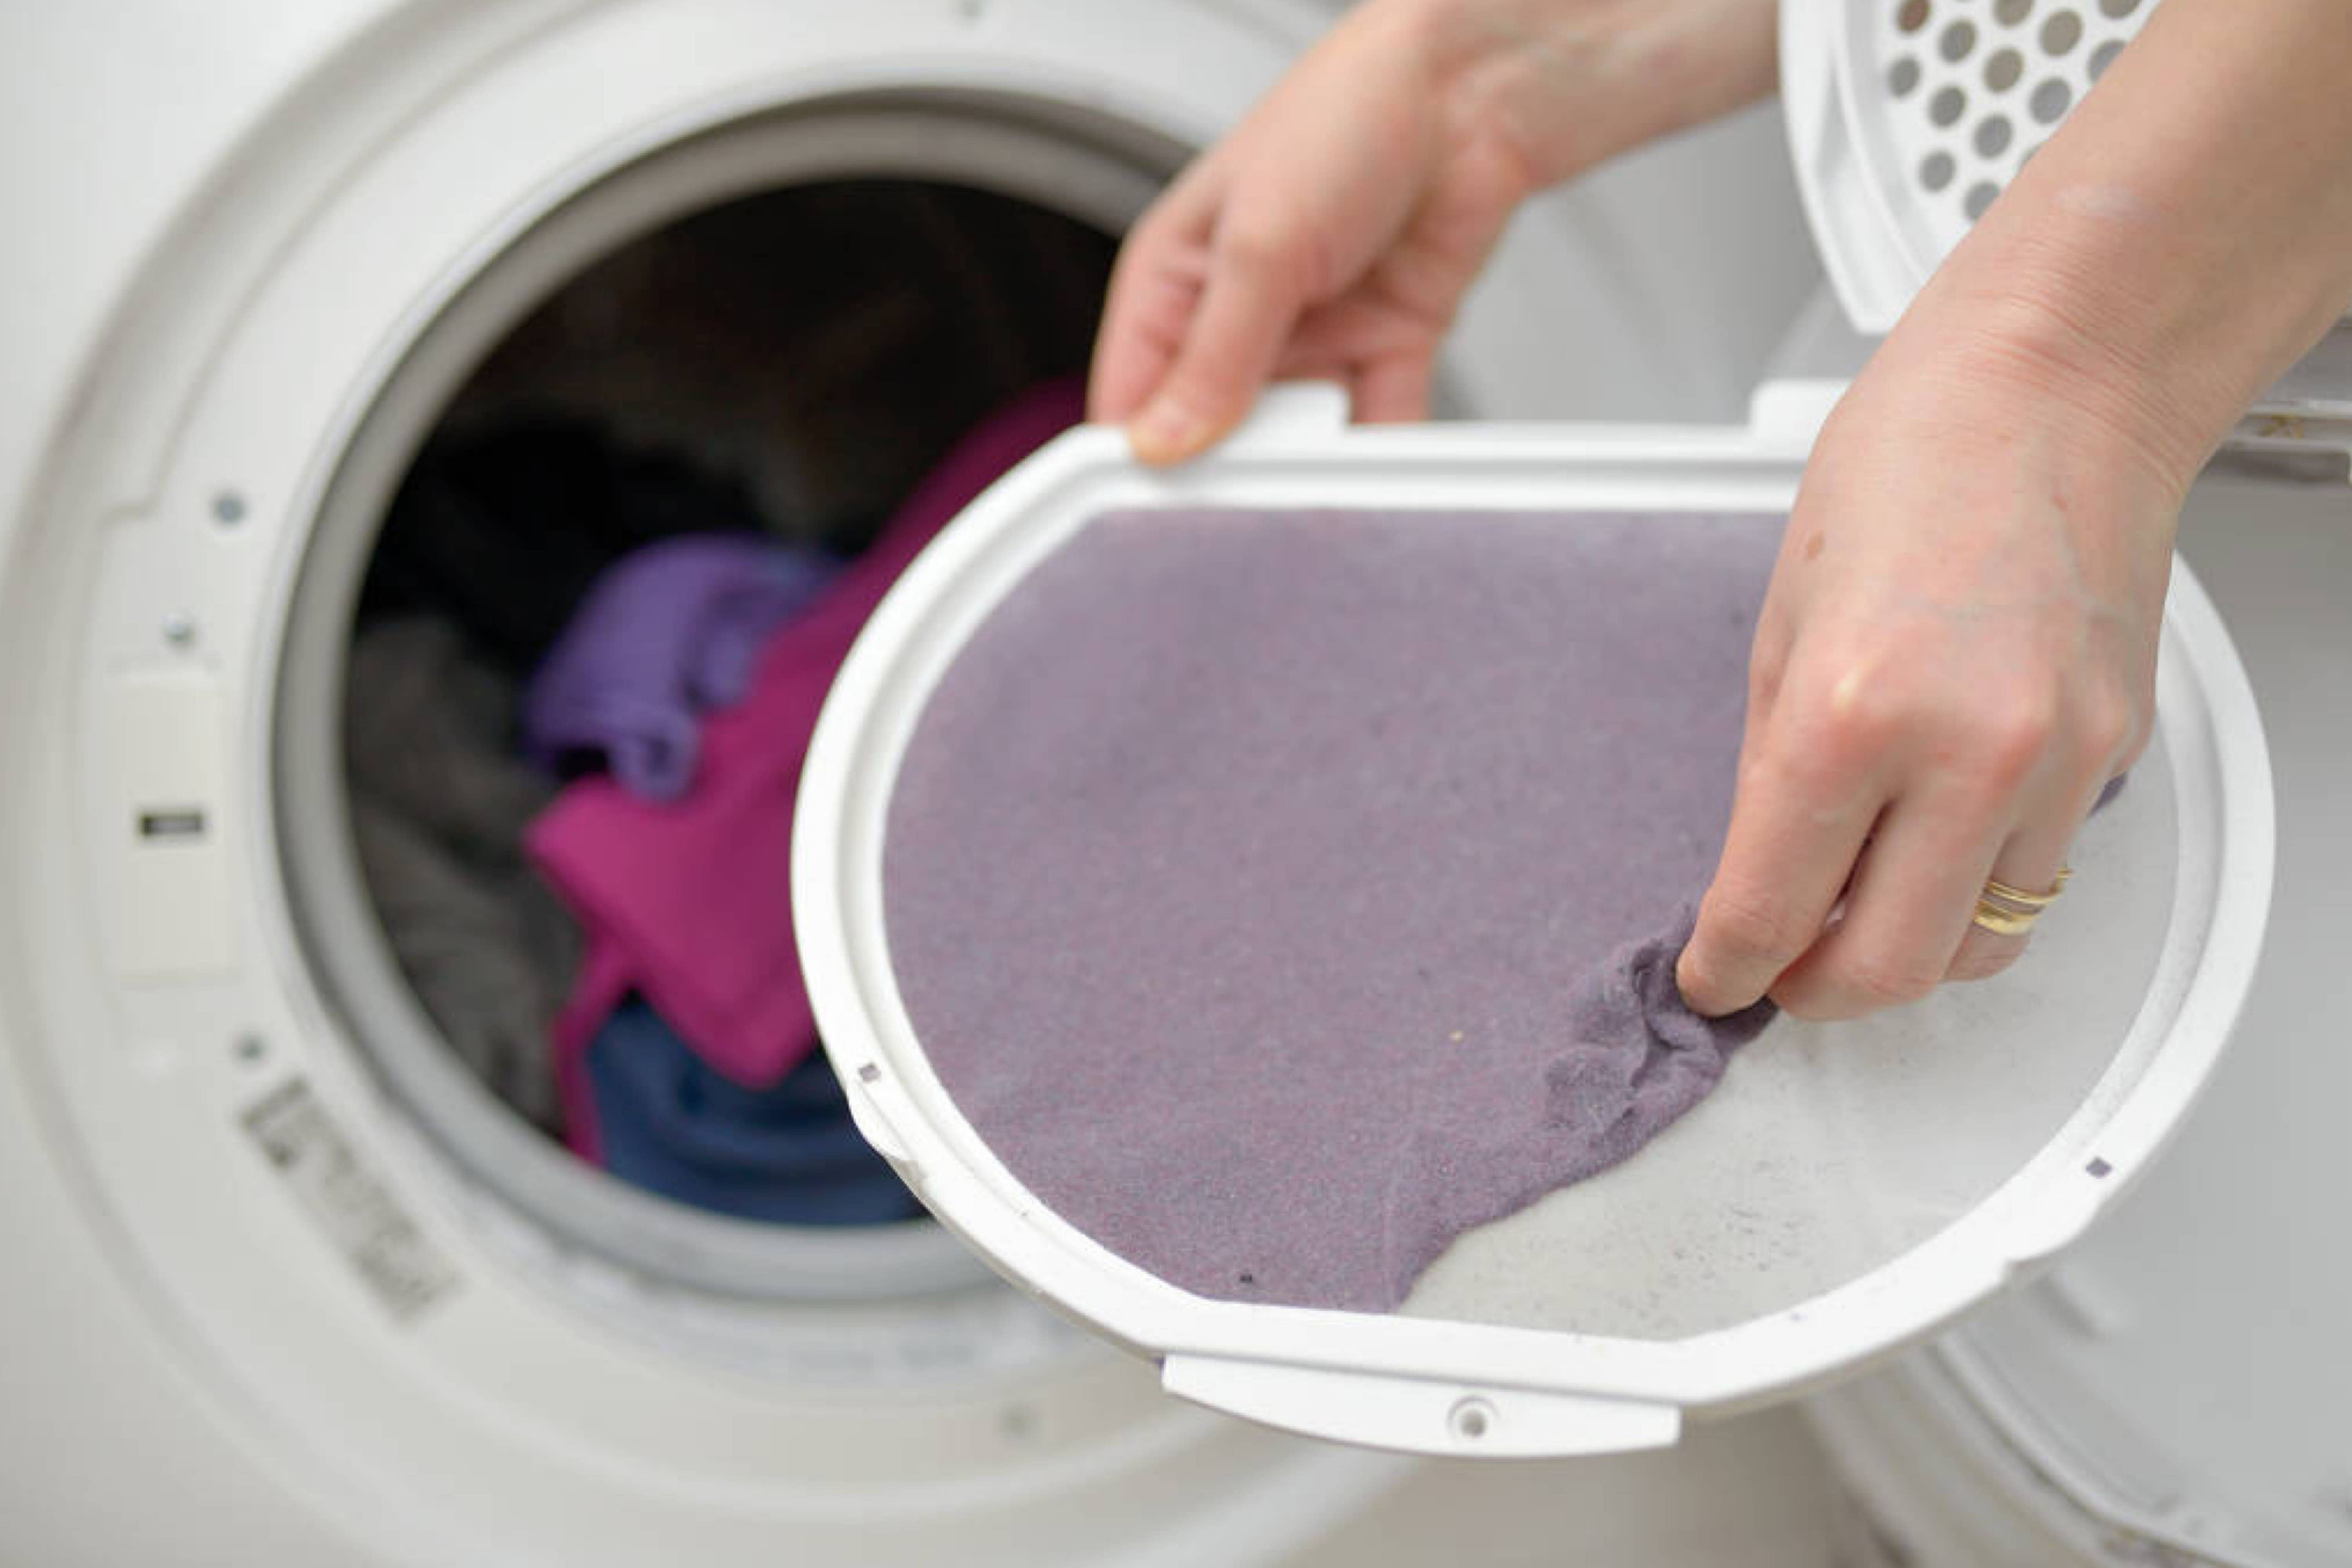
However, quite many of us keep on complaining that their lint traps keep on getting clogged after their tumble dryers are used. And naturally, sooner or later the question appears: why does my dryer’s lint trap become clogged all the time at all?!
In this article, we will do our best to give you the answer.
You will find out why your dryer vent lint trap gets clogged again and again even though you clean it after each use of the tumble dryer.
Also, we will explain what a lint trap is and how it works. In addition, you are going to learn what you can do in order to can clean your lint trap in your dryer.
What Makes a Dryer Vent Lint Catcher Become Clogged?
Well, the answer is basically obvious. It is lint that makes the lint trap in your tumble dryer get clogged after each use of the machine. In particular, it is an excess lint that makes the drying process a problem. But why does it appear?
There are several factors that can lead to the lint collector for your dryer getting constantly clogged. Below, you can read more about each of these factors so that you know for sure what you should be aware of.

You Might Have Sorting Problems
One of the most common causes of excess lint is the wrong way of sorting clothes that need to be washed.
What most of us do is that we sort pants with pants, shirts with shirts, and bedding and towels go to the wash together. However, smarter people tend to sort their clothes based on colors.
Also, there is another common mistake that comes with sorting. If you mix fabrics that produce lint with the fabrics that rather tend to catch it, it will allow lint to transfer from garment to garment.
As a result, lint will not be able to get trapped by the lint filter as it should be. This produces extra lint that your dryer doesn’t need at all. And naturally, all that excess lint can easily make its way past the lint trap.
The solution is pretty simple, luckily. Before you start washing clothes, remember to separate fabrics that are producing lint (like flannel, cotton knits, and terry towels) from the fabrics that collect lint instead ( those are corduroy, acrylic blankets, children’s sleepwear, etc.).
Length Of Cycle
You might think that the longer your clothes have been washed the cleaner they will be when they come out of the washing barrel. However, if you wash them too long, you are going to have a somewhat different effect.
Washing your clothes longer than what is needed to clean them will generate lint! When you move the clothes into the dryer, they will have excessive lint attached to them. As a result, that could overwork the lint trap as well, causing it to be clogged.To solve this problem, try to shorten your wash time for small loads and lightly soiled garments. This way, you will be able to avoid washing clothes longer than you need to.
Consider The Level Of Water
You shouldn’t set the water level to a higher setting on the washing machine, make it a rule of thumb! Why is that? Because doing so will often cause linting from excessive movement of the clothes in the water.
To fix this issue, just select exactly the water level that you need for washing the specific load.
Mind The Load Size
There is another nuance about the washing load that should be taken into consideration if you want to find out what makes excess lint appear. Simply don’t overload your washer!
Overloading your washing machine can prevent the lint from being flushed away during the process of laundry.
It will also cause the clothes to rub against one another, which will be generating more lint. And this is definitely not what you need.
Fortunately, the solution is simple. Load your clothes loosely, no higher than the top row of holes in the washer. In other words, forget about pushing down to make the clothes fit!

There Is Too Much Bleach
Bleach is great for fighting stubborn stains, but bleaching products can also cause damage to your clothes and fabric. However, not all of us know that this will also cause excessive lint to be produced.
So if you do need to use bleach, simply follow the directions on the bottle so that you don’t overuse it.
Pilling
Pilling is a natural process that happens with polyester and cotton blends. The stronger fibers will collect and hold small bundles of fibers, instead of breaking off. This creates pills. Lint becomes entangled in the pills and makes the lint appear more obvious.
To solve this issue, there is not much you can do since it is a naturally occurring process. But you can at least turn the clothes inside out to provide some extra protection.
You Leave Items In Your Pockets
We all do this, let’s be honest! We often tend to leave coins, buttons, and other stuff in our pockets, and then those things go to the washing machine and then to the dryer unnoticed.
However, you need to note that, if you leave paper, receipts, tissues, or other similar items in your pockets, they can cause lint too. This is why remember to empty all pockets before washing your clothes.
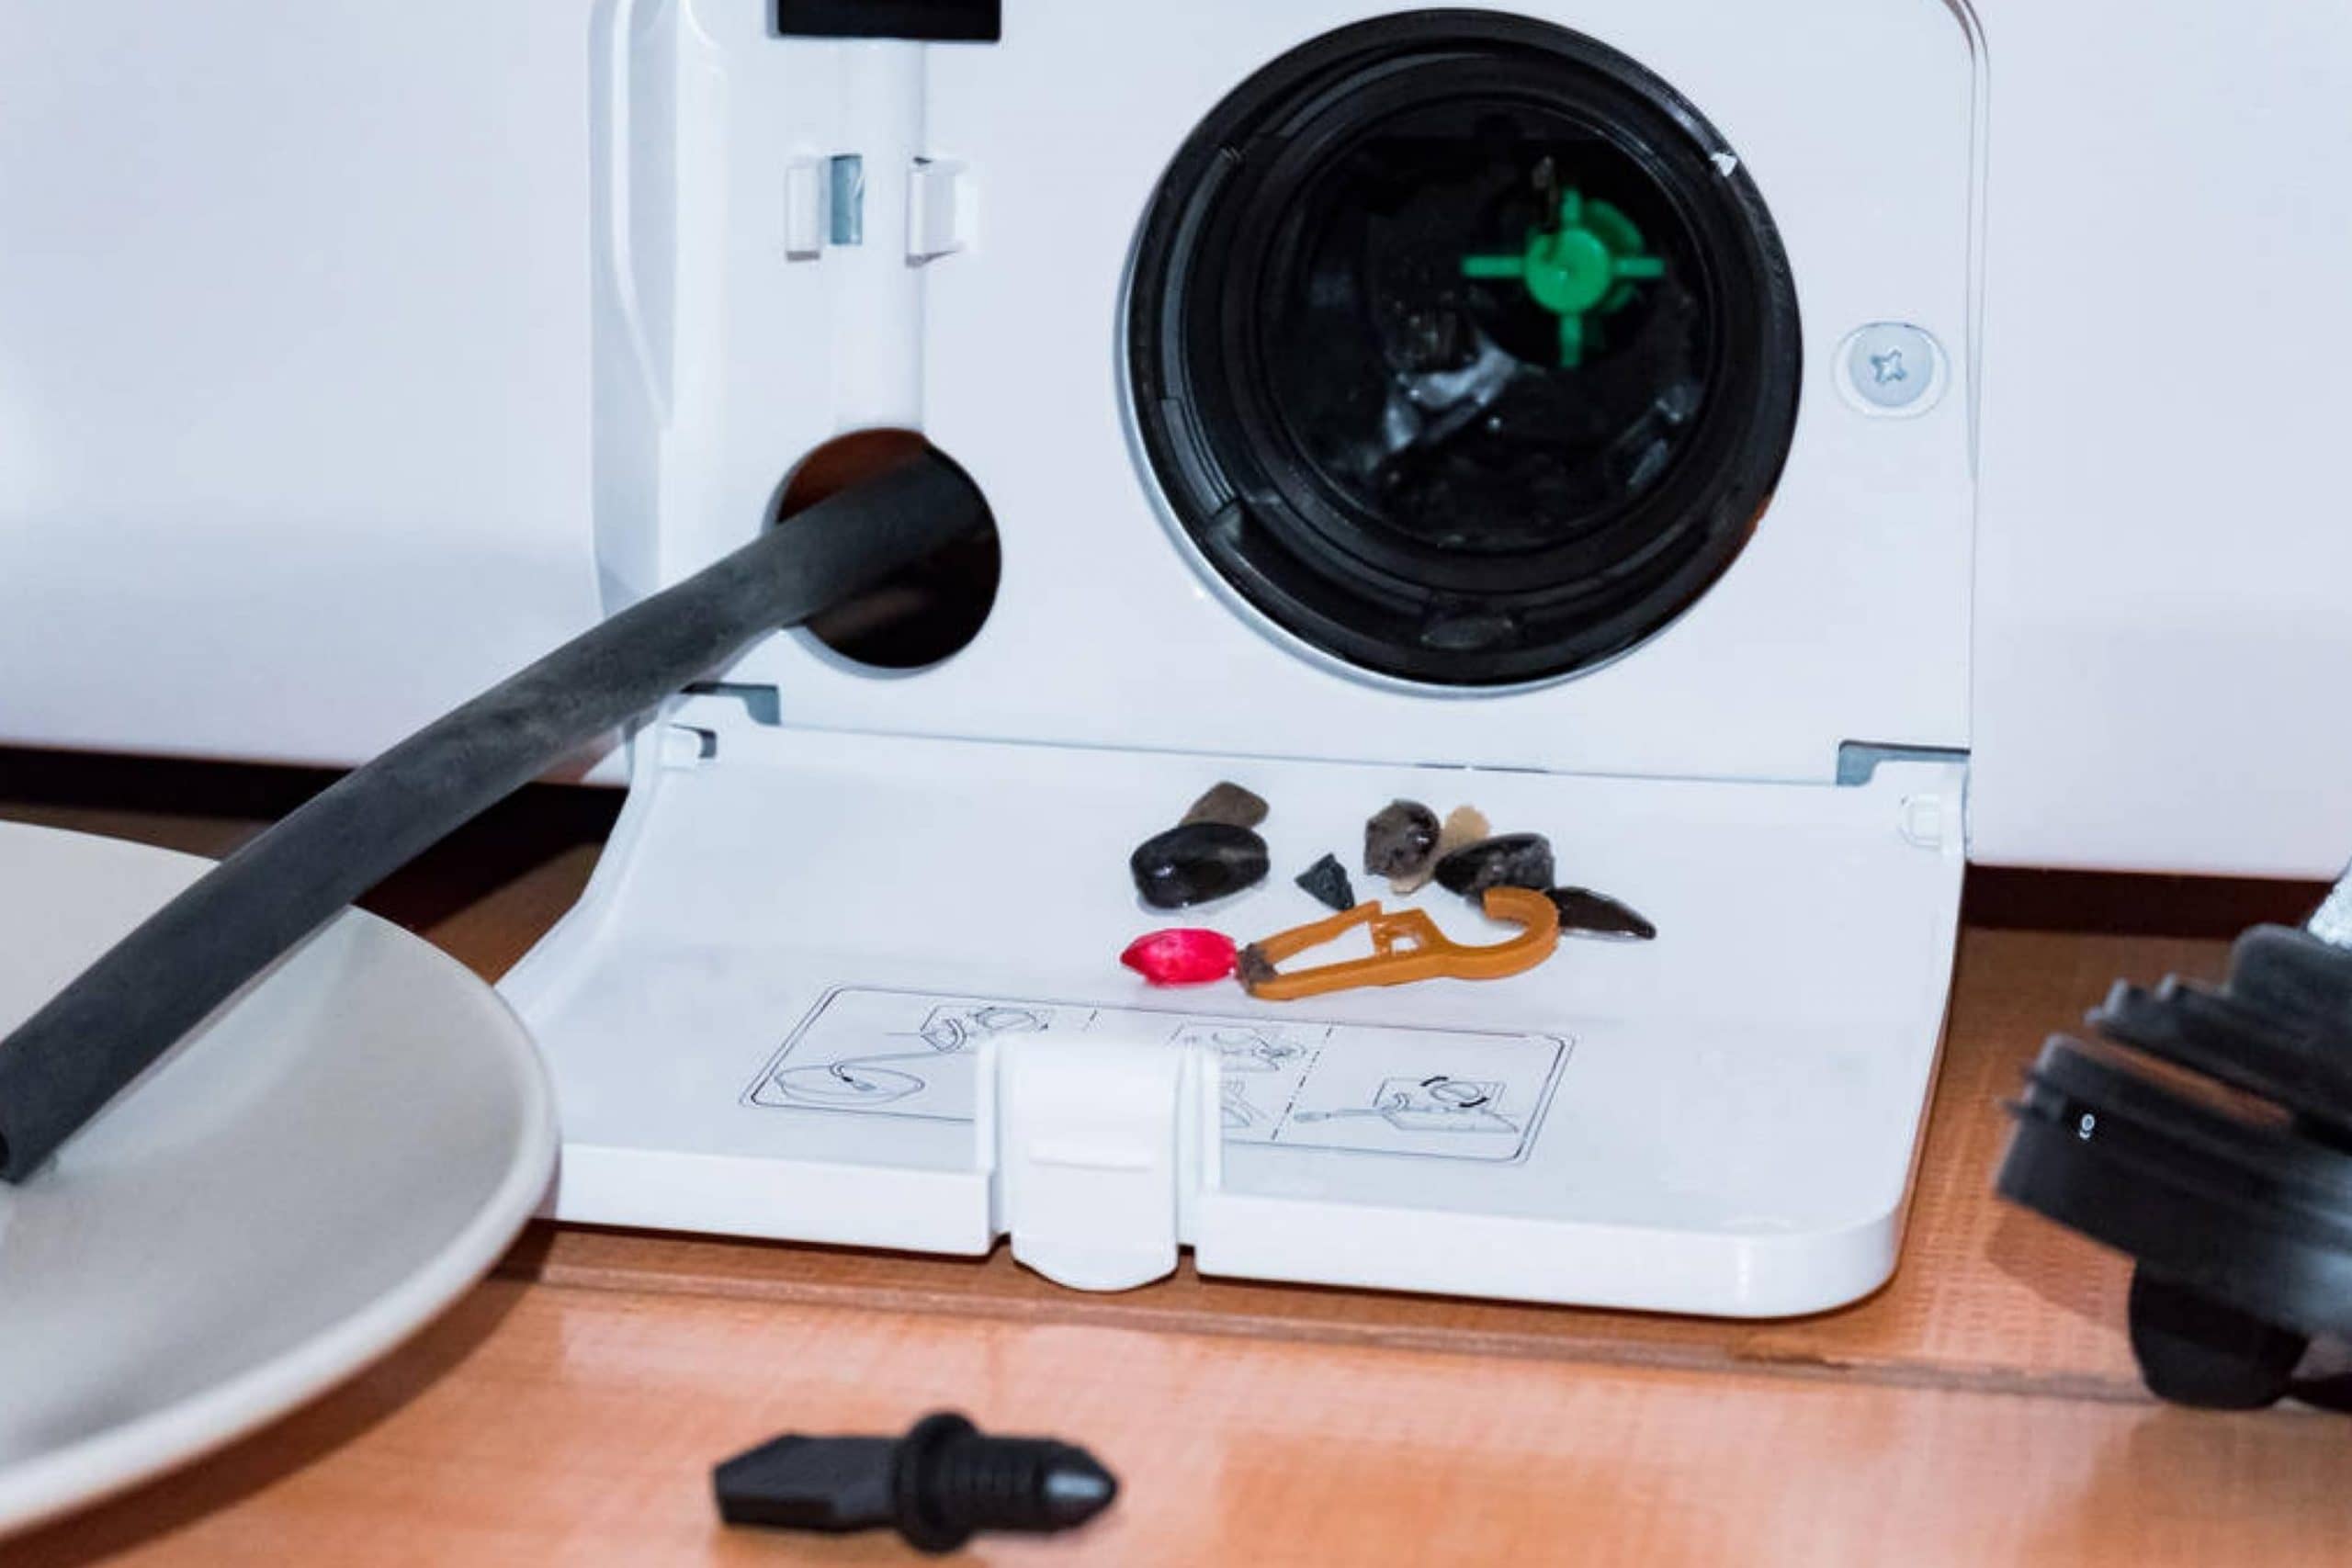
Water Pump Filter Is Clogged
Excessive lint could also be a sign that the water pump filter in your washing machine is clogged. When that happens, the wash and rinse water that contains all of the lint drains too slowly.
As a result, this water leaves lint deposits all over your clothes. All that excessive lint will have to get exhausted out of your dryer and could increase the chances of it being trapped within the vents.
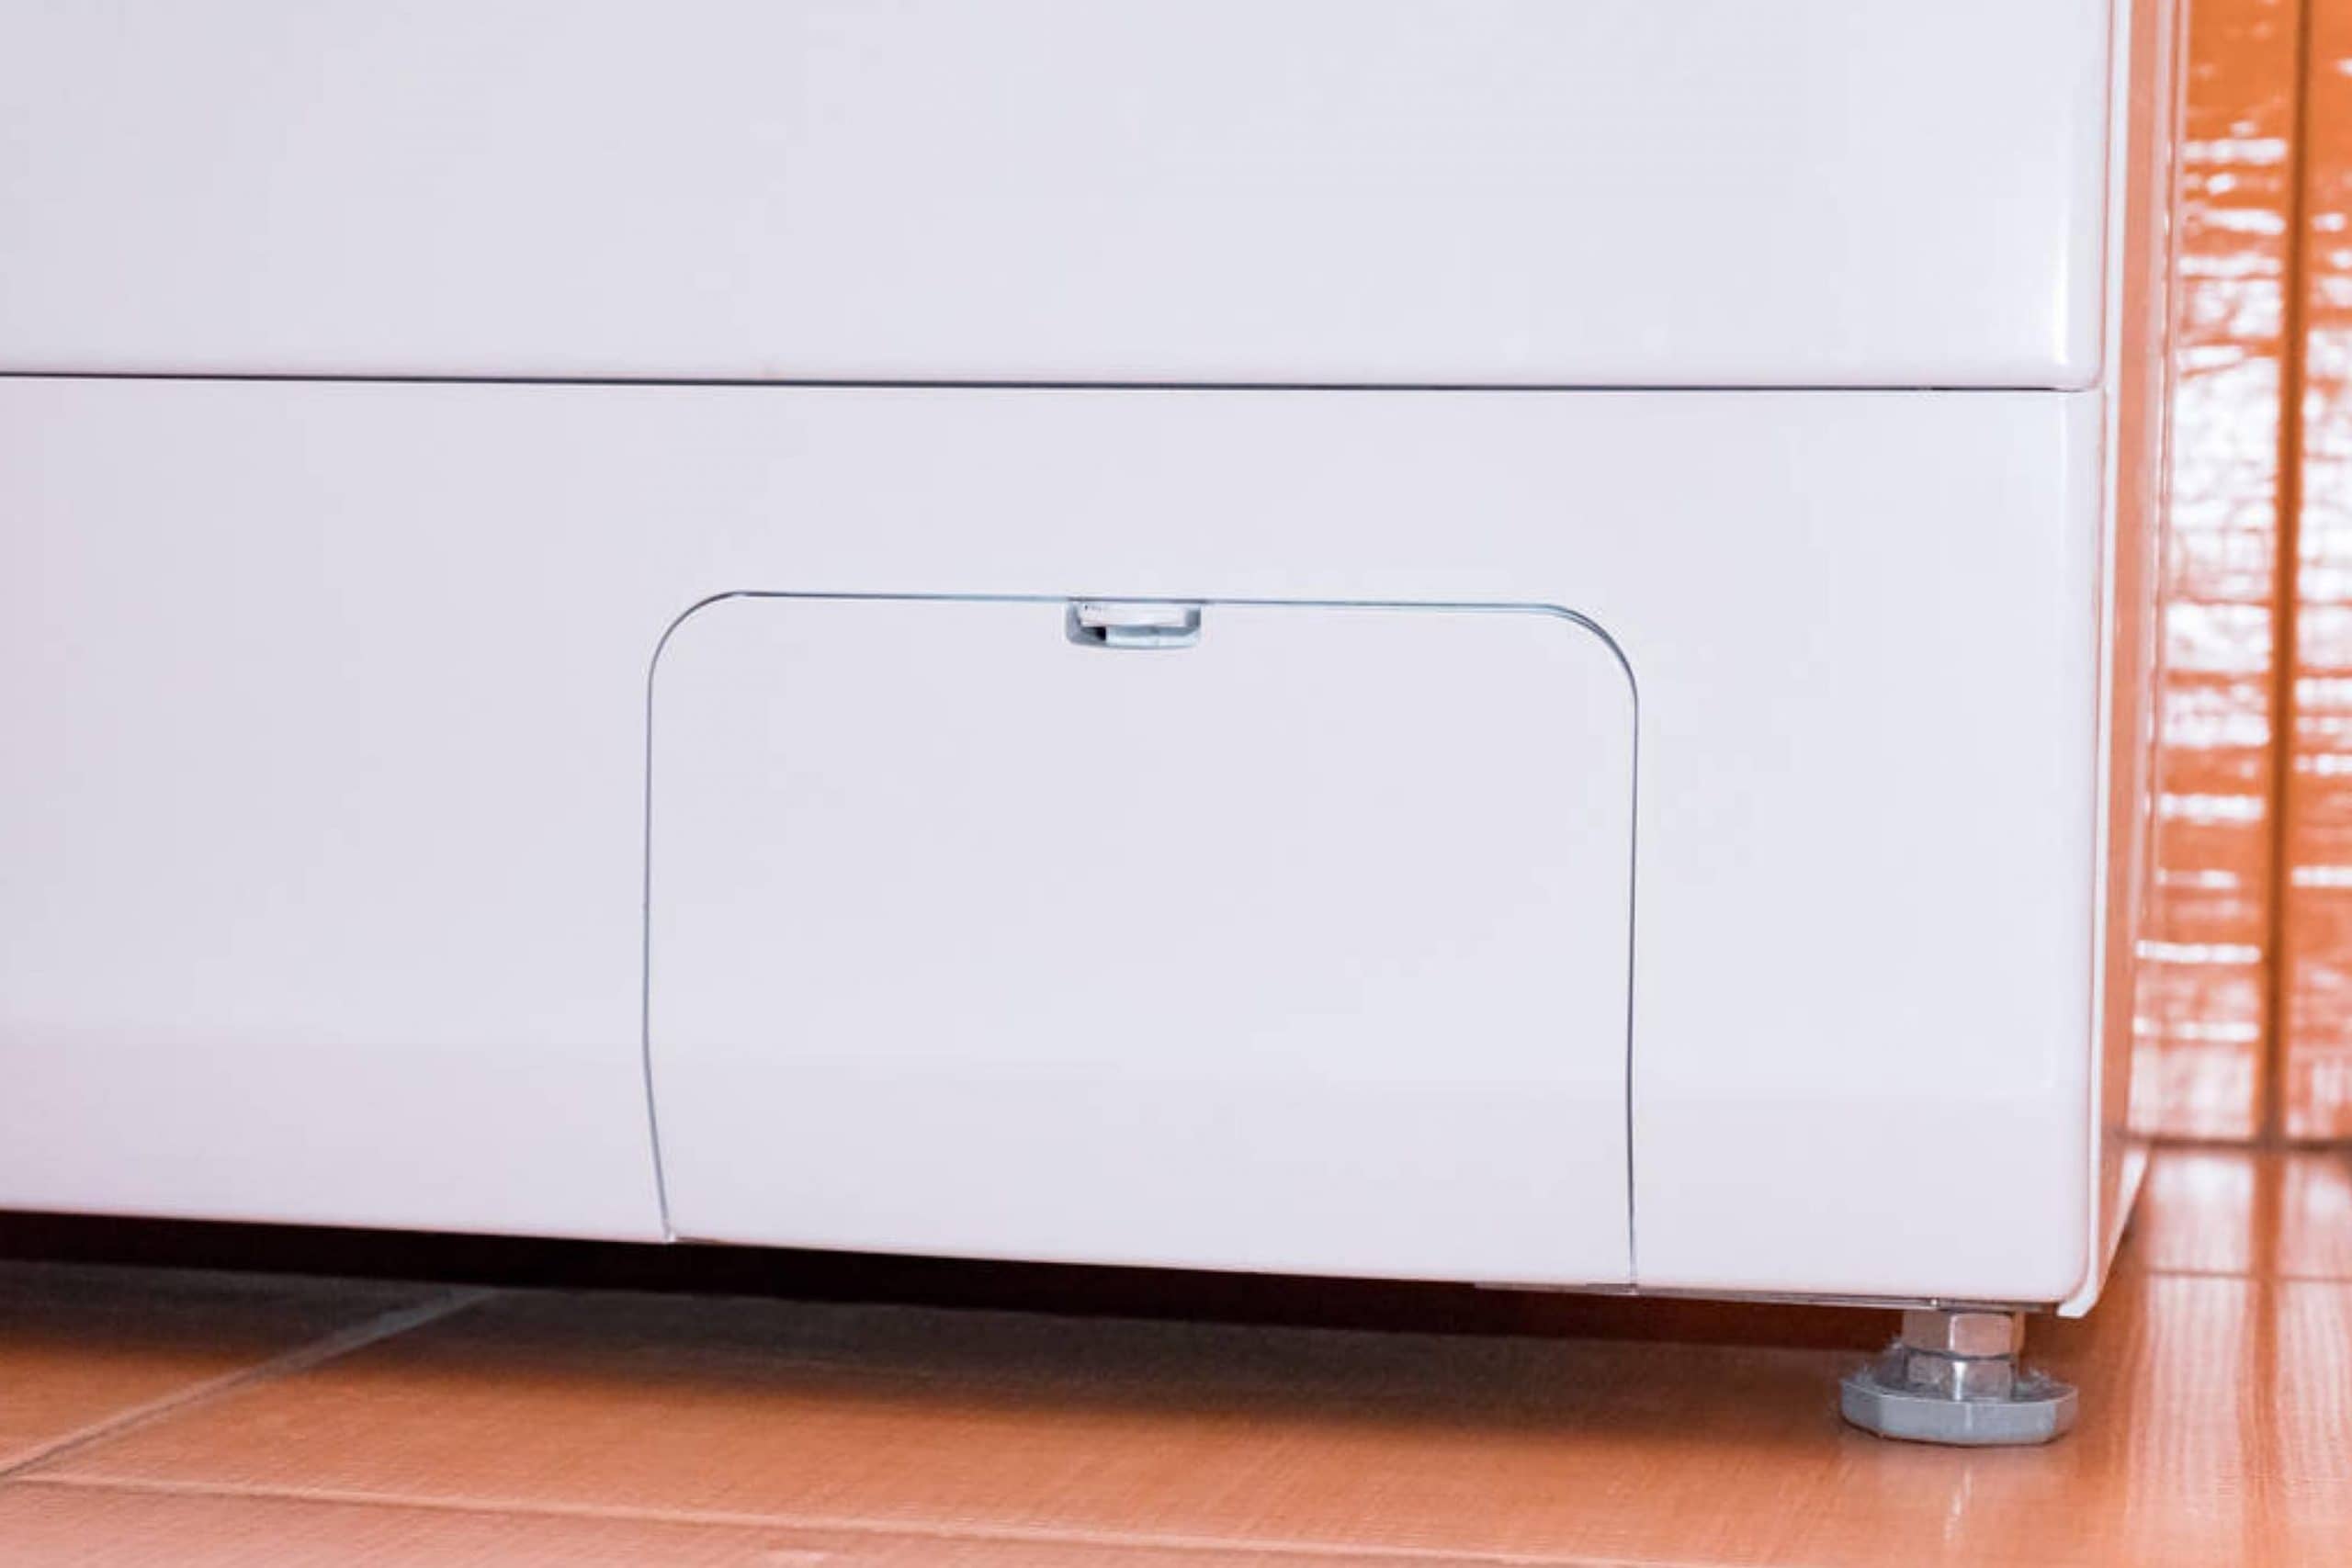
To fix this, simply clean your pump filter. The cleaning instructions are pretty easy to follow. Open the outer housing of your washing. If you have a front-load washer, the lower panel will give you access to the clean-out filter.
If you have a top-loading washer, you should follow the manufacturer’s instructions. While you are in there, you will be able to clean out lint and you may even find coins, buttons, and other stuff that ended up there after you forgot it in your pockets.
As you can see now, there are plenty of factors that can make your lint catcher in your tumble dryer clogged with the lint badly.
Luckily, if you clean it out regularly, if you remember to check your pockets before you start washing clothes, and if you follow a few other handy recommendations that we gave you here, you will be able to easily keep your lint trap clean and your dryer properly working.
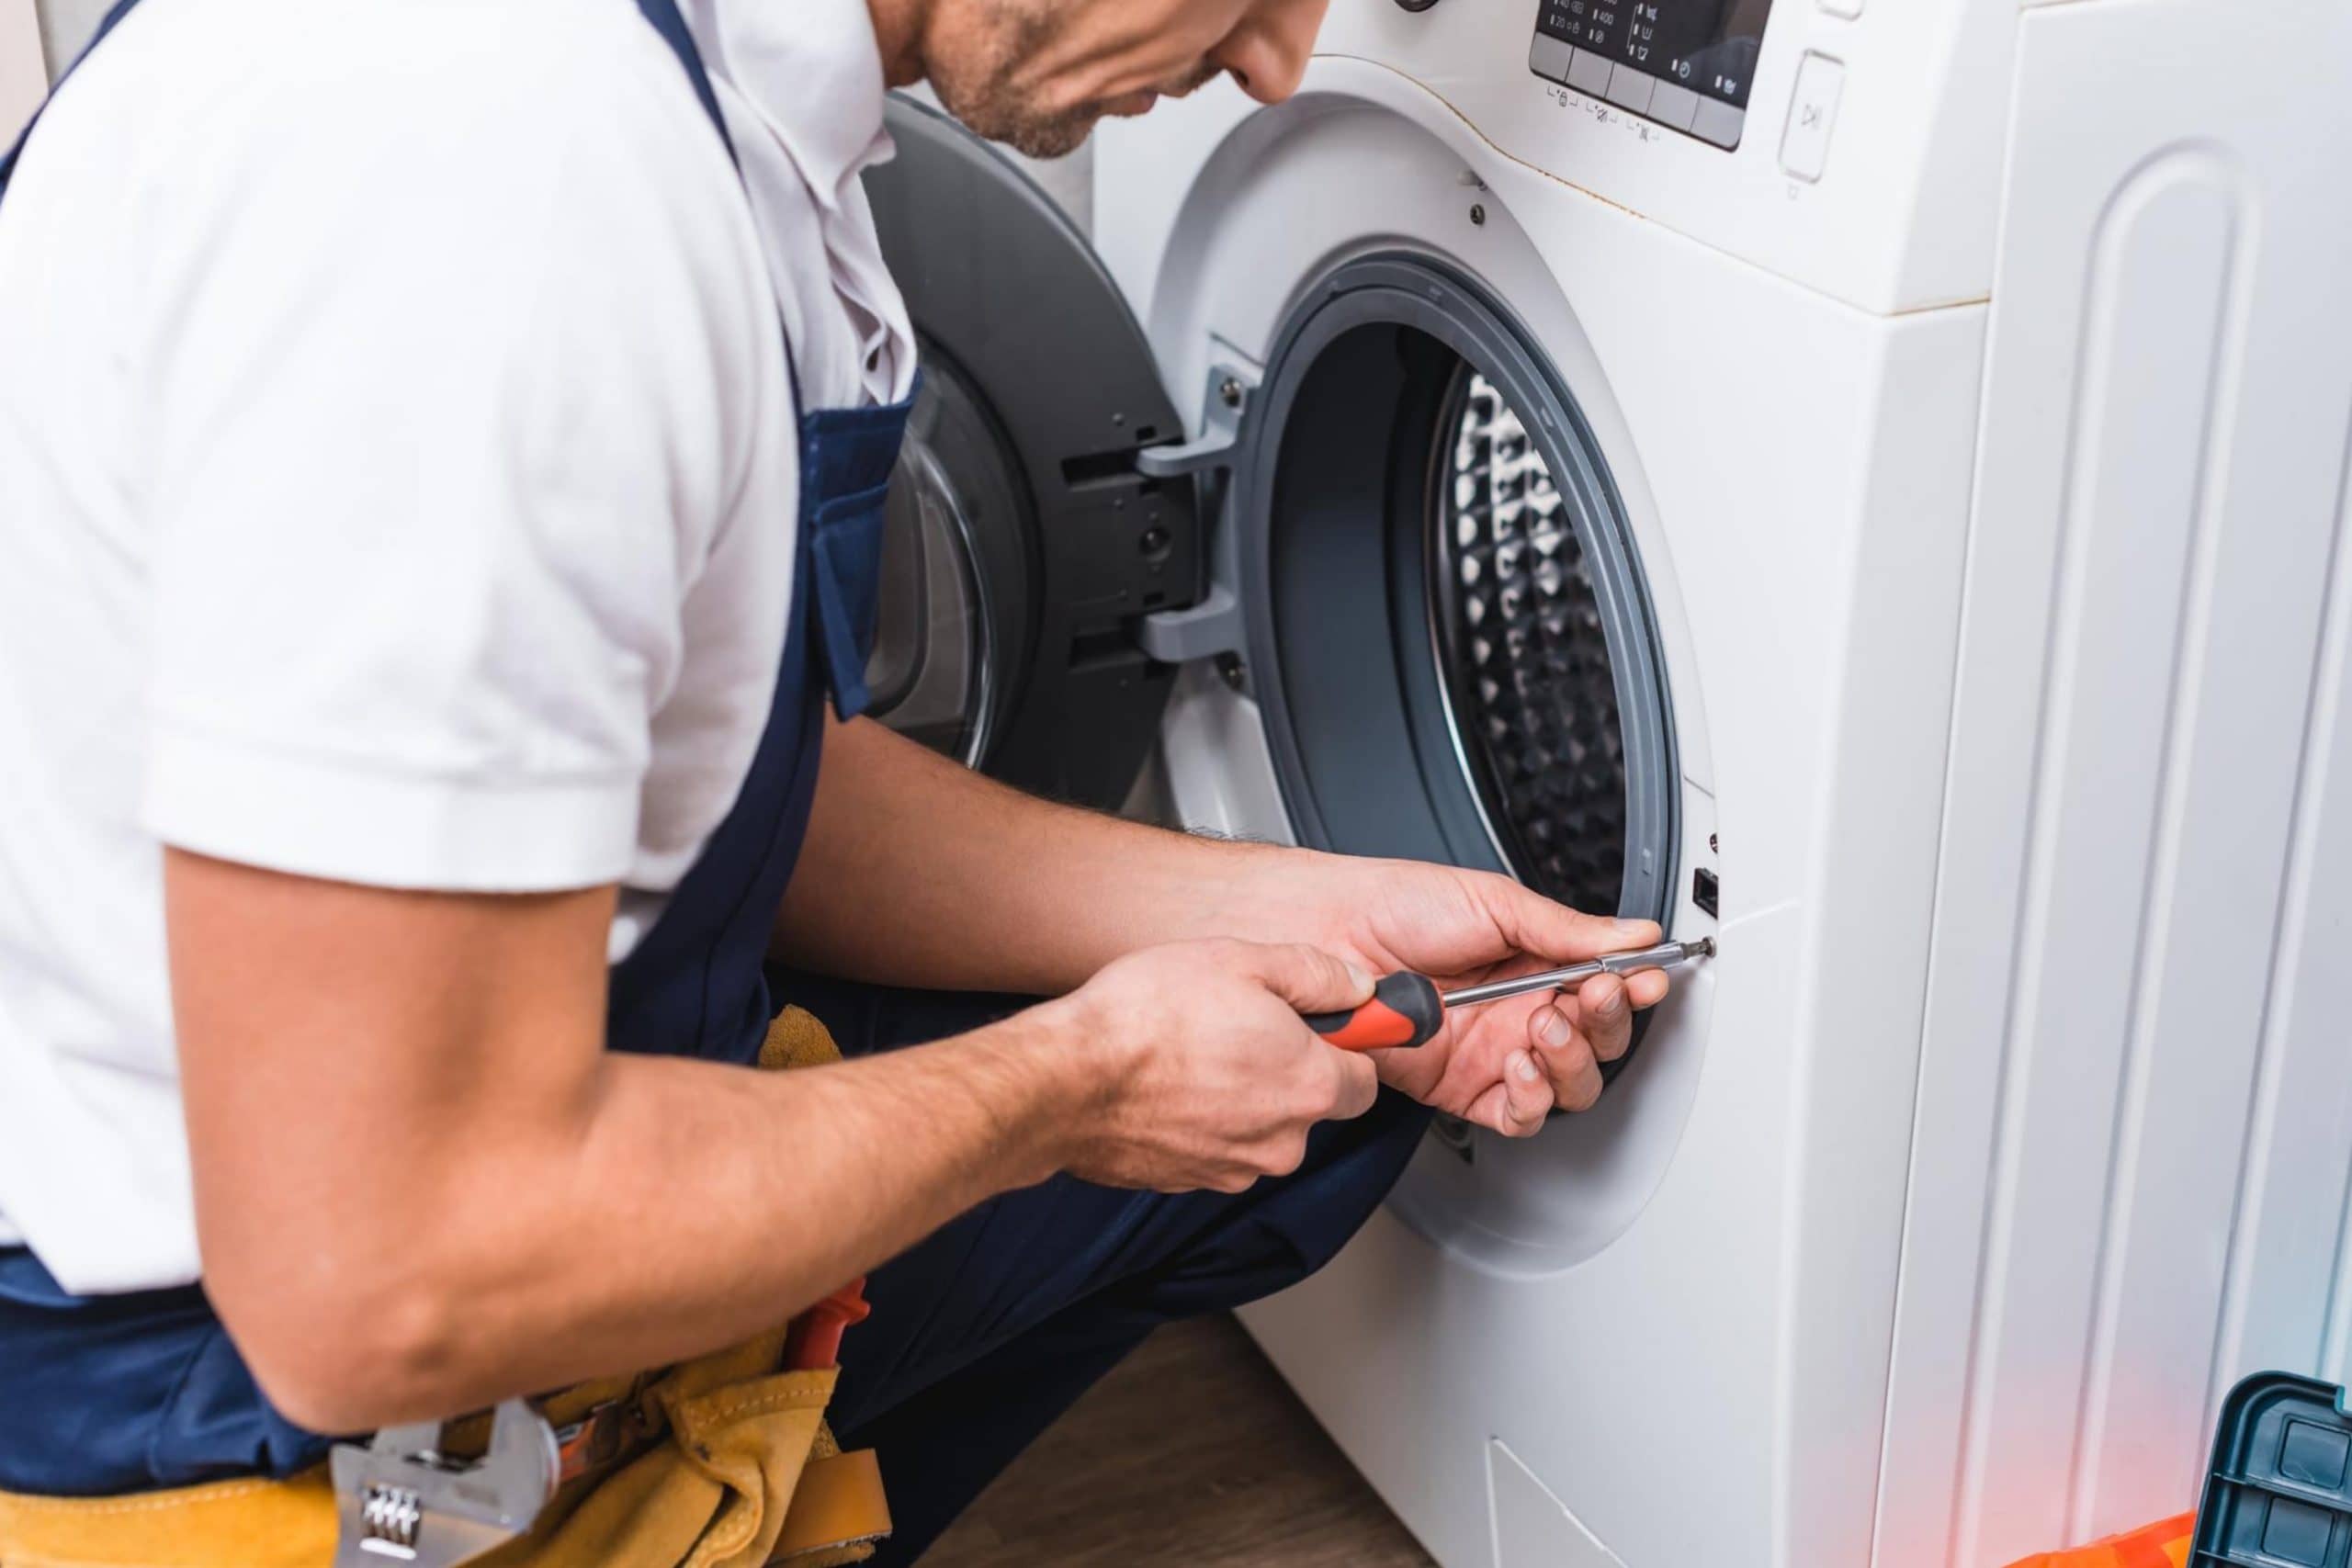
What to Do If Your Lint Catcher Is Clogged?
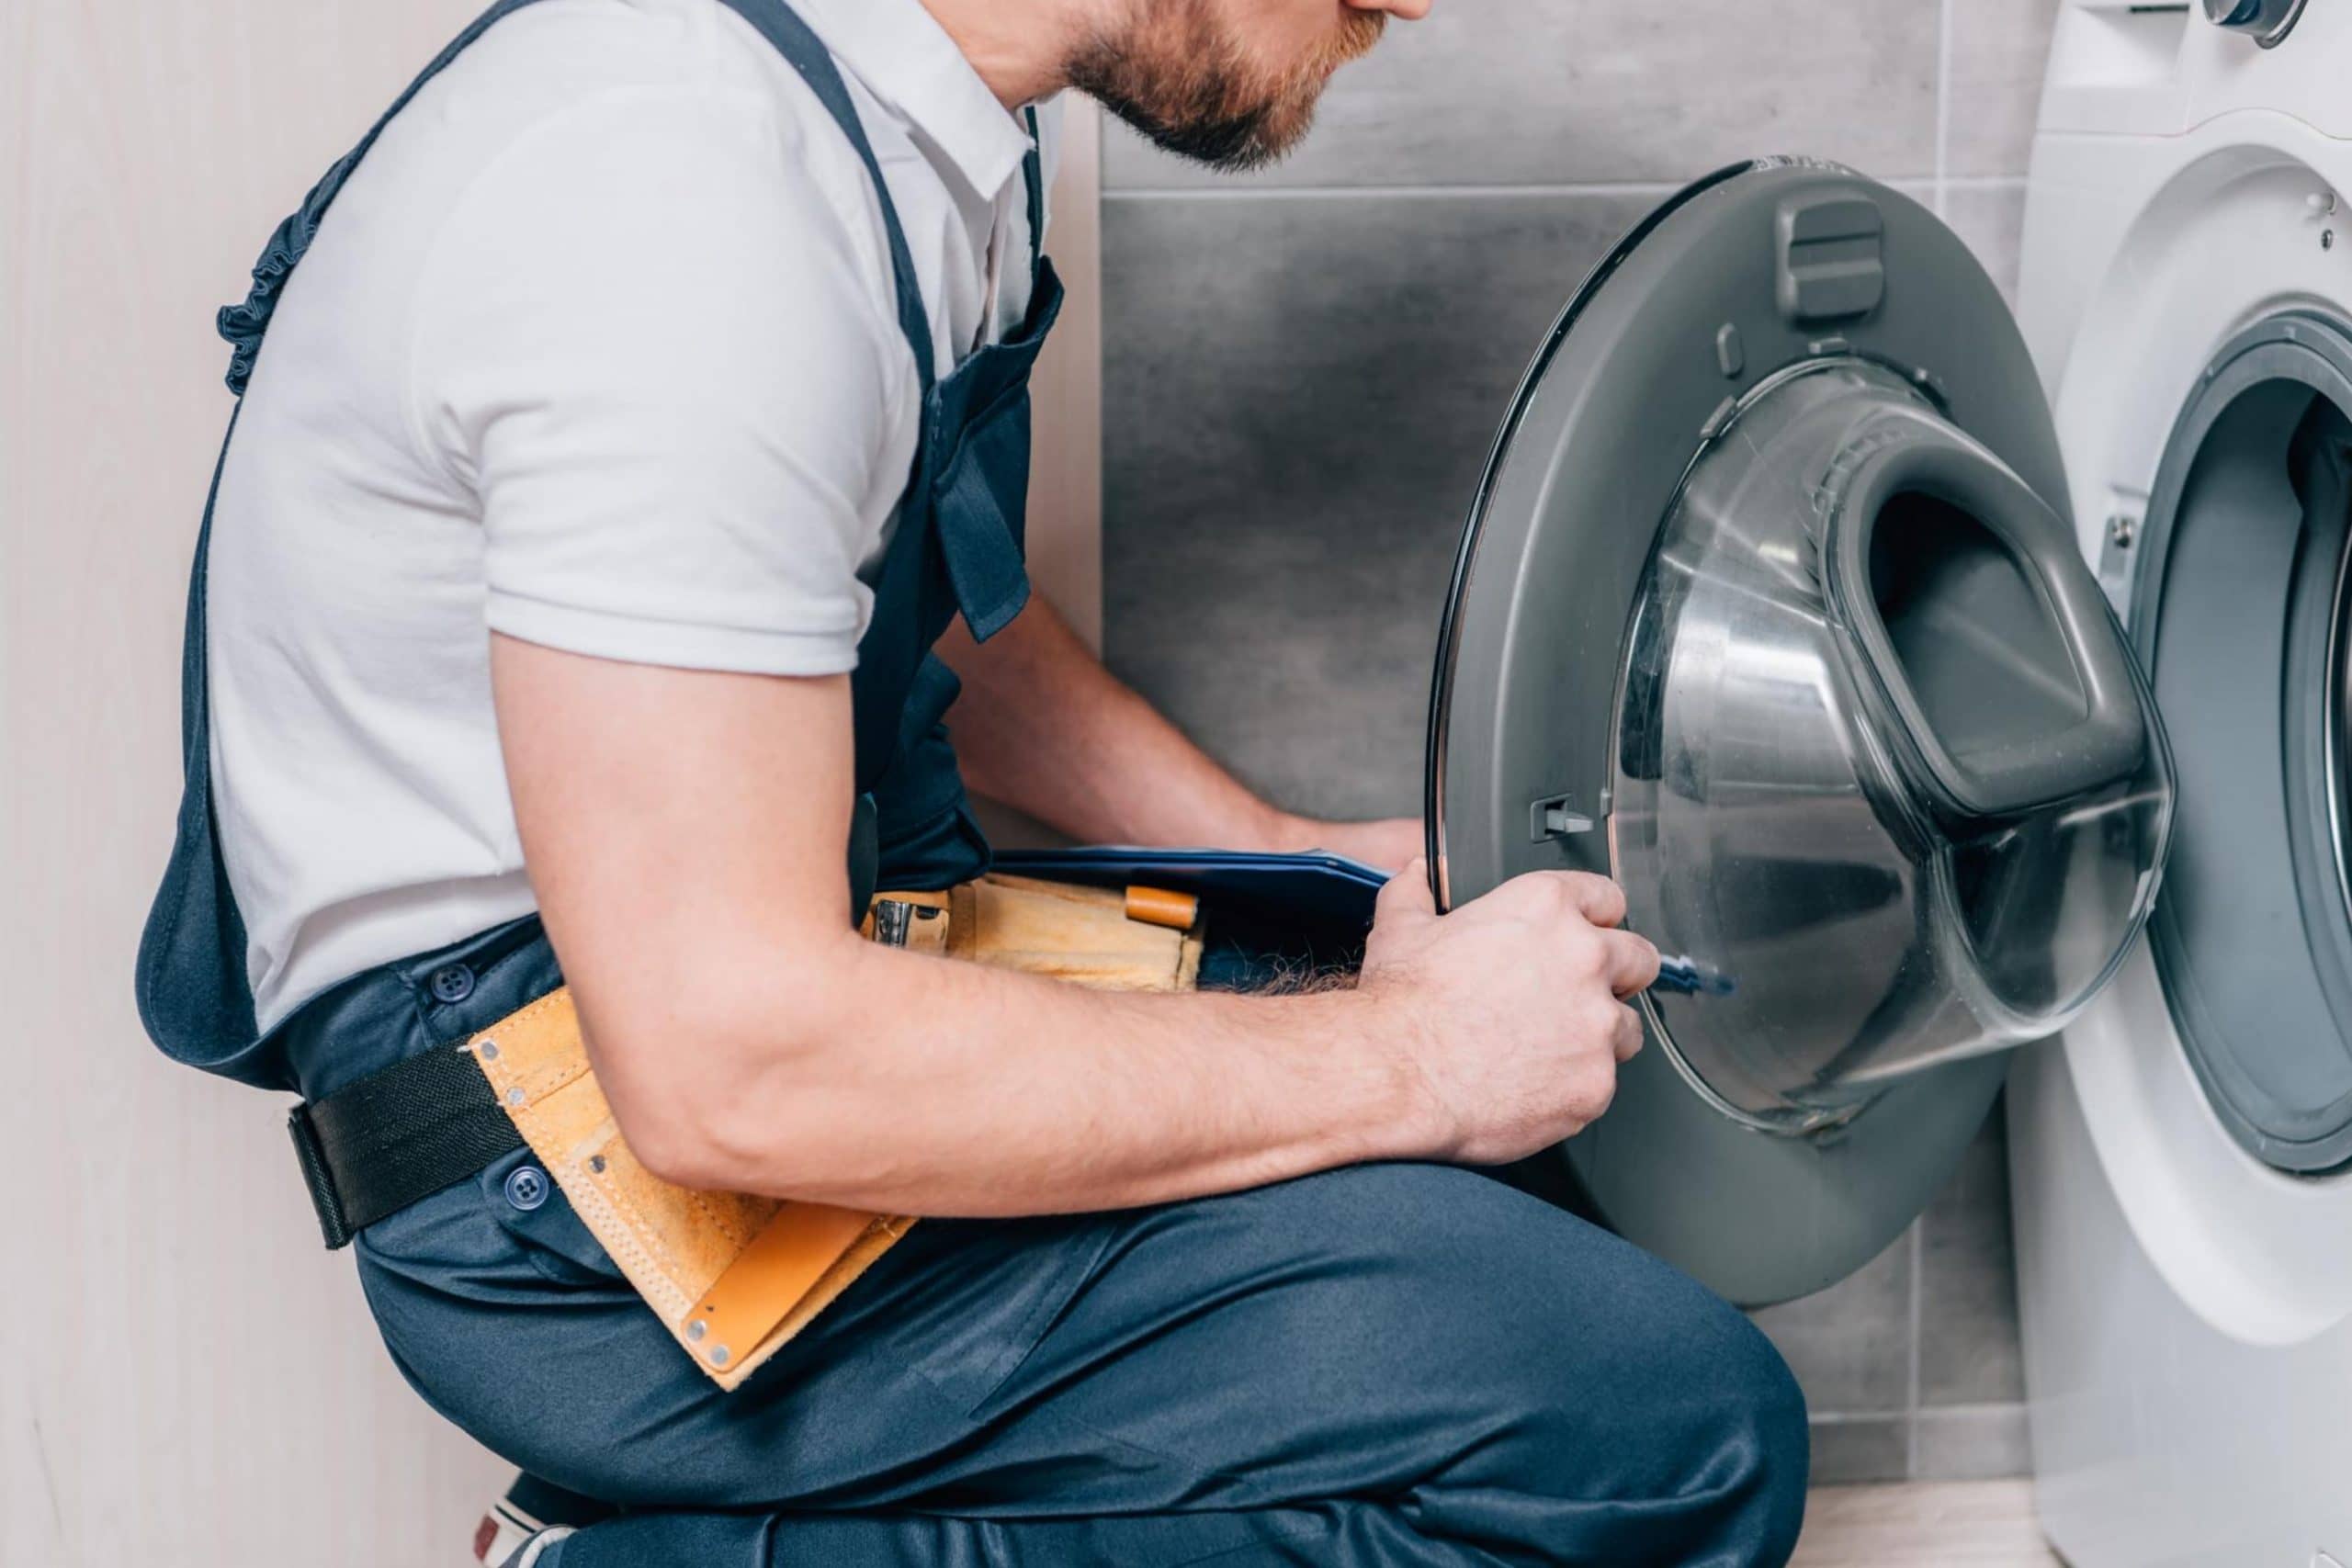
Of course, after you learned what can make your dryer’s lint trap get clogged, you might want to find out what should be done should you face this issue. First of all, you should get your dryer vent checked out by a reputable dryer vent company.
Here are also a few tips that you can use to help you when selecting the company:
- Can the company provide references? How do the online reviews look?
- Does the company carry a valid business insurance policy?
- Can the company ensure and guarantee that a CSIA Certified Dryer Exhaust Technician will be on the job site?
If the company has reliable reviews and you can answer “yes” to the other two questions, then you can be fully confident in your choice. Such a company will be a great choice for you to work with.
Once your dryer is checked and clean, all that is left to do is sit back and enjoy the benefits:
- Your dryer will operate more efficiently
- Your energy bills will drop back to normal
- You will get clothes that dry much faster now
- Longer lasting, efficient dryer
This is why we strongly recommend you both give your tumble dryer regular checks (at least once a year to be sure everything is fine), and also, consider inviting the professionals to have it cleaned.
If you attempt to do it yourself, chances are that you can accidentally damage something, thus causing even more harm and raising your expenses!
How to Clean a Clogged Dryer Vent and Remove Lint Step-by-Step?
So, you have found the core of the problem: your dryer vent is clogged with lint. But what shall you do next? We suggest you a simple yet efficient cleaning method that will help you remove lint clogs from your dryer vent with a few easy steps.
Step 1. Cut Power
To clean your dryer vent not only efficiently but also safely, remember to cut the power to it first. You can do it by unplugging the unit, but in some cases, you might need to pull your dryer out from the current position to do that!
Step 2. Find the Vent
Luckily, this is an easy task. Dryer vents typically stand out from the unit. You should look for a thick silver or white hose about four inches in diameter coming from the back of the dryer. It can be made with flexible white vinyl. However, your dryer’s hose can be made of thin aluminum foil, semi-rigid aluminum, or rigid aluminum piping as well. When you locate the hose, follow it to the spot where it exits the home. The hose will most likely be held in place by one or several circular brackets.
Step 3. Disconnect the Hose
Now you need to pull the dryer out from the wall and, using a screwdriver, loosen and unscrew the brackets that attach the dryer vent hose to the wall. However, before you remove the vent from the wall, ensure you have a drop cloth or a garbage bag at hand to catch any debris.
Step 4. Remove the Dryer Vent Hose and Vacuum It
Now you should detach the vent hose from your dryer by loosening the brackets. Now that the vent hose is removed, you can use different ways of removing the debris in the vent:
- Use the hose attachment on a vacuum cleaner.
- Remove the clog with a shop vac.
- Blow out the lint with a leaf blower.
- Use an auger snake to break up the clog.
Step 5. Clean Out Lint Residue and Wash the Vent Cover
To remove remaining dust, dirt, lint, or other debris, use dryer vent cleaning brushes. Also, remember to wash the vent cover! This will help you ensure that leftover debris doesn’t accumulate within the unit.
- Remove the vent cover with a screwdriver
- Vacuum it
- Place the vent cover into the hot, soapy water and clean with a microfiber cloth
- Allow the cover to air dry and reattach it to the dryer.
Now you can reattach the hose back to the unit and clean around to ensure there’s no lint left on the floor.
Dryer Error Codes: Their Meaning and Tips On How to Fix
Sometimes, your dryer’s display may show strange combinations of letters and numbers. Those are error codes that indicate something is wrong with how the unit operates. However, to know exactly what’s happened, you should know the meaning of the basic error codes your dryer shows you.
[table id=175 /]
How to Prevent the Lint Trap In Your Dryer From Clogging?
Well, having a clean lint trap and a properly working dryer is a good thing. You can enjoy plenty of benefits, but also, you should be more mindful from now on and give your tumble dryer vent the attention it deserves.
This attention also means that you will want to continue cleaning the lint trap every time you use your dryer.
And also, remember to keep an eye on how the dryer is performing. You should also make sure to do the following things:
- Put a covering on outside wall dampers to keep out rain, snow, and dirt
- Replace any coiled-wire foil or plastic venting with rigid, non-ribbed metal ducts
- Do regular checks in order to make sure that the outside vent is not blocked by nests
- Make sure that the items that can burn are removed from the area around the dryer
- If you are going to be away from home for a long period of time, make sure to unplug the dryer
In addition, there are several important don’ts that must always be followed:
- Don’t use the tumble dryer that has no lint filter
- Avoid using your dryer with a lint filter that is loose, damaged, or clogged
- Don’t overload your dryer
- Don’t use a wire screen or cloth to cover the wall damper. They can collect lint and clog the dryer vent.
- Don’t use your tumble dryer for drying the items with foam, rubber, or plastic.
- Do not dry fibers and materials that have a care tag stating “dry away from heat.”
- Don’t leave your dryer turned on and working if you are going to be away from home long enough or during the night.
Like this, if you keep all this in mind and you follow our recommendations precisely, you can be sure that your dryer’s lint trap will remain clean longer.
As a result, your tumble dryer will be performing much better.
Conclusion
Now you know why the lint trap of your dryer may become clogged and what to do to fix this issue. We shared the most efficient lint-removing techniques and tricks, so you can easily keep your tumble dryer in a decent condition now!
Ensure you check and clean your dryer and its vent (as well as its lint trap) regularly, and your unit will serve you much longer.
[wp-faq-schema title=”Frequently Asked Questions”]

Hi everyone! I have a question, folks. Can a dryer cause allergies? I noticed that I start sneezing each time I’m wearing tumble dried clothes.
Hello! Drying clothes indoors could pose a health hazard to those who suffer from asthma, hay fever and other allergies indeed. As for the drying clothes indoors, it could produce moisture contributing to the growth of harmful moulds and dust mites inside homes. So maybe it’s because of dust that you’re sneezing.
Can dryer lint make you sick? I often find my lint actcher clogged, so I’m worried that it can be spread around the home whhile the dryer’s working. Thanks!
Indoor venting can throw dryer lint everywhere and release small particles of it into the air you breathe. I heard people reporting dizziness, drowsiness, blurred vision, dull headaches, and breathing problems because of the constant exposure to fumes from a dryer vent. But it’s the fumes, not the lint.
Hello friends! Could anyone tell me how it’s possible that dryer lint keeps bypassing the filter? I though it was the filter that’s not working but I changed it and it’s all the same with the new one. The lint is still there!
Hi! I guess the lint filter in your dryer simply can’t trap all the lint. I have this problem too and I refused the idea to do anything about it. It’s especially hard with clothes that leave a lot of lint…To be honest, I don’t know what to do about it since this is what I’d like to know as well.
Do you guys know why my dryer vent flap stuck closed? I just can’t open it no matter how I try! I don’t want to break it or damage but I still need to find the way to open it somehow. Any ideas?
Your outside dryer vent may not be opening when the dryer is running because air flow has been restricted due to lint buildup. I guess you should try to clean it and remove the lint. But if it still doesn’t work after that, you should call for a professional help!
Hello. I have a problem that I’d like to consult about with you. Maybe, you could help. See, my LG dryer lint filter is not catching lint. At all. The dryer is pretty new, we bought it almost two months ago. I know you can say I should ask for repair since we still have a guarantee. But I just wonder why it’s like that! The appliance is brand new!
Hello. You should check your dryer manual to see if there’s a solution for this kind of problem there. If not, then check whether your dryer shows an error code (Fo). Chances are that you washed something that produces a lot of lint that clogged the filter. Even a couple of washes could be enough to stuff the filter with lint! Try to clean it and if it doesn’t work, then you should get in touch with the seller and ask for repair or filter replacement within the guarantee.
How to clean my dryer vent if it’s clogged with wet lint? I could find instruction on this issue in the dryer manual of course, but the problem is that I can’t find the manual after we moved. Perhaps, it was gone with the garbage. Could you help me with this problem, please?
Well, when my dryer has this problem, I remove lint from the duct by hand first and then I vacuum the inside of the duct (I use my car vacuum). If you have hose extensions, use those to vacuum out as much of the duct as you can. I also go outside and remove the exterior vent cover, and clean out the dryer vent from the outside.
Could anyone explain me one thing pease? Why is my dryer lint trap always full? DO you guys have the same issue? How did you solve it? Share please, I’ll be very grateful!
Hi! I guess it can be either because youw ash a lot of clothes that produce lint, or because there’s something wrong with the lint filter. Maybe, it’s clogged or something. Try to check the filter first, and if it’s ok, then it’s clothes.
What shall I do if in my dryer, lint is always bypassing the filter?
Usually, if there is no lint on the lint screen after a drying cycle, it could be a sign that the lint is backing up in your dryer. Also, a lack of lint on the lint trap or screen is a sign of an obstructed dryer vent. I guess you should call a professional to come and check your dryer and its filter. Perhaps, it should be replaced or fixed.
Why is my lint trap empty after the drying cycle is over? Is it normal?
Oh, I don’t know, to be honest. I guess, if you wash clothes that don’t leave lint, it’s ok to have a clean filter. But if you wash clothes that usually produce lint, but the screen is still clean, then the fliter might be clogged. Anyway, your dryer should be checked by a professional.
Hello! Could you please recommend some tricks to reduce lint in the dryer? I clean the filter all the time!
Hey there! Well, I use dryer balls regularly. They help to produce less lint. Also, remember to clean the filter on a regular basis.
What does it mean if there is excessive lint on clothes after drying? Does it mean my dryer is broken?
No, I don’t think it’s broken, since in this case, your clothes won’t come out dry! I’m pretty sure the reason is the filter. Maybe, it’s clogged. Try to check it yourself or ask a professional to do it. If needed, they will clean the filter or fix it if anything is wrong with it.
I have recently faced an issue with my dryer. See, there is lots of lint in my dryer vent. SOmetimes it’s even coming out of it! Could you please explain why it happens?
Hi! If you have lint coming out of your dryer vent, it means that lint is making its way into your ventilation system. This is typically an indicator that your vent should be cleaned out.