Clay is one of the simplest and most affordable materials for the home crafters! It is relatively cheap, very affordable (you can buy it in any craft store), and it comes in many varieties depending on what you are going to use it for. This is why so many people prefer using clay, especially air-dry one, for their home decor projects.
However, if you have never worked with air-dry clay before, and it is the first time you tried it, you will most likely face a common issue: how to seal air dry clay pieces correctly?
And this is a good question since the way (and the material you choose for sealing) will depend on what effect you want to get in the end.
In this article, we are going to explain how to seal air-dry clay pbjects correctly a home. You will learn the most commonly used sealing materials and also, we will explain how they should be applied.
In addition, you will find out how much time air-dry clay typically needs for drying out, as well as whether or not this type of modeling clay can be waterproof or get wet.
How to Seal Air Dry Clay Projects?
Working with artistic modeling air-dry clay is super easy! All you need to do is to take it out of the package and, following the instructions on the box, create your piece of home decor or whatever you want to use this clay for.
However, there is one downside that this crafting maerial has. See, when your clay object dries, it will become rather fragile and easy to break or crack.
And since nobody wants their masterpiece to get ruined by an accident move of one’s hand, people usually seal their clay items. But when it comes to air-dry clay, you might start wondering what type of sealant is the best.
In the majority of cases, home crafters tend to use one of the following sealing materials when they need to make their air-dry clay objects stronger:
- White crafts glue (Mod Podge)
- Vaarnish or acrylic sealer
- Liquid epoxy resin
However, using these sealants also has certain nuances. You can make use of a white crafts glue, for example, like Mod Podge, to seal your air-dry clay item. However, in this case, you need to keep in mind that your clay object will not be waterproof. In addition, white crafts glue will turn yellow eventually if it is exposed to the sun all the time.
This is why, we recommend you use varnish or acrylic sealer instead. Also, liquid epoxy resin is a good option if you need to seal your clay project and make it waterproof in addition.
Below, you can check out each of these sealants in more details. Like this, you will understand much better what you should expect from each product.
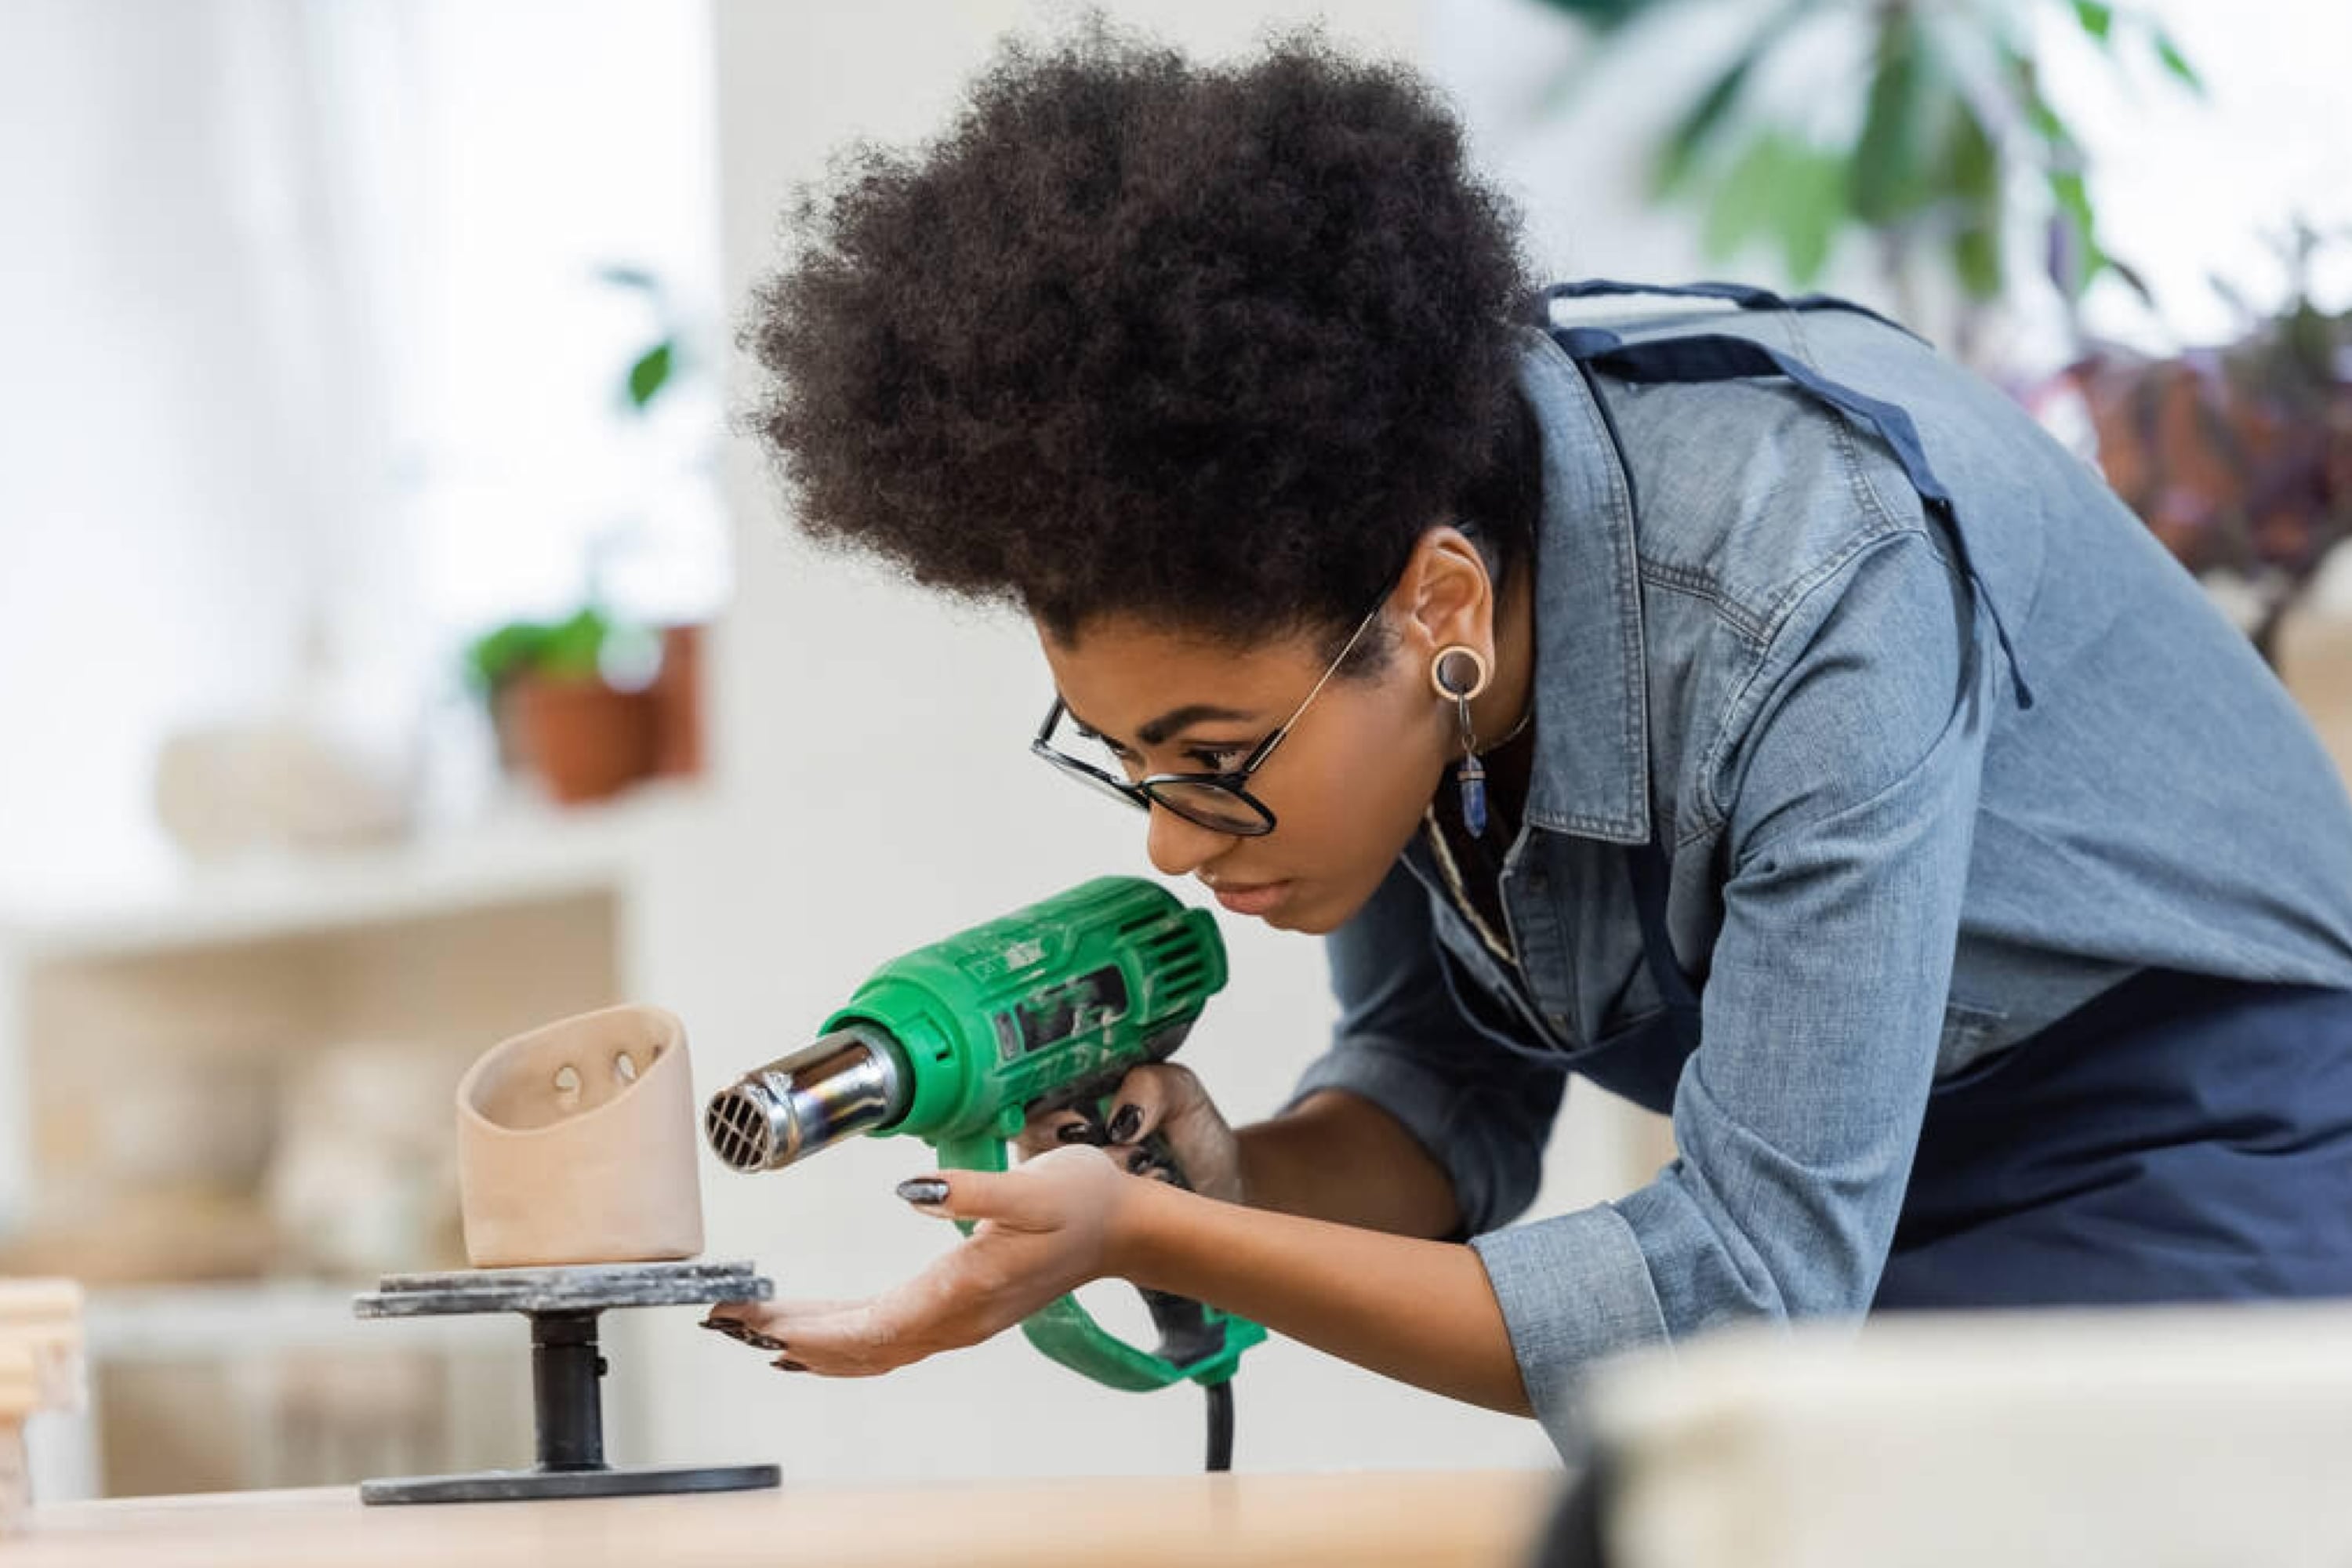
Sealing Clay With White Crafts Glue (Mod Podge)
There are many ways to seal your air-dry clay handmade item, as you already know. And one of the most popular ways is properly sealing it with Mod Podge.
However, it is also fine if you make use of any other white crafts glue. It doesn’t actually matter. Just check the label to ensure that the white crafts glue you are buying is designed for air-dry clay items!
Why are white craft glues are so great for sealing clay?
Well, simply because they are non toxic first of all! Also, this type of sealant is very easy to use, and you can get them very easily in any crafts store. In addition, white crafts glue (no matter of what brand) is one of the cheapest sealing materials and it is also the easiest way to seal your clay!
The application procedure is extremely easy so that even a child can handle it!
- Simply apply a thin layer of sealant with a brush on your sculpture
- Let the white crafts glue dry for 5 to 6 hours
- Then apply a second thin layer
- Let it dry again
- Keep repeating these steps until you have around 3 to 4 layers on your piece
Like this, you will successfully seal your air-dry clay item. But of coursse, you will have to spend some time on that since the sealant needs enough time to dry.
Also, remember about another nuance: if you seal your clay object with the white glue, then it will not be waterproof! Nevertheless, it will still be able to keep small amounts of water from damaging your sculpture.
In addition, white craft glue will become yellowish over time, especially when it is exposed to the sun. So after about a year, the object sealed with it will turn slightly more yellow and the sealing coating will not be as transparent as in the beginning anymore.
Sealing Clay With Varnish or Acrylic Sealer
This is the second option that can be used if you want to seal your air-dry clay. Simply do it with varnish or an acrylic sealer, depending on what you can find ina store or what you personally prefer.
Varnish is a transparent type of clay sealer. It is used for sealing wood most commonly, but it can also be applied in order to seal a lot of other materials as well. Varnish has several benefits that make it so popular among the rafters:
- It dries clear mostly
- It is transparent
- It can be used on different materials
- It is easy to apply
However, we want you to keep in mind that even though varnish will typically dry clear, depending on the kind of varnish that you use, it can also dry very glossy. So we suggest you read the label carefully since it is usually indicated on the can how it dries, matt or glossy.
Varnish is also so popular because it is extremely easy to apply:
- Open the can
- Brush on the varnish on your clay item
- Make sure that the sculpture is covered with the varnish completely
The last step is essential since you can usually only apply one layer or varnish unlike the white crafts glue which can be aplpied in multiple layers.
Why can some varnishes only be applied in one layer, you may wonder? Usually, the reason is because, when a second layer is applied, some varnishes lose their transparency.
Luckily, you can easily test this! Simply seal a crap piece of clay with the varnish and check if it driess transparent or not after the second layer. Once the varnish is fully dry, your clay sculpture is properly sealed and water-resistant!
Sealing Clay With Liquid Epoxy Resin
Using epoxy resin as a sealing material is best suitable for the experienced crafters! See, this method is probably the hardest one of sealing your air-dry clay. In addition, epoxy resin is actually slightly toxic while it is not hardened yet. So you need to be very careful when using it and wear protective gloves and a mask.
But why is epoxy resin the hardest one to apply?
See, epoxy resin consists of two parts. One part is epoxy itself, and another one is the hardener. The two need to be mixed before the epoxy is ready to be used.
Usually, you have to mix the epoxy and the hardener in a 1 to 1 ratio. Howwever, we would suggest you read the instructions on the package anyway before your start mixing the epoxy parts! Application stage is basically the same as for the previously described sealants:
- Apply the epoxy to your sculpture
- Make sure that you cover every inch of your sculpture with the sealant
- Leave it to dry
If you mix the epoxy resin correcctly and apply it according to the rules, then you will have a transparent hardened shell over your sculpture. This epoxy “shield” will keep almost everything away from it.
Epoxy is a great sealant in fact since it will make your clay item water-resistant, and also epoxy will not turn yellowish when it is exposed to the sun. Epoxy resin is also the only way to permanently seal air-dry clay that will also waterproof it.
Like this, now you know what sealants can be used in order to protect your air-dry clay project from any dmage or external factors like dust, moisture or water that can damage the sculpture.
If you are the beginner, we would recommend you stick to varnish, acrylic sealer, or Mod Podge since epoxy will still be a bit too tricky for you.
How Long Does It Take For Air-Dry Clay To Dry Out?
Once you finish your clay project, you need to give it enough time to dry and thus harden. If you start using the object while it is still wet and not fully dried, chances are high that you may damage it or cause distortions!
So how soon will your air-dry clay item be ready to use?
As soon as the clay is exposed to air, it will begin to dry. It typically takes from 24 hours to 72 hours for the clay item to fully dry. However, you need to take into consideration the fact that it will depend on the thickness of the clay.
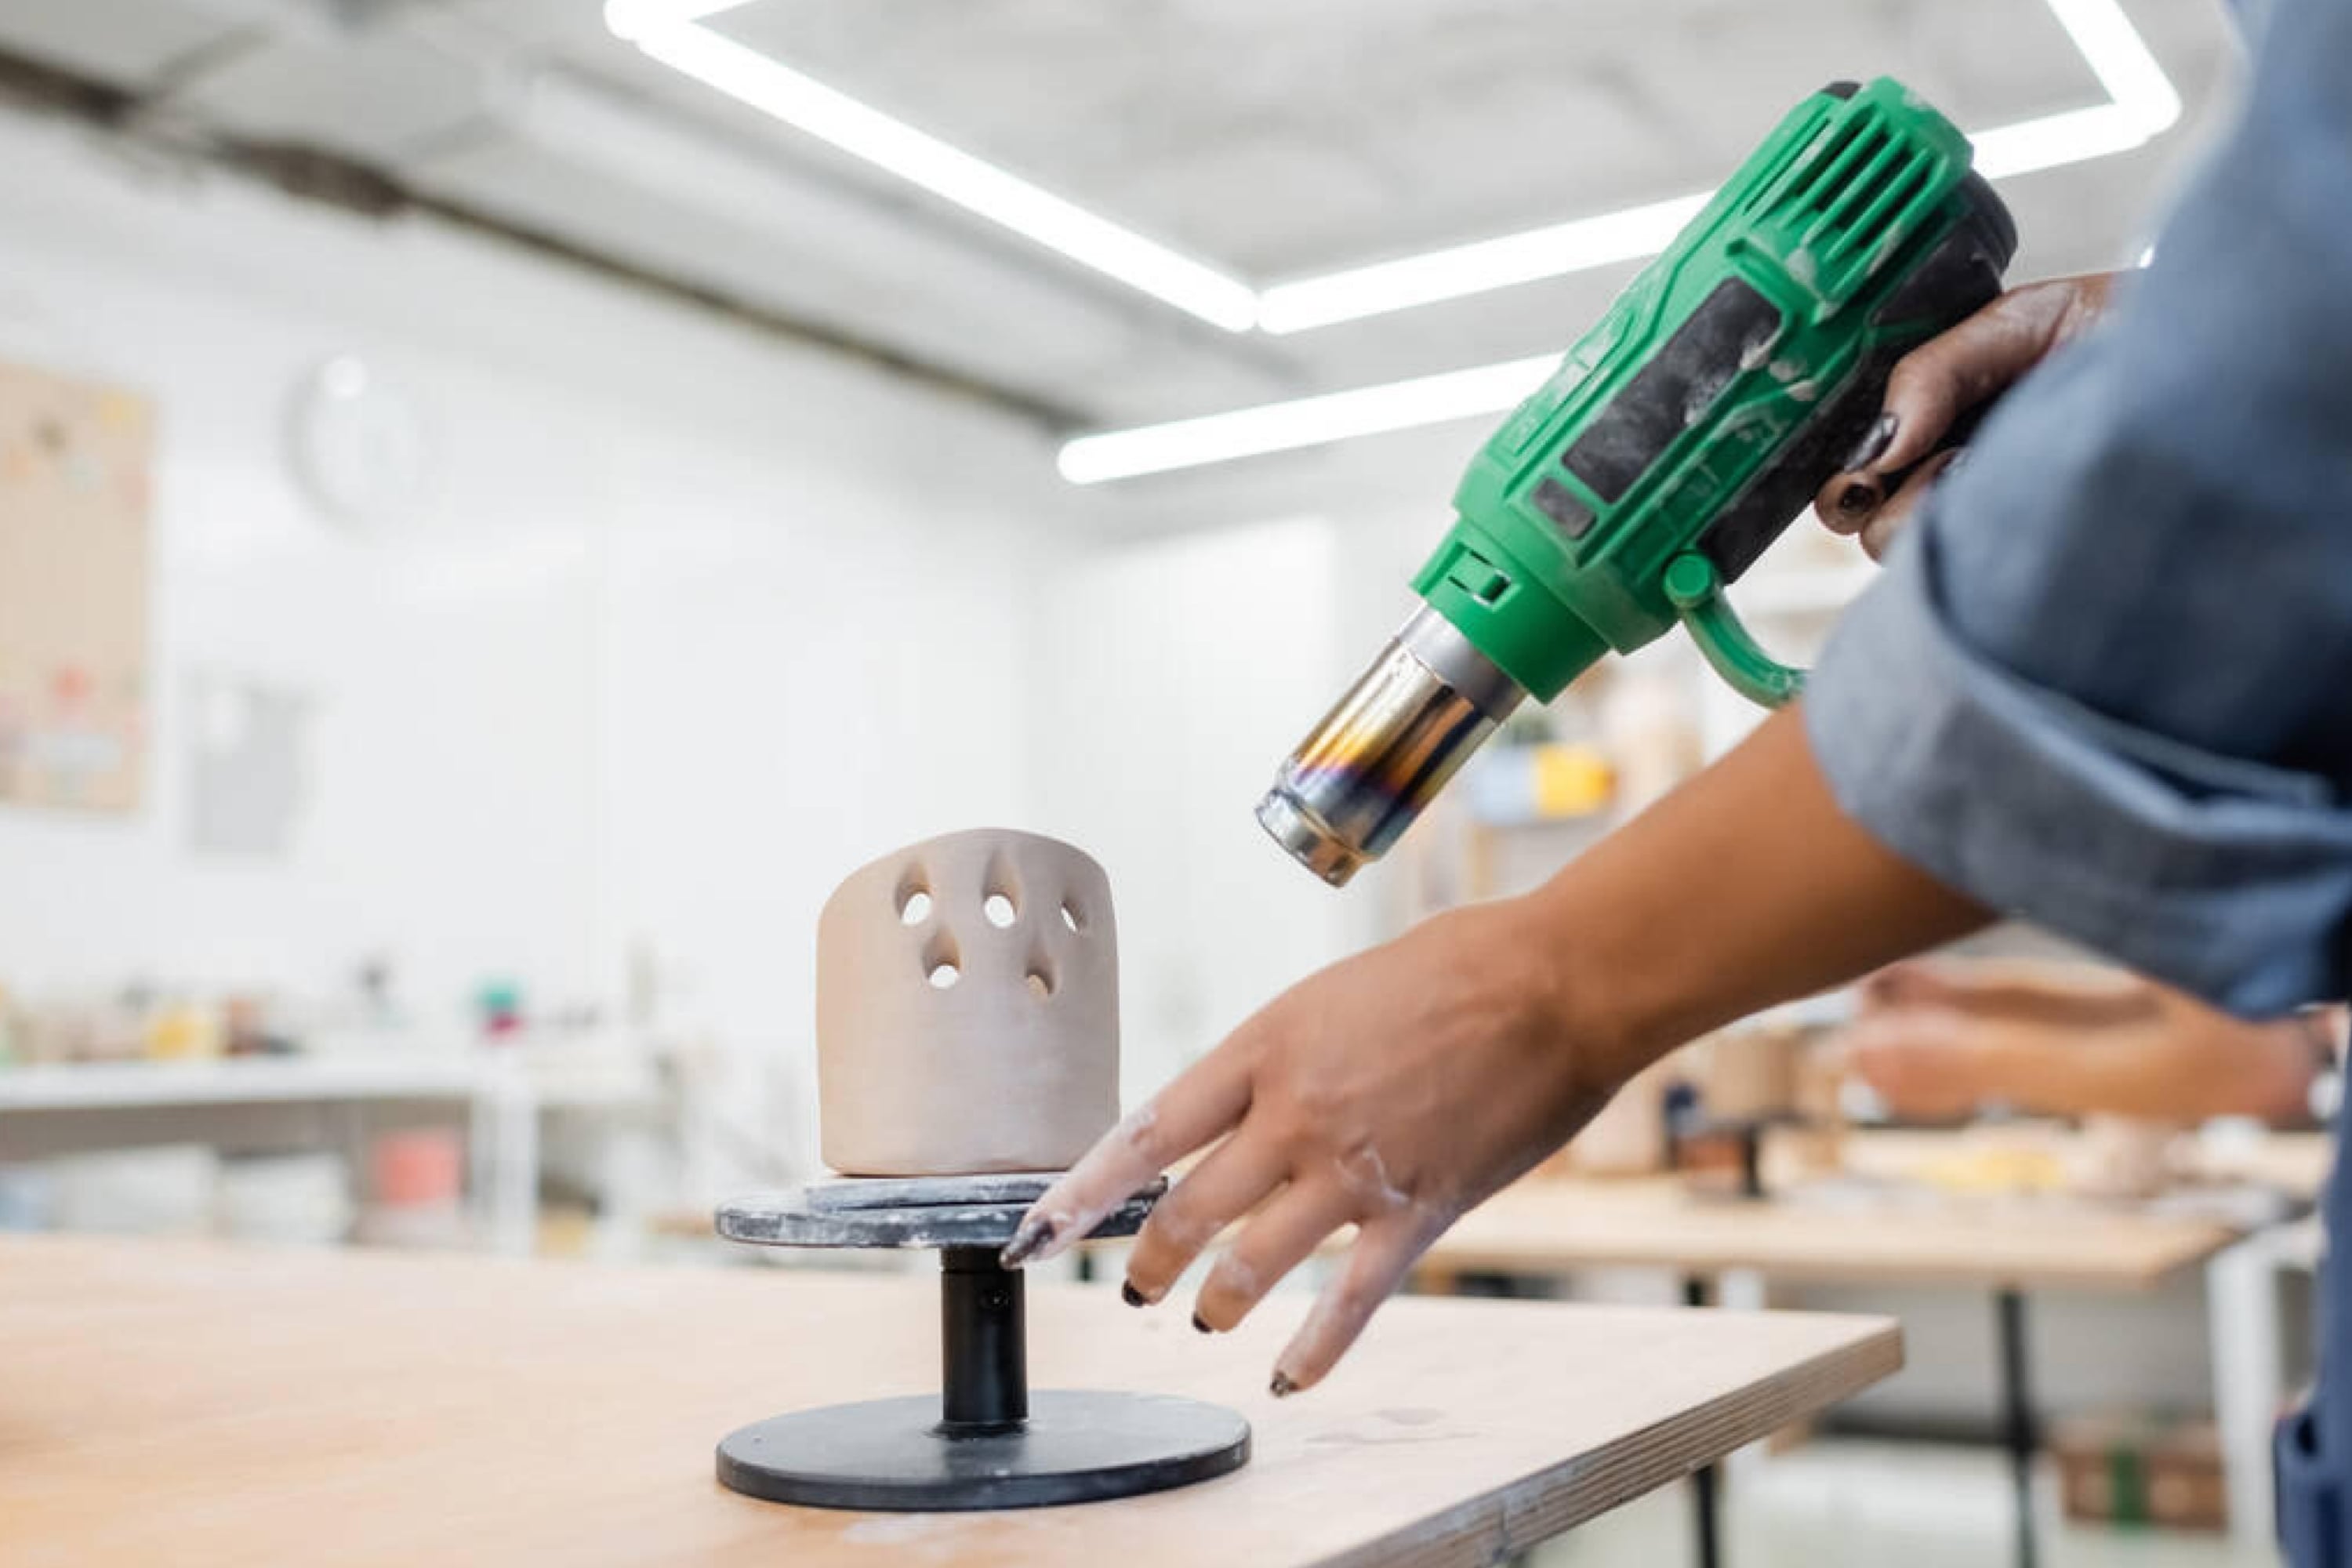
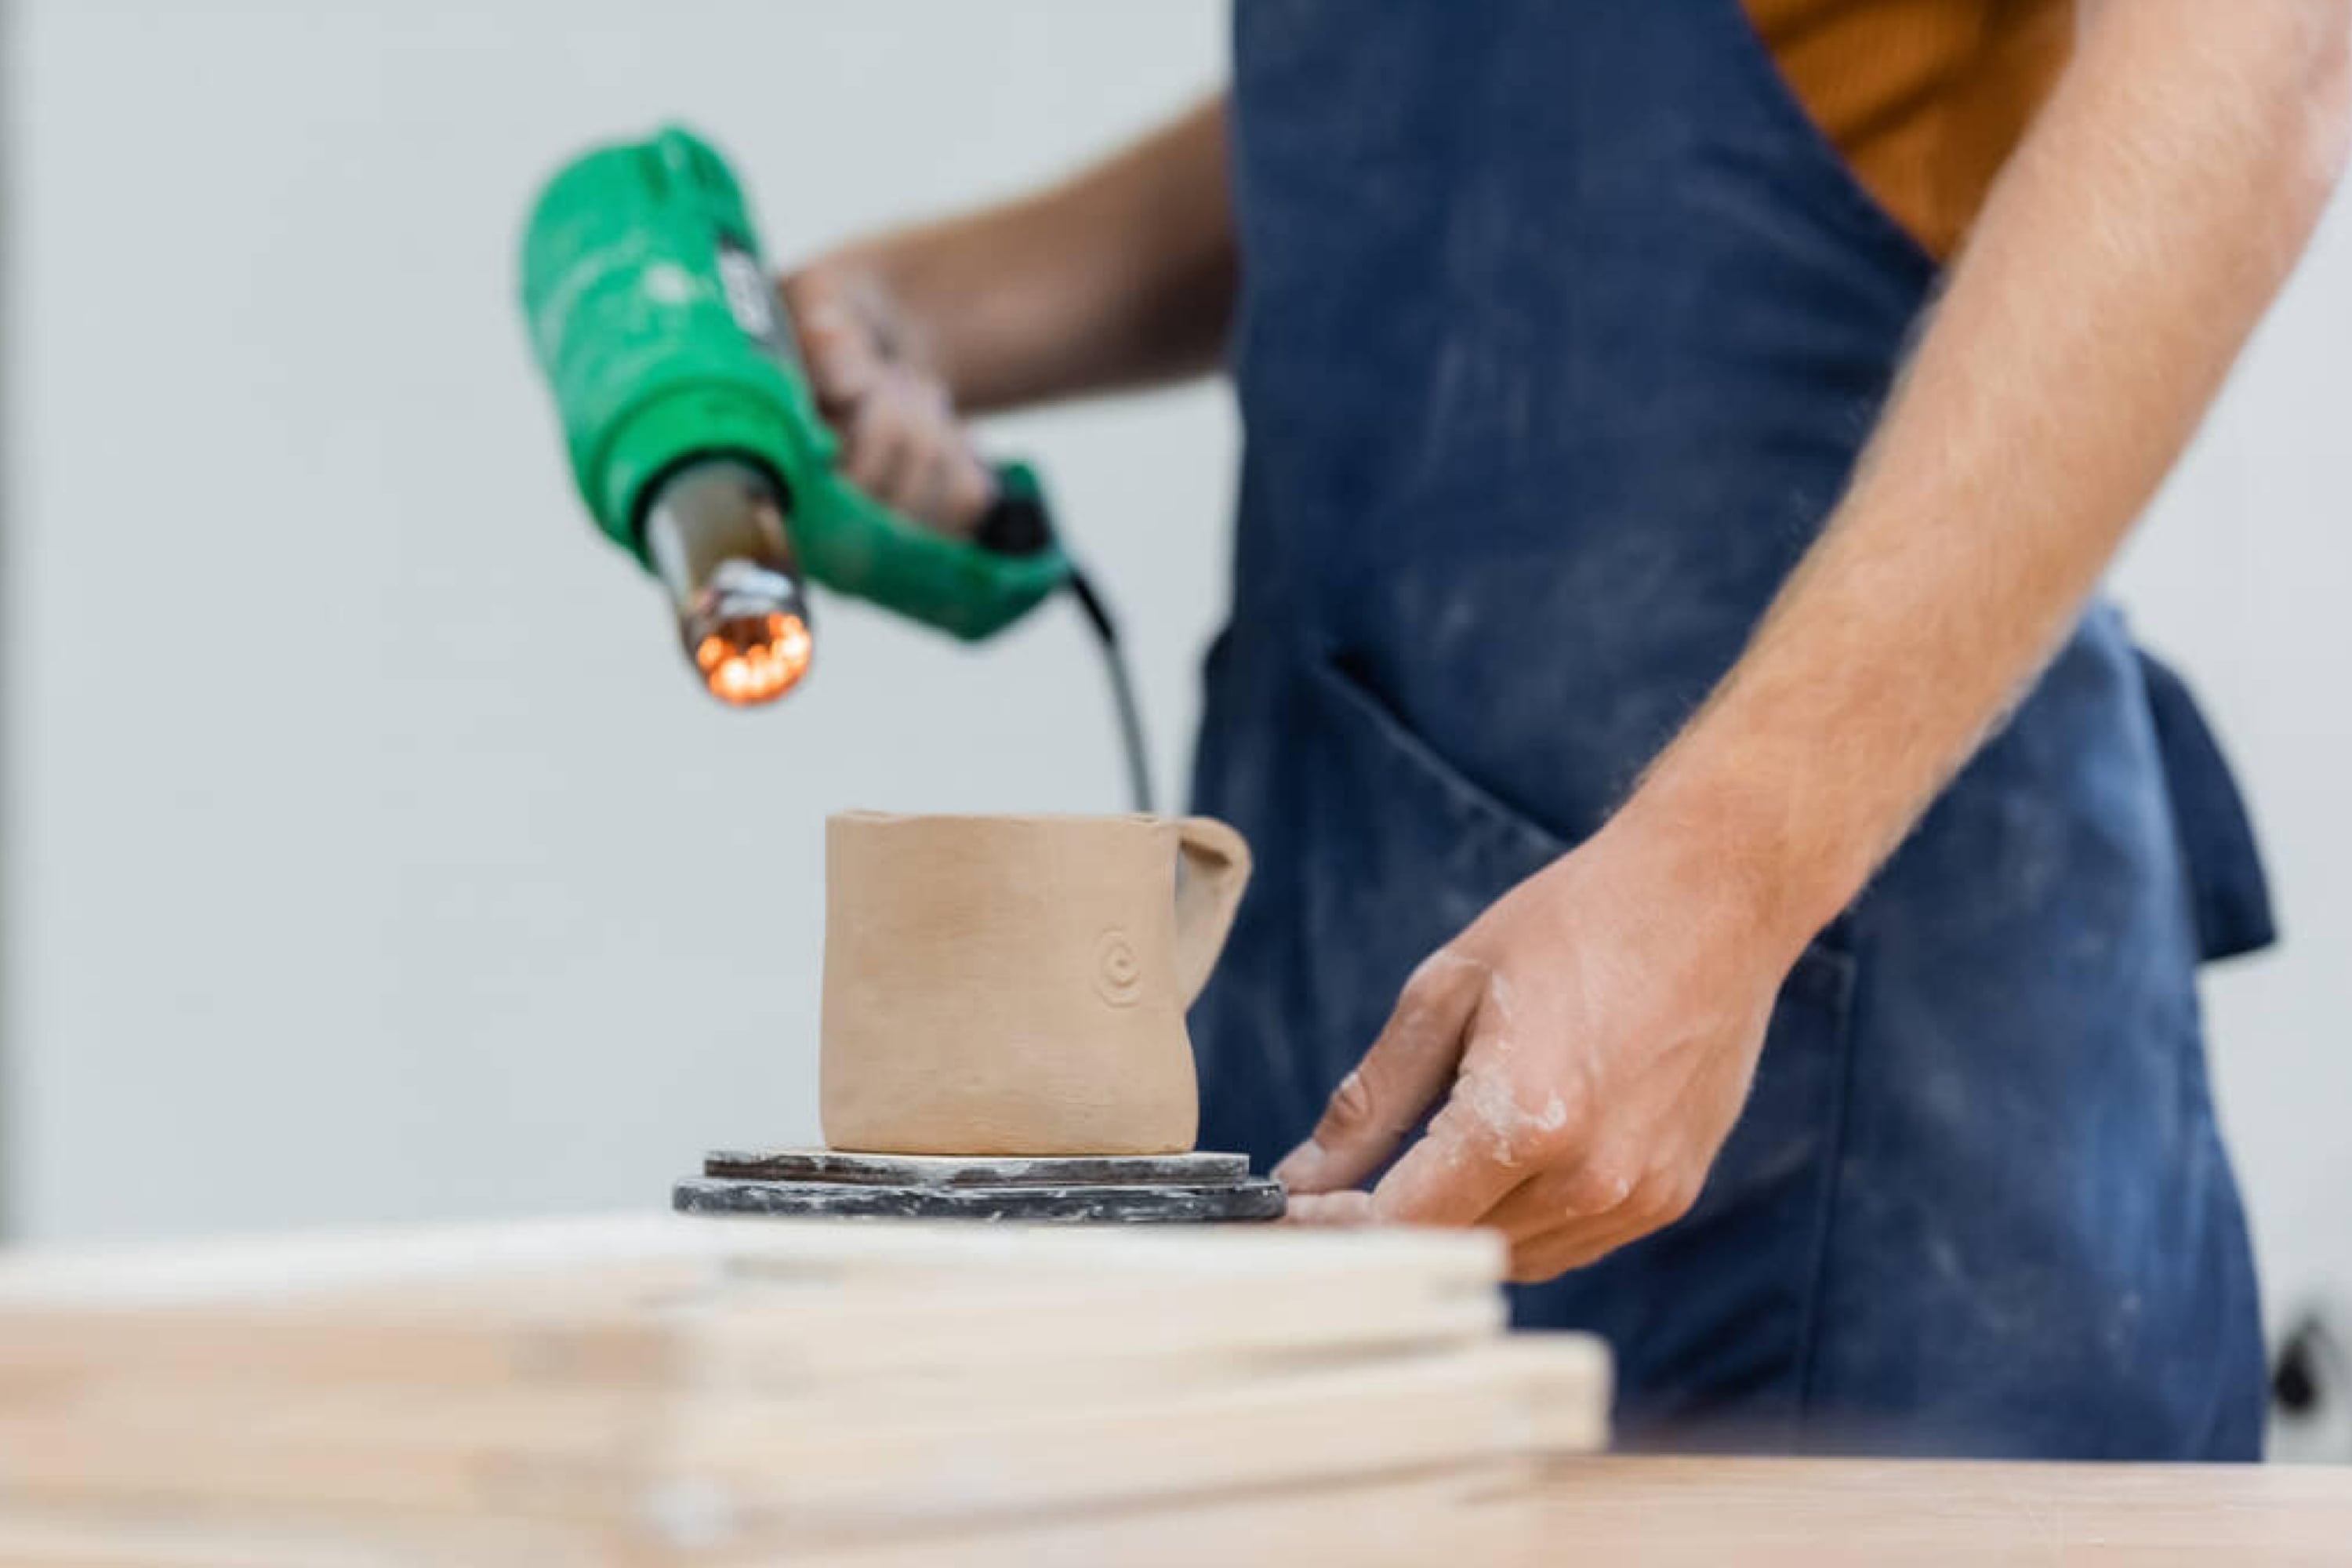
Some beginner crafters often make a mistake by heating their clay items to speed up the drying process. This should bever be done! After you are finished with your scclay ulpture, you shouldn’t even make an attempt to heat the clay to make it dry faster! If you do so, the heat will cause multiple cracks on the surface, and you won’t have the smooth appearance that you are striving for.
This is why the safest (even though not the fastest) way to dry out the clay is to simply let it dry naturally at room temperature. You should store air-dry clay properly as well if you don´t use it at the moment. This is because it will dry as long as it is out in the open.
Can Air-Dry Clay Get Wet?
Quite many people wonder whether or not a clay object can get wet. Well, the short answer is no. It should not get wet. As for the air-dry clay, it tends to absorb moisture pretty well indeed. So when it comes into contact with water, it will become soft again.
That is why air-dry clay projects and sculptures should be sealed right after the item is finished. Also, this is the reason why air-dry clay pieces should be stored in airtight containers when it is not used.
Can Air-Dry Clay Be Waterproofed?
As a material, air-dry clay has no waterproof properties. On the contrary, it can absorb water and moisture quite well, so if it is exposed to water, the item can become soft again even though it has been dry before!
This is why, in order to avoid that scenario and not ruin your project, we recommend you do the following. After you have finished your clay sculpture, remember to apply a coat of acrylic paint or varnish. It will work as protection and help waterproof the clay surface after you dried the item.
This is also the only way known that air-dry clay can be used in case you are making items that will be placed outside out of it. If you don’t add the paint or varnish, your piece will get damaged after a while. Especially if it gets even a little bit wet!
What about the clay that is still in the package, some of you may wonder?
When the air-dry clay is still in the container or in the package, you can keep the moisture away quite easily by storing it in an air-tight plastic container. If this seems not enough for you, feel free to also add a plastic layer over the clay. It will give you the same results and also serve as an extra protection.
And remember that, if you forget to cover the excess clay, or if you skip this step, it will dry out to the point where you won’t be able to use it again.
So, now you know how to seal air-dry clay, and what sealants are best to be used for this purpsoe. With this information, as well as with all the life hacks and tips we shared with you today, we are sure that you will be able to keep your clay sculptures much longer now.
[wp-faq-schema title=”Frequently Asked Questions”]
Hi! I want to try air-dry clay but I don’t know what brand to choose. There are so many of them! Could you suggest me something please? Thanks!
Hi there! I personally used Crayola first. It is less sticky and smoother than traditional clay. If you are planning to use stamps, beads, or embed objects, this is an excellent clay because you can use conventional clay techniques with it. But now I’m a fan of Activa brand since this clay gets super lighweight after it dries!
What paint is it best to apply if I want to paint my clay item? I know that oil-based and watercolor are not the options. But what then?
I use acrylic paints all the time. hey work great! Besides, acrylics come in such a wide variety of colors, there are even metallic craft paints!