Brass is the kind of metal that looks nice and stylish itself without any paint or other finish on it. However, it may happen that you want to paint it – for example, when you find an old brass lamp or candlestick that obviously needs some refreshment.
But here comes another question: how do you paint over brass? And by the way, can you paint brass at all?
If you feel uncertain about this subject, we are here to help you out.
From this article, you will learn how to paint brass surfaces with paint correctly so that the paint layer adheres to the brass item longer. Also, you will find out how to get your brass item ready for the upcoming painting procedure and how to maintain brass objects after they are painted so that they keep on looking nice.
Painting Over Brass. A Step-By-Step Guide
Painting brass is not as simple as painting other, more pain-perceptible materials (for example, wood). While you can paint metal items including brass, their smooth, slick surfaces will make a metal-painting project slightly challenging and complicated.
For example, many of those who tried to paint over brass later complain that the paint is too runny and won’t adhere properly!
In addition, many paints will not adhere to a shiny brass surface as they should. This is why it is important to purchase the appropriate primer if you are going to paint brass surfaces.
It will allow you to make sure that your painted brass or metal still looks great long after you finish painting.
Below, we have prepared a detailed guide on how brass can be painted. If you follow all the steps precisely, you will be able to apply paint over the brass surface quite easily, and also, you can be sure that the paint will last long.
Clean Your Brass Object Or Surface
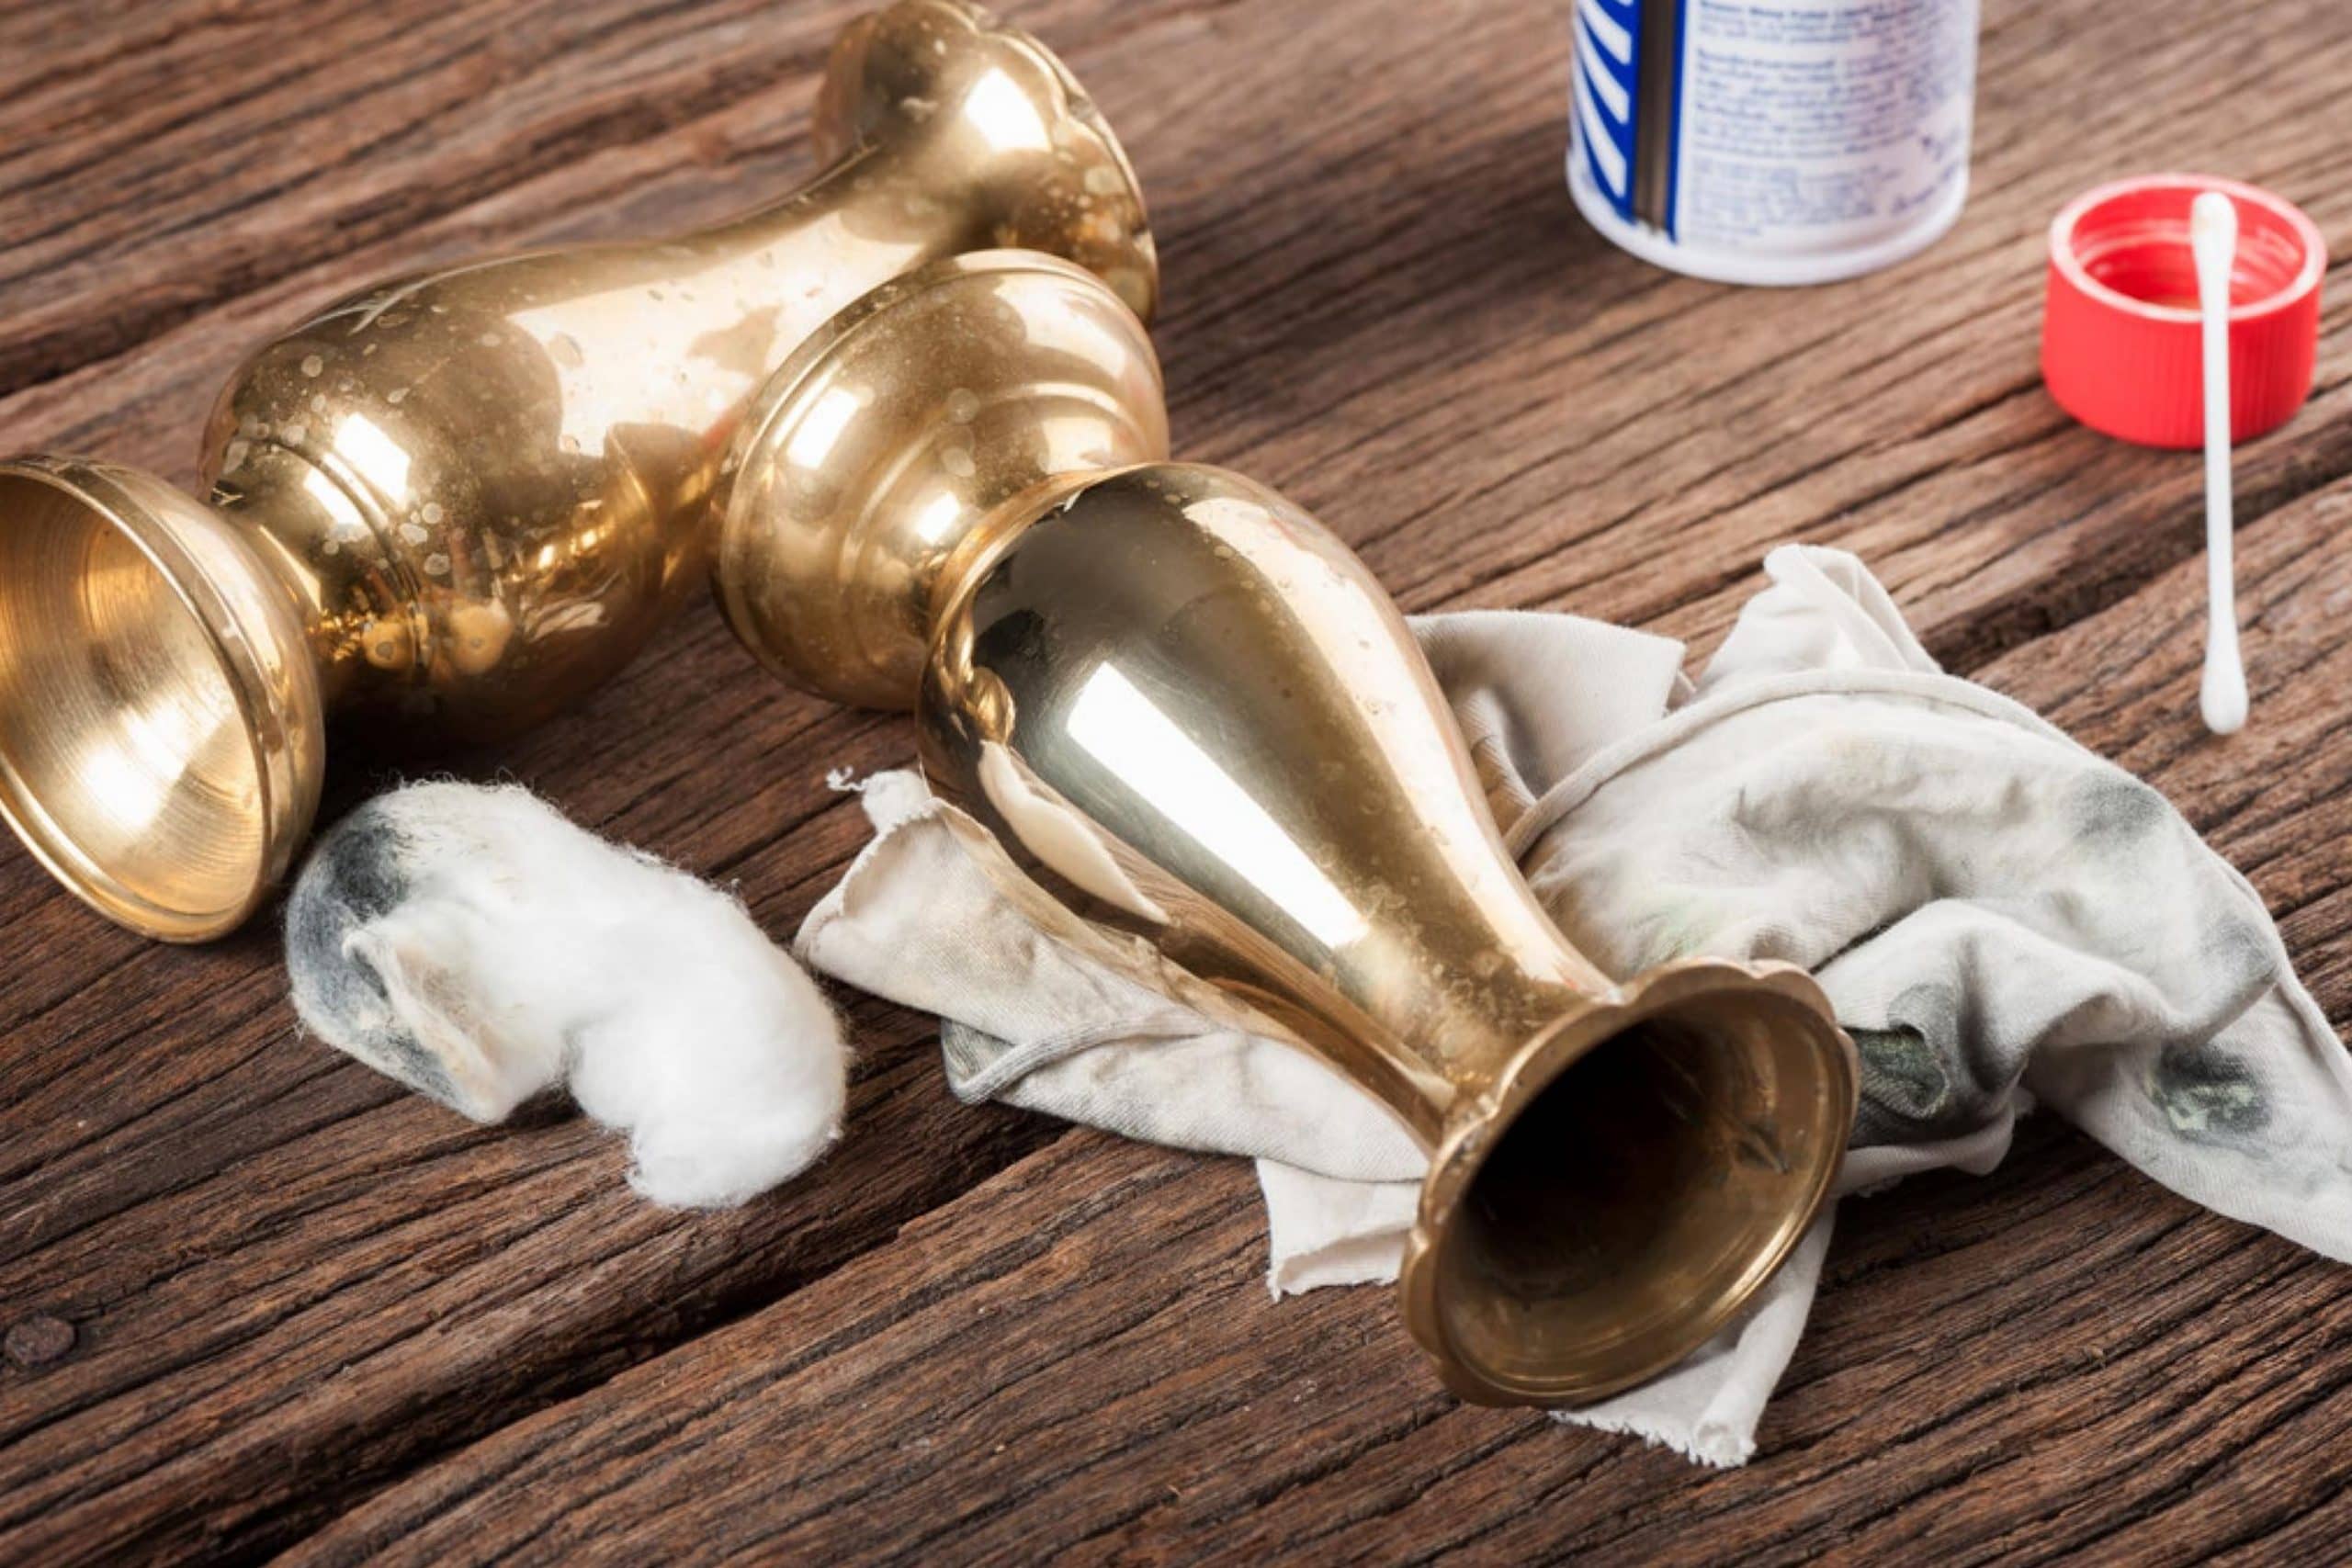
It does not matter what exactly you are going to paint – an old brass candlestick, a lamp, or your grandma’s brass kettle – the very first thing you should always start with is cleaning. The surface has to be prepared for the application of paint which means the absence of dust and dirt on it.
In order to clean the brass or metal surface, you can use a rag and soapy water to remove any dirt that might get stuck to it.
If the soapy water is not strong enough to clean the metal, use a glass cleaner that contains ammonia to clean it.
After you are done with the cleaning stage, remember to dry your brass item thoroughly!
You can wipe it with a clean and dry cloth first and then place it in a well-ventilated place where the airflow will do the job.
Prime Your Brass Object
You can’t just apply paint directly over your brass item right after the surface was cleaned and washed! Before you reach for the paint, the surface needs to be primed. To do this, place the brass object outside on a sheet of newspaper on a clear day.
Spray the brass object with a spray primer designed for use on metal surfaces. Before you start using the primer, make sure that its directions state that the product will adhere to metal or shiny surfaces.
Otherwise, the primer will rub off soon after you finish painting.
Those directions can be found on the can of a primer so it won’t take you long to find them!
After the first coat of primer is applied, give it enough time to dry and apply a second coat of primer. Like this, you will make sure that you have coated the entire surface of the object.
Apply the Paint
Only after your brass surface is cleaned and primed, can you proceed with painting it. Paint the dry primed object with spray paint, using the color you desire. You do not need to use a special type of spray paint though (like you have to do with the primer) because any paint will adhere to the primer.
Seal the Surface
Finally, after you paint your brass item, there is the last step to take. Now you need to seal it. For that, spray a clear acrylic sealer onto the brass or metal object when the paint is completely dry.
Many people think that sealing is not mandatory, but applying the sealer will help to protect the paint and prevent it from chipping.
Like this, now you have a complete guide on how to paint over brass correctly. As you can see, the instructions are very simple so all you need to do is to follow them precisely – and you will get a perfectly painted brass object that will remain good-looking for a long period of time.
Can Brass Be Painted With Varnish?
The short answer is yes, you can varnish brass. Moreover, varnish or lacquer will stick to brass quite well. It is even possible to varnish brass that has been previously painted! If you apply varnish on top of the paint, it will seal the paint that was varnished over.
Like that, you will keep the paint in a good condition longer (without chipping and/or peeling) and will protect it from fading and scratches.
There is, however, one rule of thumb. If you want to apply varnish or lacquer over your brass item, look carefully and inspect the brass material first of all. This is needed to figure out whether or not it has already been glossed over. Or perhaps your brass surface already has a varnish coating.
In either case, you will have to remove the original, previously applied coat of varnish in order to apply one to your brass piece. If you don’t do that, it might result in uneven layers of varnish.
Should you really find that there is an old layer of varnish on your brass item, you need to remove the existing varnish with a solvent. For this purpose, choose the solvent that is specifically suited to the type of varnish used.
If you are not sure which solvent to use, a lacquer thinner or acetone often does the job. The procedure of old varnish removal is pretty simple.
- Soak a clean lint-free cloth in some lacquer thinner and rub the brass surface with it. This will loosen up the adhesion of the old varnish to the metal surface
- Wipe off all remaining patches of old varnish with the cloth dipped in lacquer thinner. Do it until the entire surface of the brass material is free of the old varnish
- Apply thin layers of new lacquer on the brass material with a pressurized spray or a fine brush
- Allow the item to dry before the second coat of lacquer is applied
- A second coat will give your brass piece a more shiny and durable finish
- Remember to sand the item before applying the final topcoat. For that, use fine-grit sandpaper of at least 400 grit
And keep a couple of safety tips in mind! When using lacquer thinner or similar solvents, you should always wear protective gloves as these chemicals may be harmful to the skin in case of direct contact. Also, make sure that you are working in a wide-open area with good ventilation and airflow. It will help dissipate the fumes and odor, so you won’t inhale these substances that are actually toxic!
What if the brass surface does not have a previously applied coat of varnish, you may wonder?
Well, in this case, things are much simpler for you! If there is no layer of old varnish, all you have to do is clean the brass material with a piece of lint-free cloth dipped in alcohol.
Like that, you will easily remove dust and oil stains that might have stuck to the surface of the brass item (which happens quite often as a result of touching and handling). After you have wiped the brass material clean of dust and oil stains, you can already apply the varnish.
How to Clean Brass?
Since you need to clean your brass item before applying paint to it, it would be good to know how exactly the cleaning process should be done. Besides, this often becomes an issue for those who need to clean their brass objects because people simply don’t know how to do it correctly!
Luckily, cleaning brass is not something supernatural. There are several alternative ways to clean this material.
The approach you choose should depend on the level of dust, dirt, or tarnish that has built up. Here you can check out a few most common techniques:
Soapy Water
Brass can be cleaned with just some hot, soapy water and a microfiber cleaning cloth. All you have to do is to go all over of the surface thoroughly with the cleaning cloth. If you need to get into any crevices, use a clean toothbrush to reach them. Then just rinse the item with warm water and dry thoroughly.
Use Tomatoes!
Well, not tomatoes exactly. See, in order to deal with tougher stains on brass, you can pull out the ketchup, tomato sauce, or even some tomato paste! Simply rub a thin coat of the product onto the brass, let it sit for an hour or so, and then clean the piece with hot, soapy water.
Opt For Lemons
As an alternative natural cleaning method, you can make use of a simple combination of salt and lemon.
- Cut a lemon in half and remove the seeds
- Coat the cut half of the lemon with table salt
- Rub it over the surface of the brass
- Re-coat the lemon with salt as needed
- Once you have covered the entire surface, buff it with a clean, dry cloth until it shines
What Kind Of Paint Shall I Use On Brass?
This is one of the most common and frequently asked questions that are asked by those who need to paint a brass item. What kind of paint is better? Is it water-based paint or oil-based paint? Ok, let’s find this out.
See, the good thing about brass is that this material can be painted with any kind of paint, be it water-based paint or oil-based paint! Such a relief, huh?
However, there are still certain nuances that should be taken into consideration if you want to get a smooth and long-lasting coat of paint on your brass object.
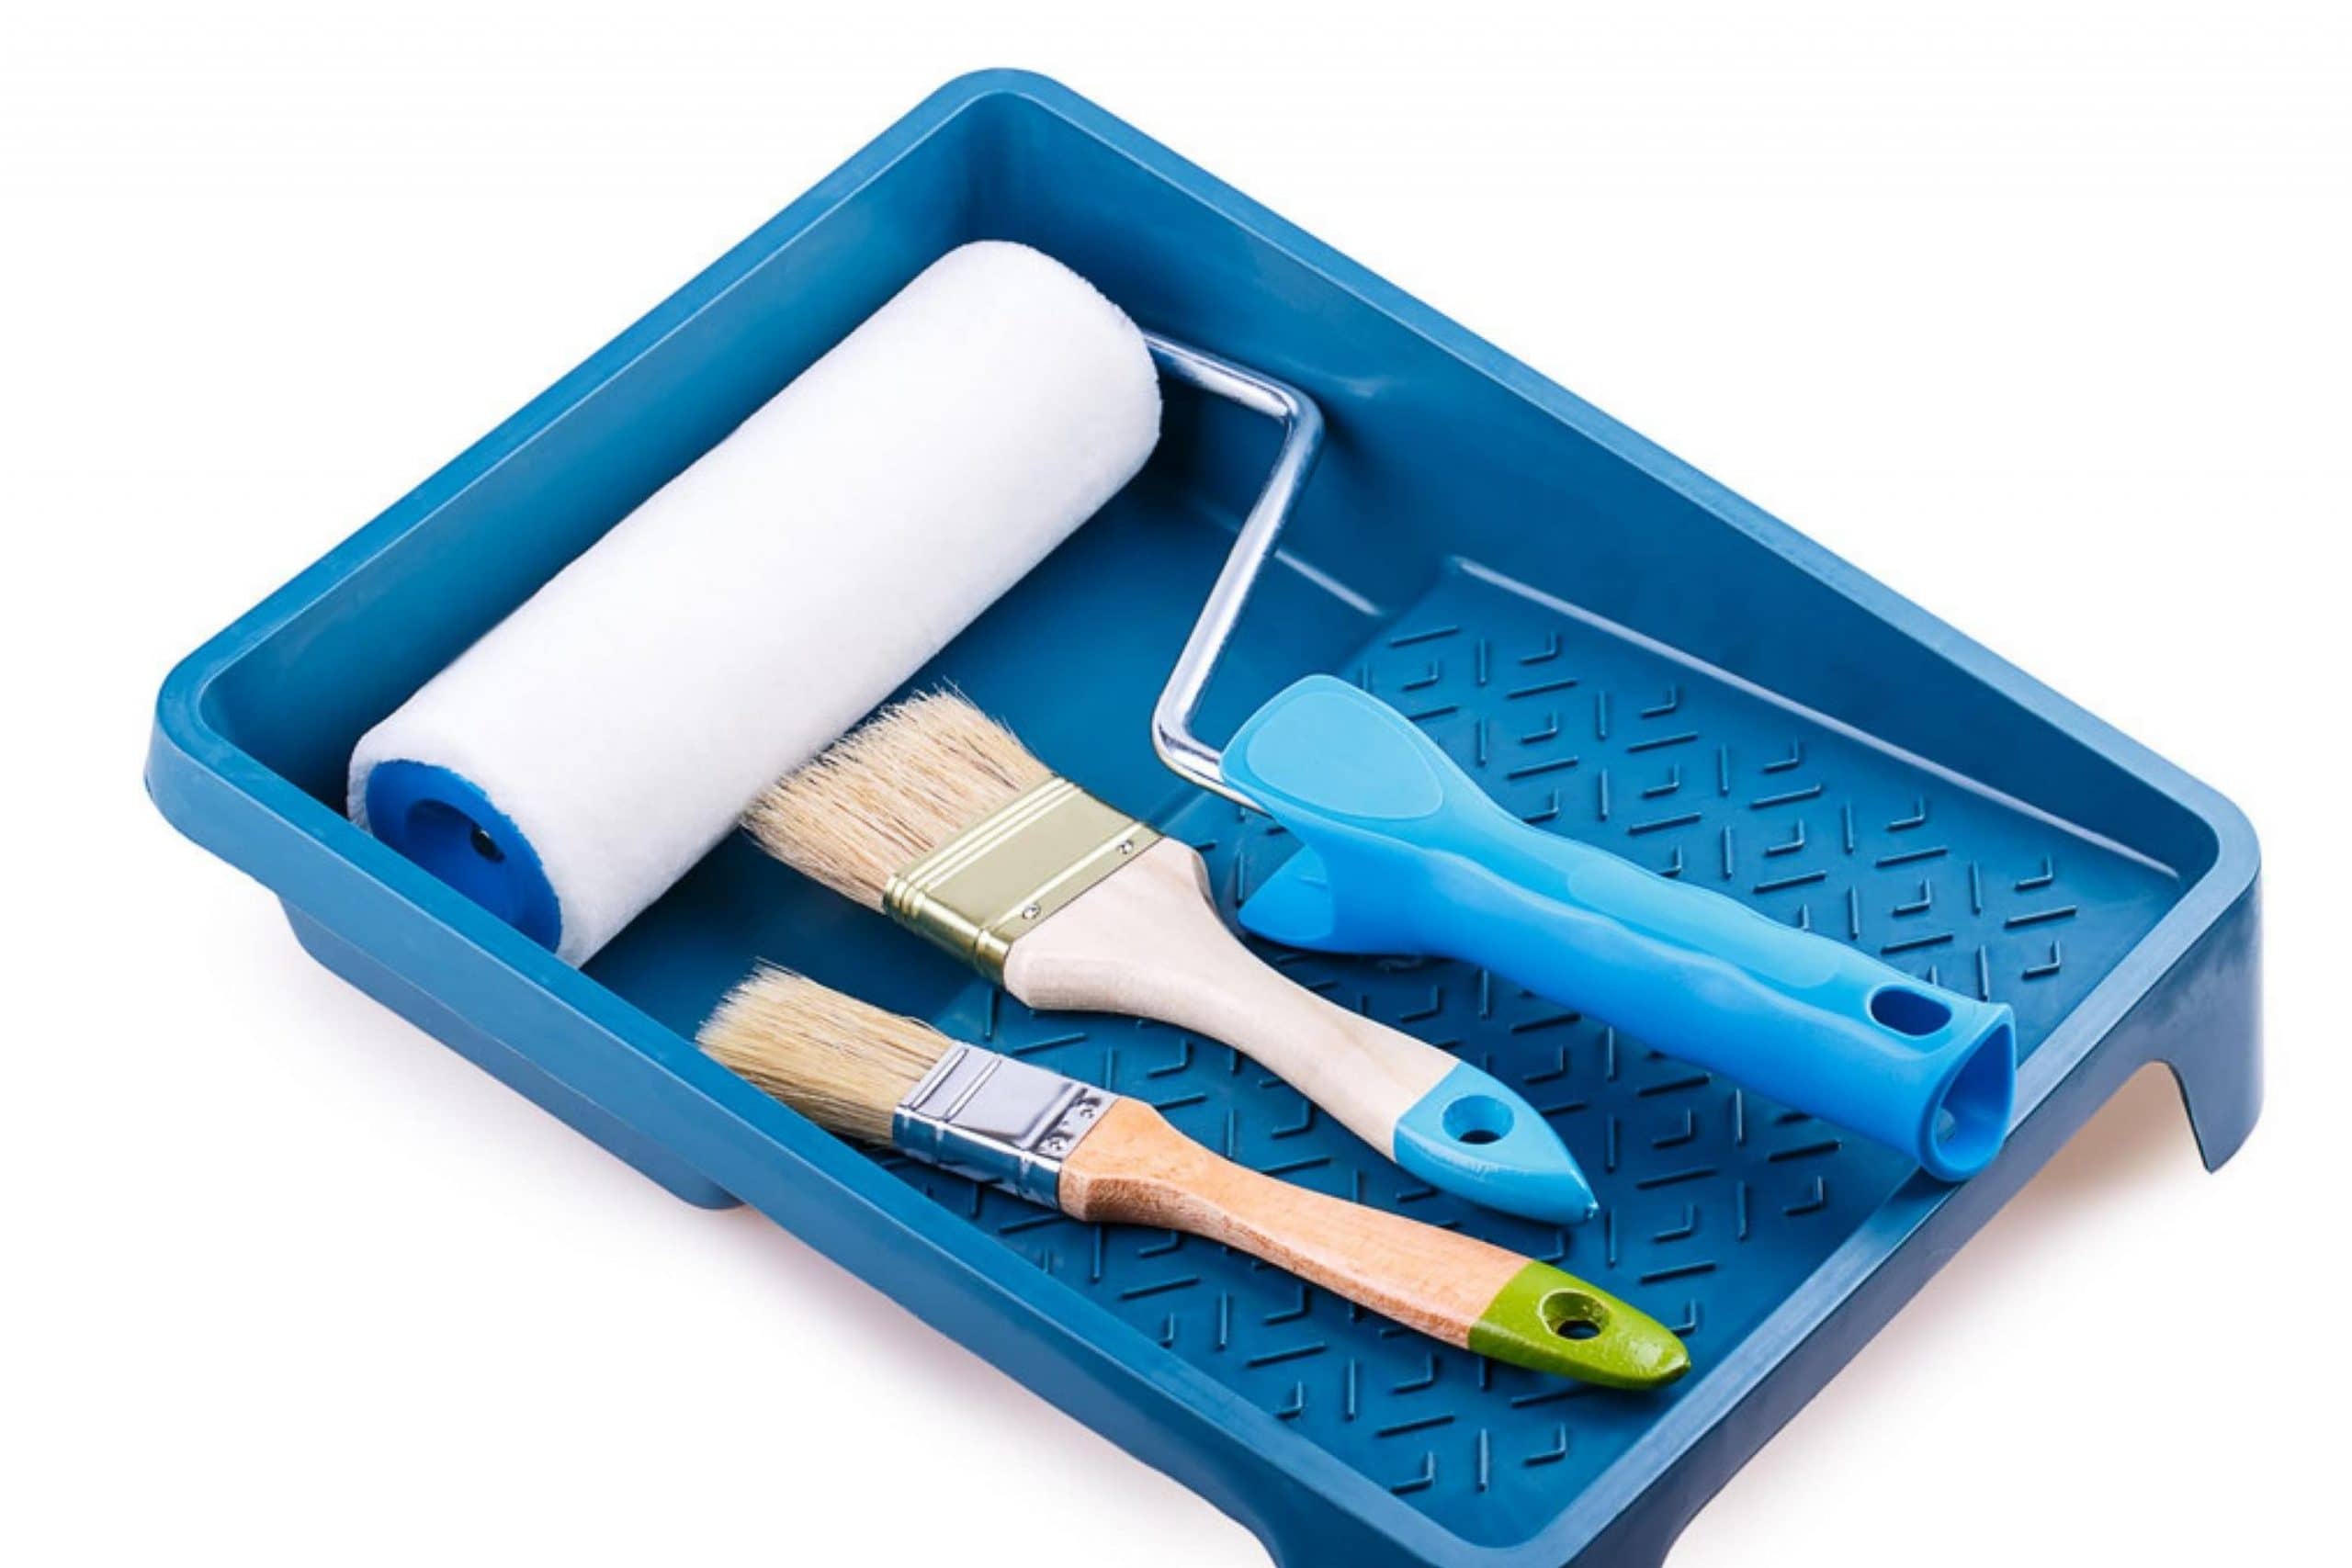
Tips For Using Water-Based Paints Over Brass
Before painting the brass item with water-based acrylic paint, it is a good idea to apply a self-etching primer. To do that correctly and not mess up, we recommend you read the manufacturer’s instructions though. Also, in certain cases, you may need to apply a coat of a surface primer to do the job.
This type of primer improves the adhesion of the water-based acrylic paint to the bonding/self-etching primer.
If you are going to paint your brass item with water-based acrylic, for example, it is recommended that you apply a top coat of acrylic sealer to it first. This is required in order to protect the water-based acrylic paint from getting wet, or from dust and scratches.
What You Should Know When Using Oil-Based Paints?
As we have already mentioned, brass can be painted not only with water-based paint. This material can also be painted with oil-based paint. But if you want the paint to get a good grip on the brass surface, you need to do certain preparations before applying the oil-based paint.
These preparations also include wiping the brass surface and cleaning it to remove dust and other dirt from the item to make the paint grip better. Another step of these preparations is priming.
And much like the preparations you would do if applying water-based acrylic, you also need to be sure that the primer or surfacer you will use is the right kind for oil-based paint.
So, now you are aware of how to paint over brass. You have a detailed guide now that will help you to undergo the painting procedure properly. In addition, we shared a few handy tips and life hacks with you on this subject.
With all that, painting brass will be as easy for you as applying paint over a wooden surface or canvas!

[wp-faq-schema title=”Frequently Asked Questions”]
I painted my old brass candlesticks a couple of months ago and now it seems to me that they faded a bit. Does anyone know whether painted brass needs any repainting later?
Well, I guess it needs repainting only if something is wrong with the applied coat of paint (e.g. if it’s peeling off or chipping). If you’re sure that yours is fading, you can repaint the candlesticks, why not? Just make sure you use exactly the same color unless you want to try another one.
Is it mandatory to coat painted brass with any lacquer of something similar to protect the coat of paint? I often notice that lacquers leave yellowish tint after they dry, so I wouldn’t like to see that on my brass tableware.
In fact, it is not mandatory, as far as I know. It does help to extend the lifespan of the coat of paint though, but if you are ok with repainting your brass items now and then, perhaps, there is no point for you in covering them with lacqyer now.
Does anyone know how to paint over brass-plated metal? Are there any special tricks or life hacks a newbie shall know about?
I’m not an expert but I think you should start with cleaning the surface (I guess soapy water will do) and prime the surface when it’s dry. Then you can proceed with painting.
Hello! I’m here to ask for your help. See, I need to paint my old brass hardware in the kitchen but I don’t know how to paint brass with acrylic paint. Could anyone tell me that?
Hello. Well, it’s basically pretty easy to do. You need to get your brass items ready first by cleaning them and drying. Then, the surface has to be covered with a layer of metal primer and when the primer dries, you can use paint.
Hey folks! Since you’re all here discussing how to paint brass, maybe somebody could tell me how to paint brass fireplace?
Hello there! Well, I wish I could help but I don’t know how to do this. I guess you need to take some general steps like cleaning brass and priming it before you paint…But you’d better ask someone who has more expertise.
I want to paint my brass hardware but I’ve faced a small problem: can I use spray paint for brass? Did anyone try this method? How did it work?
I never tried to paint brass with spray paint but I’m pretty sure you can use any kind of paint on this material as long as brass is clean and primed.