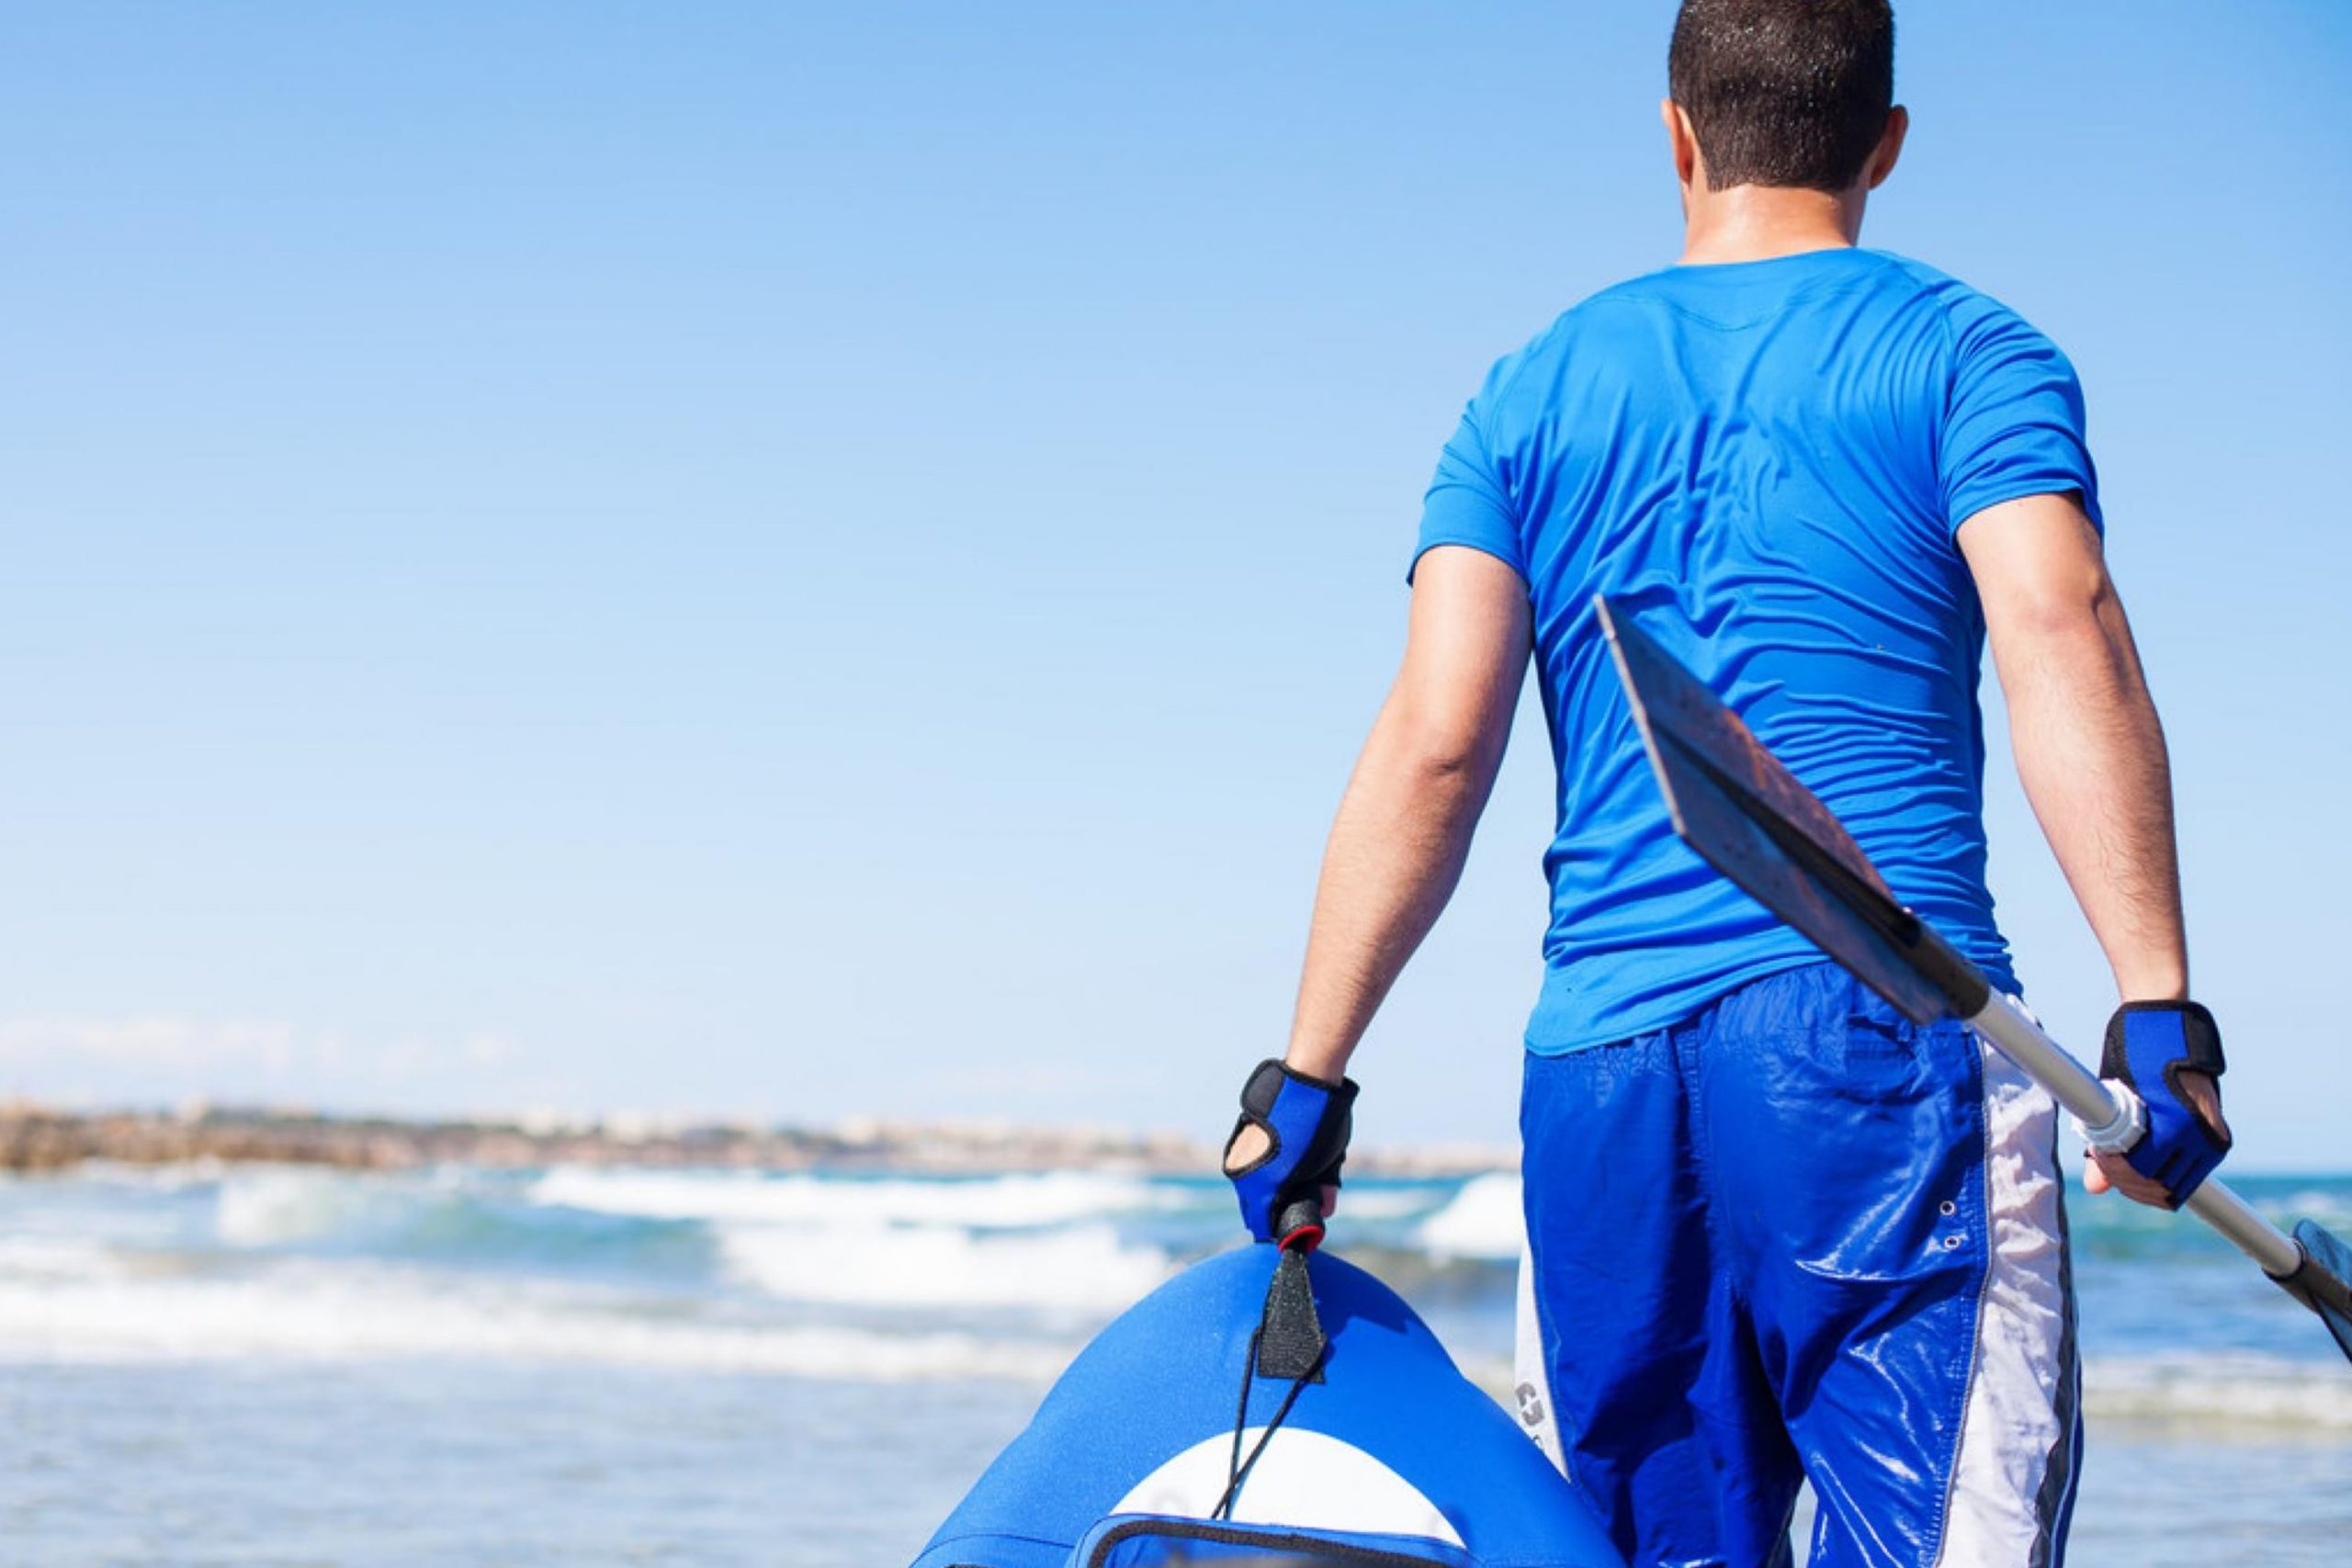
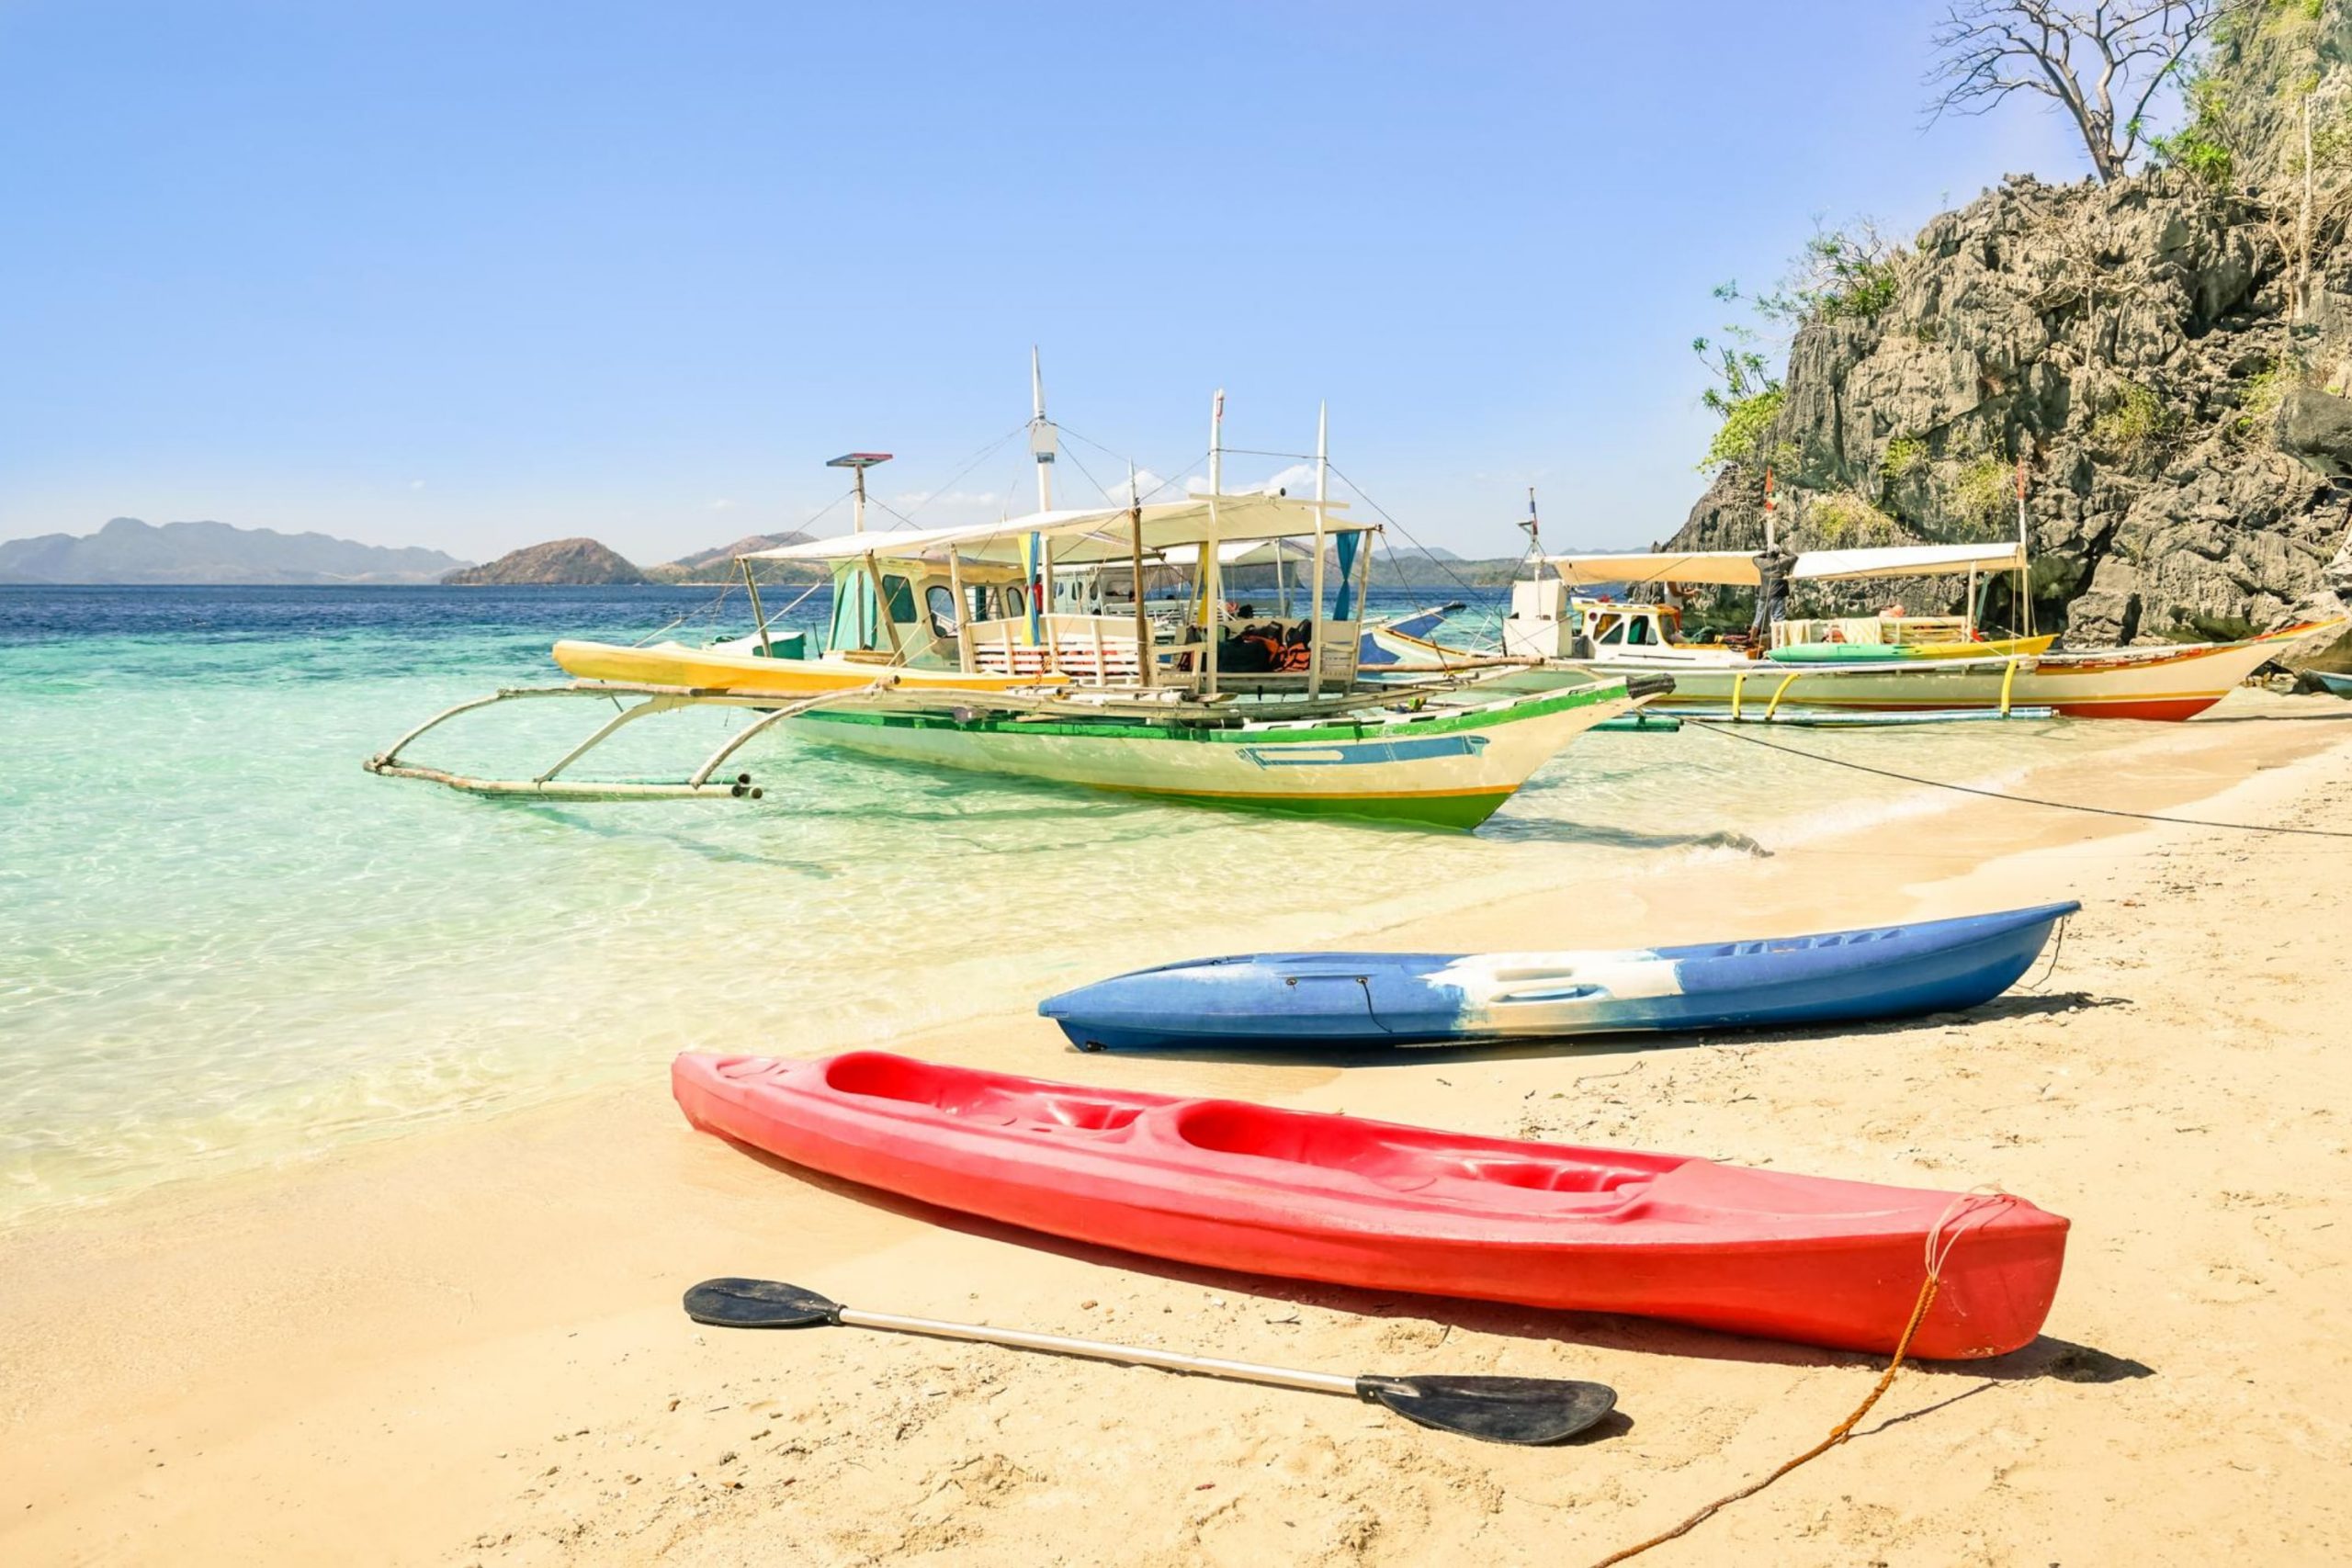
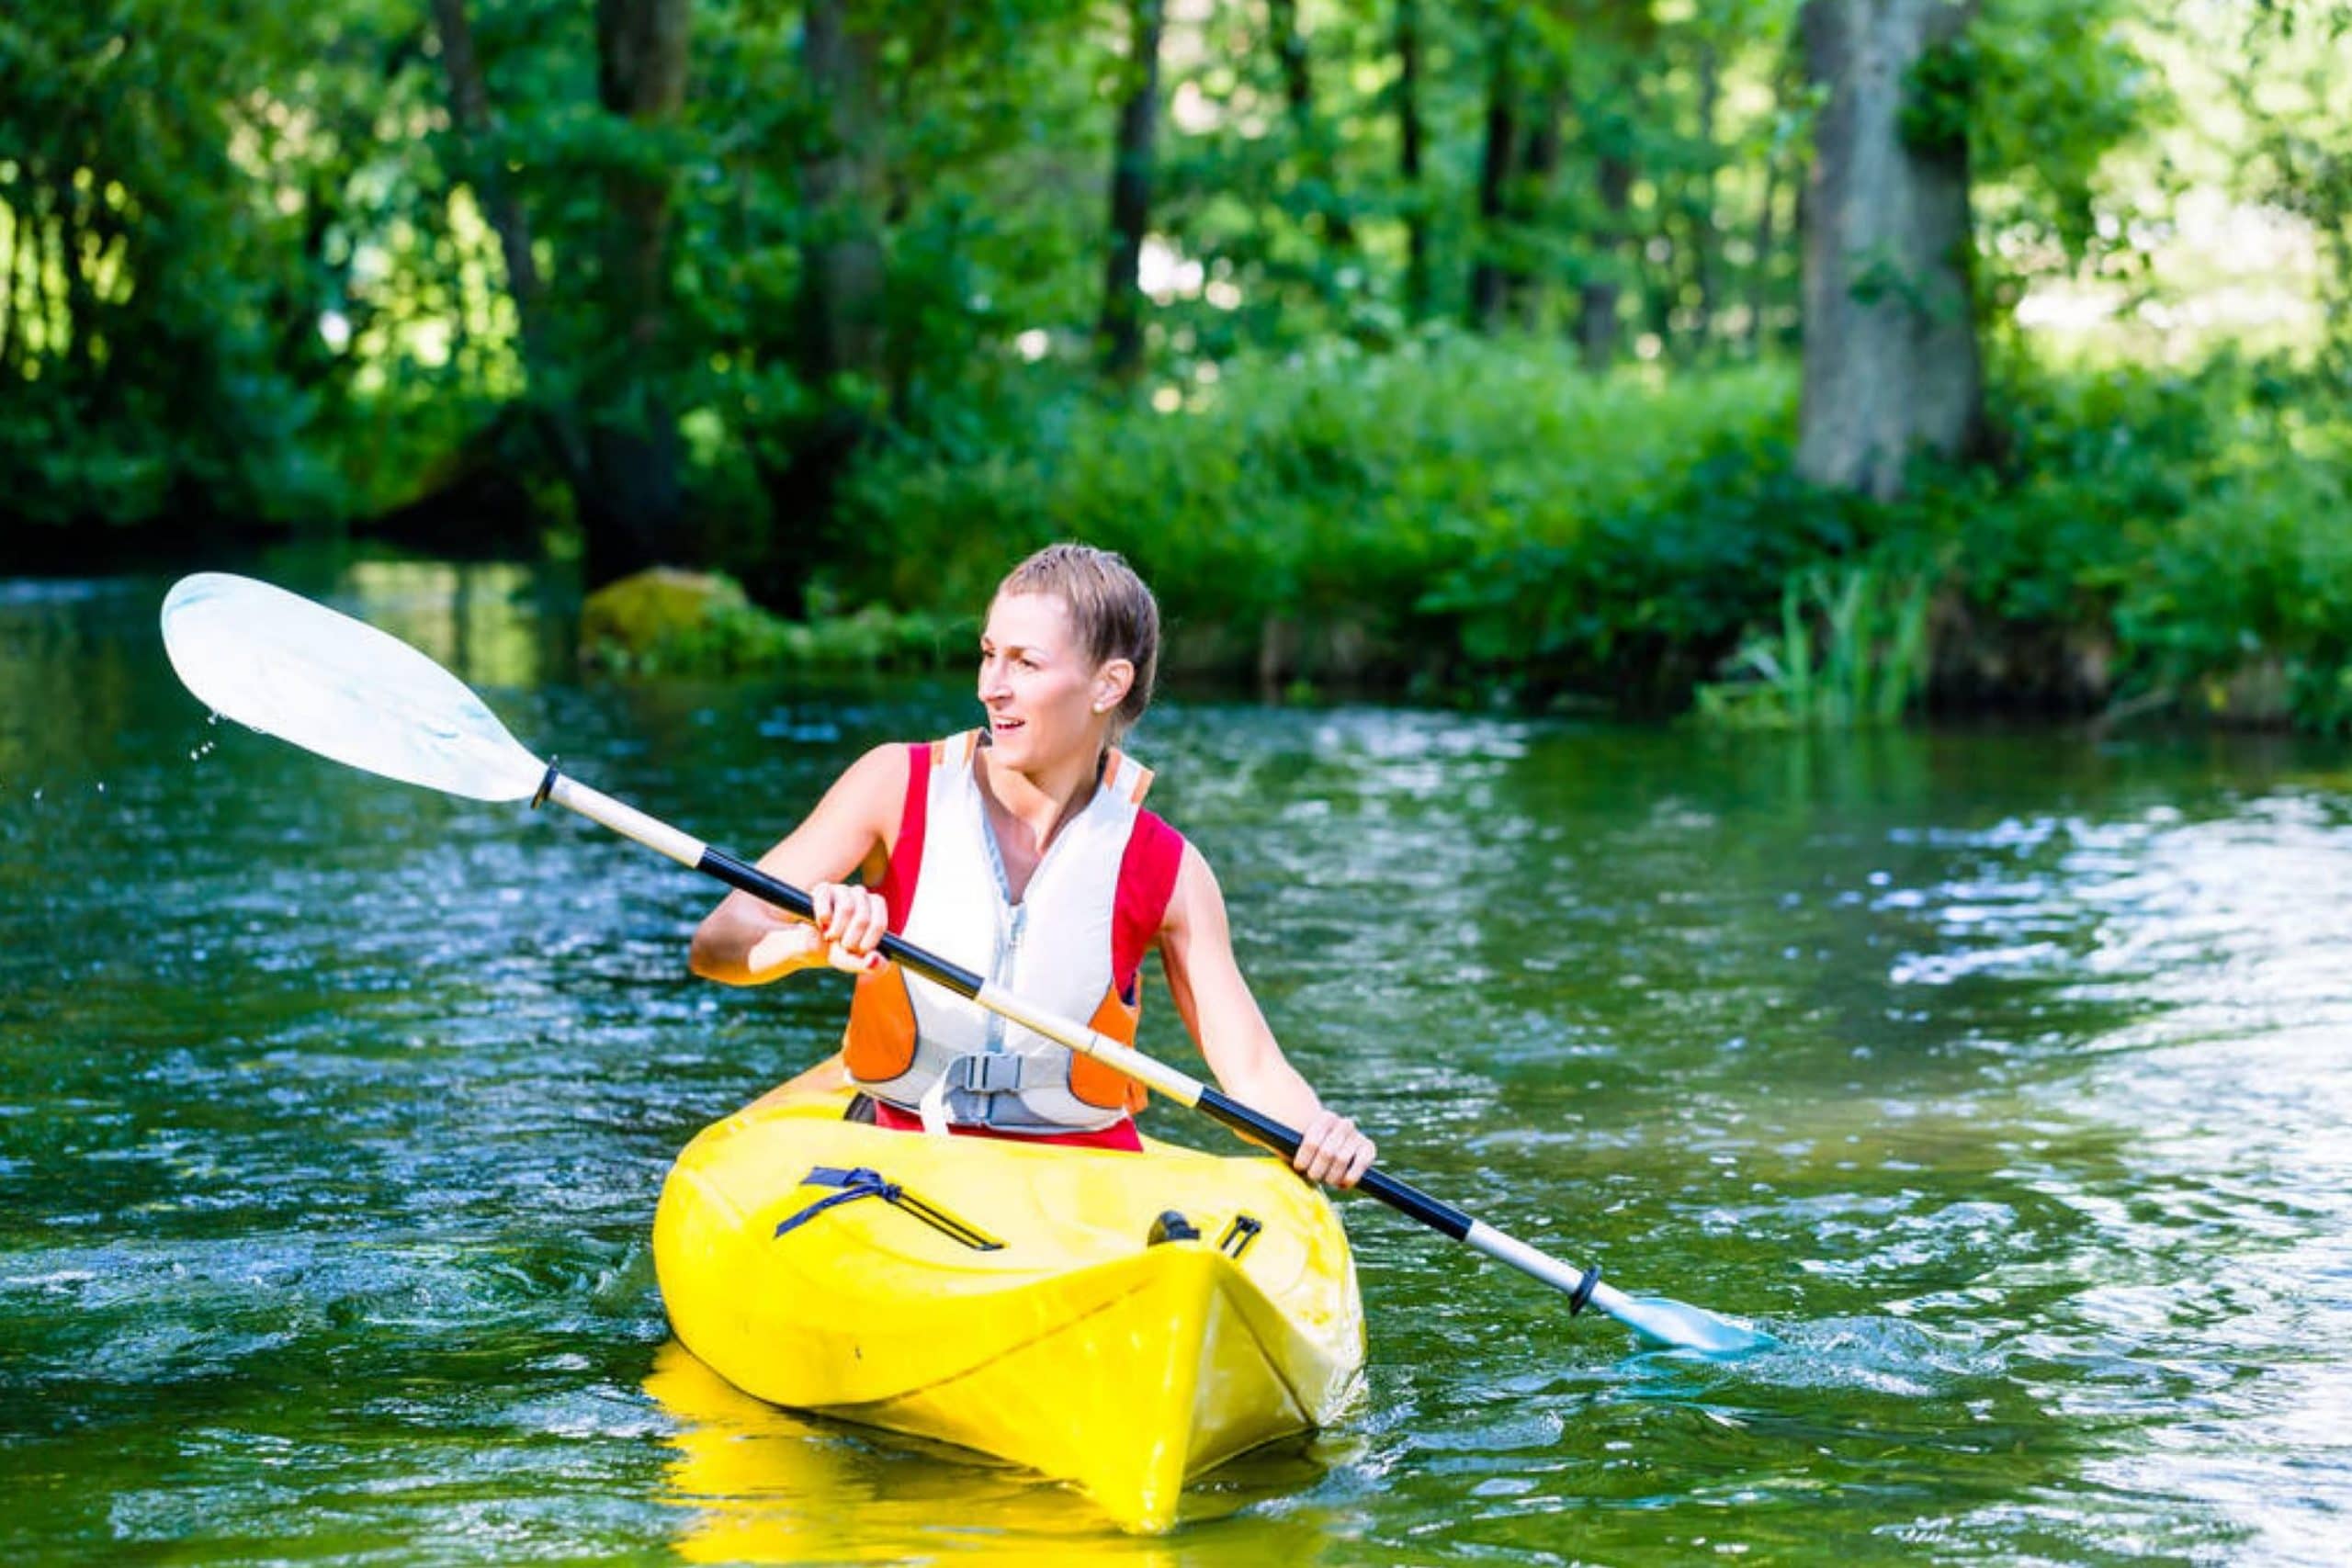
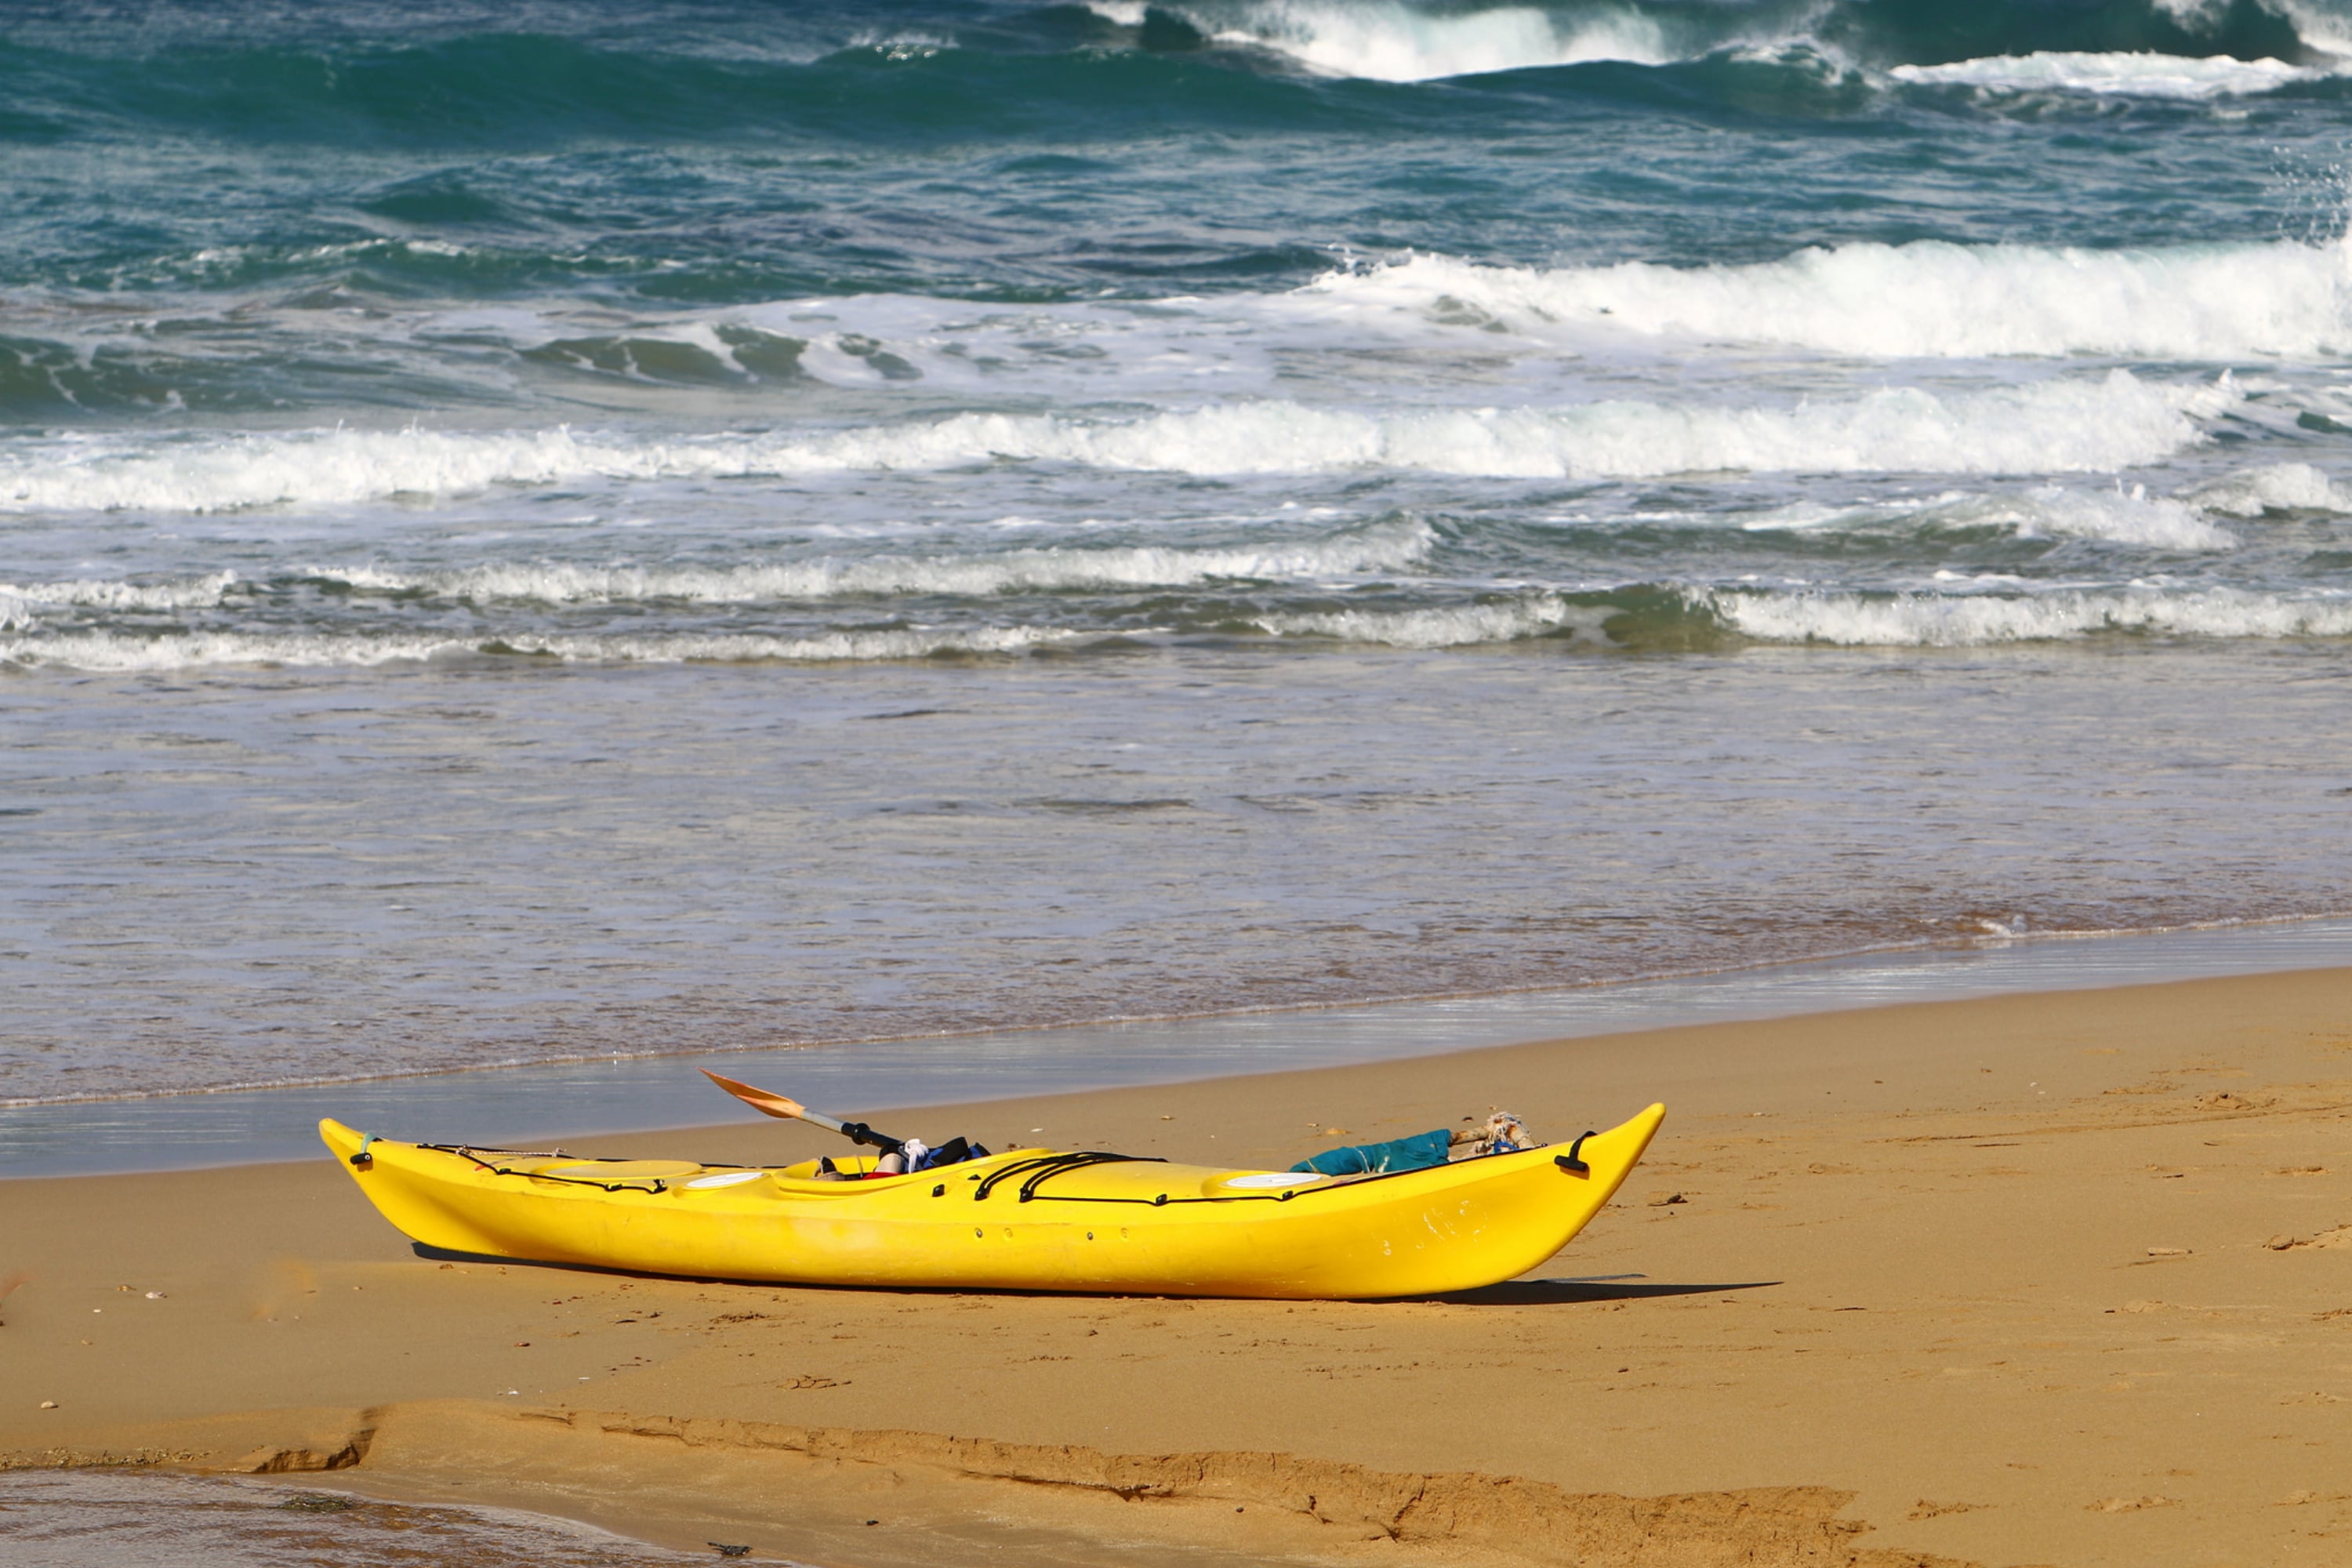
If you are fond of kayaking, you know how important it is to have your vessel in a good condition. The smoother its surface is the better the qualities of your kayak which allow it to move freely and fast.
But why do so many kayak owners decide to paint a kayak, you may wonder?
Painting your kayak is quite a common practice by the way, and it doesn’t only have aesthetical purposes. If your kayak is properly painted, it will ensure that its surface is better prepared for conquering the waves! In this article, we will tell you more about painting a kayak.
You will learn how to do it with our step-by-step guide, and also, we will explain what tools you will need and how your vessel should be prepared for the upcoming painting procedure.
With all that, should you decide to order kayak paint designs created by a professional artist or paint your vessel yourself, you will know exactly what should be done to get the best results.
All You Need to Know About Kayak Painting
You might want to get a custom-painted kayak to enjoy its better abilities, but since it might be quite pricey, we would recommend you another approach. Painting your kayak is the easiest way to both refresh the look of your current vessel and improve its quality on water.
However, when it comes to painting it, many owners feel puzzled because they don’t quite understand how to do that correctly, what tools they will need, and what paints should be used. It can make you a bit stressed for sure, so we are here to help you out.
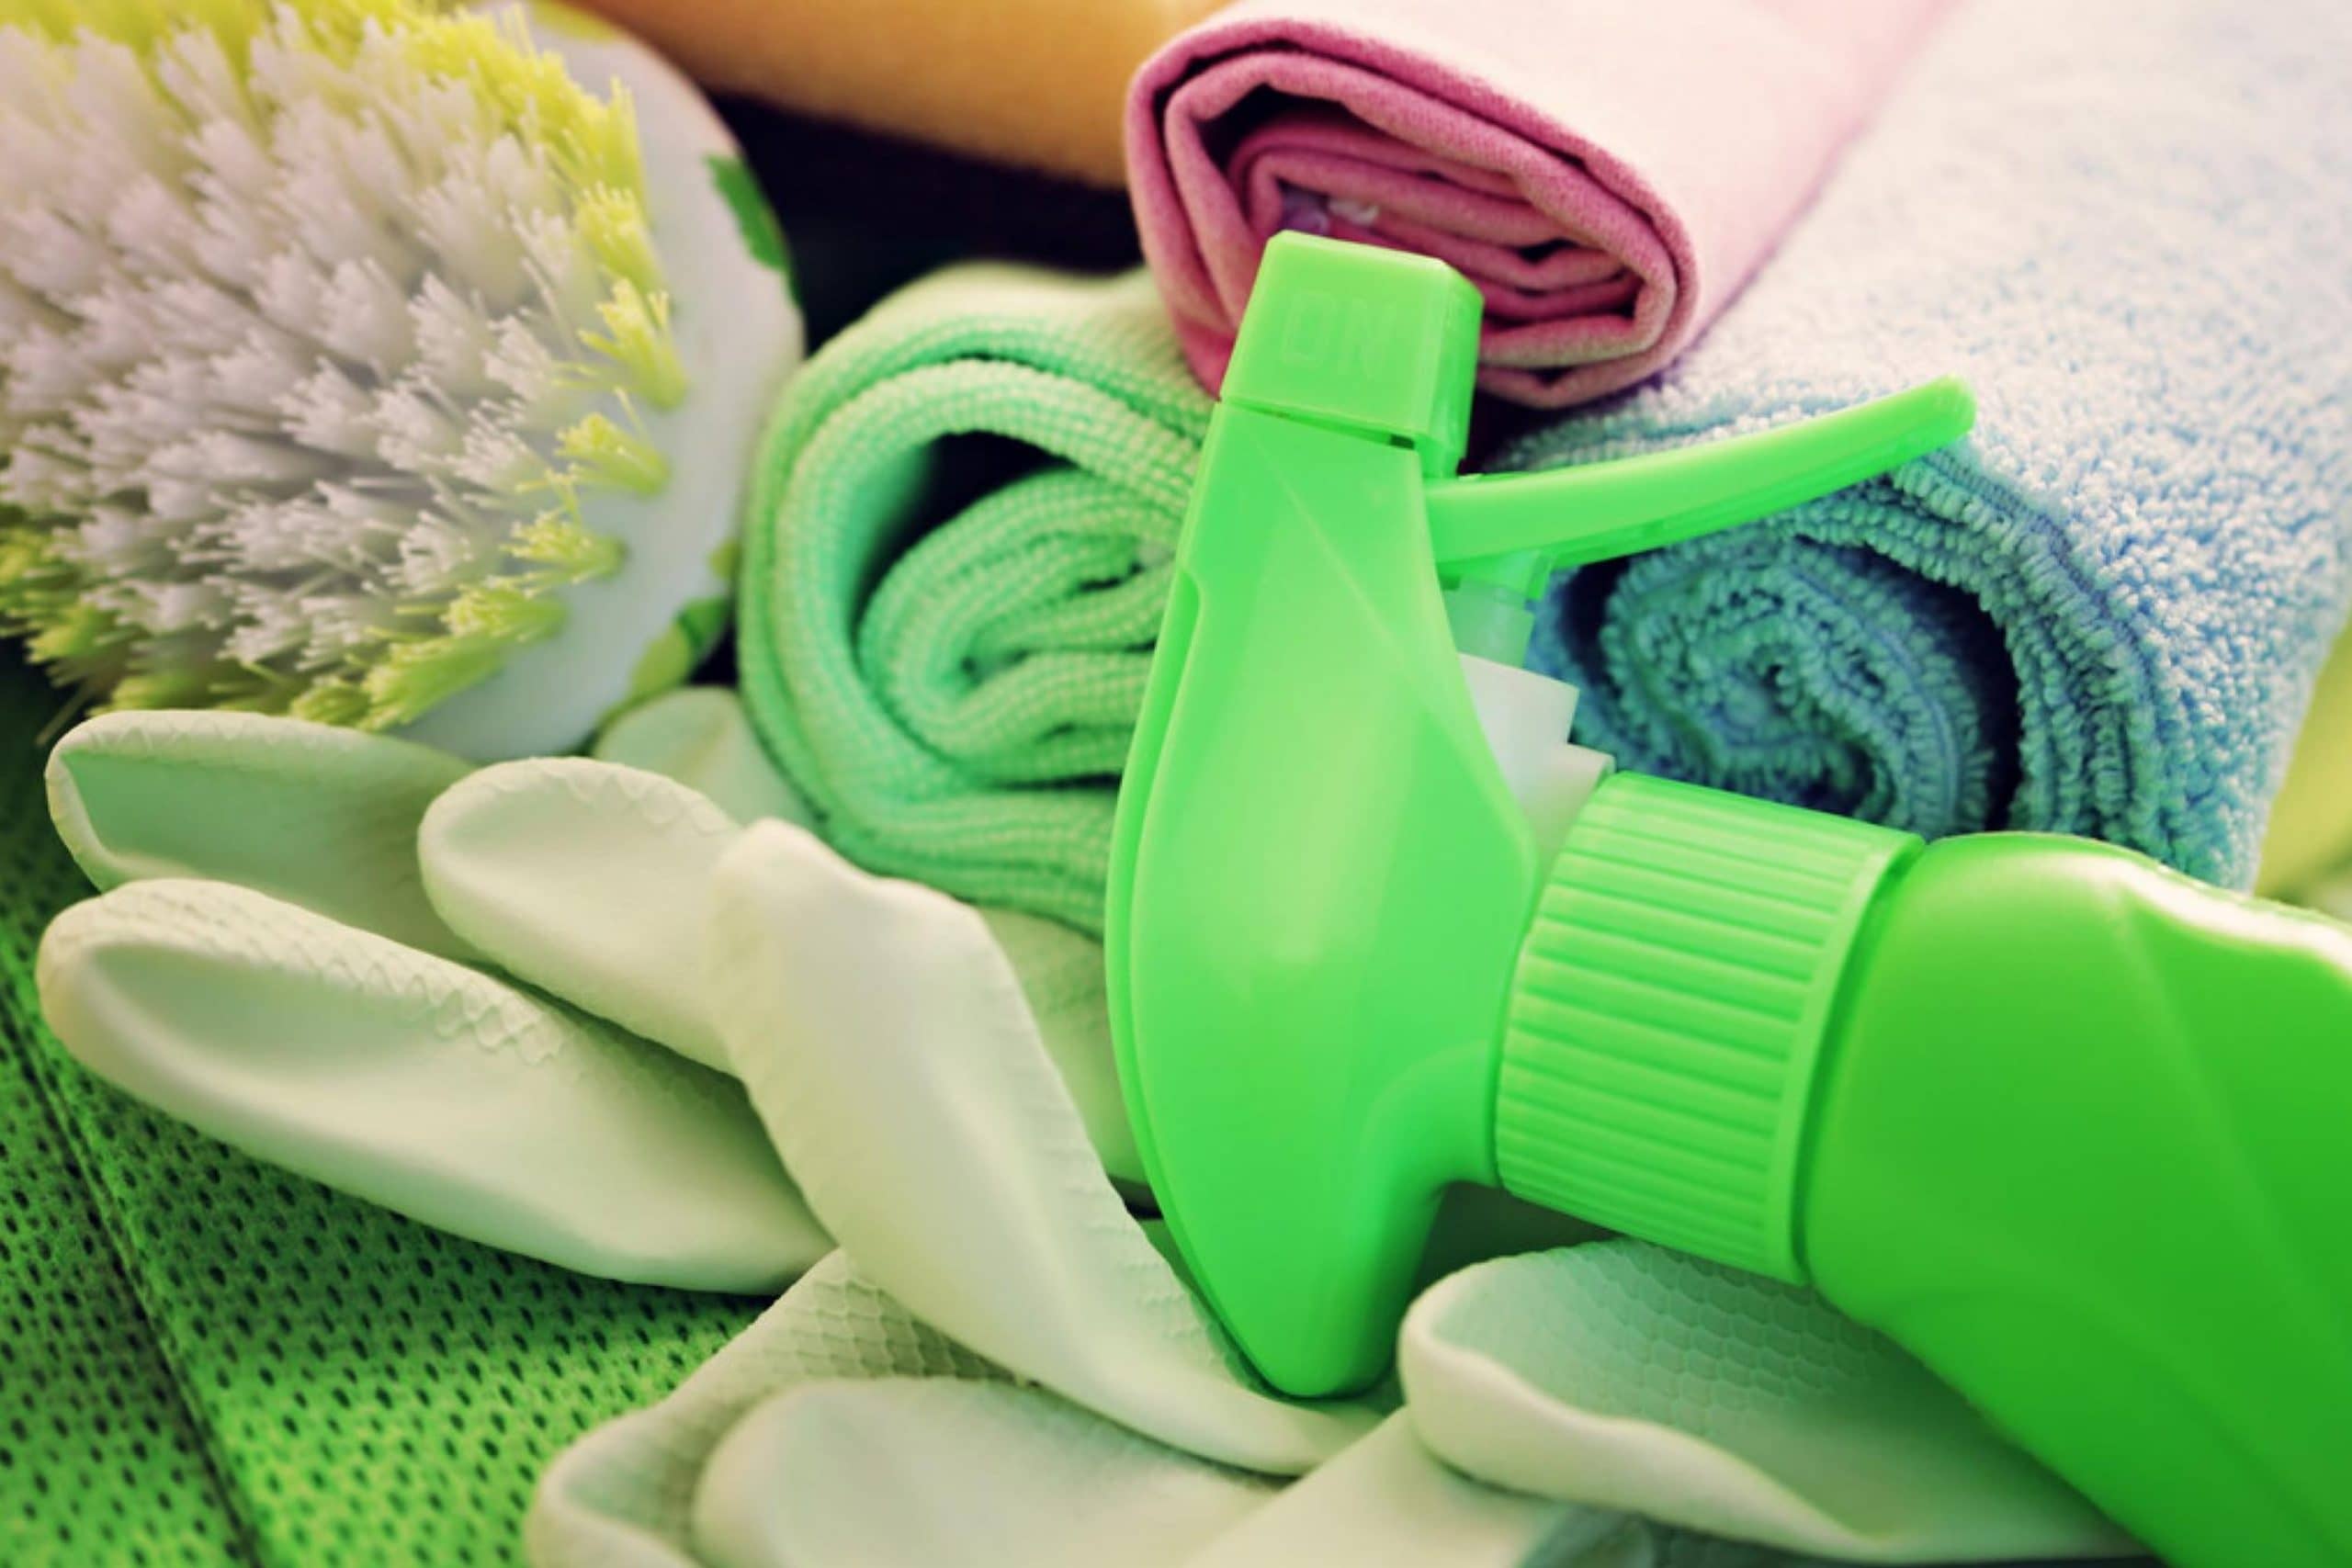
Below, you can check out the list of the tools and products needed for kayak painting. And also, we are going to share a complete painting guide with you.
From this guide, you will learn about the step-by-step instructions on how kayaks should be painted.
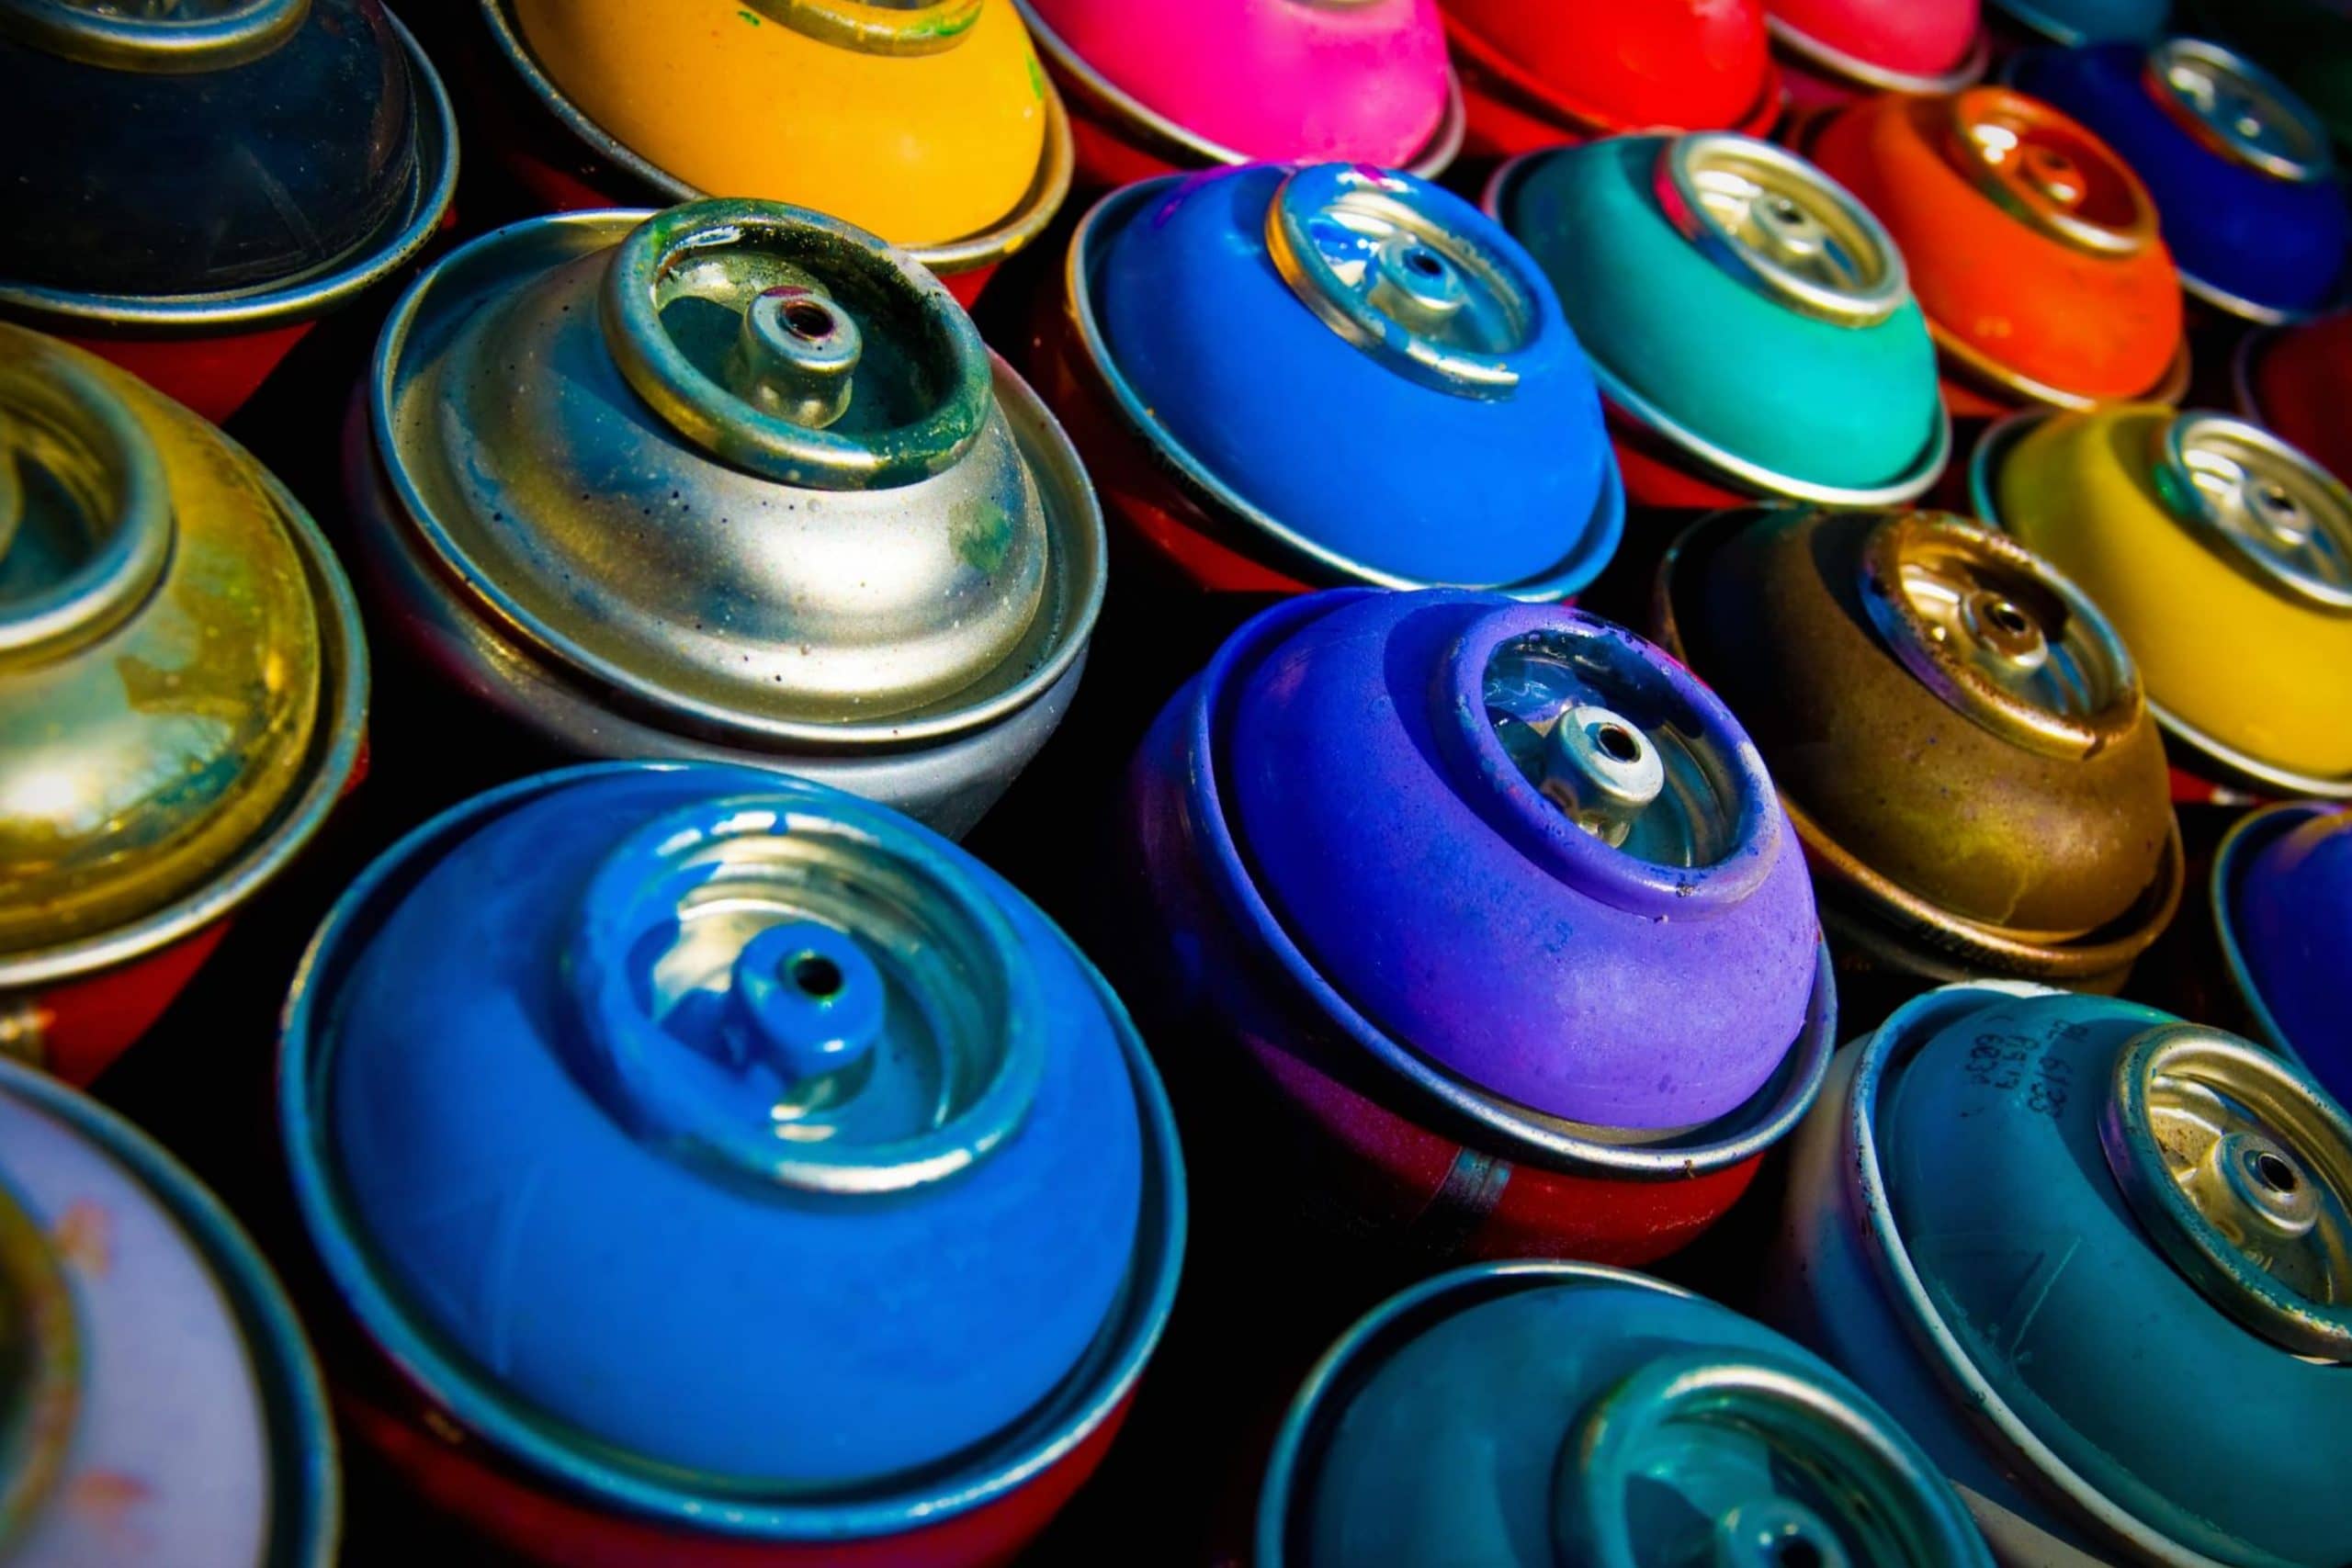
So first of all, here is the kayak painting supplies list. Always have it on hand when going to paint or repaint your vessel!
- Marine-grade polyurethane paint
- 50-100-grit sandpaper
- Painting tape or masking tape
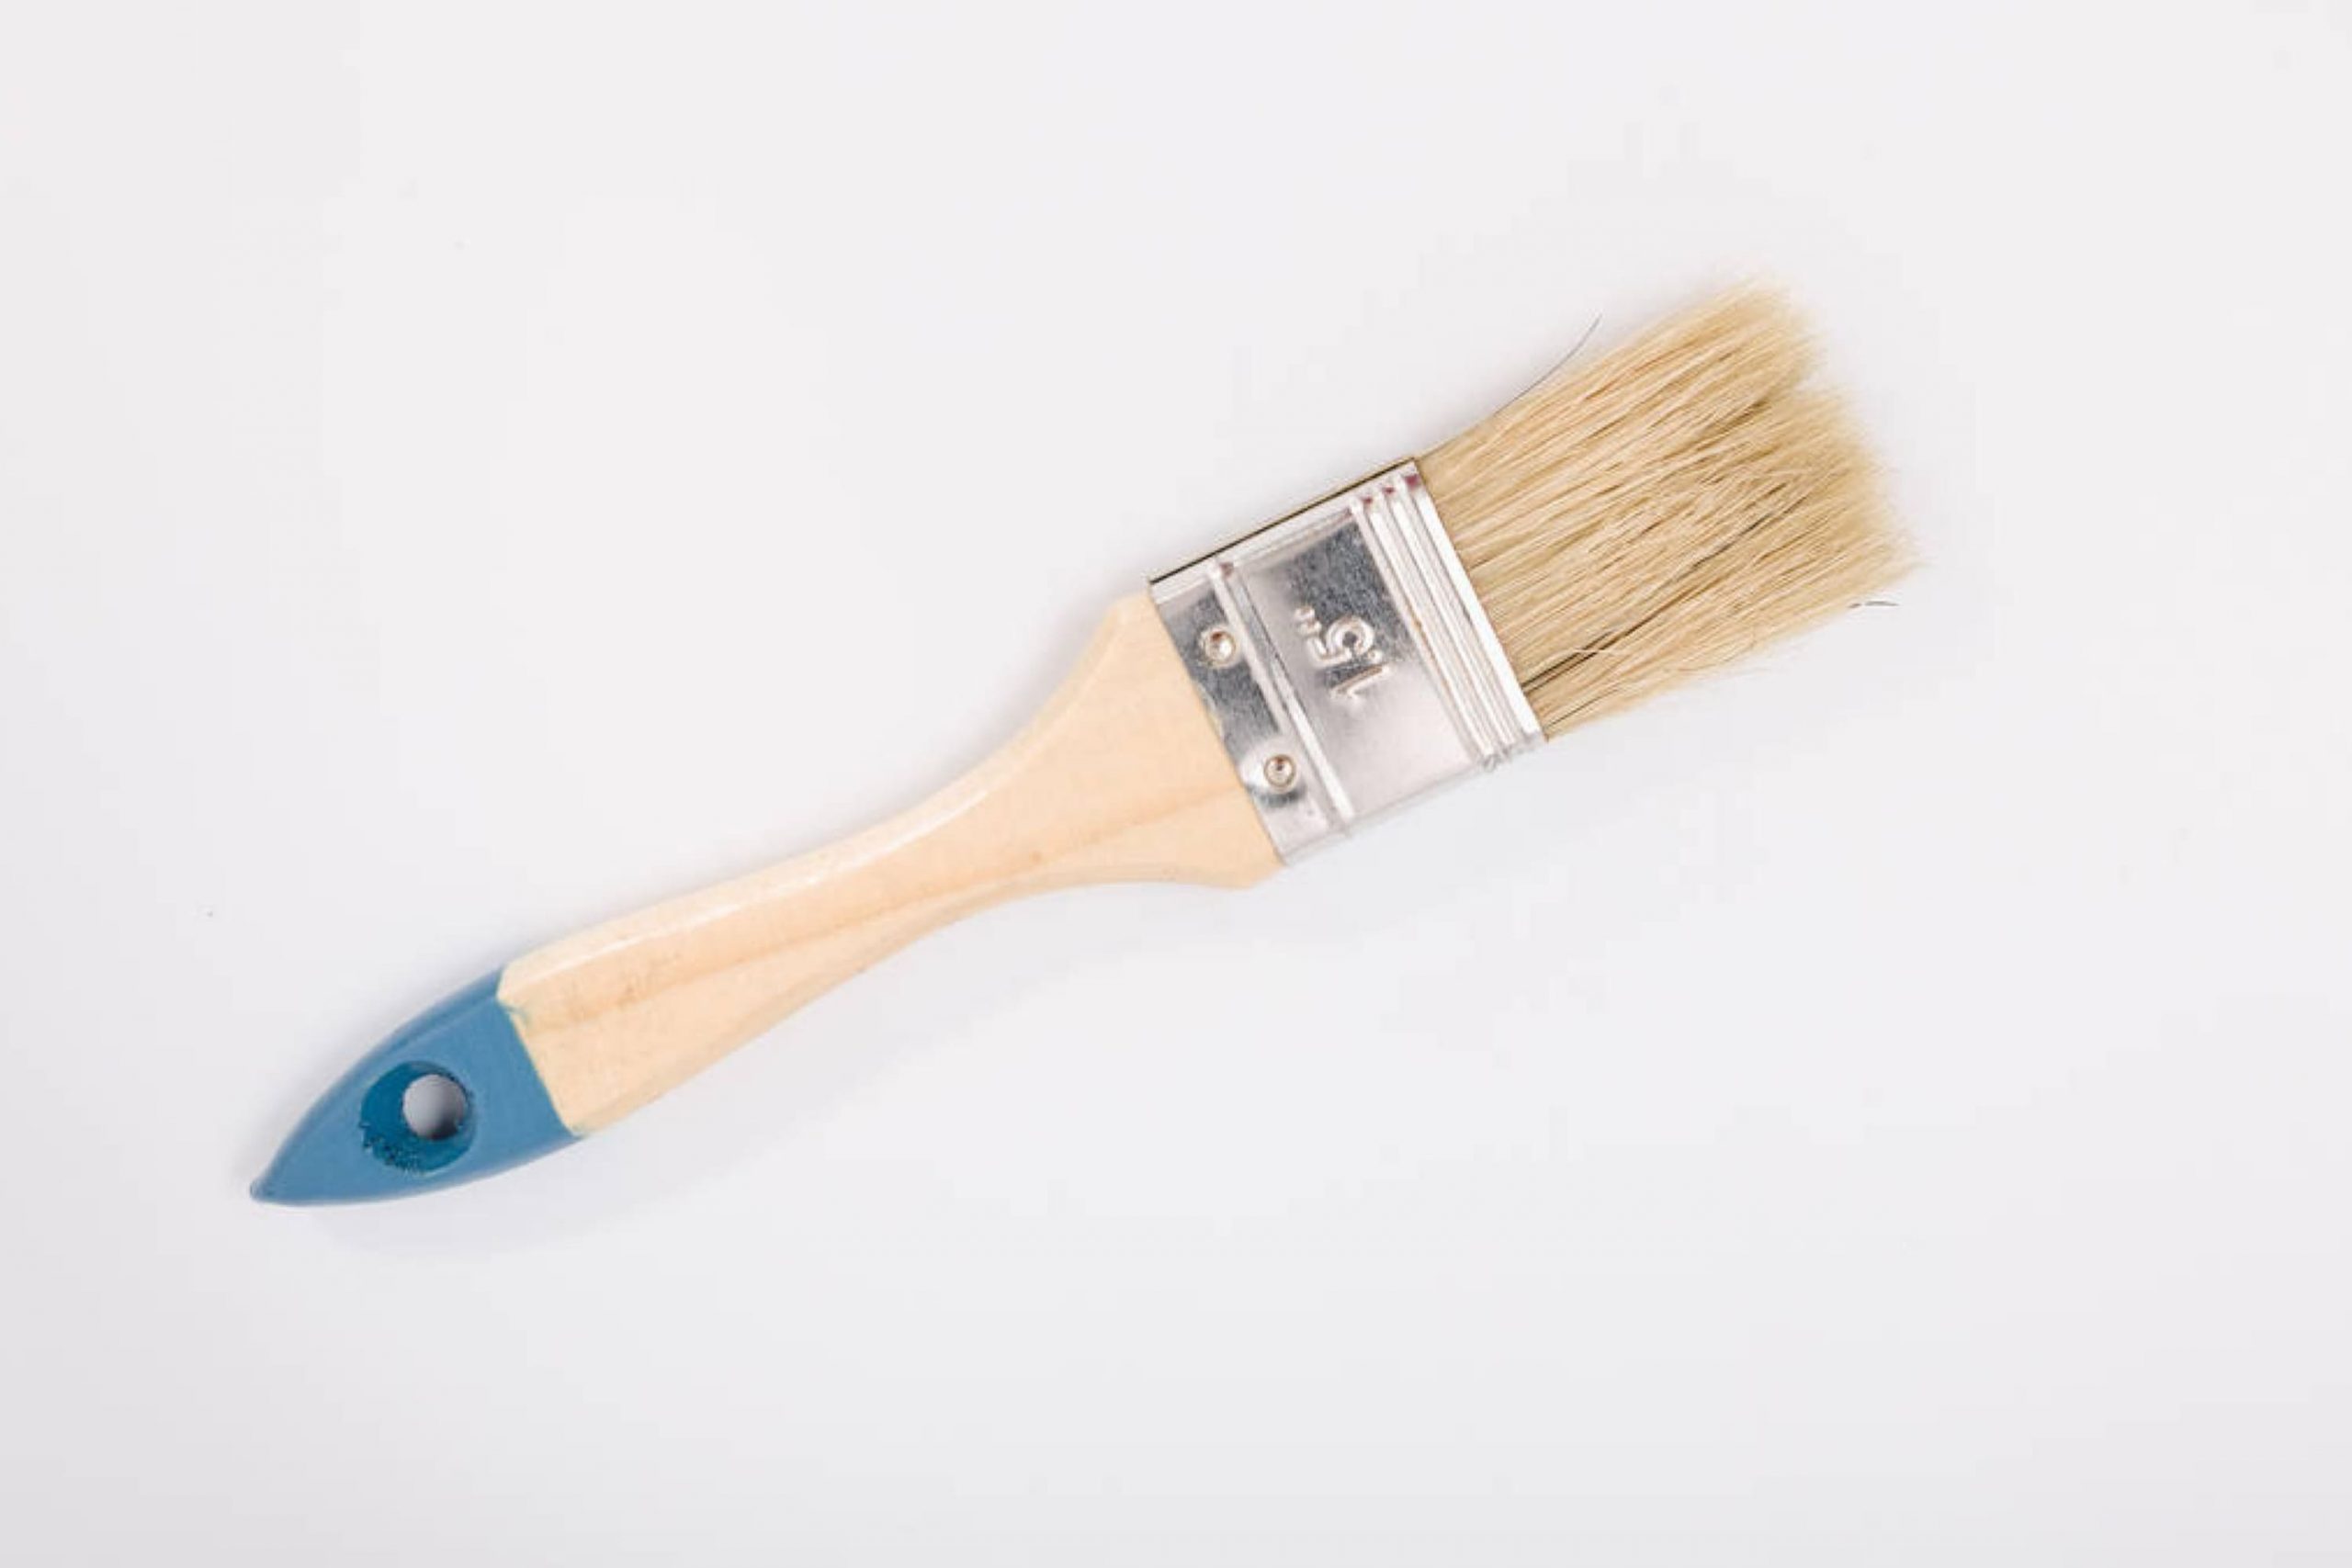
- Foam paint roller and brush, and spray gun
- Acetone/Nail polish remover
- A pair of protective gloves
- Water hose and water supply
- Marine Wax
- Dishwashing liquid or detergent
- Cloths/Rags
- Sawhorse
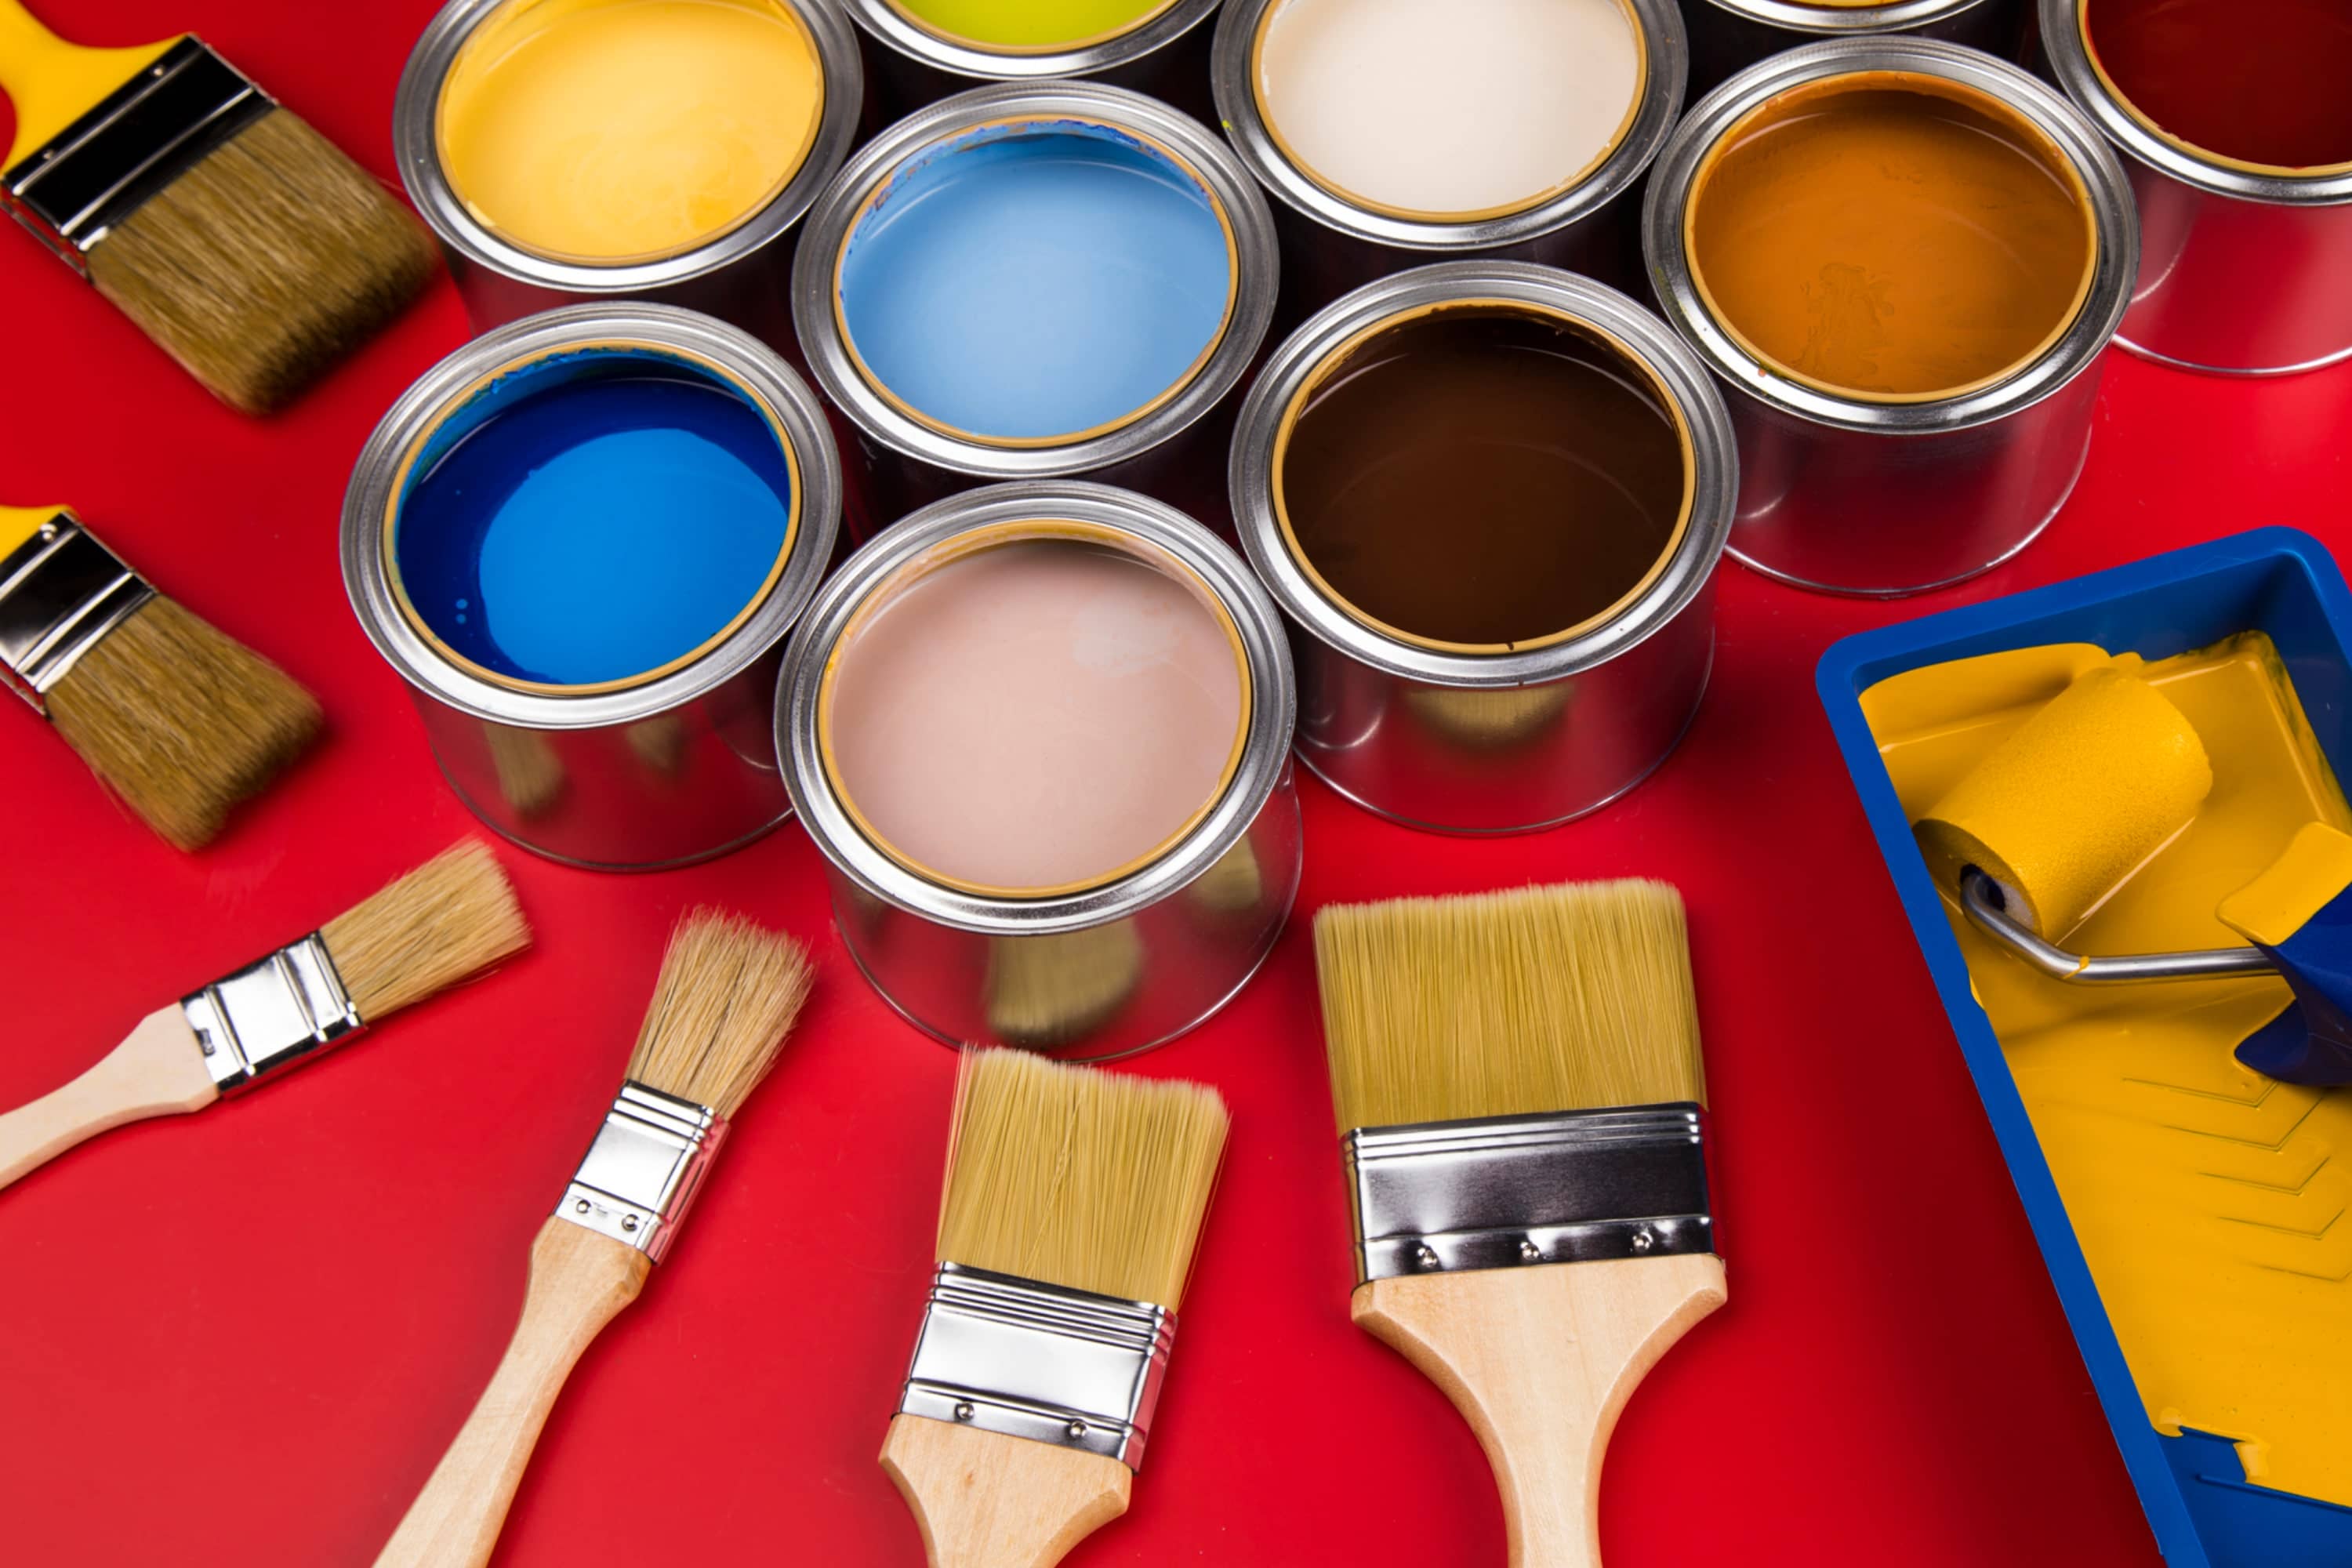
Once you get all these things ready, you can proceed to the pain application stage. But there is one more, the last nuance that you should take into consideration before you begin! It’s the type of paint that will be used for the painting project.
See, the key factor that will help you to end up with a successfully painted kayak is to select the right type of paint.
It is crucial that the paint you choose is water-resistant and clings to the hull’s surface!
It doesn’t actually matter if you have a polyethylene, fiberglass, or wooden kayak. What does matter is how appropriately it is prepared for the specified material.
When you are finally ready, feel free to start painting. Below, you can find a detailed guide and recommendations on the process.

Remove the Stuff
First, you have to remove all the stuff that you don’t want to paint. That means you should remove stuff like the seats, screws, and other similar accessories.
Also, you need to make sure you will be painting in a large area with an excellent ventilation system.
If you want to paint in an open area (for example, in your yard), then you should be careful about the wind. Even a little wind can easily mess up the whole process, especially if you are spray painting!
The most common issue folks face when painting on a windy day is the wind blowing dust onto the painted object.
Of course, all that stuff gets stuck to the fresh paint immediately! So in order to avoid repainting, be careful and try to pick the windless and warm day with no rain.
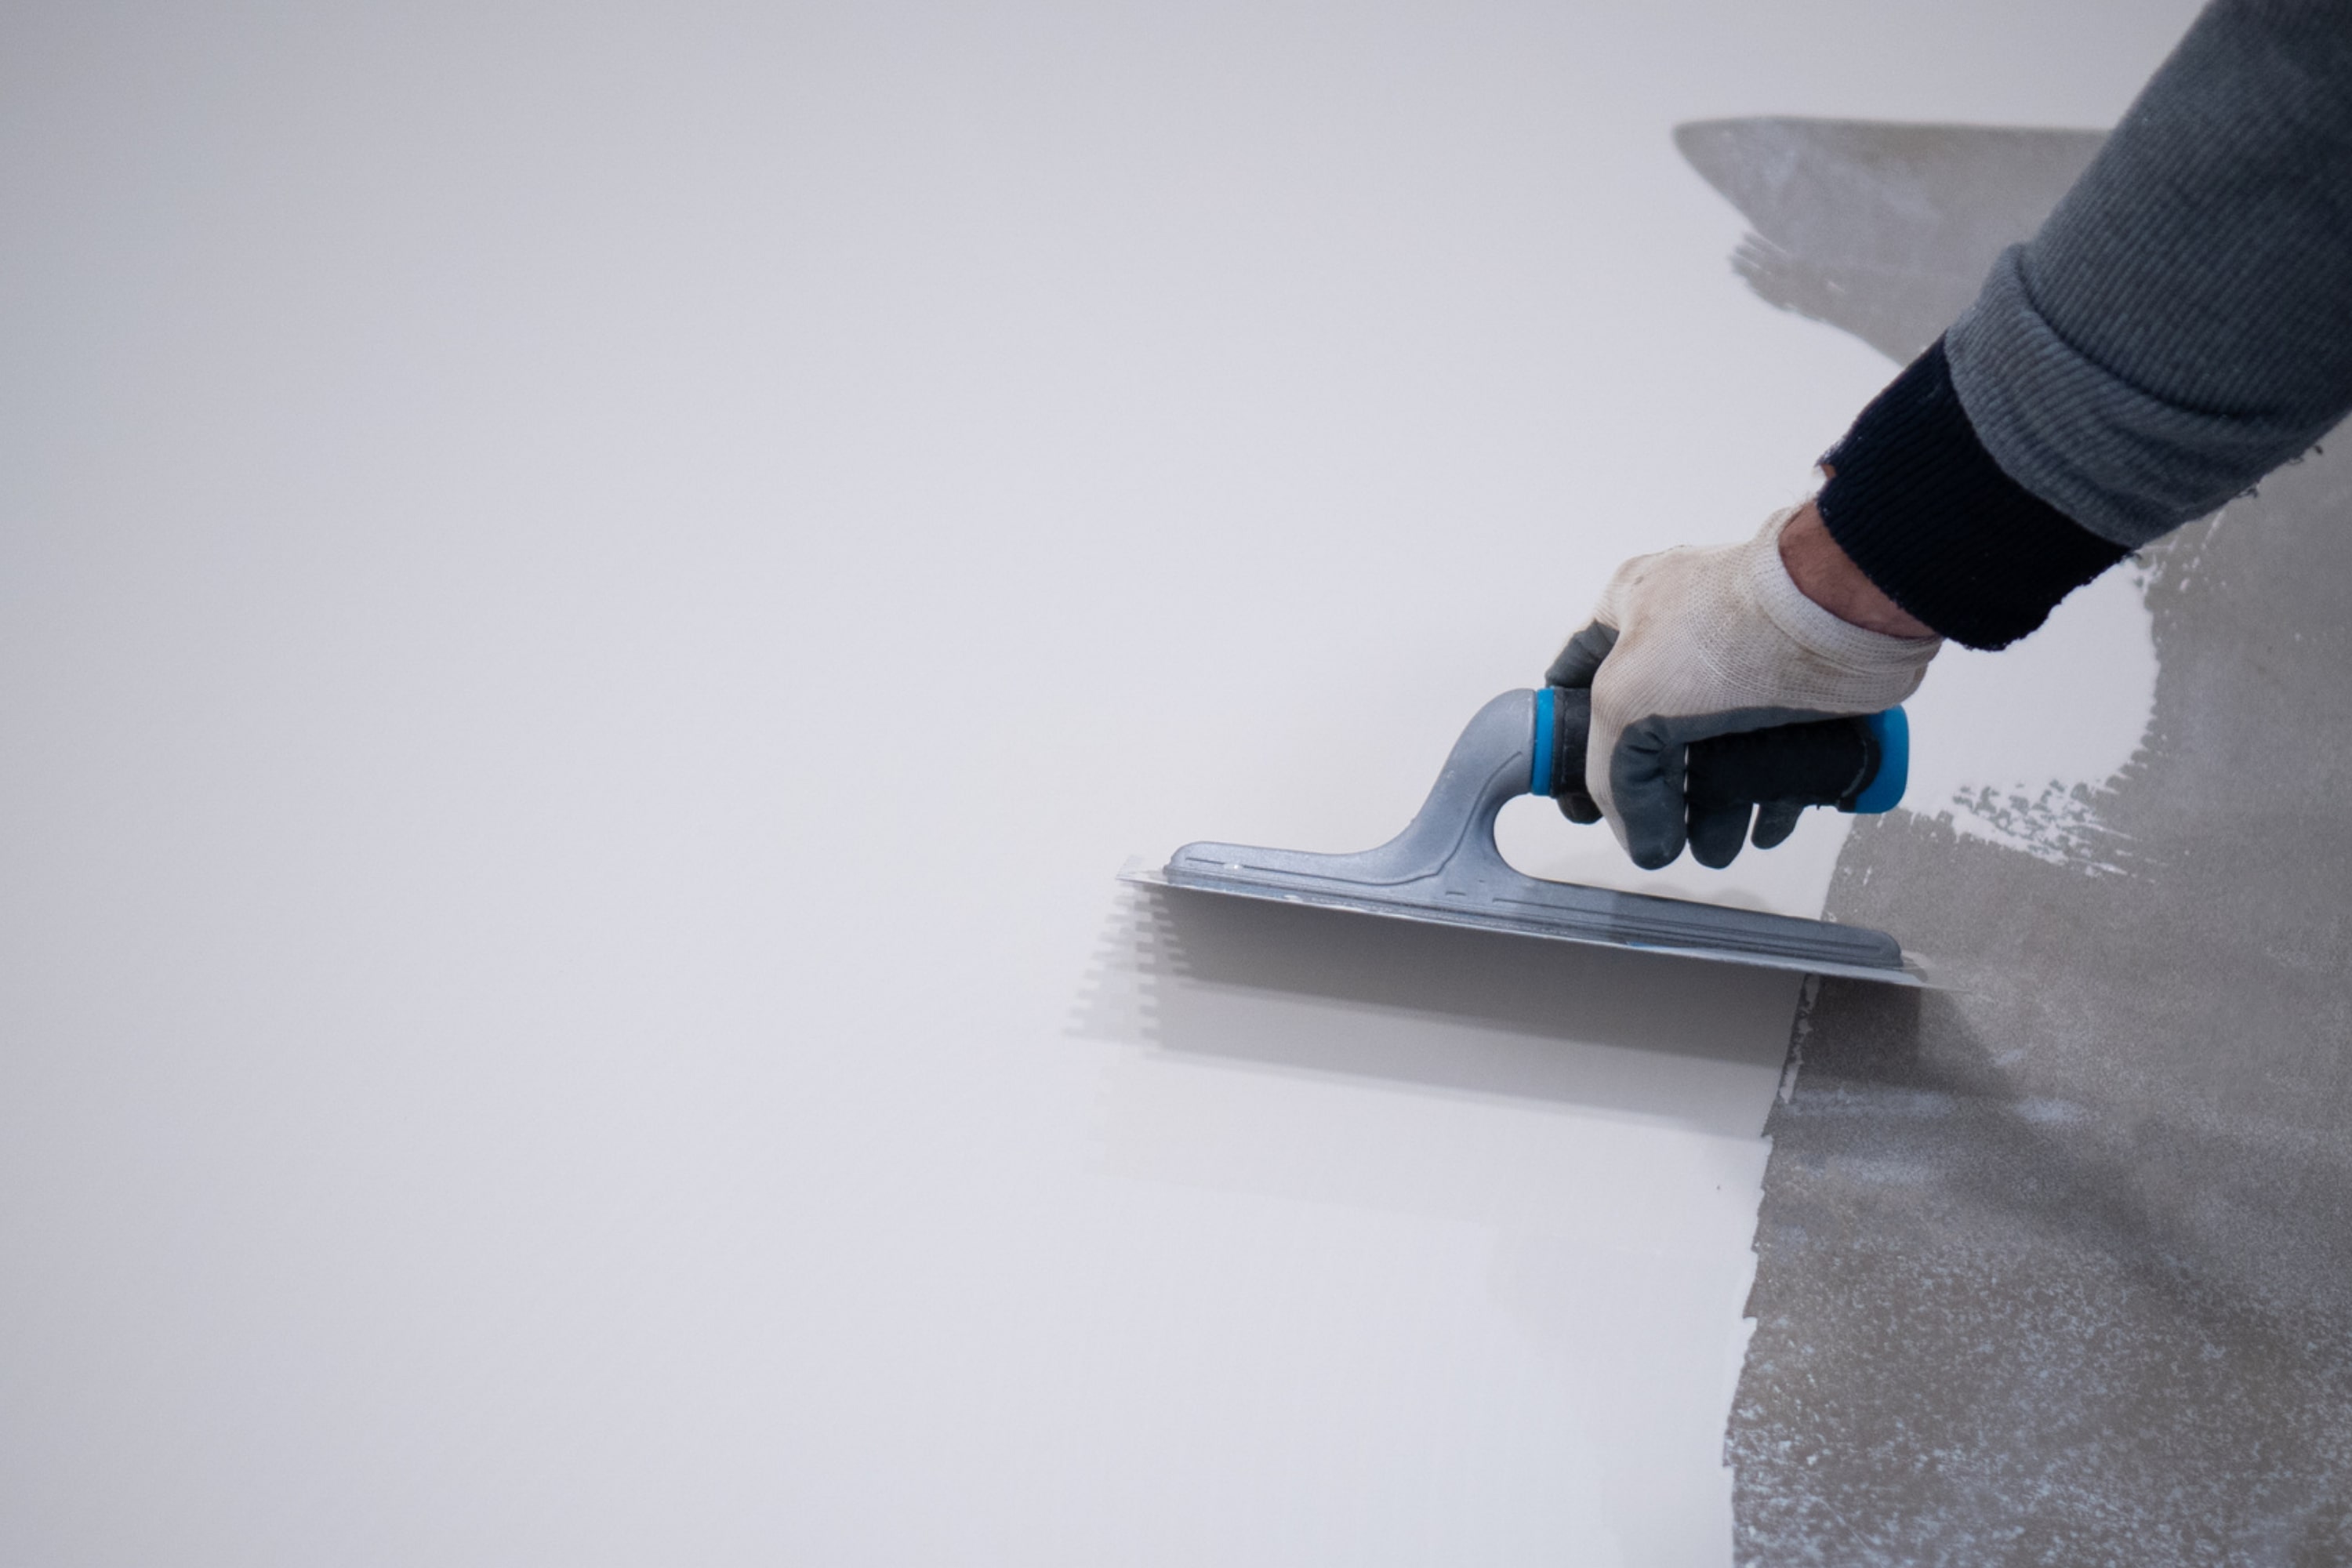
Sand Down On the Kayak And Use Acetone
After preparing the area, the next thing you have to do is to clean the kayak with the dishwashing liquid thoroughly. Make sure that the kayak is entirely dirt and residue-free. Then dry it down completely and when the vessel is fully dry, grab the sandpaper and sand down the whole kayak.
If you want to paint it just partially, then you should sand down only the specific area that is going to be painted.
Now, after the washing, drying, and sanding steps, you need to apply acetone or some nail polish remover on a clean cloth until it gets damp.
With this cloth, go over the area where you want to pain. Acetone will remove any oil residue that prevents the paint from sticking, thus working as a degreaser.

Start Painting Your Kayak
Now that your vessel is fully prepared, it is time to get the job done. Before starting the painting process, make sure you have put the mask on. If you are using spray paints, apply the paint on the surf kayak’s surface as evenly as possible. Keep on spraying until you find the kayak sun shade you are looking for.
Now you can use brushes and stencils for specific designs (if you want to).
Clear Coating And Assembling the Kayak
For a finishing touch, you should give a final coat for clear finishing spray paint. After this is done, you can rejoin the seats, nuts, screws, mounted accessories, and all the other things that have been removed before.
Finally, after a while, do another cleaning with the dishwashing liquid and wait until your kayak is dry. If you want to add an extra protection layer to your vessel, you can apply the wax onto the kayak surface.
Let The Paint Cure
Quite many of us do the same mistake when painting our kayaks. See, after you apply the paint, you might feel tempted to start applying the next coat right after the first one is applied.
However, even though the paint could be dry to the touch already or dry enough to apply a second coat within a few hours, don’t rush out. Don’t waste all of your hard work by not allowing the paint to cure!
Curing is the process when solvents and water are evaporating off a painted surface. During this process, the paint’s coalescing agents cause film formation, which develops into a hardened surface.
Clean And Wax Your Kayak
After you have reinstalled all of the hardware and accessories, give your kayak a last wipe down. For that purpose, you can use dishwashing soap and some water to ensure it is clean.
We would also recommend using marine wax as a finishing touch, but this step is optional. Nevertheless, note that waxing your kayak will preserve the new paint from scratches, increase its longevity, and improve the shine of the hull.
Now that you know how exactly a kayak should be painted and what tools and supplies you will need for that, let’s dig a bit deeper and find out how to get ready for the painting session.
How to Get Ready For Painting a Kayak?
Like with any project, you need to get fully ready in order to do everything perfectly well! Before painting your kayak, you should be prepared too.
That is why we suggest you check out several things you have to know and always keep in mind before painting your vessel.
- You will need several varieties of sandpaper for sanding the kayak. Stick to sandpapers with a grit of between 100-220
- As you are going to paint a plastic or fiberglass kayak, you should buy water-resistant and plastic-suitable paints. And be cautious! Standard paints won’t stick on plastic!
- A fiberglass kayak needs suitable paint other than plastic! Note this nuance when buying the paint!
- For painting, marine safe spray paint for plastic, acetone, finishing spray paint or wax painting mask are necessary
With these tips, your kayak painting process will become much easier and the results will be way more sufficient.
In addition, you will be sure that your vessel will serve you longer keeping its paint the same bright and glossy!
What Painting Methods Can Be Used?
If you are going to paint your kayak, you need to know that it’s not only the type of paint that matters. The way of painting is also essential. For some reason, people believe that you can paint kayaks only with brushes.
However, using spray paints is also allowed! Of course, each of these methods will have certain specifics that should be considered before you begin.
Using a Brush
First of all, painting with a brush is a time-consuming process. Also, it needs tough skills in order to apply an even coat of paint. This is why, if painting is a new thing for you, we would recommend you avoid large kayaks. A small vessel might be a much better option for a beginner.
By the way, sometimes a brush can be a better option! For example, if you want to add some detailed designs to the kayak. So unless you are hopeless with painting, don’t be afraid to try.
Anyway, you can always train first on a piece of wood to get more practice and feel more confident before you proceed with your vessel.
Using Spray Paints
Spray painting is easier than brush painting. Besides, with spray paints, you can cover a large area of the kayak very quickly. Also, spray ensures an even coat that won’t require as much effort as brush painting.
However, using spay paints is definitely not for a novice! The spray has its own nuances and some drawbacks as well. Among them, the most important one is that spray paints waste more paint as a lot of can’s paints can end up in the air.
Well, now you are aware of a few handy tips and life hacks regarding the kayak painting process.
With these tips, you will be able to choose the paint correctly and be realistic when planning your painting project.
So, this is all that we wanted to share with you today on the subject of kayak painting. You learned how to paint a kayak, and what tools you will need for that, and we shared a few secrets with you that will help you avoid the most common mistakes.
Like that, you will easily make your vessel look custom and serve you better than before.
Using Marine Polyurethane Paint
kayak owners will tell you that using marine-grade two-part polyurethane paint is better since it is more durable, more resistant to harsh conditions, and easier to apply. Also, such paint gives better coverage and is water-resistant, providing a long-lasting, glossy finish.
However, this type of paint should be applied with the use of a paintbrush mostly. That means you should have good painting skills and enough time for your project. Also, if you have a large kayak, you might opt for spray painting instead since it’s easier.
Oil Paint – Pros And Cons
To paint your kayak, you may choose between oil-based and water-based paint. At this point, we’d recommend you opt for water-based paint rather than oil-based paint. Water-based paint will make a kayak more durable outdoors.
Also, it’s less prone to cracking and UV damage under harsh weather conditions than oil-based paints. Finally, water-based paint is more flexible, preserves its shine, and is more suited for external use due to its UV resistance.
Kayak Camouflage Method
To make your kayak stand out, you can paint it using a camo method. The camo method is best done with the help of spray paints since they allow you to mix colors and create various textures. E.g., some owners use real leaves and tree branches as stencils to create a camouflage pattern on their canoes.
Well, now you are aware of a few handy tips and life hacks regarding the kayak painting process. With these tips, you will be able to choose the paint correctly and be realistic when planning your painting project.
How to Stick a Sticker On a Kayak?
Stickers are great for customizing any object from your laptop to…kayak! However, kayak owners often worry about the durability of such decoration methods.
Since the kayak is in direct contact with water, is it possible to make stickers last?
First of all, the surface of your kayak must be flat. Otherwise, decals won’t adhere to it at all. If your kayak has smooth sides, it ok. But if its surface is bumpy, sand it before sticking the decals. After sanding, do the following:
- Wipe the area where stickers will be applied with alcohol to degrease it.
- After cleaning the hull, heat it up with a heat gun. This is unnecessary in the summer, but in the winter, it is essential. The decal will not stick well to a cold hull!
- Take a very wet rag and wipe the surface down, ensuring it has a thin layer of water on it.
- Apply the decal carefully.
- Use a squeegee to flatten it down as much as possible.
- Peel the backing paper off carefully and slowly.
- If there are bubbles on the decal, pop them with the pin.
Conclusion
So, this is all that we wanted to share with you today on the subject of kayak painting. You learned how to paint a kayak and what tools you need for that, and we shared a few secrets to help you avoid the most common mistakes.
In addition, now you know how to apply stickers to your kayak to make your boat unique! Like that, you will easily make your vessel look custom and serve you better than before.
[wp-faq-schema title=”Frequently Asked Questions”]
Does anyone know how to paint a kayak in watercolor? Is it possible at all? The kayak is made of fiberglass but the color of the material is very light, almost white. The only concern is that watercolor (even applied in a thick layer) won’t attach to the surface.
The key to a successful paint job is selecting the right type of paint – one that is water-resistant and clings to the hull’s surface. It shouldn’t matter if you have a polyethylene, fiberglass, or wooden kayak as long as it’s appropriately prepared for the specified material.
Can you paint a kayak with spray paints? And what are the specifics of this process?
Yes, you can spray-paint it. In fact, spray painting is more convenient than brush painting since it applies the paint to a larger area at once, resulting in a more even coat with no brush marks. On the other hand, spraying might use more paint.
Hi! I have a question folks. How do you guys paint a camouflage kayak? Does anyone know?
Hi! I have a question folks. How do you guys paint a camouflage kayak? Does anyone know?
Hey there. Honestly, if I were you I’d just bring that boat to a professional painter and ask the guy to do the job for me! I don’t know how to paint a camo kayak, but I do assume that it’s hell lot of work!
What paint to use on a plastic canoe so that it won’t wash off or get damaged way too soon?
SInce it’s a boat that will be in direct contacts ith water, I guess that oil-based marine paint will be the best option because it is easy to clean and also it can handle prolonged exposure to water.
Hi! Could anyone please explain to me what paint can be used on plastic? I tried different kinds of paint by now but none of them seems to hold long enough.
It depends on what you’re going to paint. Standard exterior gloss paint is a suitable finish for plastic, especially when used with an appropriate primer and undercoat. Either acrylic or oil-based gloss can be used. But if you’re going to paint a boat, then you’ll need a special marine paint I guess.
Hello. I’d appreciate if you could explain how you paint hard plastic. What painting method is more suitable for this material? Thank you.
Hello. To paint this kind of plastic, you should use a spray primer and top coat formulated for plastics. Then, prime the surface, let it dry, and paint it. We recommend you spray multiple light coats and let them dry completely before applying each succeeding coat.