Having a recreational vehicle (also known as RV) is a great thing! With its help, you can travel anytime you feel like, and this convenient house on the wheels allows you to go wherever you want – how far you are heading depends only on how much free time you have.
However, quite many owners of RVs often face certain complications that come with maintaining their recreational vehicles.
In particular, they wonder how it is possible to keep the RV’s water heater running properly and how to clean it so that you don’t break or damage anything.
This is why we decided to dedicate today’s article to this subject matter!
Today you are going to learn about many useful things regarding your RV. For example, we will tell you how to drain the hot water heater in your RV and how to clean it as well.
In addition, we will do our best to explain why this cleaning and draining is needed at all. In addition, you will learn how to flush your water heater in the RV correctly.
How to Drain an RV Water Heater?
You may want to drain your RV’s water heater for many reasons. For example, you might need to do this for winterizing your recreational vehicle, or if you need to quickly troubleshoot some sort of issue that comes with the water system.
You may need to drain the water heater when you are going to store your RV for a long period of time as well – for example, if you are not going to use it during the winter.
However, quite many owners of recreational vehicles face the same issue once they realize that draining needs to be done.
How to drain the water heater in my RV? And this is a good question in fact, since if you know how to drain the water system and the water heater correctly, it will prevent the water from getting stale and potentially freezing during the winter.
As a result, you will significantly extend your RV’s water heater lifespan!
This is why, if you need to know exactly how to drain the water heater in your RV, we have prepared a detailed step by step instruction for you.
But first, even before you begin, we suggest you check out a few steps that must be taken beforehand.
- First of all, shut off the propane gas supply to your RV’s water heater. If your recreational vehicle has an electric mode, you also need to make sure that the power is turned off. This step must always be done before you proceed to drain the water heater and the water system.
- Now, you need to turn off the water that goes to the trailer. It will also include turning the water off on your water pump. In addition, you need to relieve the water pressure. You can do it by opening the hot and cold water faucets.
- Now simply allow the water in your RV water heater tank to cool down and then drain it.
And only when all these steps are completed, you can proceed to draining your RV water heater.
Below, we will describe the whole process in detail providing you with a step by step instruction. Like this, you will be sure that you don’t make any mistakes.
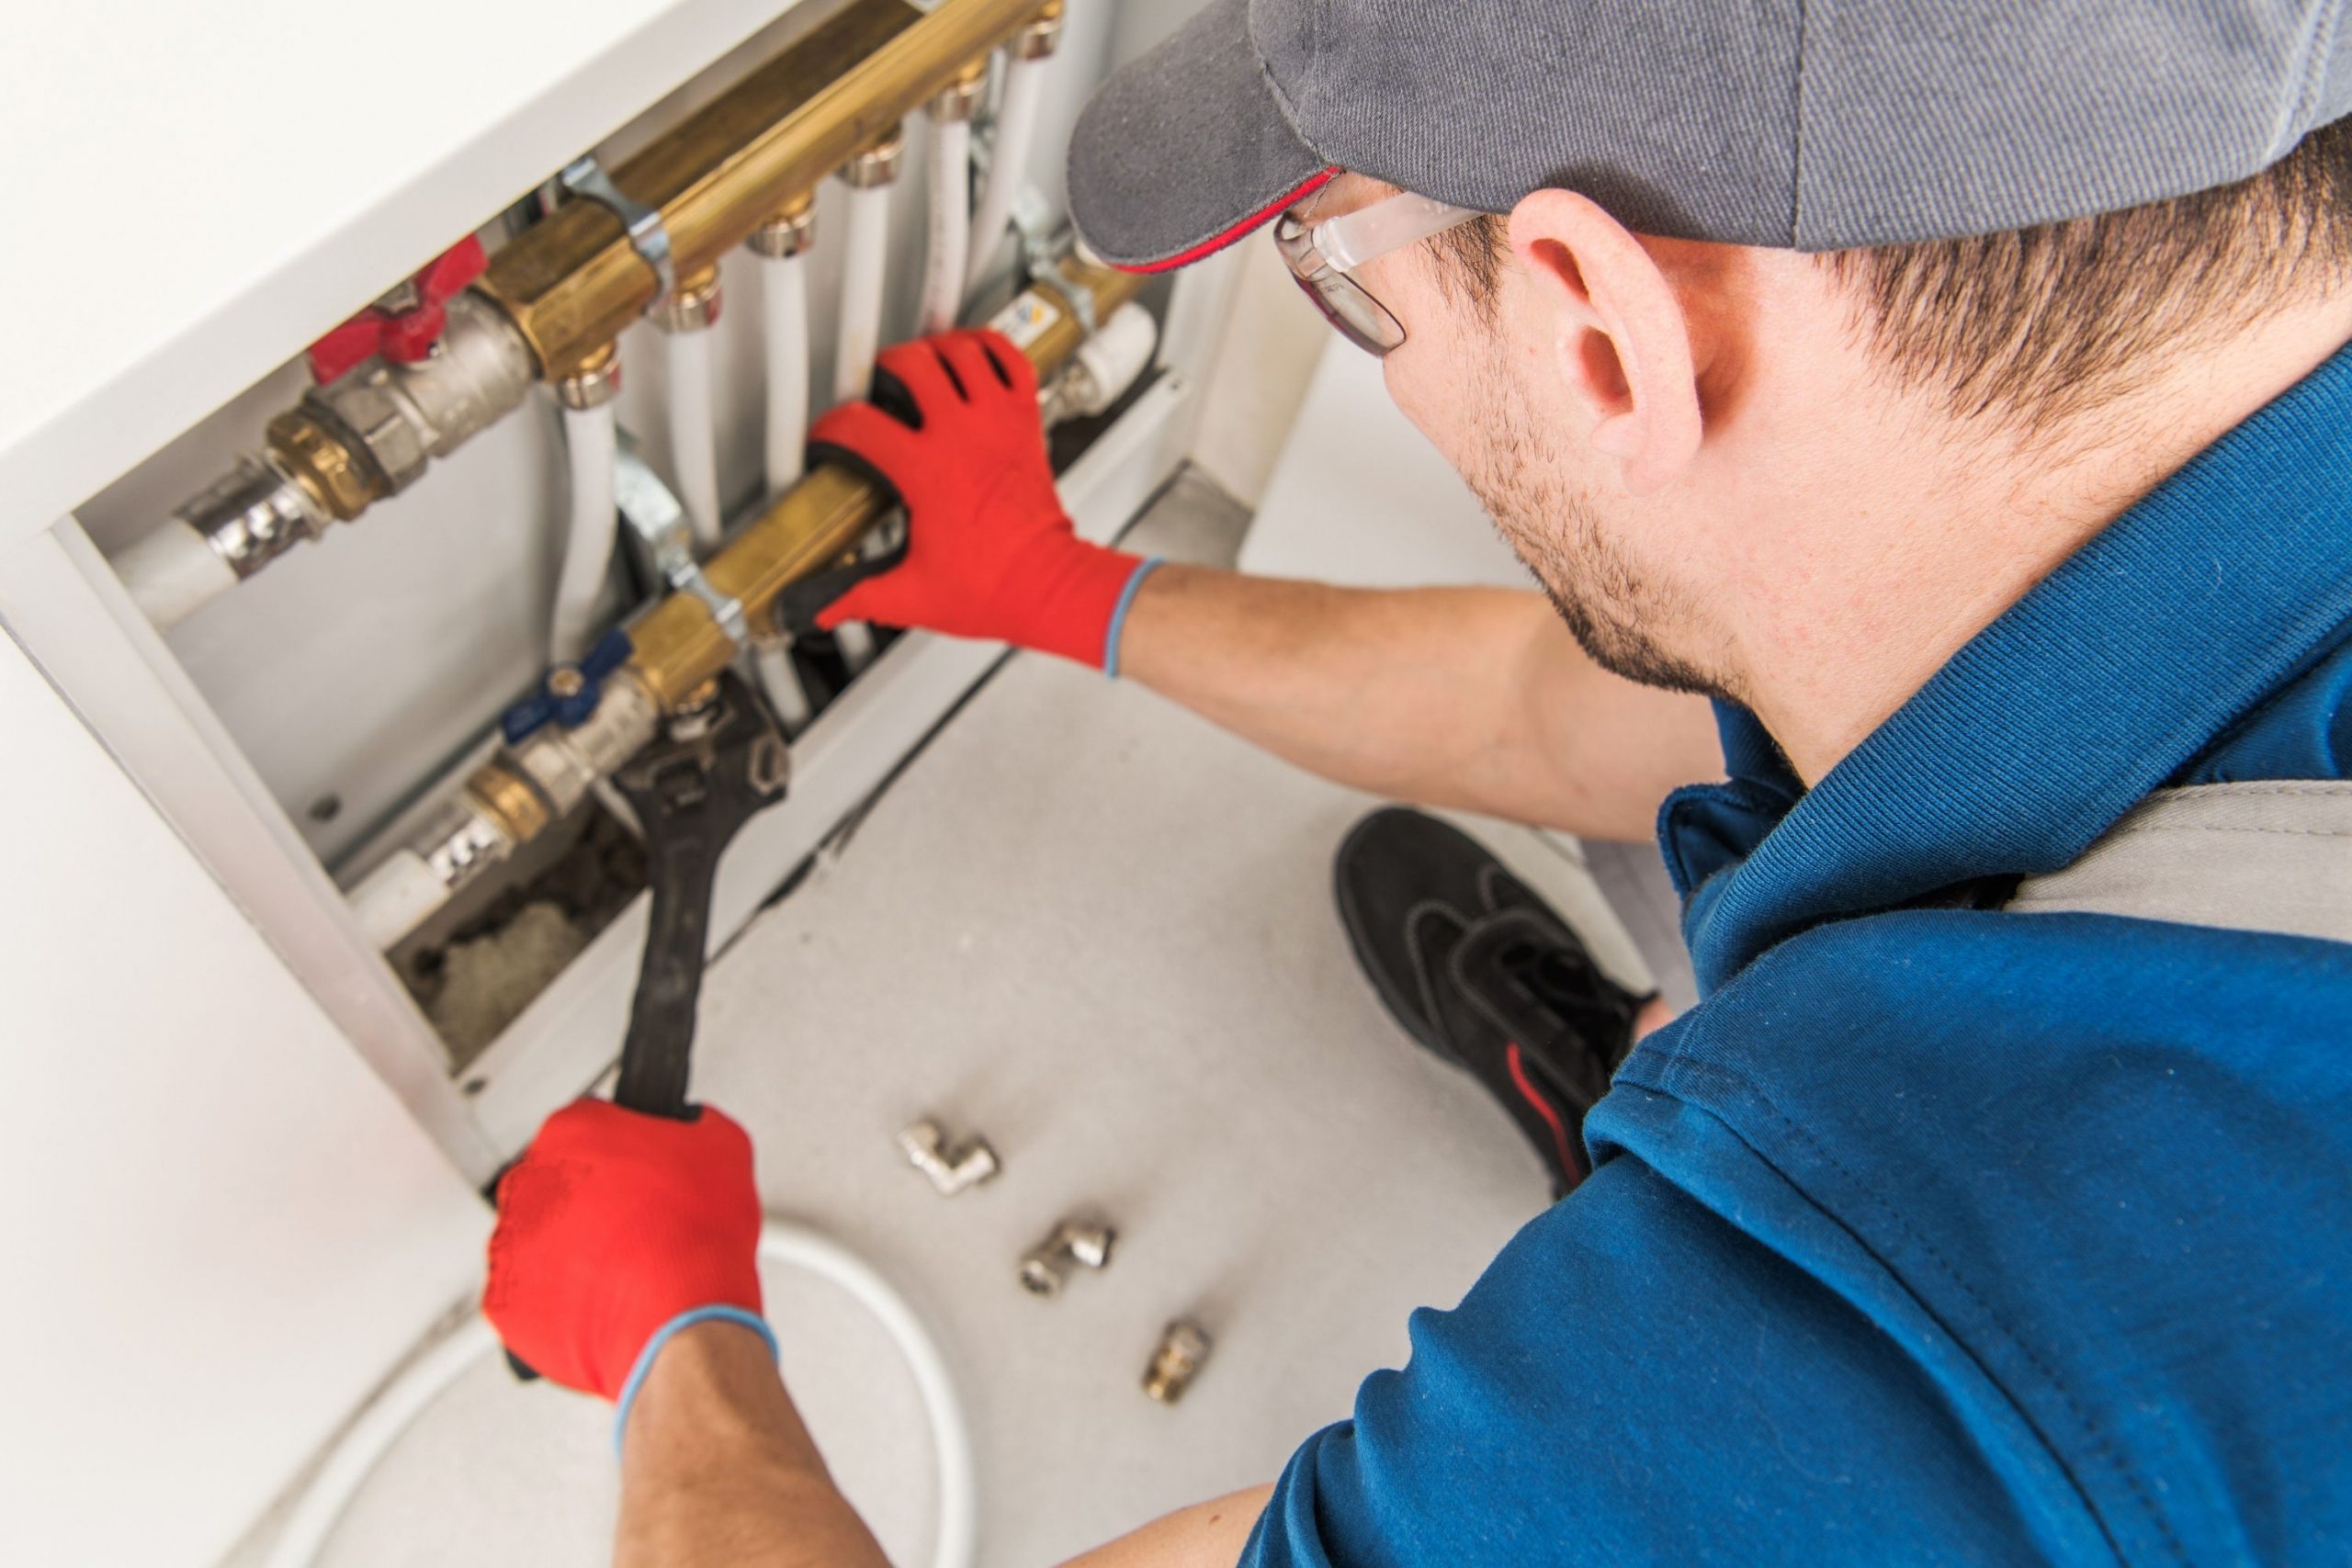
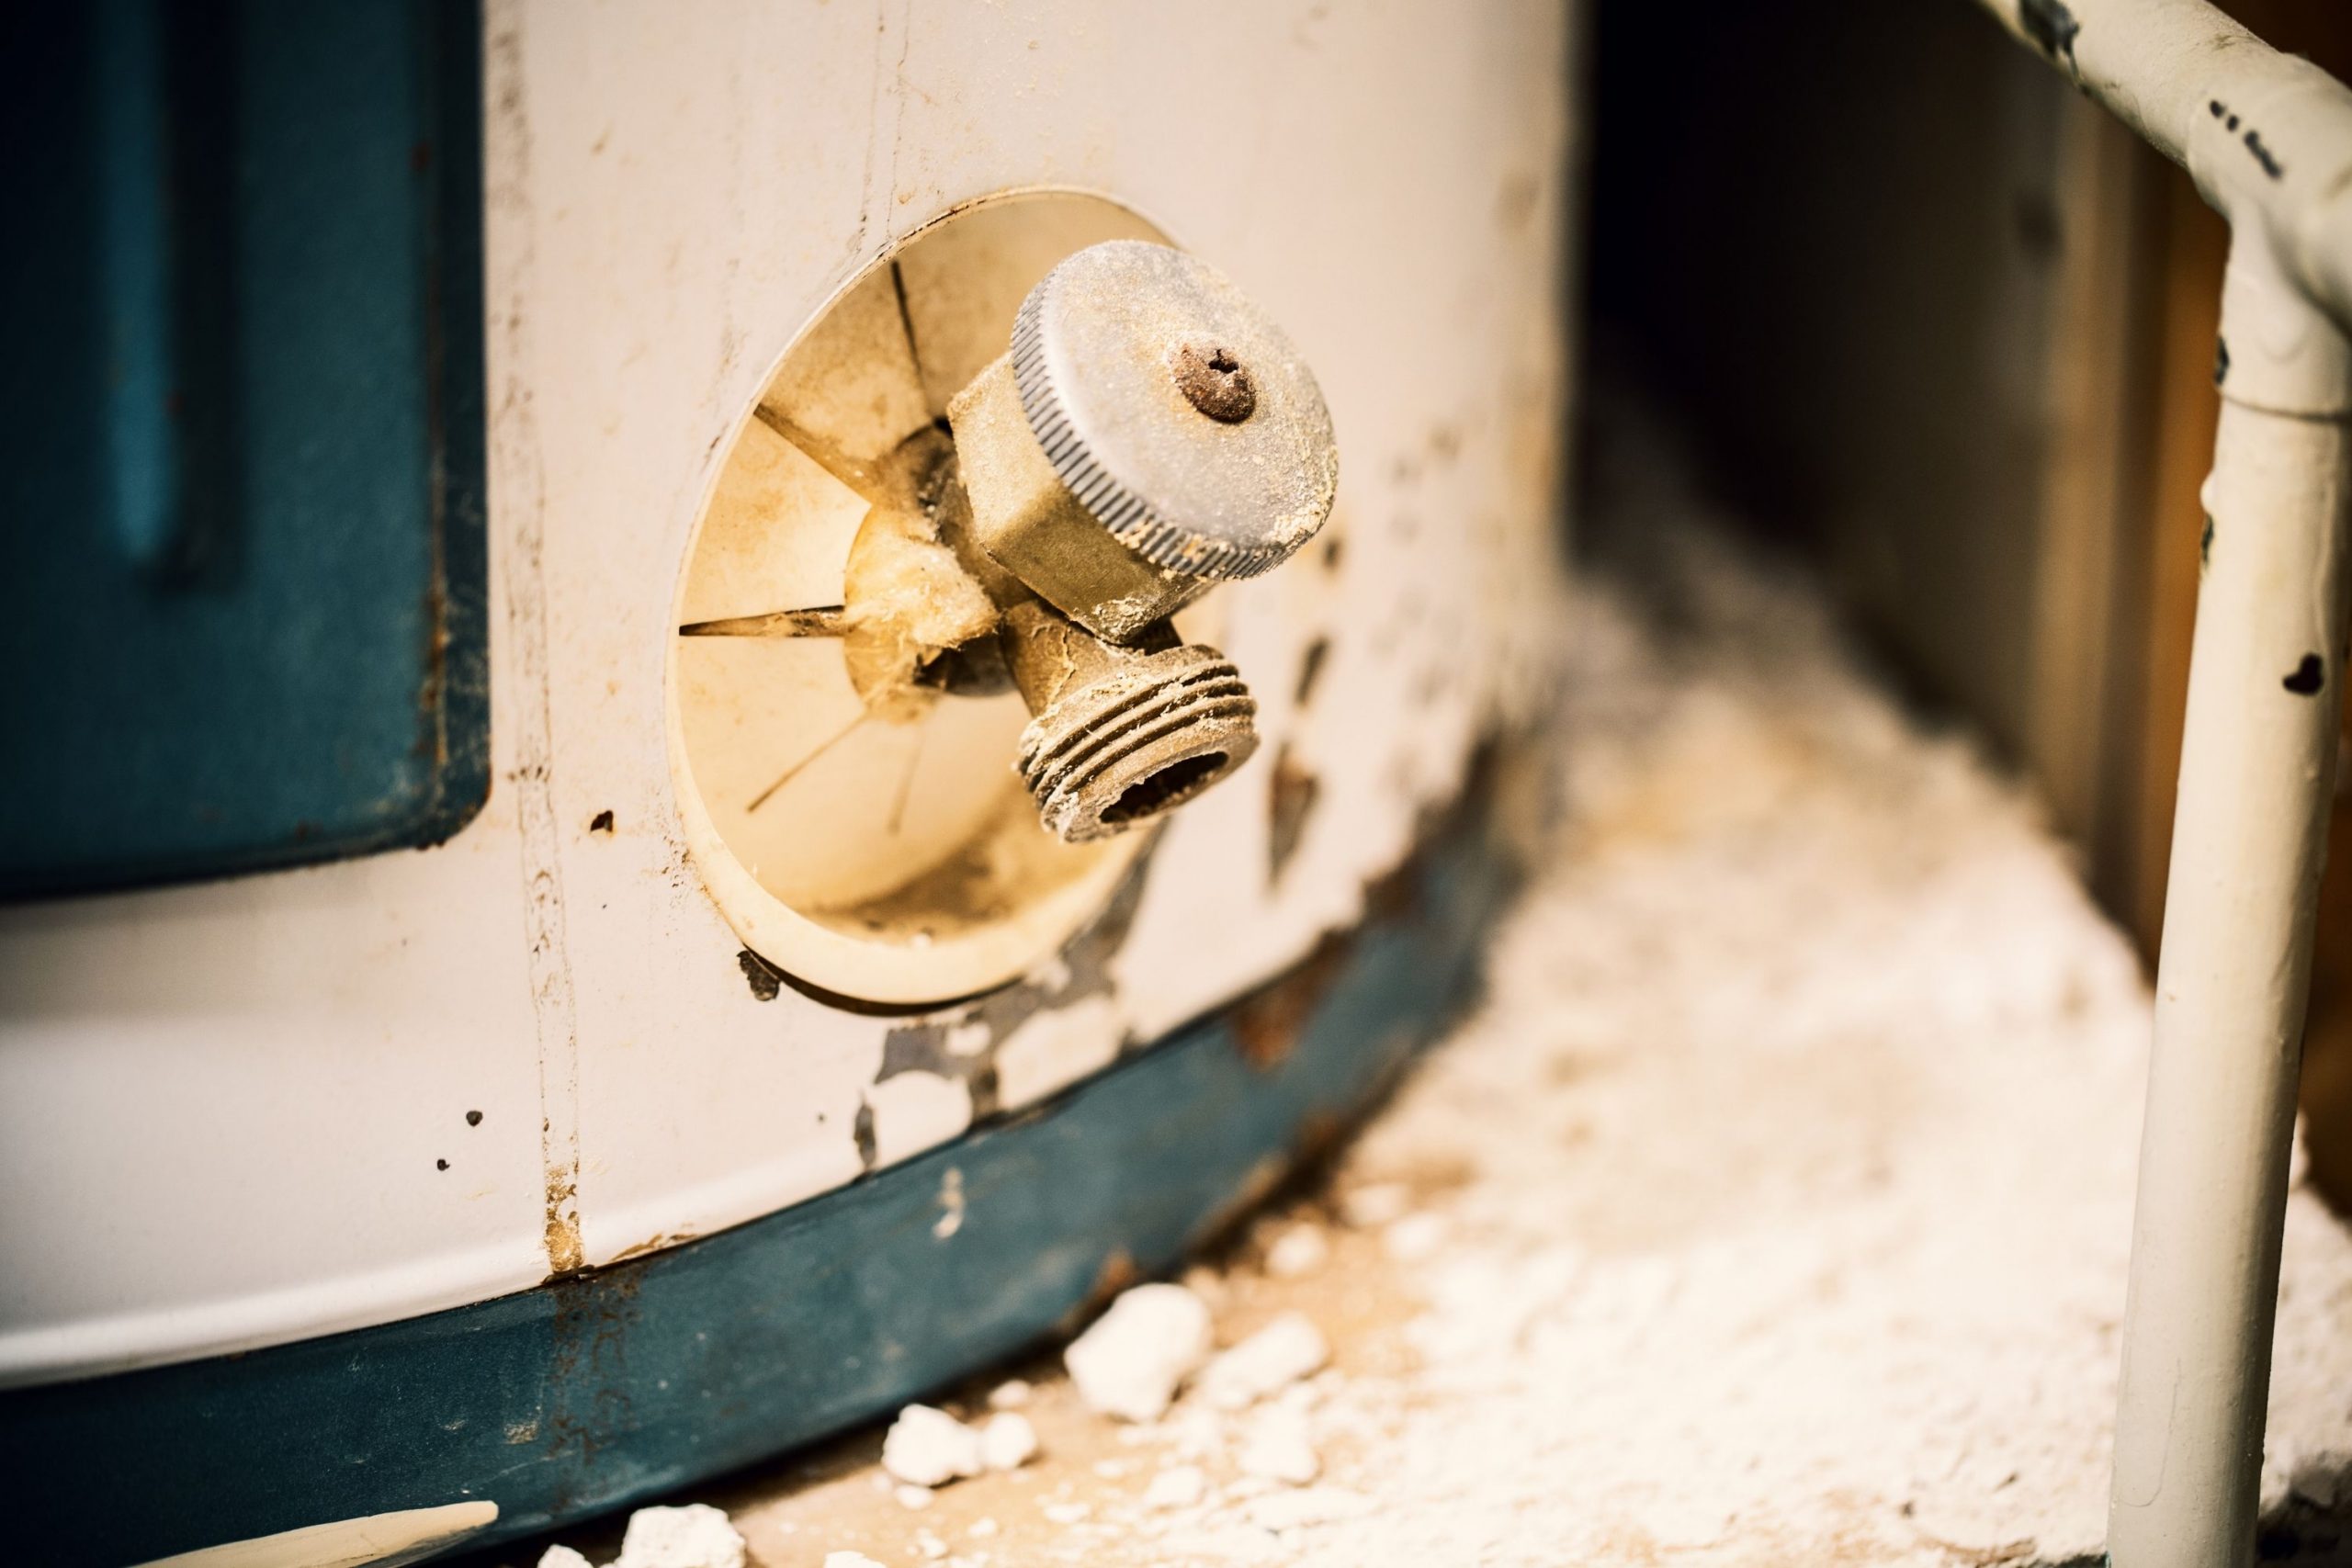
Remove the Drain Plug First
This is the step that you must start with. First of all, you need to locate your water heater.
In the majority of cases, it is situated in an outside compartment of your trailer. The water heater drain plug should be in the bottom corner to the left.
In case you have a Dometic RV water heater, you might want to make use of a wrench to remove the drain plug.
But be cautious!
When removing it, you can easily break off or round the corners! So we recommend you always have a spare drain plug at hand in case it does happen while you are traveling.
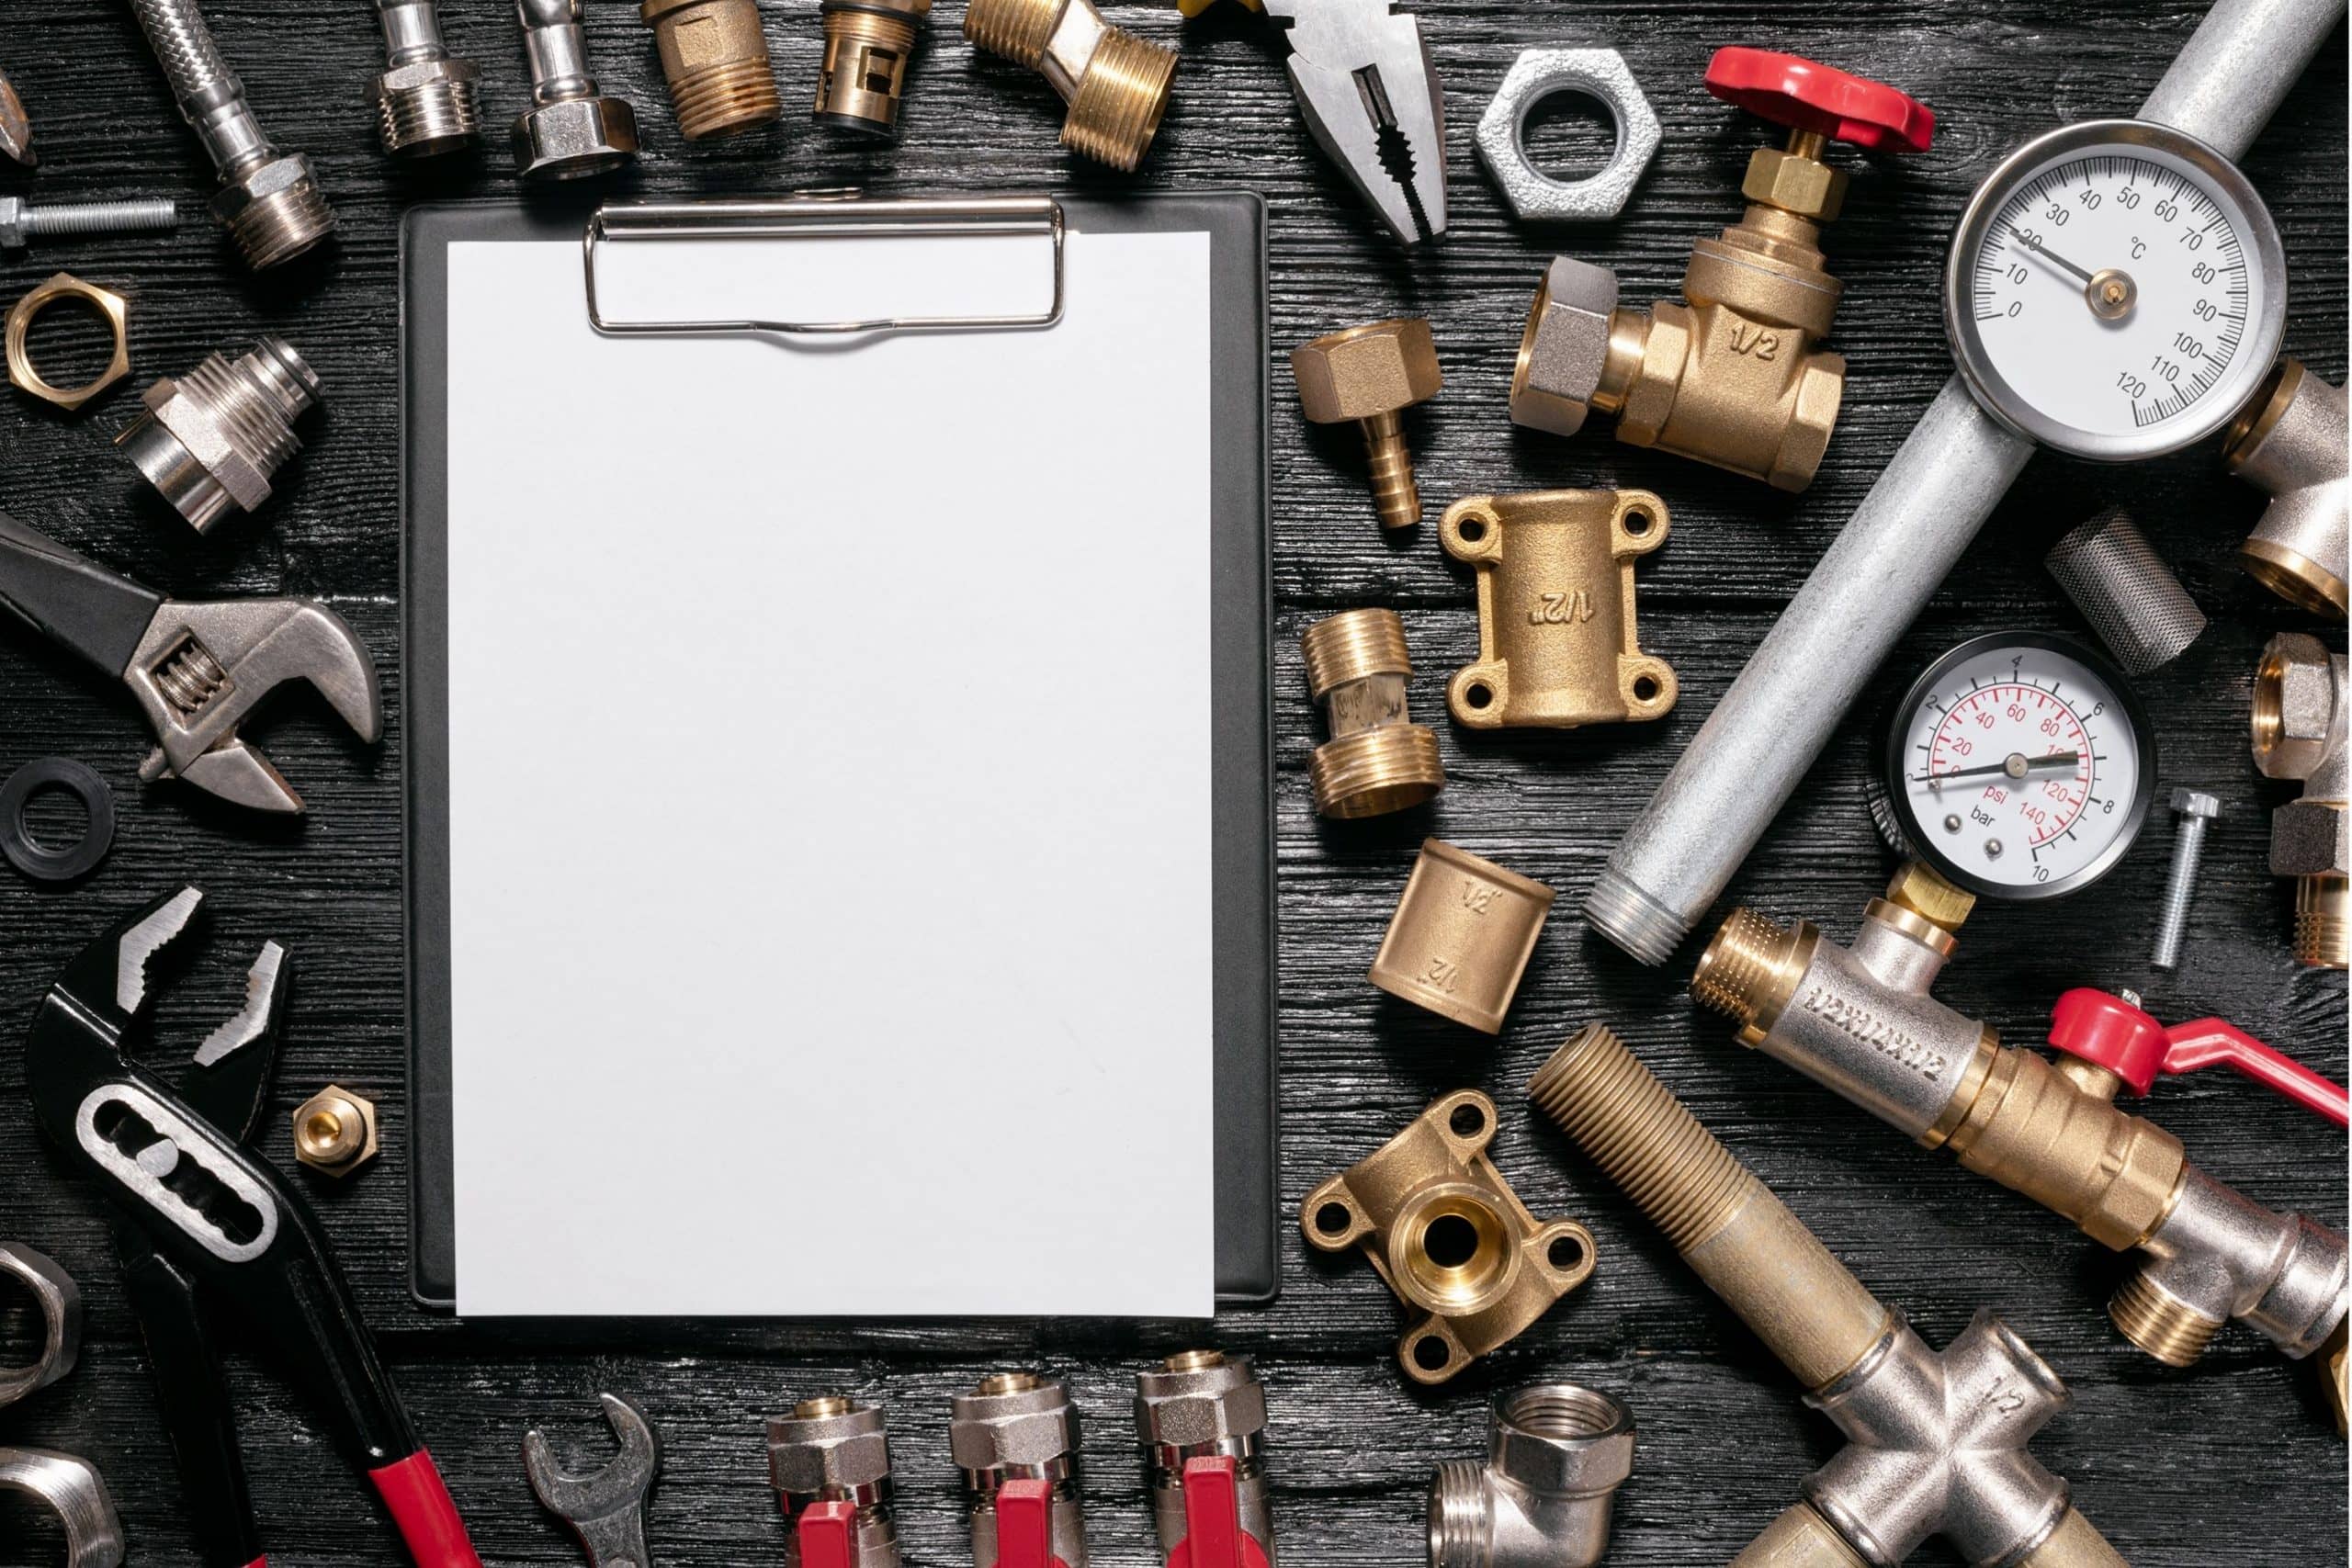
Open Pressure Relief Valve
Once you are done with removing the plug, you can proceed to the next step.
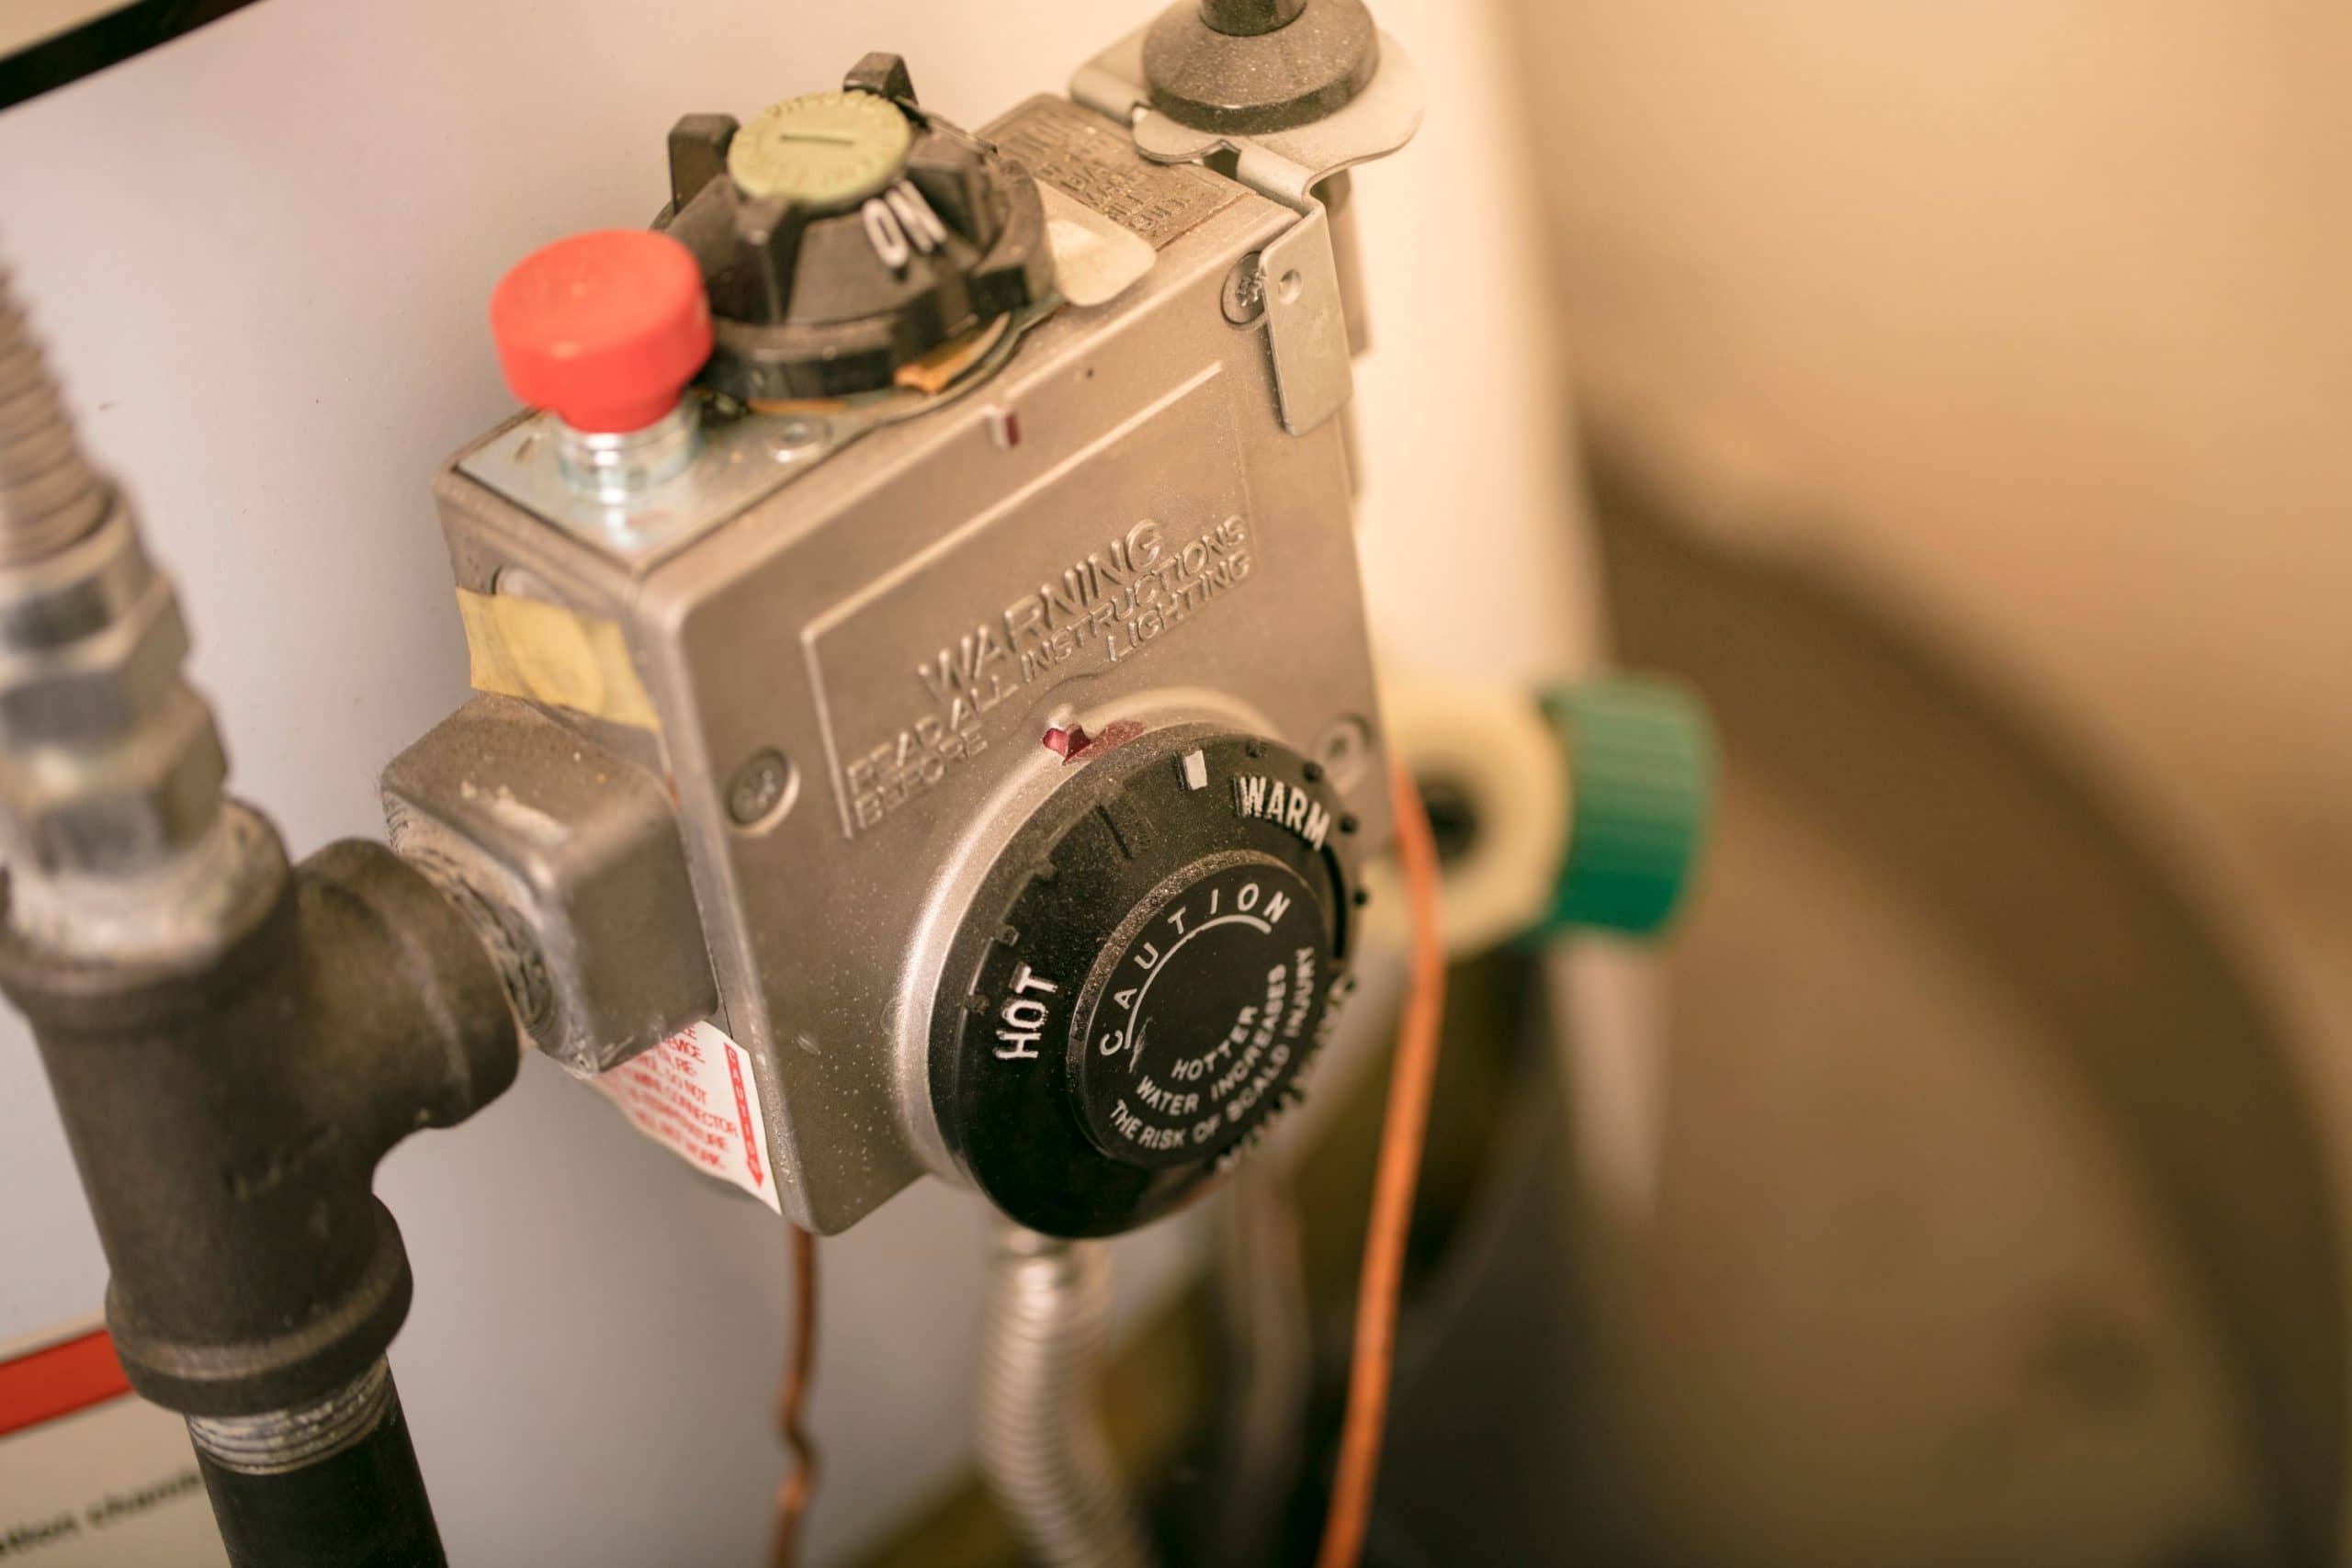
Once the water starts draining after the plug is removed, you can open the pressure relief valve.
It is typically located on the top of the unit.
Once you notice that the water stops flowing out of the drain hole, it means that you have essentially drained your RV water tank.
But you also need to keep in mind one nuance regarding this step: the drain plug is usually located higher than the bottom of the tank itself. It leads to the collection of sediment and minerals that tend to clog it.
This is why you should consider flushing your RV’s water heater tank at least one or two times per year to keep it buildup-free.
Related: How to Dewinterize a House Correctly to Keep All the Systems Work
Flush the Water Heater
We would like to note at once that this step is basically optional. But if you do decide to include it into your water heater draining procedure, here is what you have to do.
Connect the water heater rinser of your RV to a water hose and turn the water on.
In order to flush all the debris from the water tank, you need to insert the tool into the water heater drain and open the valve on the tool.
Keep on flushing for several minutes at least, or until you see that the water that is coming out is clean and clear.
As you can see, there is nothing really difficult about draining your RV water heater.
If you follow the provided instructions precisely, you will even be able to do it yourself without any help, even if it is your first time when you are draining the water system of your recreational vehicle.
Related: 10 Methods How to Keep RV Water Hose From Freezing?
How Do I Flush My Suburban RV’s Water Heater?
As you already know, one of the recommended steps that should be taken during the water heater draining process is flushing the heater. And even though this step is optional and nothing bad happens if you skip it, we would still recommend you do it.
When flushing your water heater regularly, you make sure that it remains clean and debris or buildup-free which makes its lifespan longer and allows it to work more effectively.
So whenever you just want to do it as a part of your annual maintenance or your RV is pretty old and its water heater might have been last time flushed a decade ago, here is what you need to do to undergo this procedure correctly.
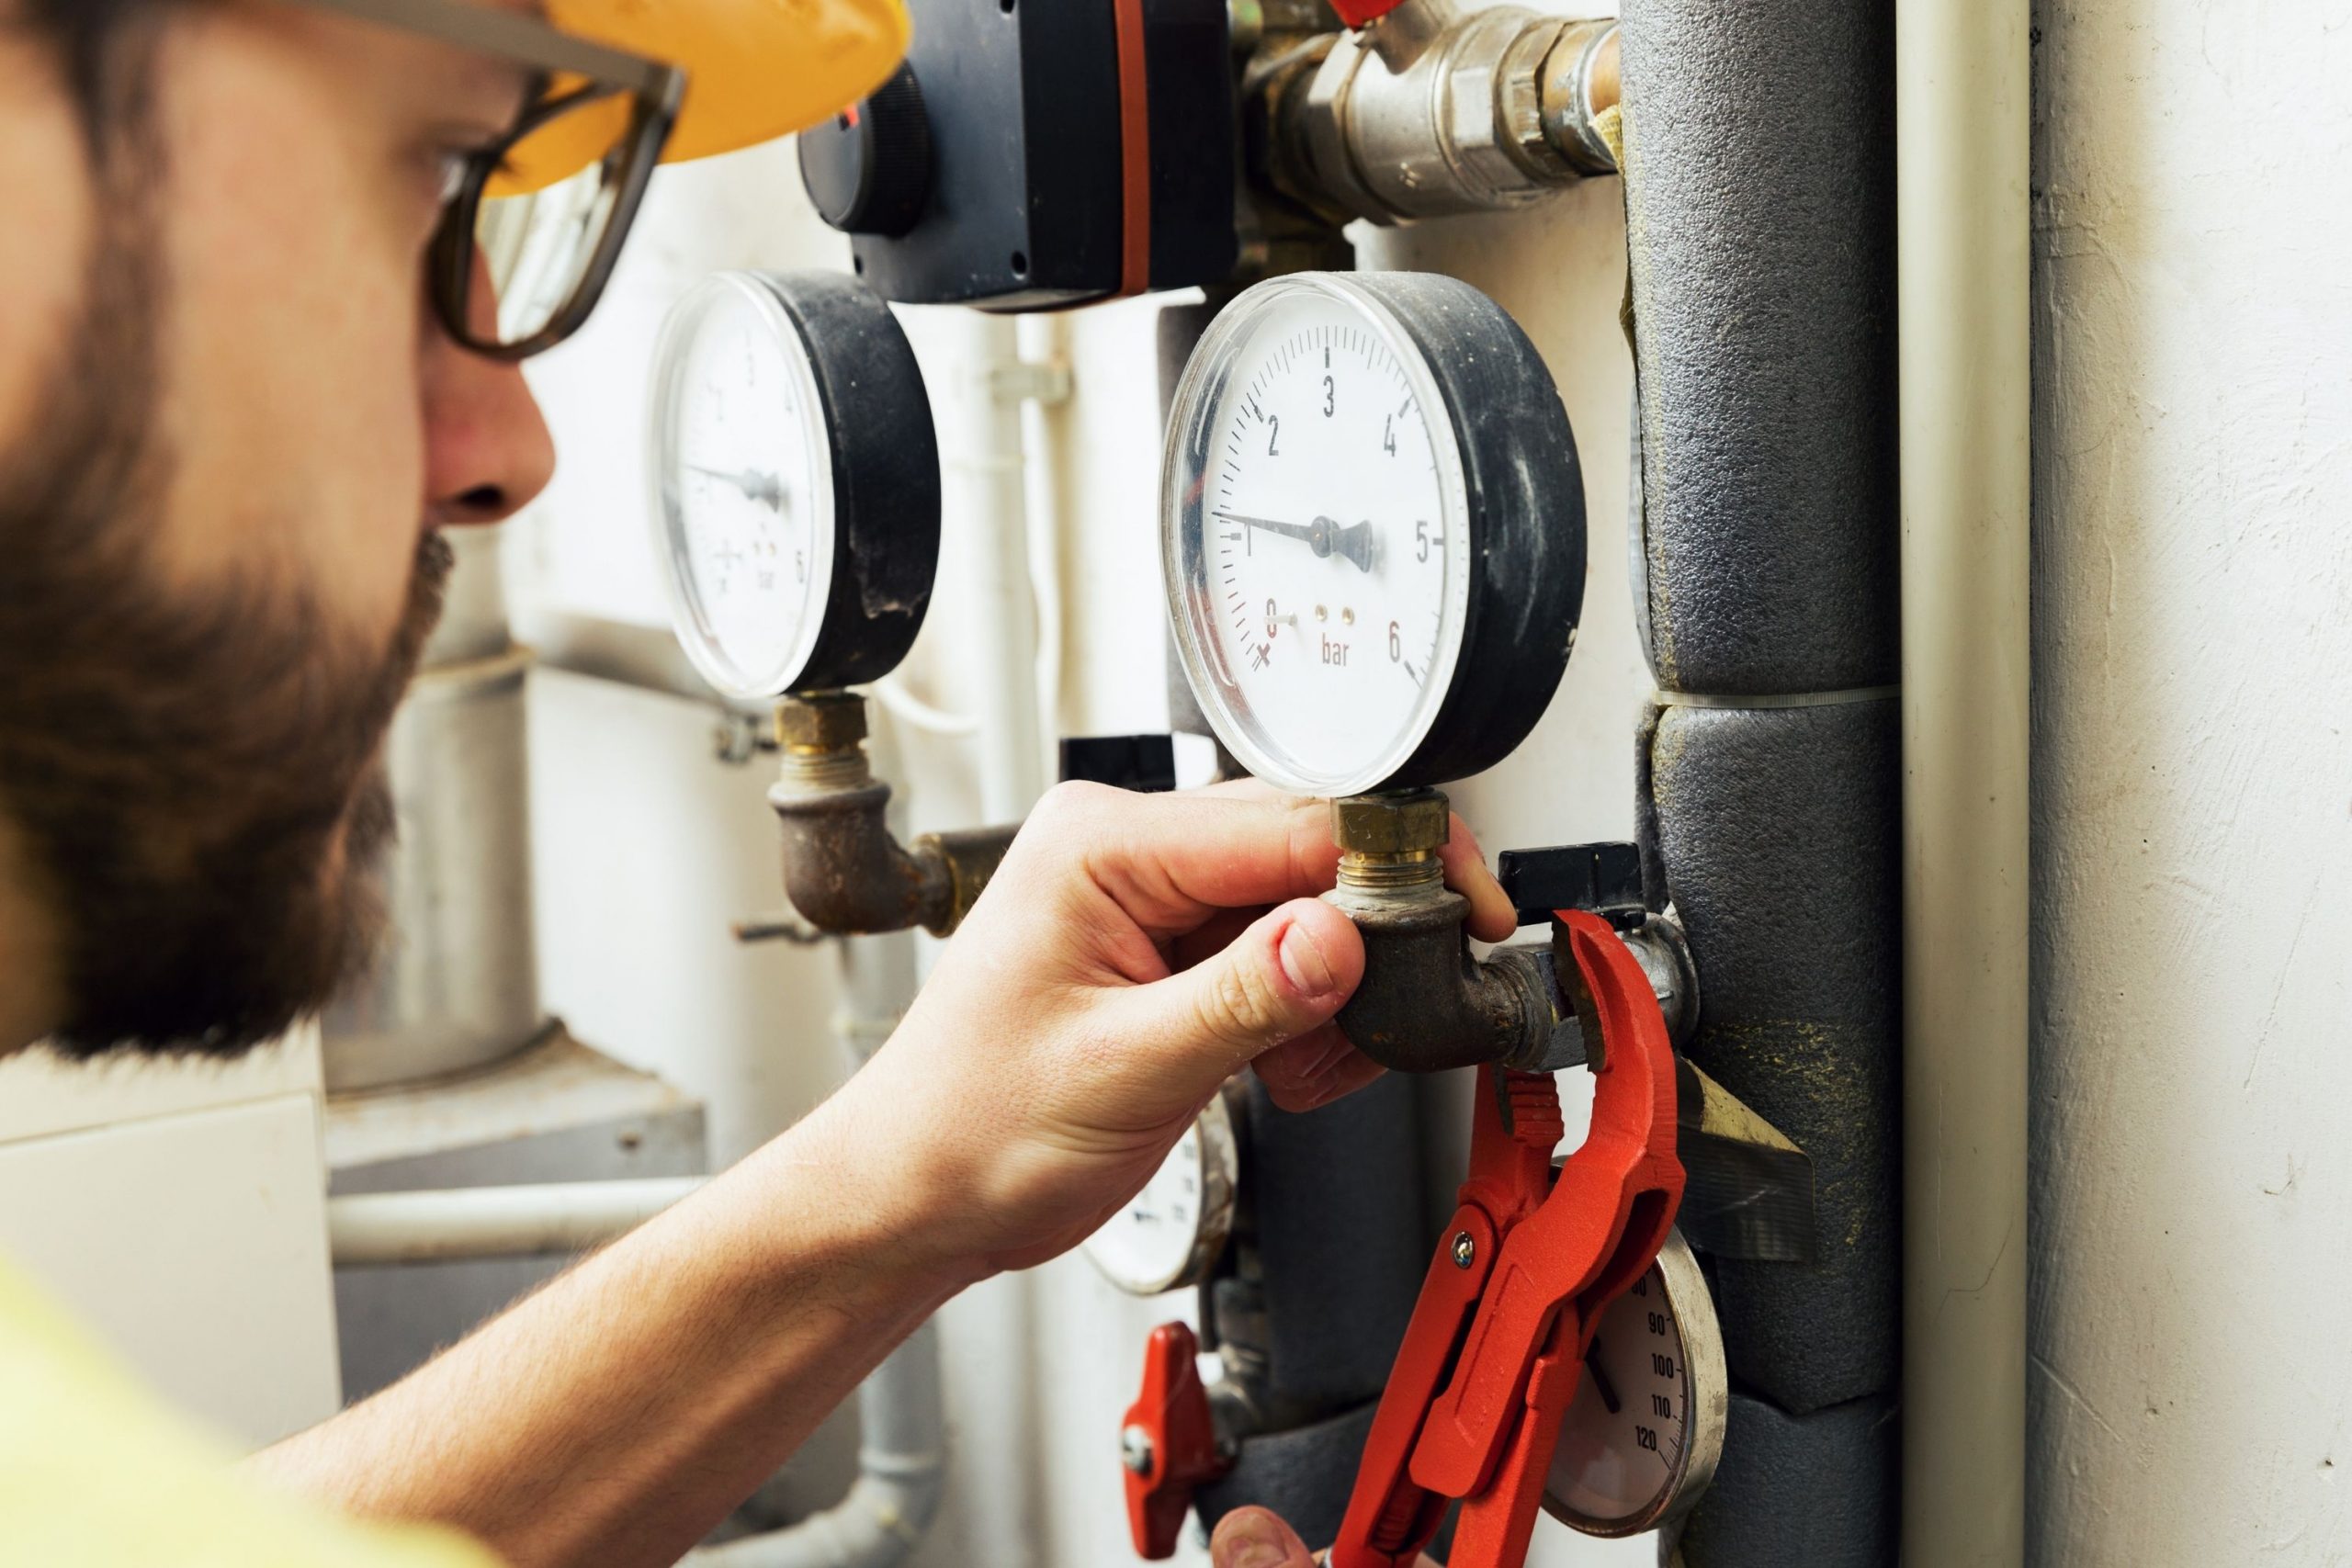
Drain Your Water Heater First
You need to start with draining the water heater of your trailer. To do it, follow a few simple steps:
- Check that your water heater bypass is in “normal” mode
- Turn off the city water and water pump to make the water heater stay empty while you are draining it
- Turn off all the gas and/or electricity elements in the water heater. It will prevent them from burning out once water is drained
- Now, remove an outside access cover to the water heater
- Open the pressure relief valve
- Remove the drain plug with the help of a 1 1/16” socket
- let all the water drain out
Once this part is done, you can proceed to the next stage and flush your RV water heater to remove any debris and/or buildup it may have after the years of usage.
Flush Your RV Water Heater
To flush your RV water heater, follow the instructions below precisely:
- Using a special water heater rinser and a regular garden hose, keep on flushing the tank for a few minutes until you see that the water is running clear
- Using a 1 1/18” socket, put on a plastic drain plug
- Remove the inlet hose from the water pump and attach vinyl hose on the water pump inlet
- Now, put that vinyl hose in a bottle of vinegar
- Turn on the water pump. It should start sucking vinegar in. repeat this for all six gallons of vinegar. At this point, your water heater must be about half full
- Turn the pump off now and remove the hose, reconnecting the water inlet pipe to the water pump
- Turn city water on to let it fill the rest of the water heater tank. When it’s full and water starts coming out of the pressure relief valve, close it
- Enable the water heater bypass valve again to keep vinegar water from getting into the rest of the system
- Turn on the heating element and leave it working overnight. it will speed up the cleaning process
- Next morning, turn city water and heating elements off. Do it with the water pump as well
- Open the pressure relief valve and remove the plastic drain plug
- After you drain that water and vinegar mixture, give it a good rinse using a rinse wand
- Put in new anode rod with pipe tape
- Turn on city water and the normal mode back on your water heater bypass
- After the tank is full and you can see that the water is coming out of the pressure relief valve, close it and turn all the faucets on. Keep them on until all the air gets out of the system
Of course, it may seem like you are going to spend quite a lot of time on all that, but at least, it will allow you to do everything correctly without any damage to the water system of your recreational vehicle.
Why Do You Have to Drain Your RV Water Heater?
As a rule of thumb, it is recommended to drain your RV water heater at the end of every season, and also, you should do it anytime it is stored for more than two weeks.
If you don’t drain it any longer than that, you risk the water becoming stale or even contaminated, which can not just develop an unpleasant sulfur smell, but also may even be unhealthy if consumed!
This is why we strongly recommend you consider maintaining your RV water heater regularly and drain it as prescribed:
- At regular intervals, at least once during the year
- Before storing the RV for winter or when there is a possibility of freezing
How to Clean Your RV Water Heater Correctly?
Except for draining and flushing, your RV water heater also requires regular cleaning.
When keeping it clean, you will extend its lifespan and the heater will be able to work more effectively so you won’t have to waste money and time on repairing or replacing it.
Fortunately, the cleaning process is not something super complicated!
- Before you start, turn the power off, letting your water heater cool down. Once it is cool enough, turn off all the water that is flowing into the RV tanks.
- Now, open the water heater access on the outside of your trailer. Once this is done, flip up the lever on the pressure relief valve and remove any pressure from the water heater.
- Using the air compressor, get rid of all the debris from the burner tube and chamber.
- Drain your water heater and flush it thoroughly.
- Once the heater is completely drained, the plug can be reinstalled.
- Finally, clean your RV water heater with the help of any all purpose cleaner and a clean rag.
All these tips and recommendations will help you to maintain and keep your RV water heater clean and well maintained relatively easily and definitely cheaply making its lifespan longer.
[wp-faq-schema title=”Frequently Asked Questions”]
Can I drain my RV water heater myself without calling a professional? I’ve never done this before, so I’m a bit worried. Did anyone succeed?