Unlocking the secret to luscious locks doesn’t require a touch of magic – it’s about a well-crafted haircare routine built on an understanding of the function of each component. For the most part, the steps seem logical and concise – shampoo, condition, treat – but in actuality, there’s a little more in between.
In terms of skincare, the rule is to apply “lightest to heaviest,” but when it comes to your strands, that gradation isn’t necessarily relevant.
Expert hair stylist Michelle Lee says to remember FSF: foundation (shampoo, conditioner, masks), structure (leave ins and protectants) and finish (styling and texture add ons).
Depending on where you rank on the hair type chart, your individual needs may look different to the next person’s.While there isn’t a single hair care regimen that we can declare universally appropriate for all types of hair, there is scientific scaffolding under this step-by-step guide to using and applying your products for maximum benefit and minimum damage. Let’s explore.
Step 1: Preparation
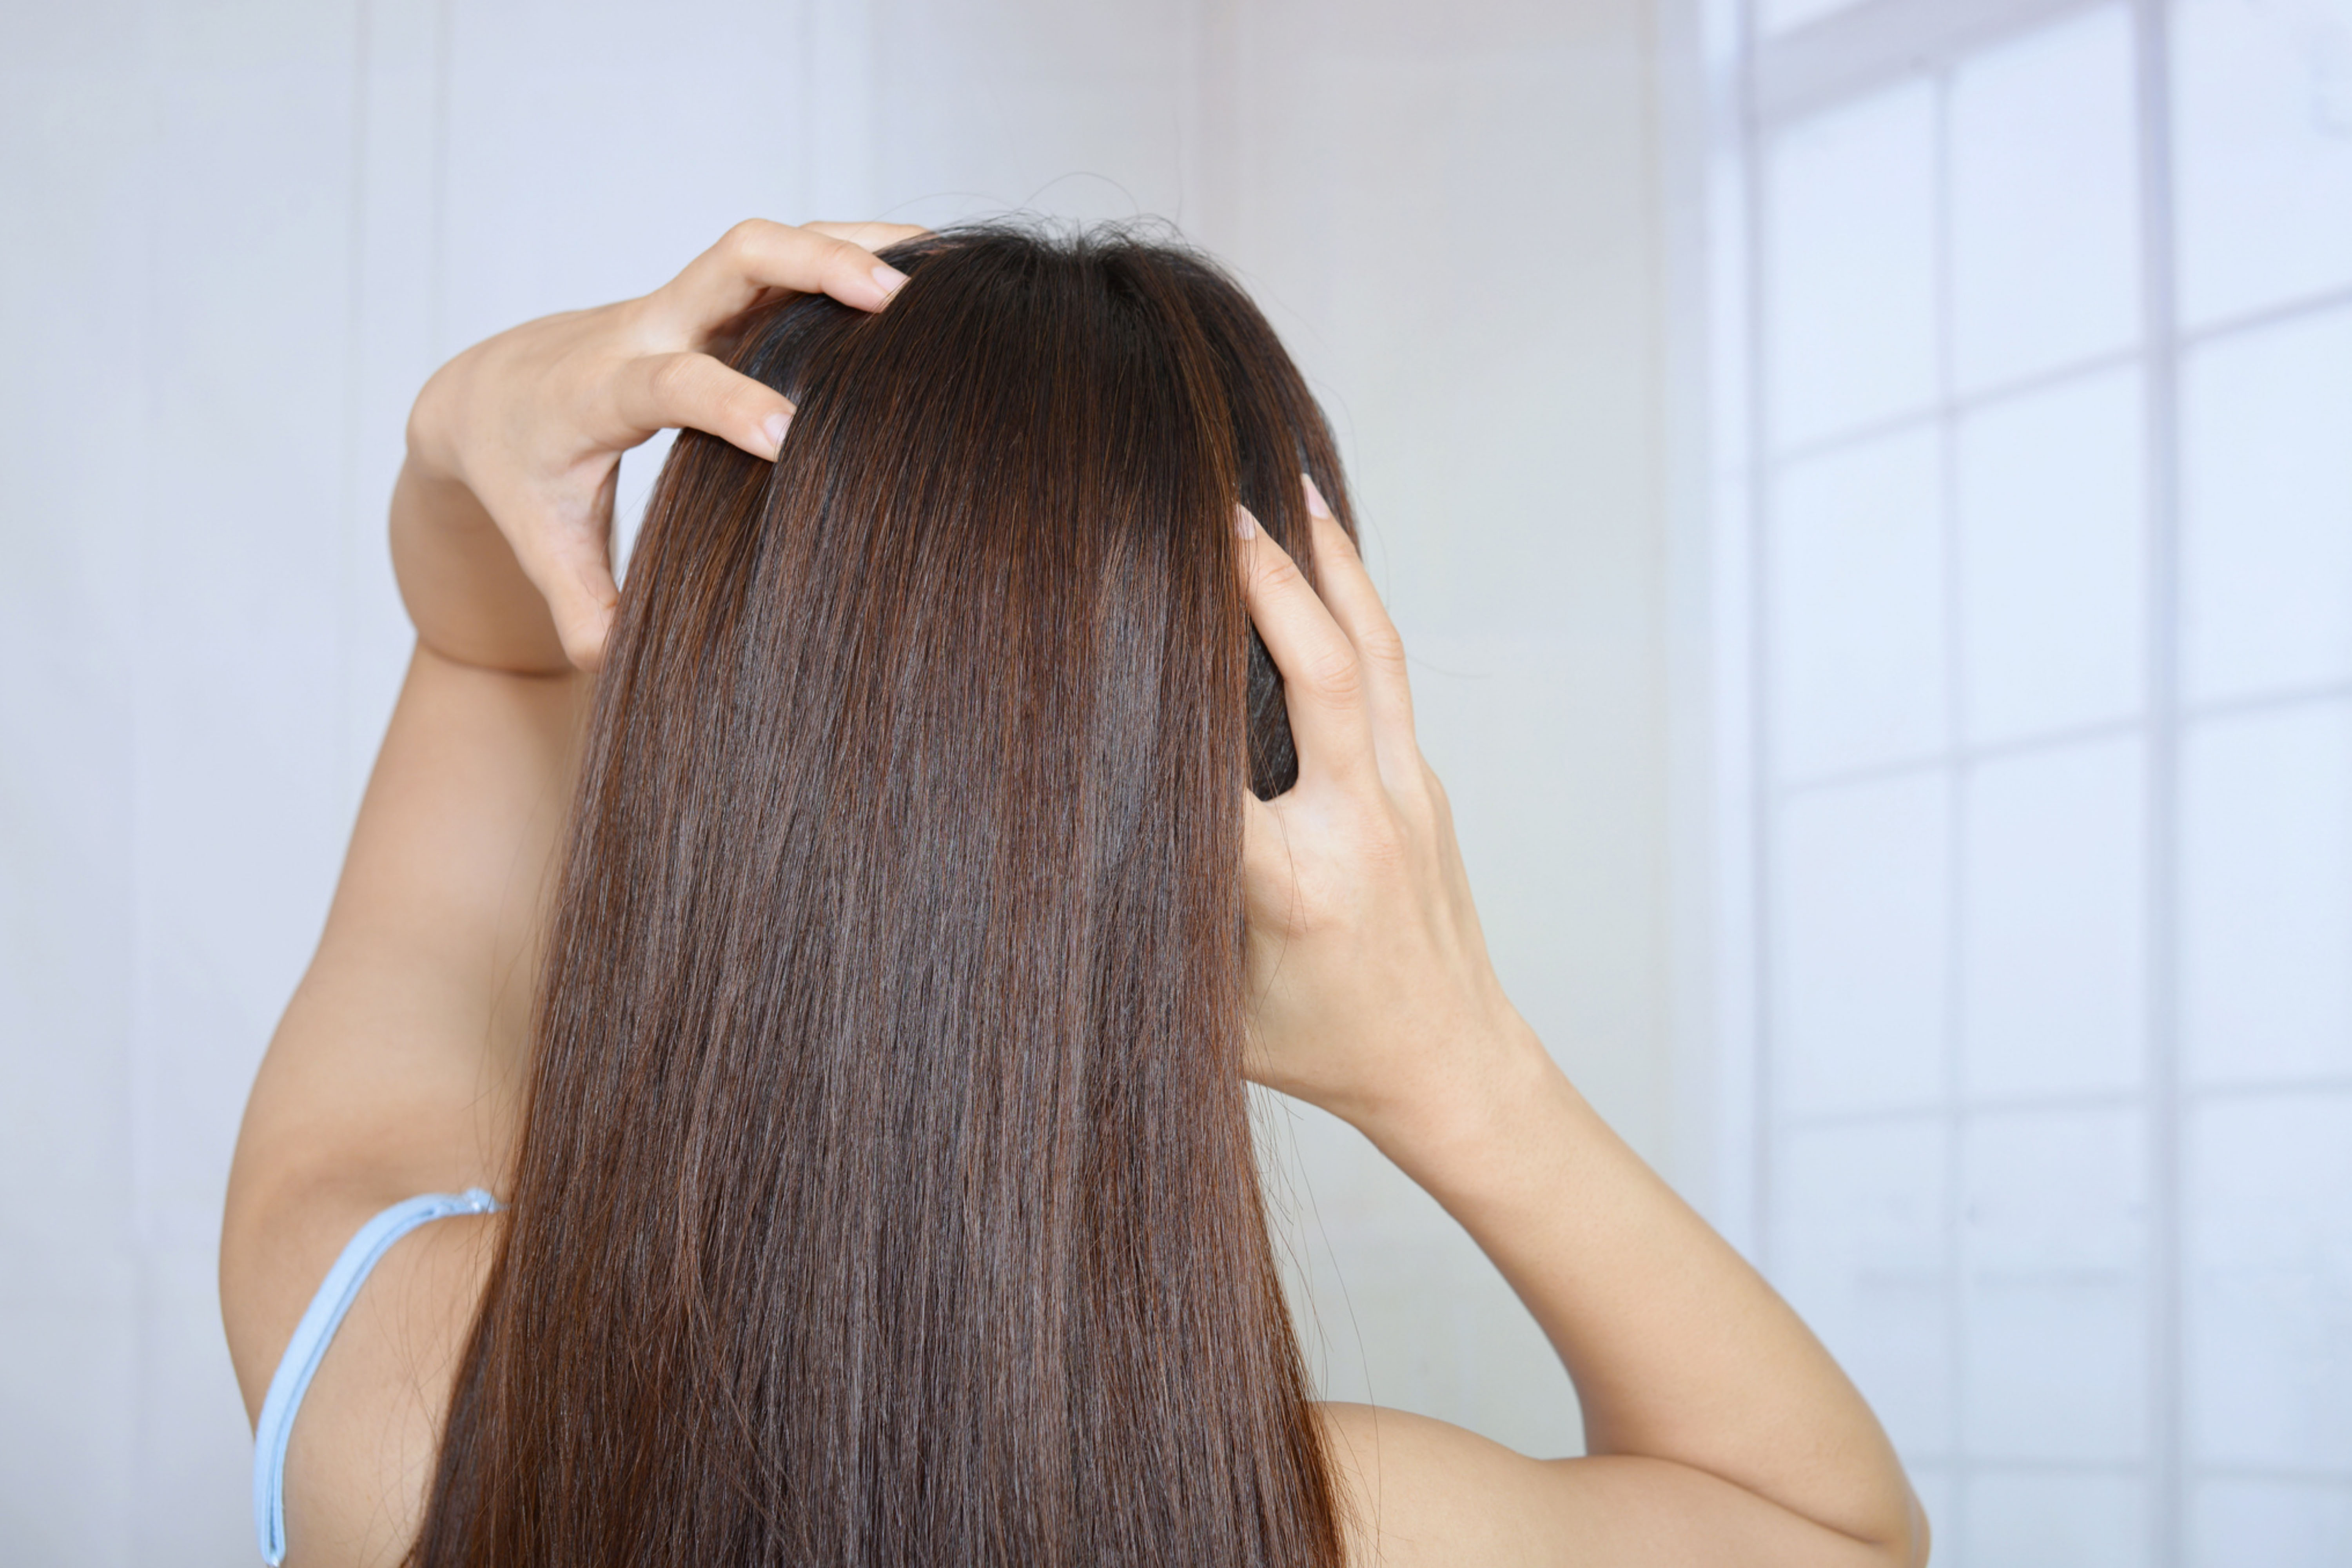
Starting with a clean slate is essential for healthy hair, which is why it’s important to regularly exfoliate your scalp, especially if you are using styling products like gels, hair sprays and creams. Expert trichologist Vincent De Marco says chemical exfoliant products “remove scalp buildup, allowing our natural oils to keep the hair and scalp nourished and healthy.”
On the flip side, an overproduction or buildup of sebum on the scalp can feed the Malassezia furfur yeast that can lead to dandruff, therefore exfoliating can safeguard against that.
Step 2: Shampoo
Now, onto cleansing your scalp and lengths. Invest in a hard-working shampoo. Fundamentally, water and oil don’t mix, which is why washing your hair with h2o alone won’t lift grease and dirt.
Your hair-cleansing product should use a mild detergent rather than soap, the latter which causes cuticles to swell, making hair rough and dull-looking.
The characteristics of a quality shampoo should include surfactants that lift oil and debris without being too stripping, the ability to be rinsed easily, and a finish that leaves your tresses manageable and flexible.
Step 3: Conditioner
Conditioning is the baseline of protecting your hair after the onslaught of shampooing. Conditioners use ingredients like fatty alcohols, humectants and oils to restore moisture and movement to hair.
Dry and damaged hair can be static, because it conducts a negative charge, which is where positive-charged conditioners swoop in as the hero. Depending on your needs and expected results, you might like to opt for a shampoo-follow-up that contains proteins to help bind split ends, or thickening agents to boost volume.
Step 4: Hair mask
Hair masks, aka deep conditioners or conditioning treatments, are excellent for quenching dry hair, smoothing frizz or repairing strands depending on the kind of formula you choose. While hair masks and treatments aren’t going to be an “always” step in your mane maintenance routine, they can be particularly useful when dealing with over-processed or flyaway hair.
Calling upon highly concentrated ingredients including moisturisers like avocado oil and shea butter, as well as strengthening agents like amino acids and silk protein, hair masks are designed to coat your hair fiber while flattening the scales of the hair cuticle.
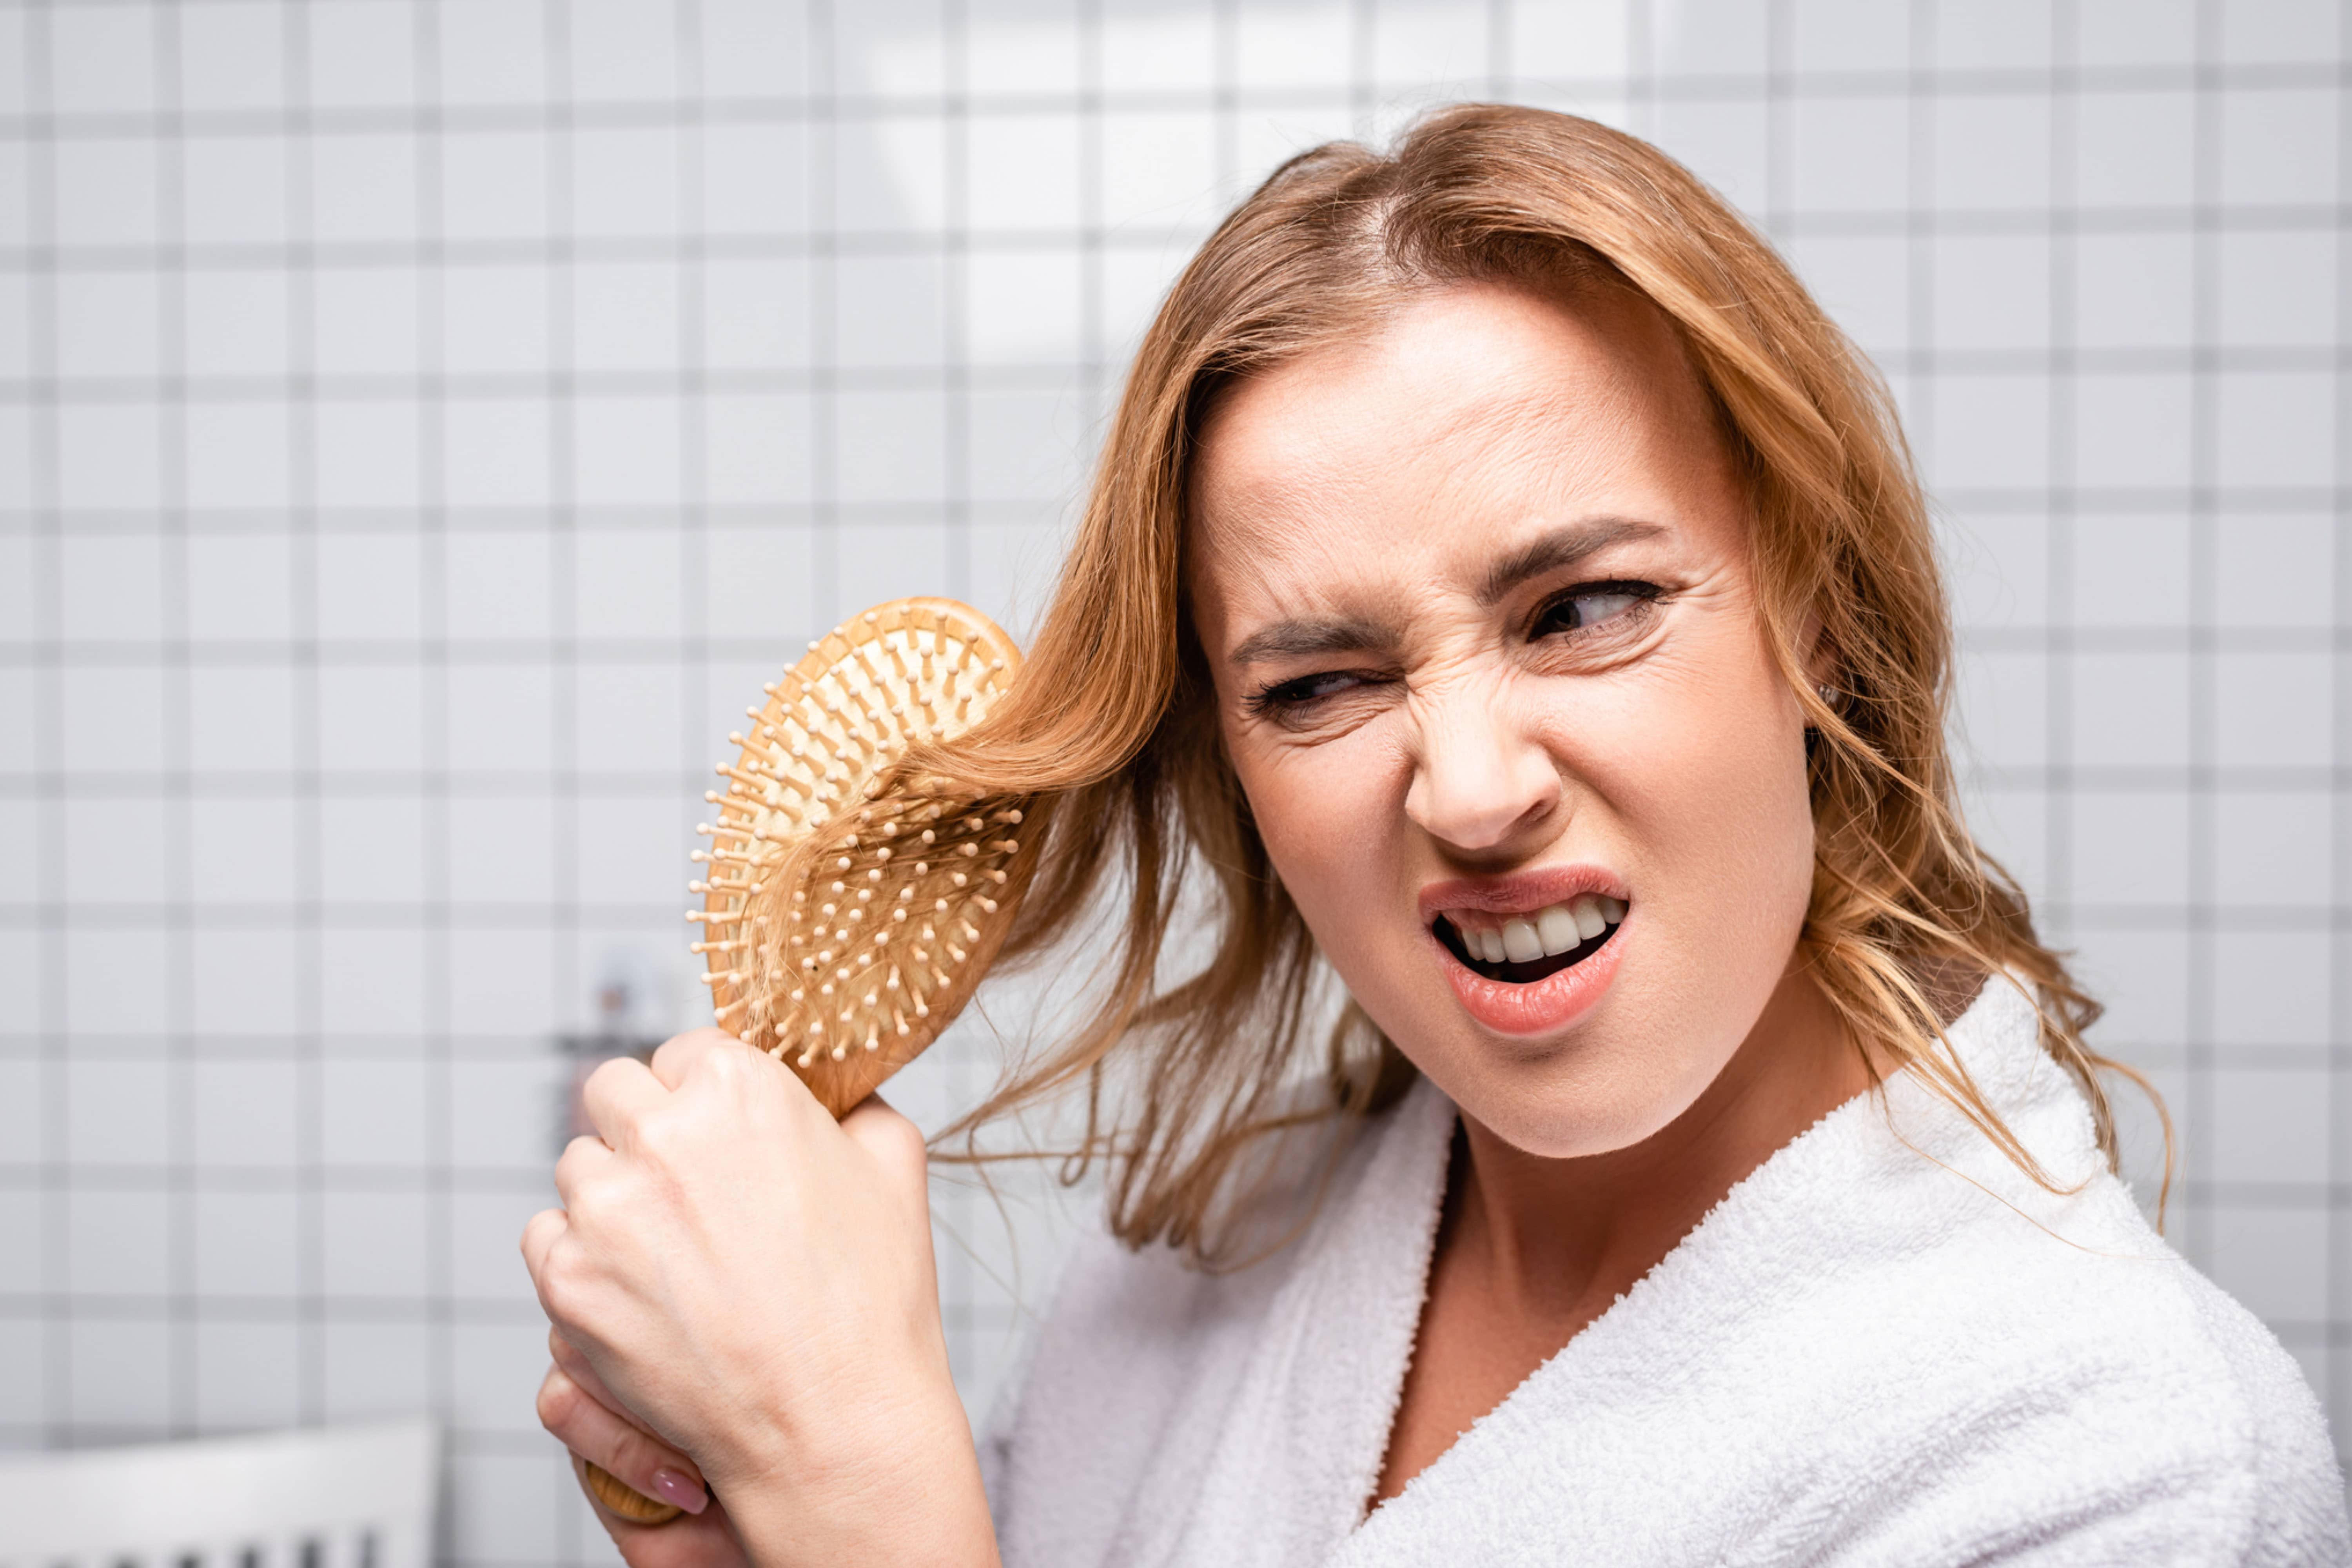
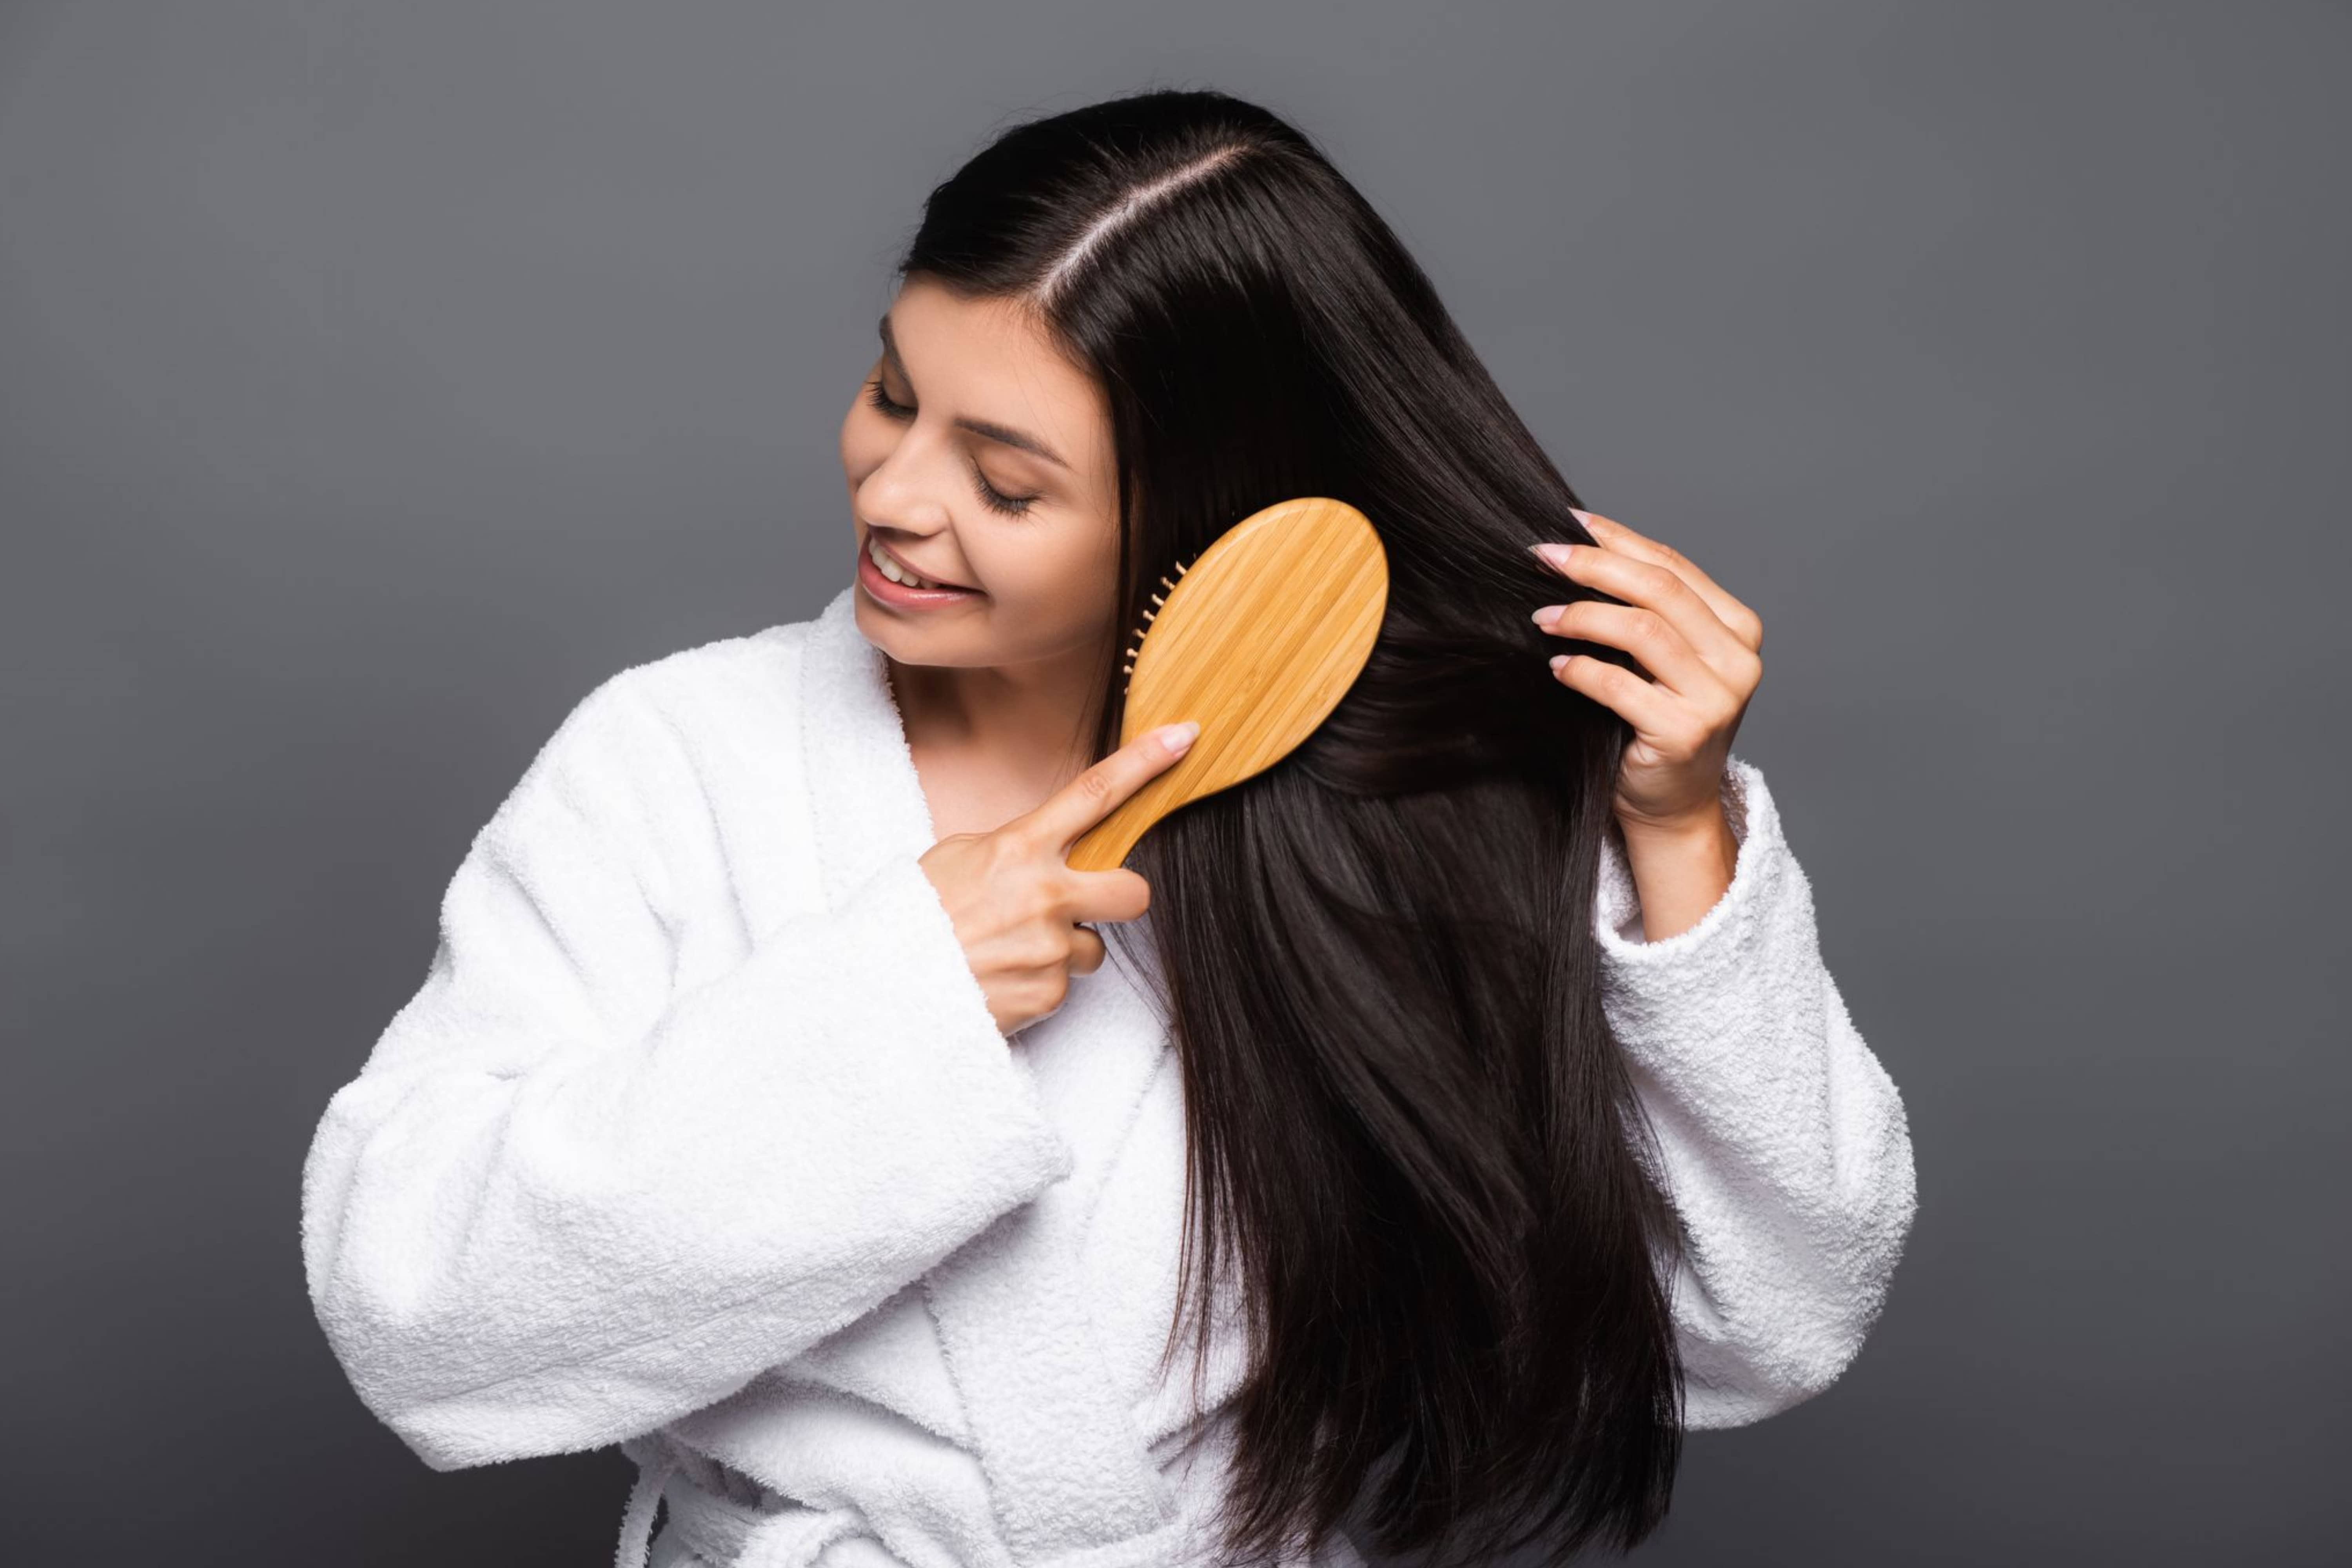
Step 5: Detangler
Nobody wants a matted mop of hair, but did you know that detangling your strands has benefits beyond appearance? Hair knots can be frustrating, and combing them out dry can lead to breakage. Additionally, there’s a good chance that your other products, like leave in conditioners and serums, won’t be evenly distributed nor penetrate as deeply as they should.
Working in small sections, using a wide-toothed comb and enlisting the help of a slip-assisting detangler is a marriage that will result in smooth, tangle-free hair every time.
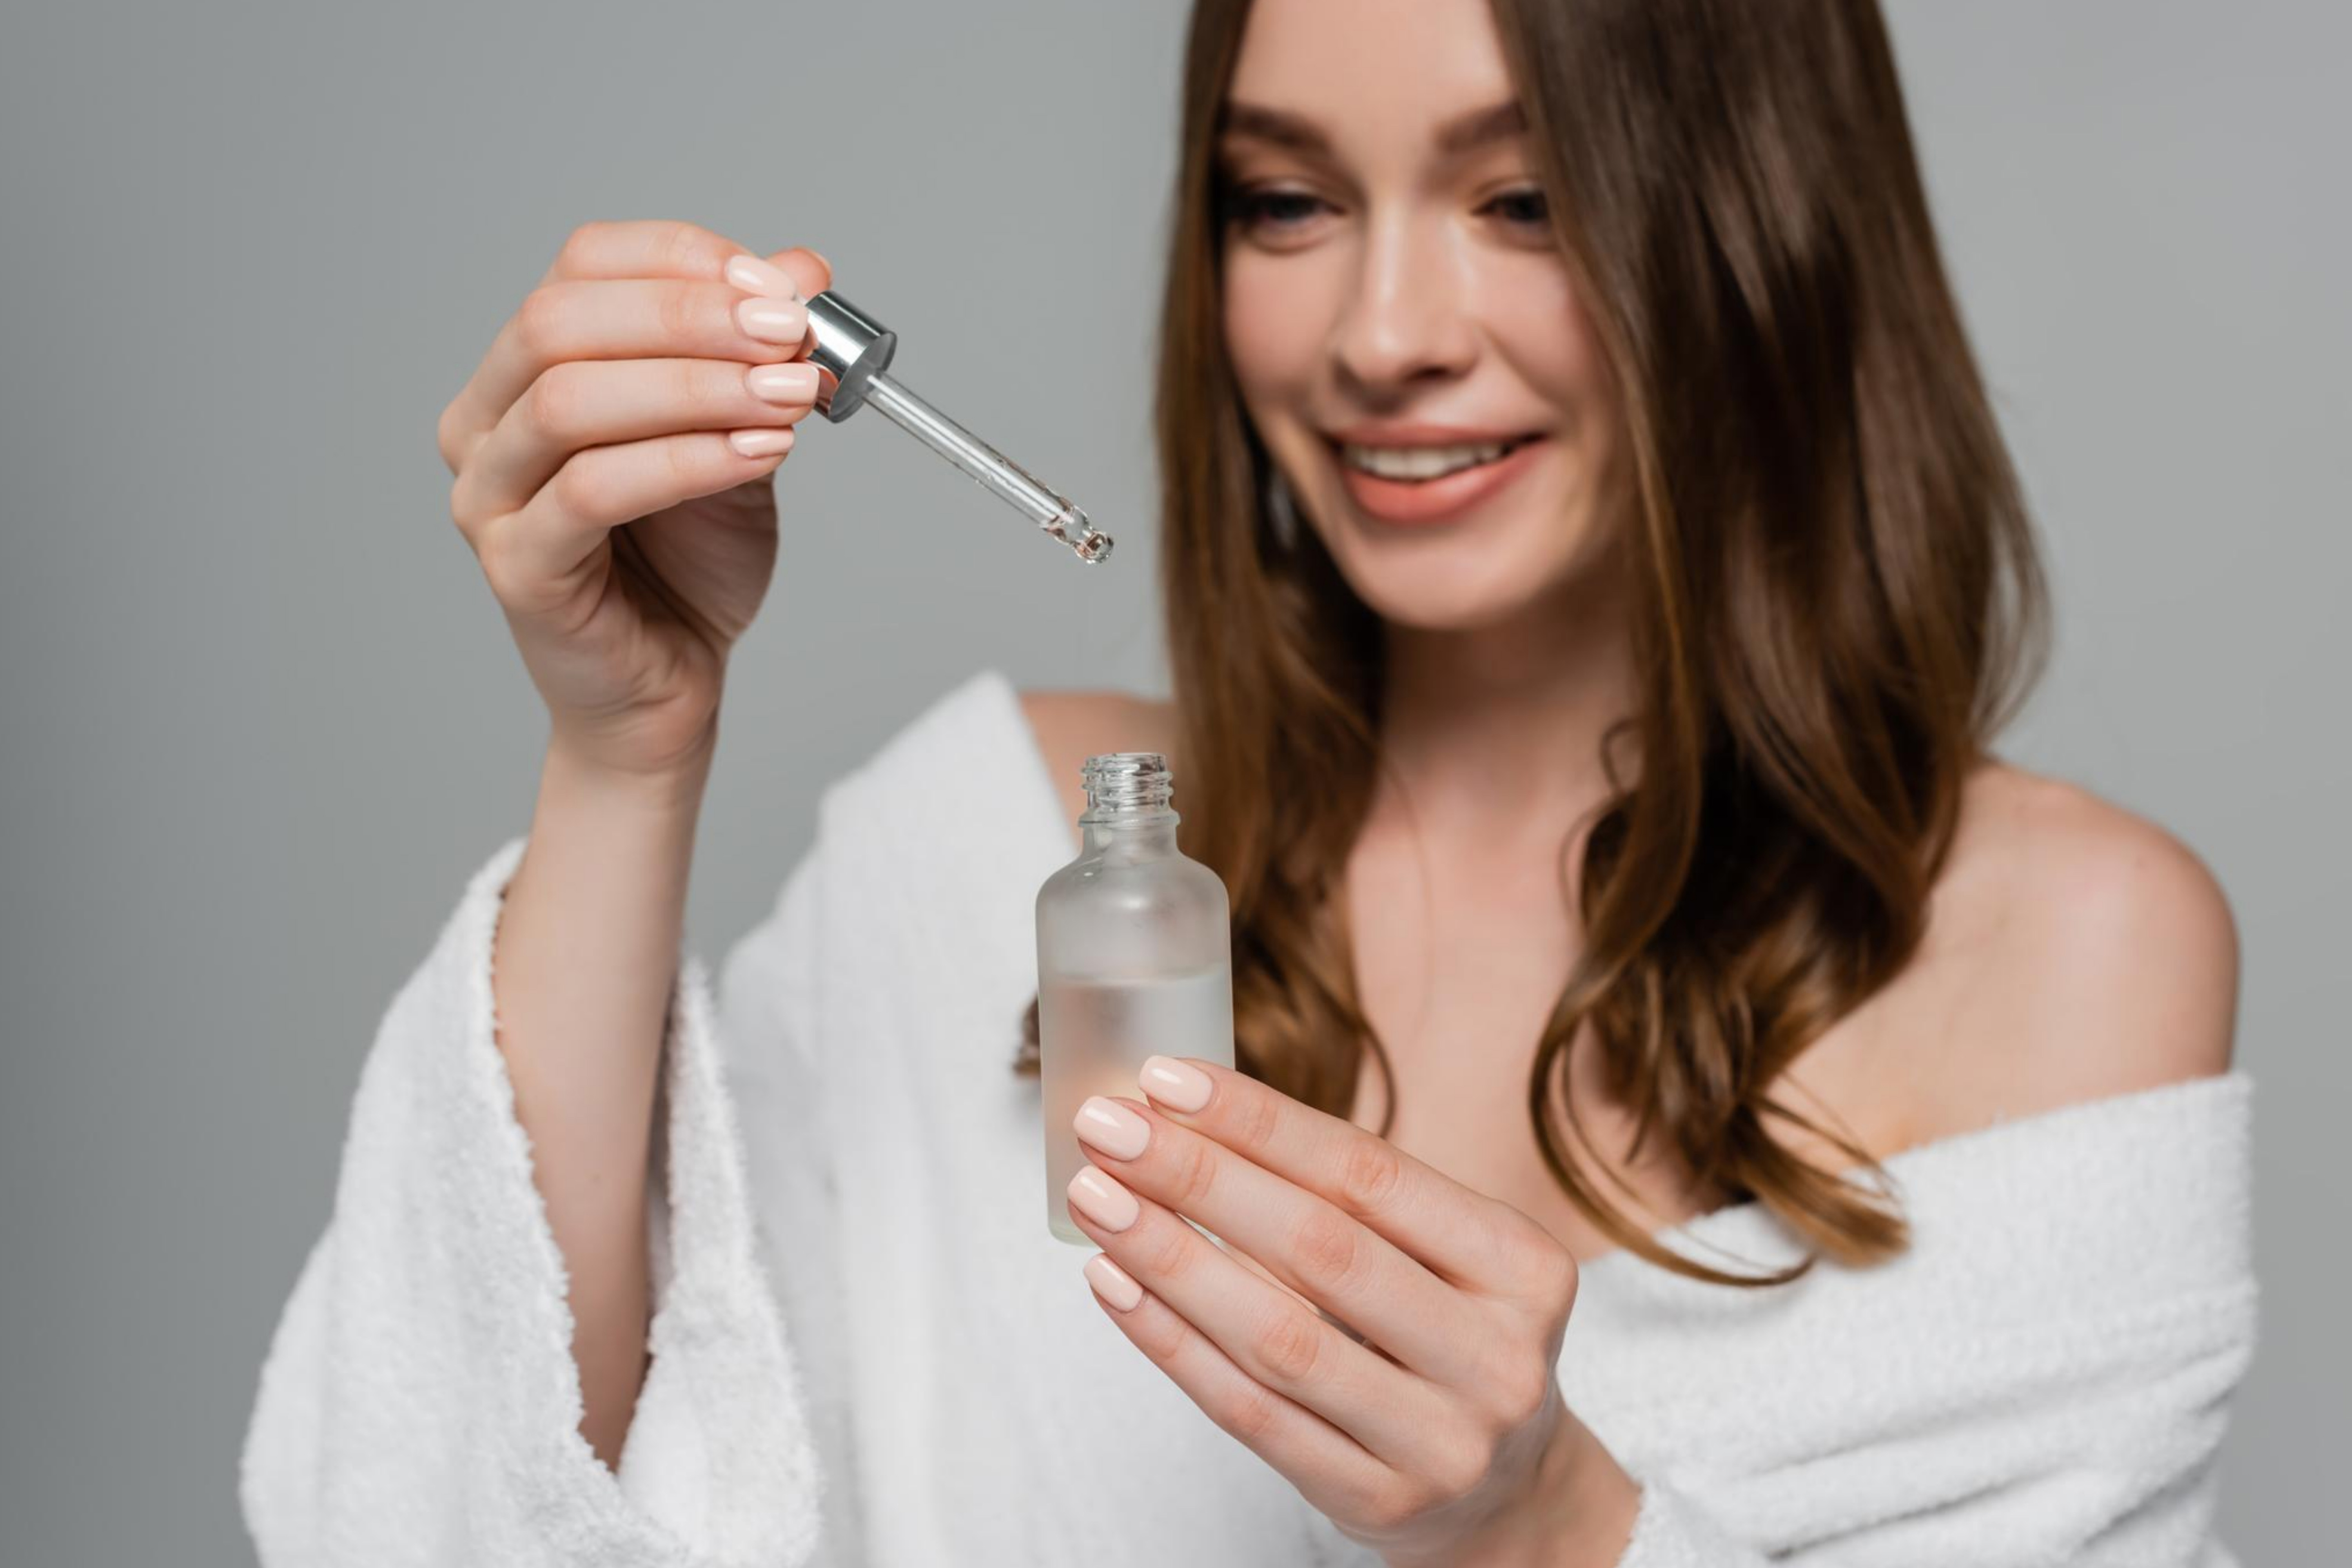
Step 6: Leave in serums, conditioners and hair oils
Stop! If you’re using hot tools, such as blowdryers and straightening tongs, skip to step 8. While leave in conditioners can provide fortifying benefits to your locks, they are not formulated to withstand high temperatures, meaning you run the risk of cooking your hair.
In much the same way, many oils have low smoke points, meaning they produce free radicals and can damage hair when heated.
However, if you are someone who likes to air-dry, this is where leave in serums and beautifying hair oils come in. Products like argan oil boast a range of benefits, from split-end protection to greater styling manageability.
Step 7: Thickening or volumising products
For thinner hair types, thickening or volumising products might be on the menu. Celebrity stylist Kristen Shaw says, “hair-thickening products use different ingredients that help expand and build upon the shape and thickness of your hair strand,” which can be helpful whether you are someone who has lots of fine hair strands, or you are someone grappling with hair loss.
For gravity-defying volume, opt for a thickening mousse with ingredients like hyalauronic acid, ceramides and shaping polymers for brilliant body and shine.
Step 8: Heat protectant
Thermal protection is perhaps the most important step for those who are wanting to style without damage, after all, the last thing anyone wants is barbecued hair. Dedicated heat protectant products are formulated with lightweight silicone compounds that work to coat strands with a water-resistant, heat-protective layer.
This kind of hair armor is essential for reducing the porosity of hair, which is responsible for making your locks an easy target for the effects of humidity, changes in weather and of course – styling tools.
Step 9: Styling cremes
Not all hair types will require styling creams, but for those with 3A to 3C curls, these products can offer definition, shine and frizz-fighting benefits. Hair styling creams have been around since the 1920s, but product formulations have improved in leaps and bounds over the years, so they are no longer synonymous with crunchy, heavy hair.
Step 10: Finishing
Finally, tie up your hair routine with a finishing product, like salt or “beach” sprays, texturising powders or shine boosters. For instance, for gorgeous mermaid waves, “hygroscopic” salt sprays will draw excess moisture away from the hair and add body. Depending on your desired results, other finishing sprays will “add volume, texture, and hold for finer hair types, and add another reinforcement of moisture to curly hair types,” says L’Oreal Professionel colorist Tippi Shorter.
In the realm of haircare, mastering the application of products is akin to wielding an artist’s brush – each stroke contributes to the masterpiece that is your crowning glory. Beyond the basics of shampooing and conditioning, and with our no-nonsense guide in your toolkit, you can realistically sculpt a routine that caters to your hair’s distinct needs and desires. Remember, detanglers and leave-in serums are your allies, and heat protectants stand as guardians against styling-induced harm.
The final touches of styling creams and finishing products elevate your hair to its fullest potential, leaving you with beautifully-defined, healthy-looking hair that you can be proud of.