Let’s be honest: having a shower in your trailer is definitely great. No need to line up for the public shower like you have to do when staying at a campground with your tent.
No need to spend hours being dirty, hot and all sweaty-sticky until you make your way to a hotel finally like those who travel in cars on their vacation.
With a shower in your camper, all that you need to do is head to the back of your RV and that’s it!
You can take a nice warm or cool shower and come out clean and refreshed.
However, to be able to enjoy your trailer’s shower, it is necessary for you to take care of it regularly and properly.
Otherwise, if you don’t do this, your RV shower cabin might become a problem rather than a benefit.
And this is when some new RV owners might have quite a common question: are the walls and the floor of their camper’s shower waterproof?
Or do they need to waterproof RV shower walls themselves? And if they do, how is it possible to do that correctly?
So, these are the issues that we will take a closer look at here.
In this article, you will find information about how to waterproof your RV camper shower walls, what tool you will need for that, and we will also share a few tips that will help you to undergo this procedure more successfully and easily.
Learn How to Waterproof Your RV Shower Walls
If you own a camper that goes with the shower cabin, you definitely know that it is not actually waterproof. It is rather water resistant.
And since it still leaves your RV shower cabin prone to rot due to exposure to water, you may want to upgrade it a bit and make it waterproof.
In order to waterproof walls for your RV shower, you will need to take a few steps that are (luckily!) rather simple and don’t require any specific skills or experience. Or any specific tools.
- First of all, turn the water supply to the shower off and bleed out any remaining water
- Remove the shower head
- Measure and mark the location of the water hoses
- Cut the required holes
- Apply a coating of Gorilla glue to the back side of the shower surround. Pay attention to the edges, as this is where the adhesion should be the best
- Place the RV shower surround back in the shower. Use your paint roller to smush the glue into the wall
- Add screws at equal intervals in order to secure the RV shower
- Add painter’s tape all around the edges of the shower surround and leave everything to dry for 24-48 hours
- Once everything is dry, remove the painter’s tape
- Caulk around all the edges
- Replace the showerhead and water line
- Test that everything is working
This is how you can turn your shower in the RV into a waterproof convenience.
But to do it right, you will also need to take care of the tools.
So we suggest you check out the list of tools and supplies that you will need. We have prepared it for you just below.
Tools That You Will Need
Of course, even before you start waterproofing your camper’s shower cabin, you need to make sure that you have all the tools ready.
Like that, you will not have to distract yourself during the procedure if you suddenly realize that you forgot something!
So, what will you need? This is the general list of supplies and tools required.
- Cutting tool of choice
- Drill to use to help cut
- Gorilla glue or a similar strong adhesive. Use a clear option to ensure that visible glue seams do not marr the finished look.
- Screws for securing the surround to the wall
- Waterproof caulk
- A roll of painter’s tape
- A paint roller
- Pencil
All of them can be bought in any hardware store, so you should not have any problems with getting yourself ready for the upcoming shower renovation process.
Are the Walls Of Your Camper Initially Waterproof?
This is the question that quite many owners of trailers ask, especially those of them who are going to buy their first camper. And in fact, the answer to this question is the subject of a lot of discussion!
Technically, RV shower walls are waterproof indeed, or so the manufacturers often say, and theoretically, an owner of a camper does not need to do anything to them.
Nevertheless, different thoughts and opinions exist about this issue.
Some of them say that often, recreational vehicle shower walls (especially those in older RV showers) can resist water at best, and thus, they will benefit from additional waterproofing.
Some campers, mostly older models, or RVs that have been modified by a previous owner have all the walls (including the shower) that are made of a material called Luan.
This is a type of plywood that is derived from the lauan tree that grows in the Philippines and other countries in Southeast Asia.
This material is relatively tough and good looking, but it also has a very reasonable price. This is why it is often used in campers.
When used in an RV shower, luan wood is typically covered with paper and then treated. However, while it is water resistant when finished, it really is not waterproof.
Related: How Much Wind Will Destroy a Mobile Home?
Why Is It Better to Have Waterproof Shower Walls In Your RV?
As you probably know, a shower that you have in your camper is not like the shower you have at home. Its major difference is that it is not as powerful as your home shower.
Your RV onboard water tank has limitations that, being combined with a low water pressure, result in RV showers lasting just for a few minutes.
However, even like that, such a shower still uses quite a lot of water!
So even though some RVs’ shower walls are considered to be water resistant, unless they are waterproof, they are still prone to rot that is caused by moisture. It means that they are likely to crack more easily in future!
What is the solution in this case?
You can consider installing a new shower surround that will both add walls that are waterproof, and is also a great way to update the look of an existing RV shower cabin.
Fortunately, this is the sort of job that you can cope with yourself, of course, if you have enough patience!
That’s because the installation process may take four to five hours.
In addition, this procedure is definitely not the type of project you would like to go through when you are going to use your RV soon.
However, during your RV “off season”, waterproofing the camper’s shower cabin is definitely something that is worth considering!
Related: What Is the Best Air Conditioner For a Mobile Home?
Tips For Camper Shower Waterproofing
Even though you are now aware of shower walls waterproofing, it is always good to be informed about a few more tips and life hacks.
With their help, you will be able to undergo the procedure even more successfully and the results will be much better.
So what shall you remember when going to waterproof your RV shower cabin?
Work Slowly
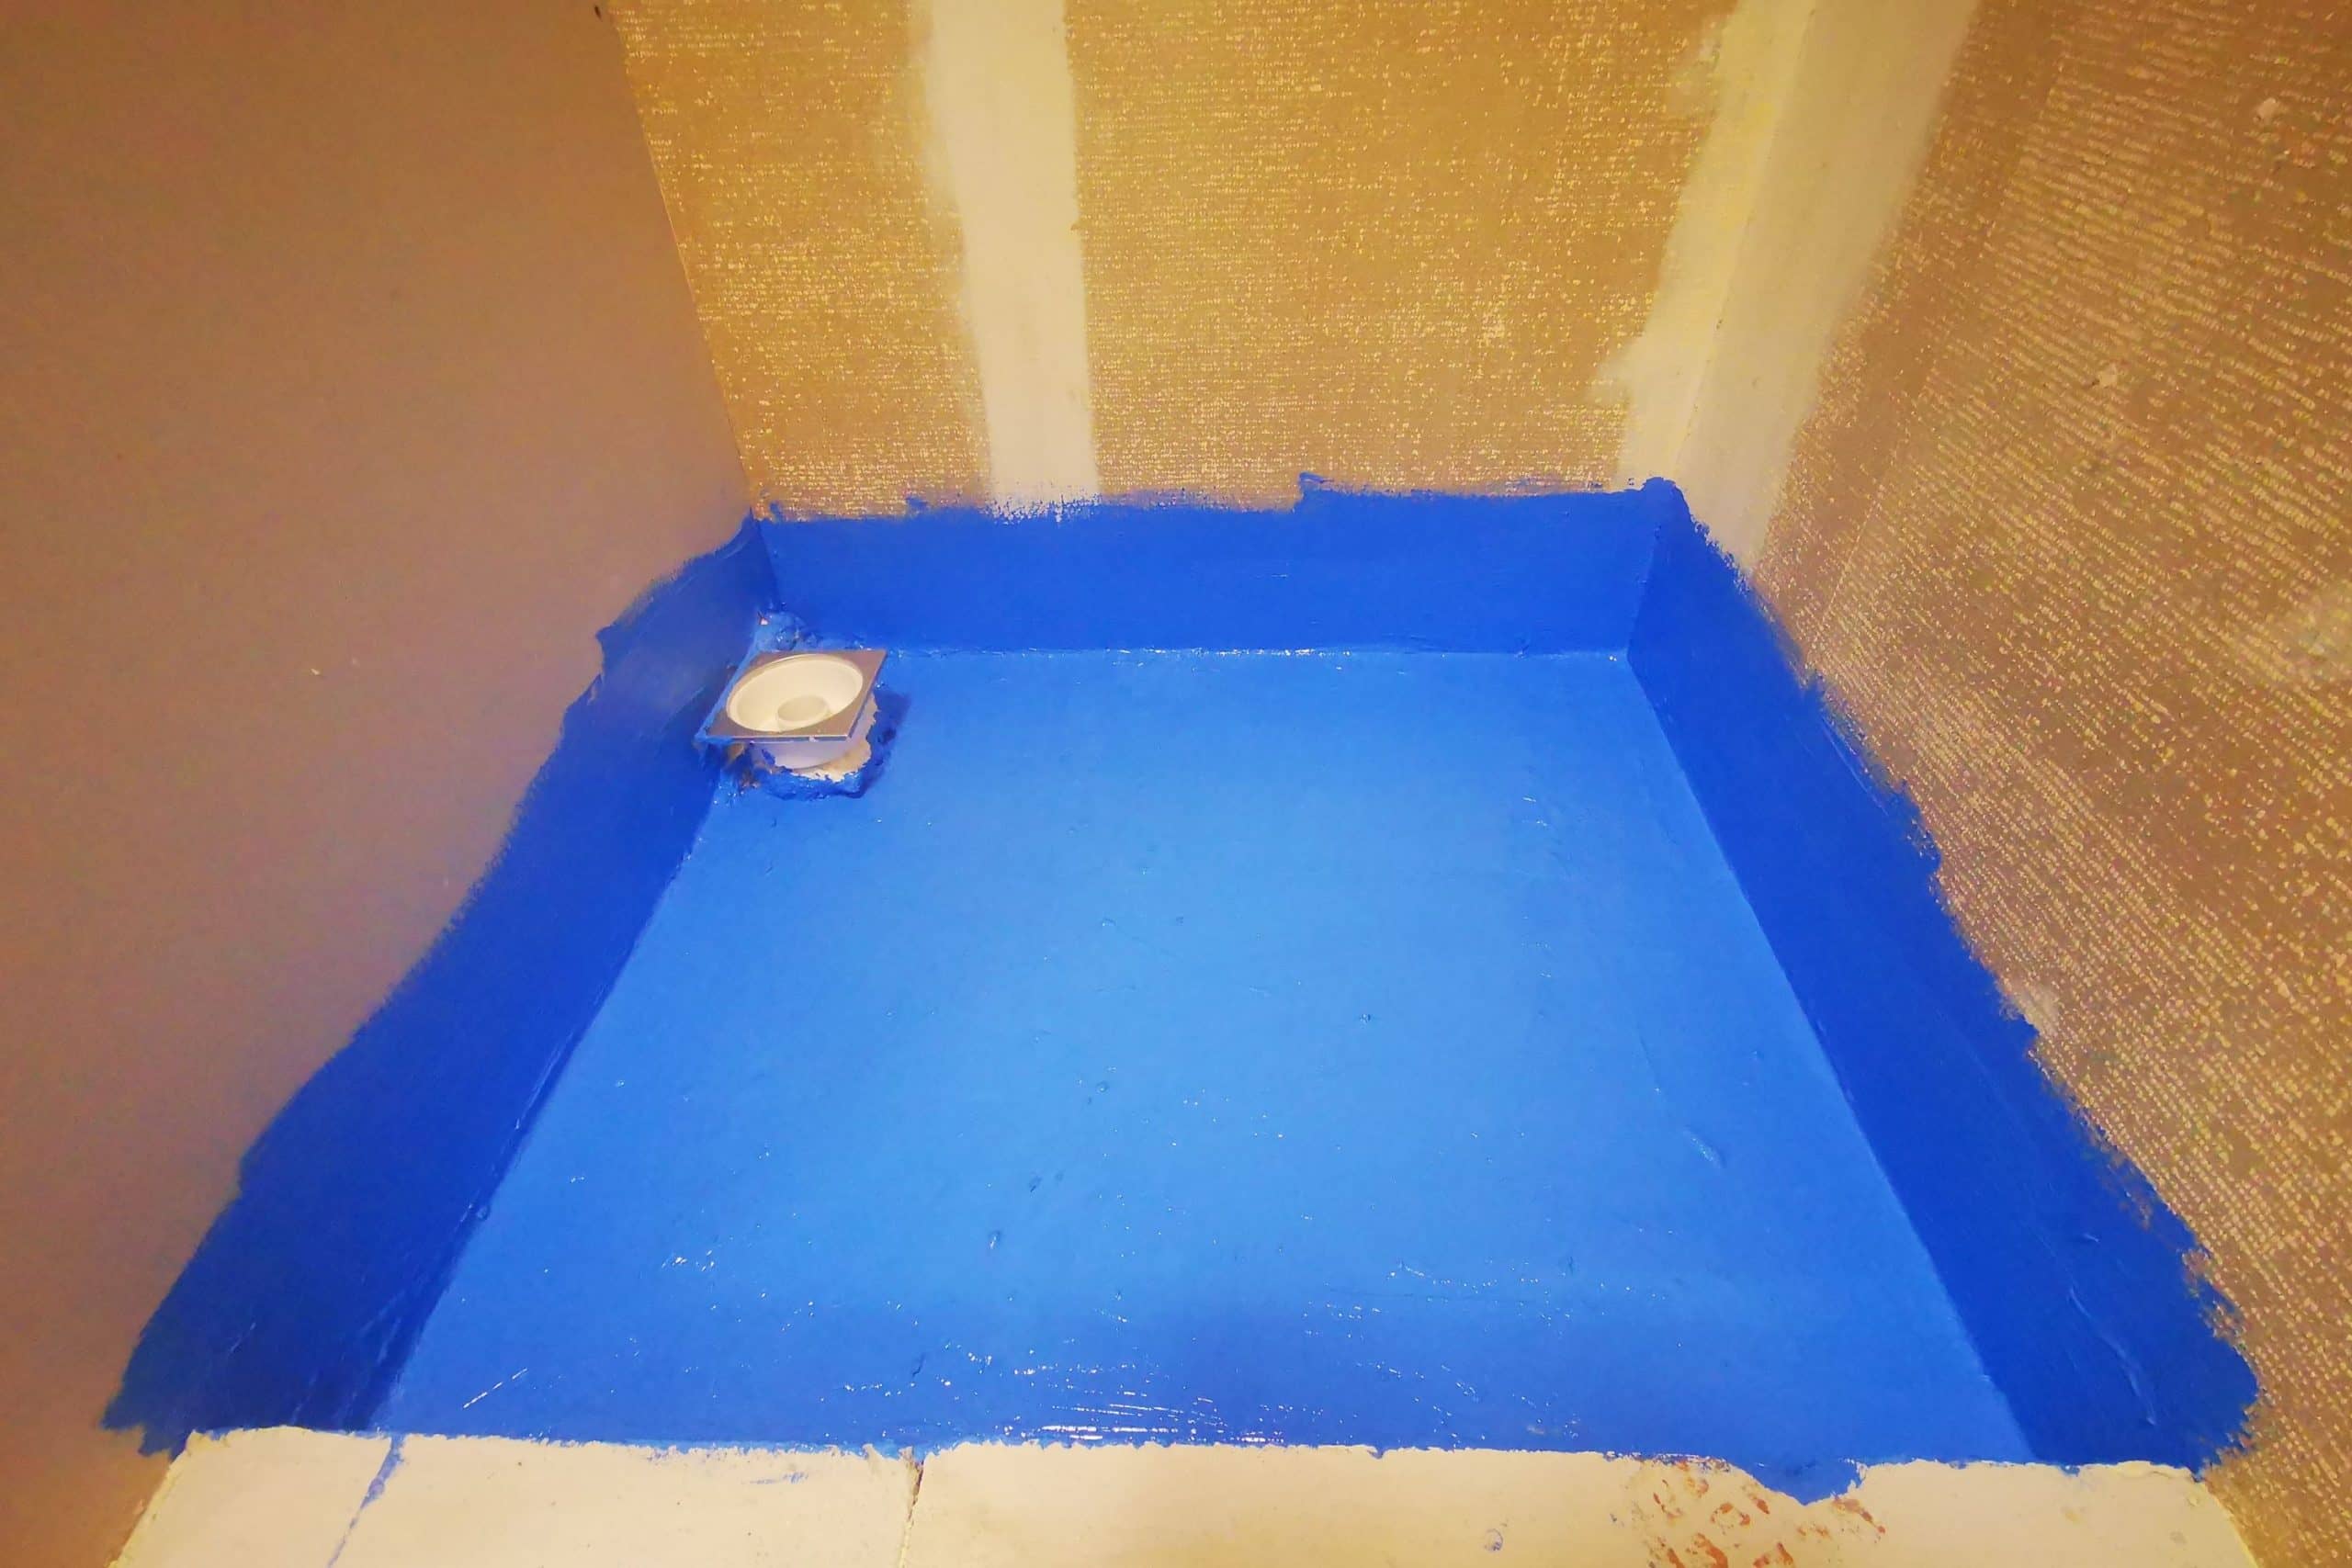
An improperly installed camper’s shower surround will be prone to leaks.
And as everyone knows, leaks can lead to major water damage over time.
This is why the biggest mistake that RV owners make when installing a new shower surround is that they rush.
And in rushing, they tend to miss important things. So we recommend you take your time and, even if you end up in trouble during the installation process, it’s ok to turn to a professional for help.
Proper Shopping
What do we mean? Well, you can choose from many rV shower surrounds today.
Typically, they are all waterproof. What you do need to keep in mind is the basic information about your shower surround, e.g. its size, color, price and function.
If you are shopping online, read customer reviews. Many of these can give you an insight into how good the product is, as well as the actual installation process itself.
Avoid Buying Too Cheap!
Of course, we don’t mean that you must only buy an RV shower surround that costs thousands, but also, you should not consider very cheap options.
There is nothing wrong with shopping for the best deal. But very cheap materials often result in a shower that is not as functional as it should be.
As a result, a poor quality RV shower will only make things worse.

How to Make Your Old RV Shower Look Like New
If your RV shower is pretty old and you would like to refresh its appearance a bit, painting it is the simplest way.
To do everything right, consider following a few simple recommendations.
- Clean and scrub your shower
- Sand the shower tub (but don’t use an electric sander!). A sanding block is enough
- Tape off all the areas that are not going to be painted using old newspapers
- Extinguish all propane appliances, open all windows, and get a respirator for the fumes
- Apply spray paint evenly in a generous layer in two coats. Let the paint dry for at least two hours between coats
- Once it’s done, allow your RV shower to dry for 24 hours more before you start using it
- Clean it up and touch up if needed
- Re-caulk the seams
After such a simple procedure, your old RV shower will look like new again.

So, now you know how to waterproof your camper’s shower cabin and what tool you will need for that.
In addition, we shared a fre handy tips with you regarding the installation process.
And now, with all that in mind, you will be able to not only buy the most qualitative shower surround, but also, you will manage to install it properly.
[wp-faq-schema title=”Frequently Asked Questions”]
Hi! I’m thinking about waterproofing my rV shower cabin, and so I’m here to ask you folks: what are the potential benefits? Well, except for the waterproofness itself. Thanks!