Many businesses today have water coolers in their offices to provide the clients with on-demand refreshments. However, when the water is running out and the time comes to replace the old water tank with the new one, most of us begin to panic. How is it even possible to remove a five-gallon water tank on your own?!
However, such a procedure is not something super complicated as you might have thought. And to prove this to you, today we will describe how to change a water cooler bottle on your own step by step so that you could do this anytime you need without calling for help from your water delivery service.
How to Change Water Cooler Bottle Without Spilling?
So basically the procedure of water cooler bottle removal look like this:
- you prep the new bottle for being installed
- you remove the old empty tank
- you put the new bottle full of water in
Sounds very easy, right? And so it is. You only need to know how exactly each step needs to be done to successfully make your water dispenser operate constantly. And since, with a bit of preparation, such a procedure can take you no longer than a few minutes, consider remembering the whole process so that you could repeat all the actions precisely. Like this, your clients and stuff will always have a cup of cool water!
Prepare For the Transition
The very first and the most important step is to get the new bottle ready for being installed. Since these water tanks pass quite a long way before they are delivered to your office, there are pretty many germs and bacteria on their surfaces!
This is why it is vitally important to sanitize the new water bottle before you install it onto the cooler dispenser. Start with washing your own hands with soapy water. Like this, you will be able to handle the new bottle hygienically.
Then, wipe the new bottle full of water with soapy water as well. It will allow you to remove any contaminants from its surface that can affect the quality of the liquid.
Finally, consider preparing your working space for the bottle transition. For instance, it will be a good idea if you place a chair within reach. Like this, you will be able to position the replacement bottle on it since a five-gallon tank weighs around forty pounds! So if you happen to need a bit of rest while installing a new bottle, a chair will be right there for you to help.
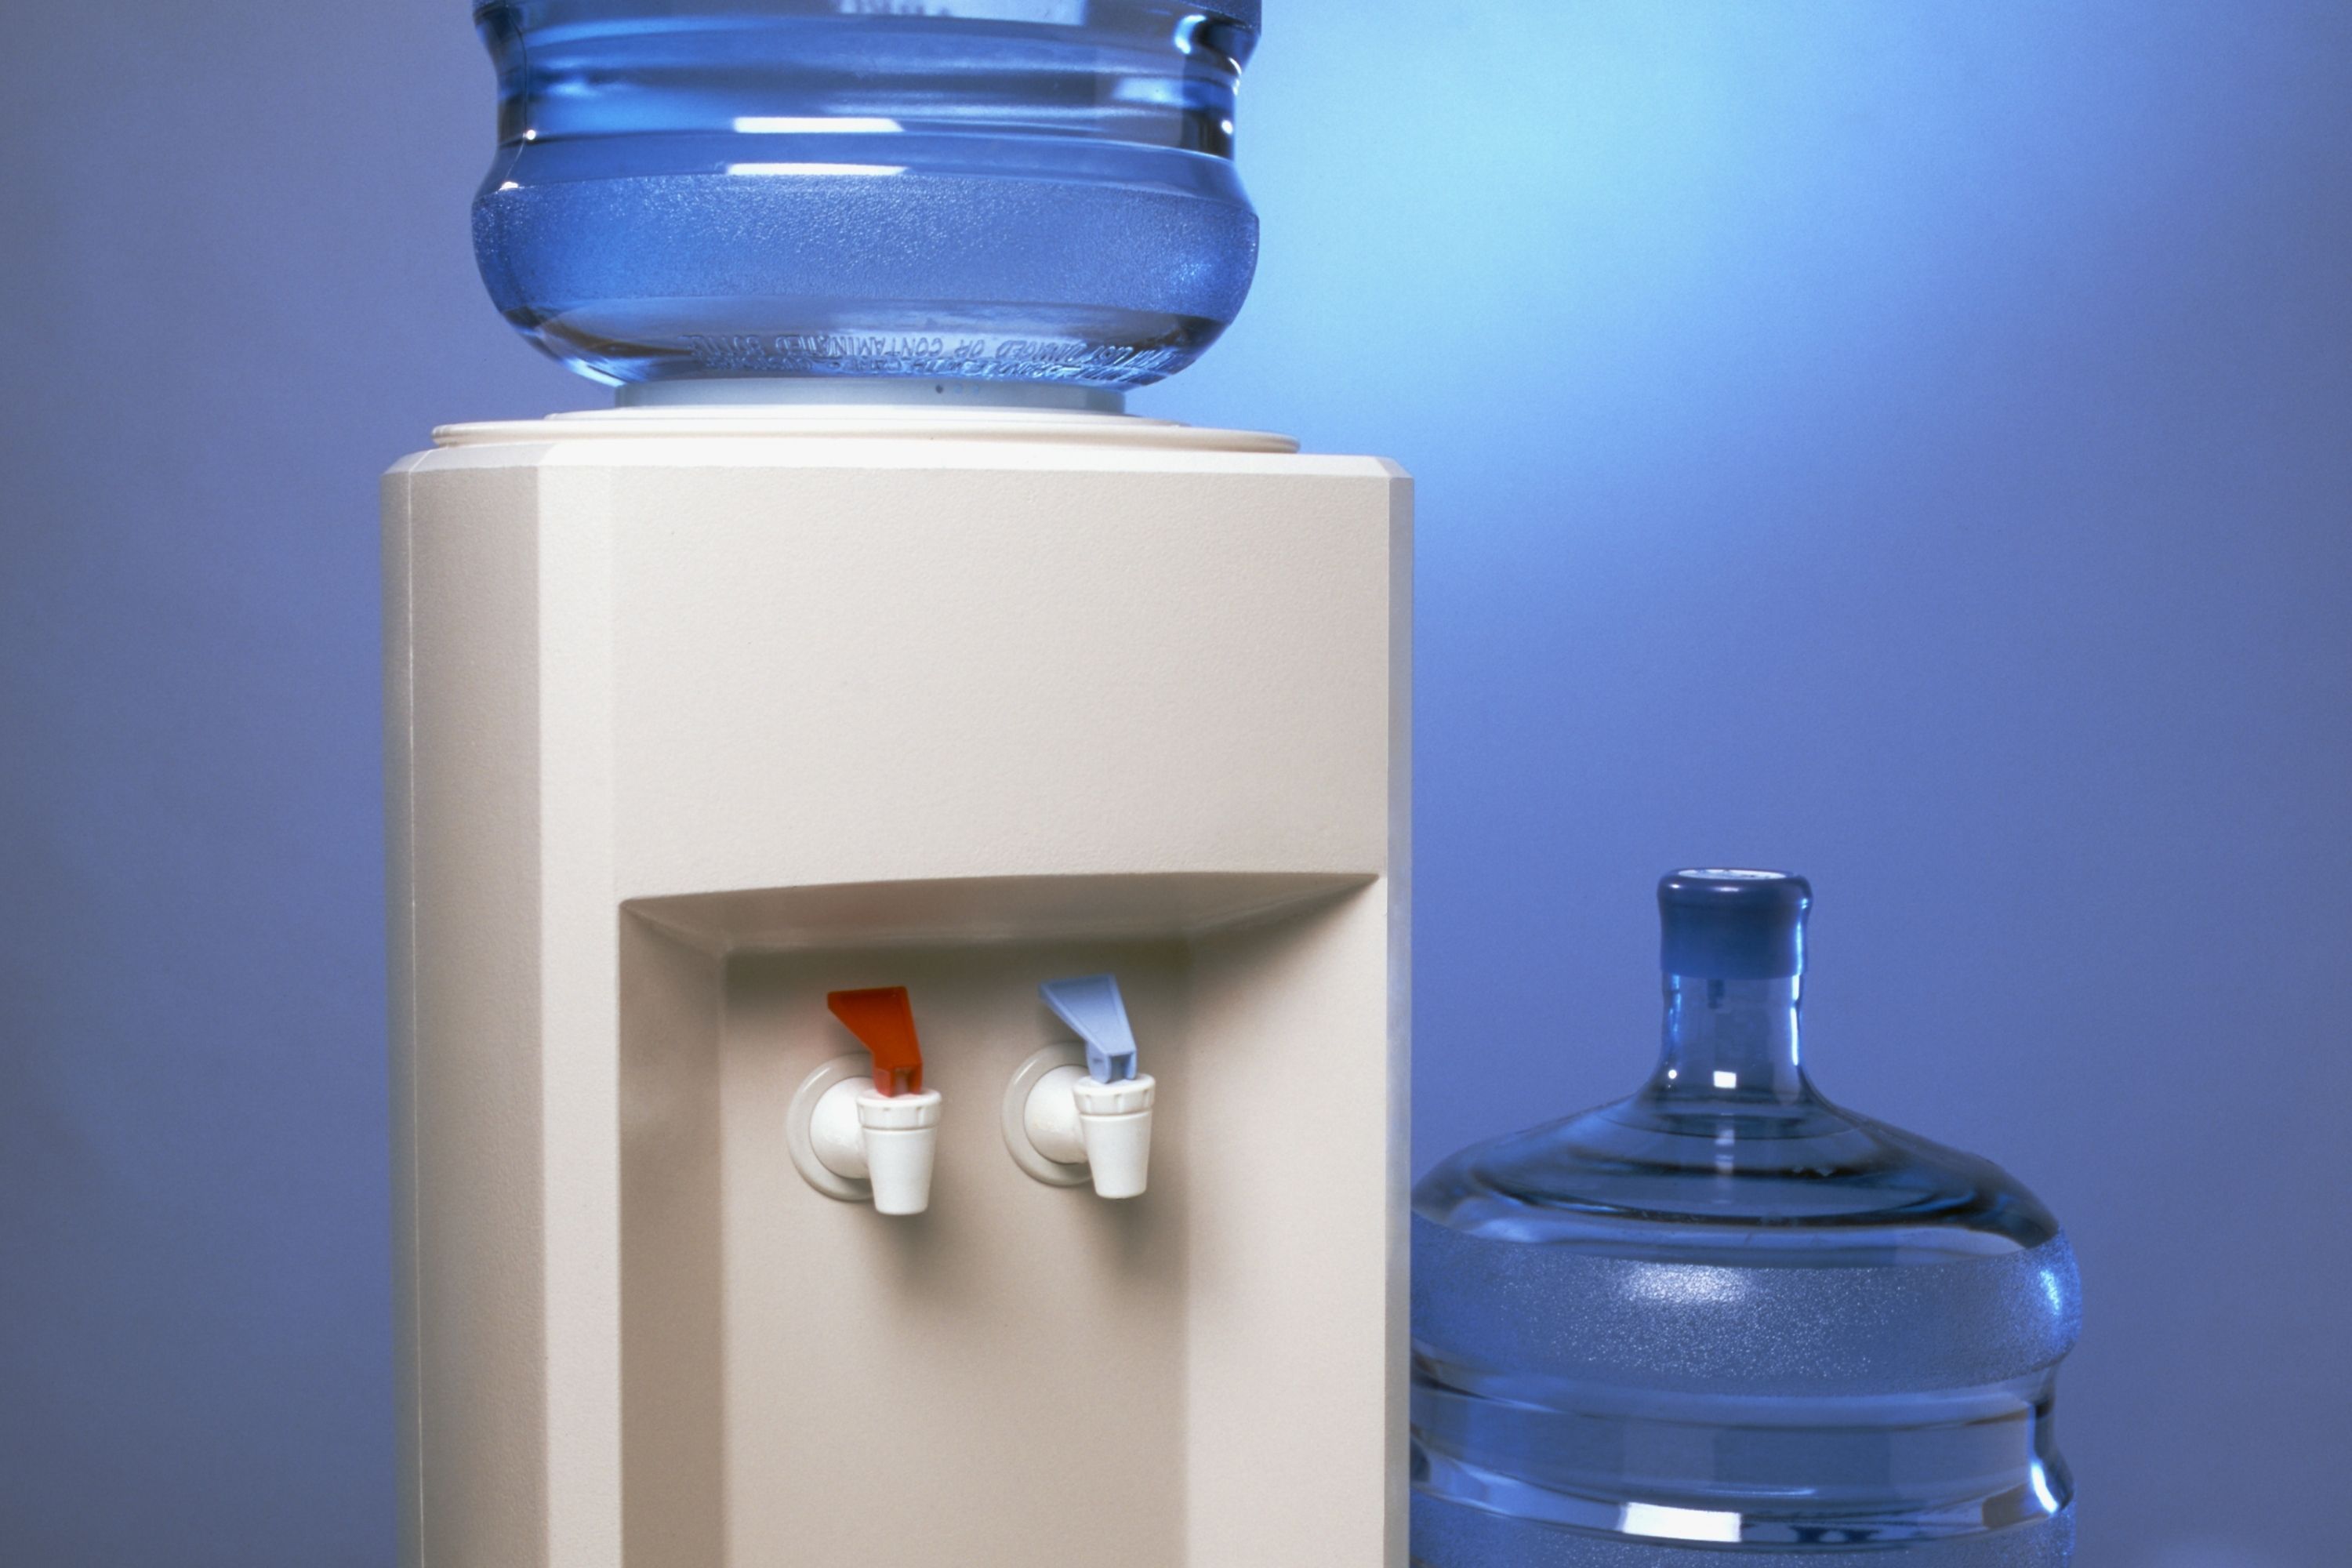
Remove the Old Container
Now that your new bottle of water is properly sanitized and it is ready to be installed, the time has come to say goodbye to the old and empty one. But before you start moving it, make sure that the old tank is almost empty! Otherwise, you will end up with messy water splashes everywhere.
So once the old tank is emptied, move it by lifting straight up from the cooler and place it out of the way to return to your water supplier later. Also, it will be a good idea to wipe around the rim of the cooler. Like this, you will dry it off and remove the debris if there is any at all.

Put the New Tank In
After you are done with prepping the new bottle and removing the old one, proceed with putting the new tank in. Since these bottles are pretty heavy (a five-gallon tank weighs around forty pounds!), you need to get yourself into a very stable position to not hurt your back.
To make everything right and safe for yourself, place your feet shoulder width apart before you bend down and pick the bottle up. While doing this, make sure that your back is straight and your knees do not go over your toes!
Now grab the neck of the full bottle with one hand and place the other beneath the tank. Now you can stand up moving slowly. Use your legs to push the whole body up, and place the full bottle on the chair that you have prepared in advance.
Now you can take its cap off and lift the new water bottle up to the cooler. As you lift it up, make sure you place it at a 45-degree angle so that the water can start flowing into the cooler. And when you see that the water flow increases, secure the new bottle to the cooler’s base.
So this is it! As you can see, removing the old water bottle from your office cooler and replacing it with the new one is definitely not rocket science. However, it is still important to do everything correctly step by step. First of all, it will allow you to install the new tank properly, and second, it will help you to avoid any unwanted back issues when lifting up such heavy items.
Things to Consider When Removing Water Bottles For Coolers
You might think that the rules we have just described regarding the water cooler bottle replacement is all that one needs to know before starting this process. However, there are a few more essential tips and suggestions we would like to share with you so that you will be aware of all the details and nuances.
- Since the water cooler bottles are quite heavy, don’t hesitate to ask for help if you realize you can’t lift it up by yourself!
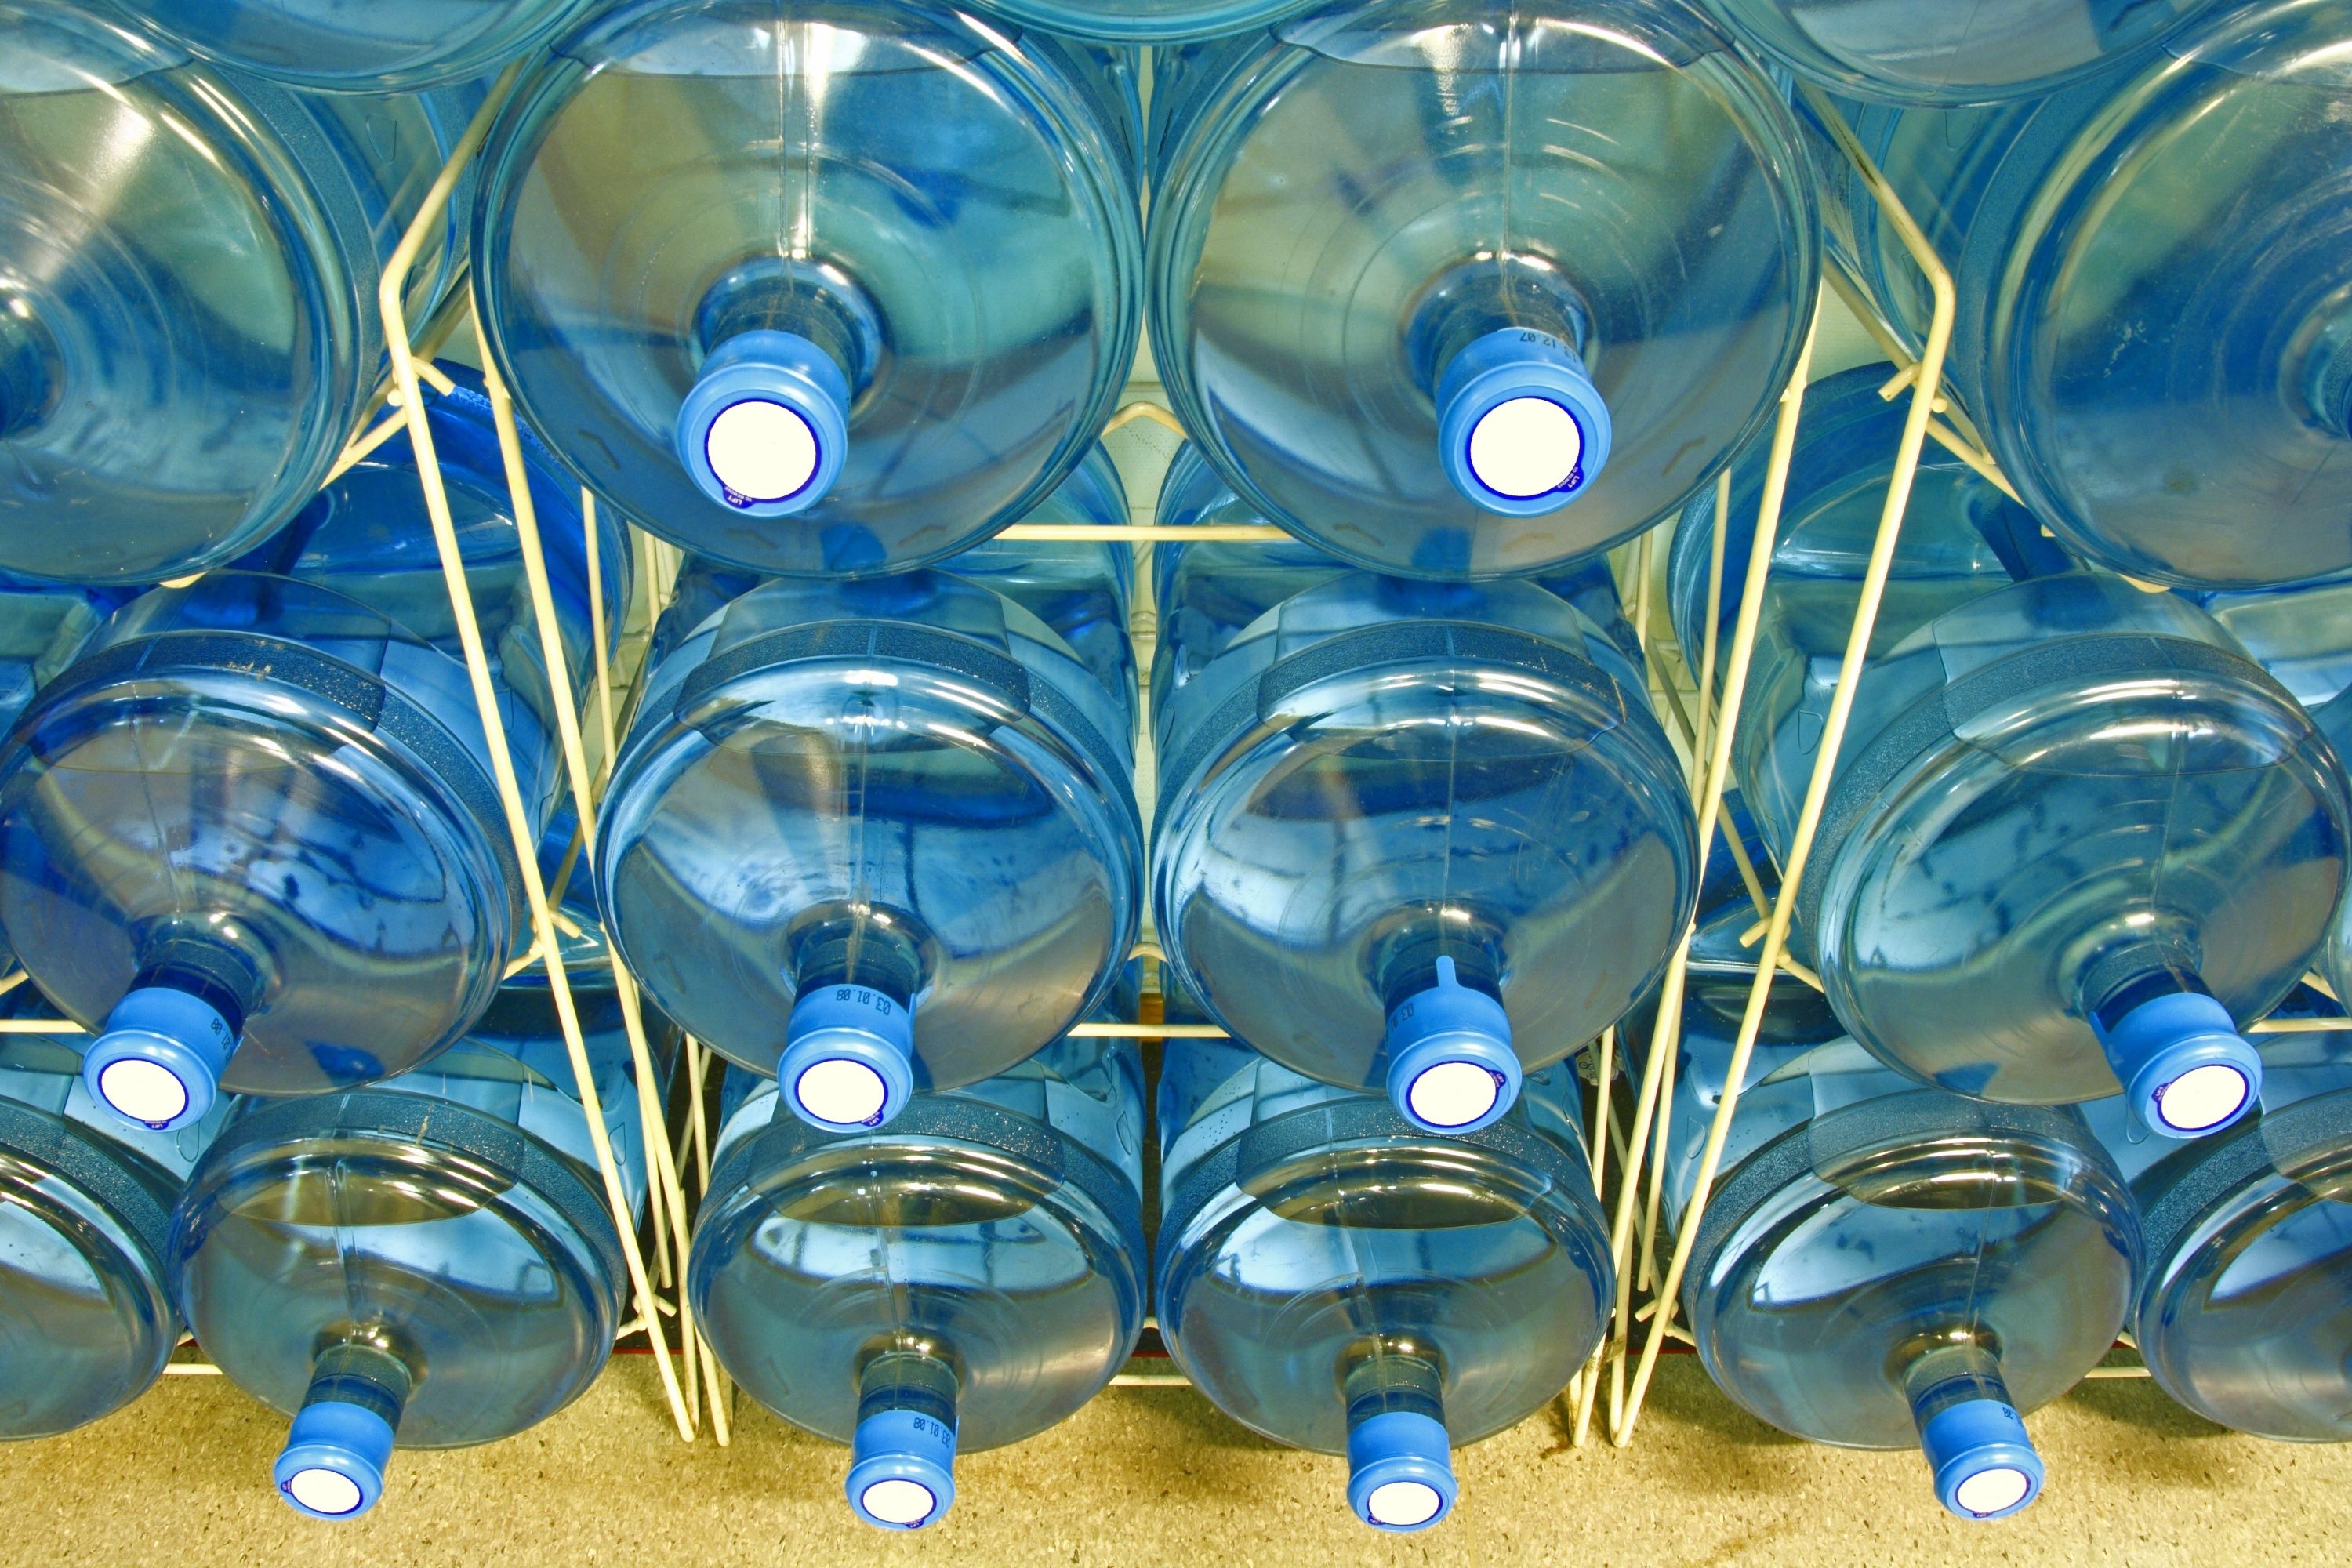
- To keep the replacement water bottles hygienic, store them away from the direct sunlight. It will help to prevent the growth and development of algae.
- Store the replacement water bottles in a cool and dark place off the floor to avoid any possible contamination.
With this additional information, you will now be able to safely store and replace the water cooler bottles in your office or at least you will be able to advise your colleagues on what to do to change the water tank properly.
How to Refill Water Cooler?
Sometimes, however, we may need to refill the water dispenser instead of replacing it. And this is quite an easy thing to do if you know what steps need to be taken.
First of all, remove the white foam seal from the bottle’s cap if there is one. Then, cut a hole in a new bottle’s cap about half a diameter using a drill or a knife (only make sure the tool is sharp enough!).
Once ready, replace the foam seal and screw the modified lid on. Now you can invert the full water bottle onto the dispenser. The water pressure against the foam cap will leave only a slight dribble to leak. Afterward, the central protrusion will push the seal out and release the water making the foam seal float to the top.
So this is how you can replace the water cooler bottle relatively easily if you are fine with lifting such heavy objects up! If you are not, then feel free to ask for help or ask your water supplier to help you out when he will be delivering a new bottle next time.

[wp-faq-schema title=”Frequently Asked Questions”]
What is the smallest size of a water cooler bottle? I want to buy such a dispenser for our home, for the kitchen, but we don’t need a 5-gallon one! Are there smaller versions?
I guess I saw a 3-liter bottle once. Anyway, I’m pretty sure you will manage to find smaller options on the internet since a 5-gallon one is the most common one so it’s being widely sold.
Hey! Can Anyone tell me the dimensions of a 5-gallon water cooler bottle please? I want to buy several of those for my office but I’m not sure they will all fit into the storage room since it’s pretty tiny.
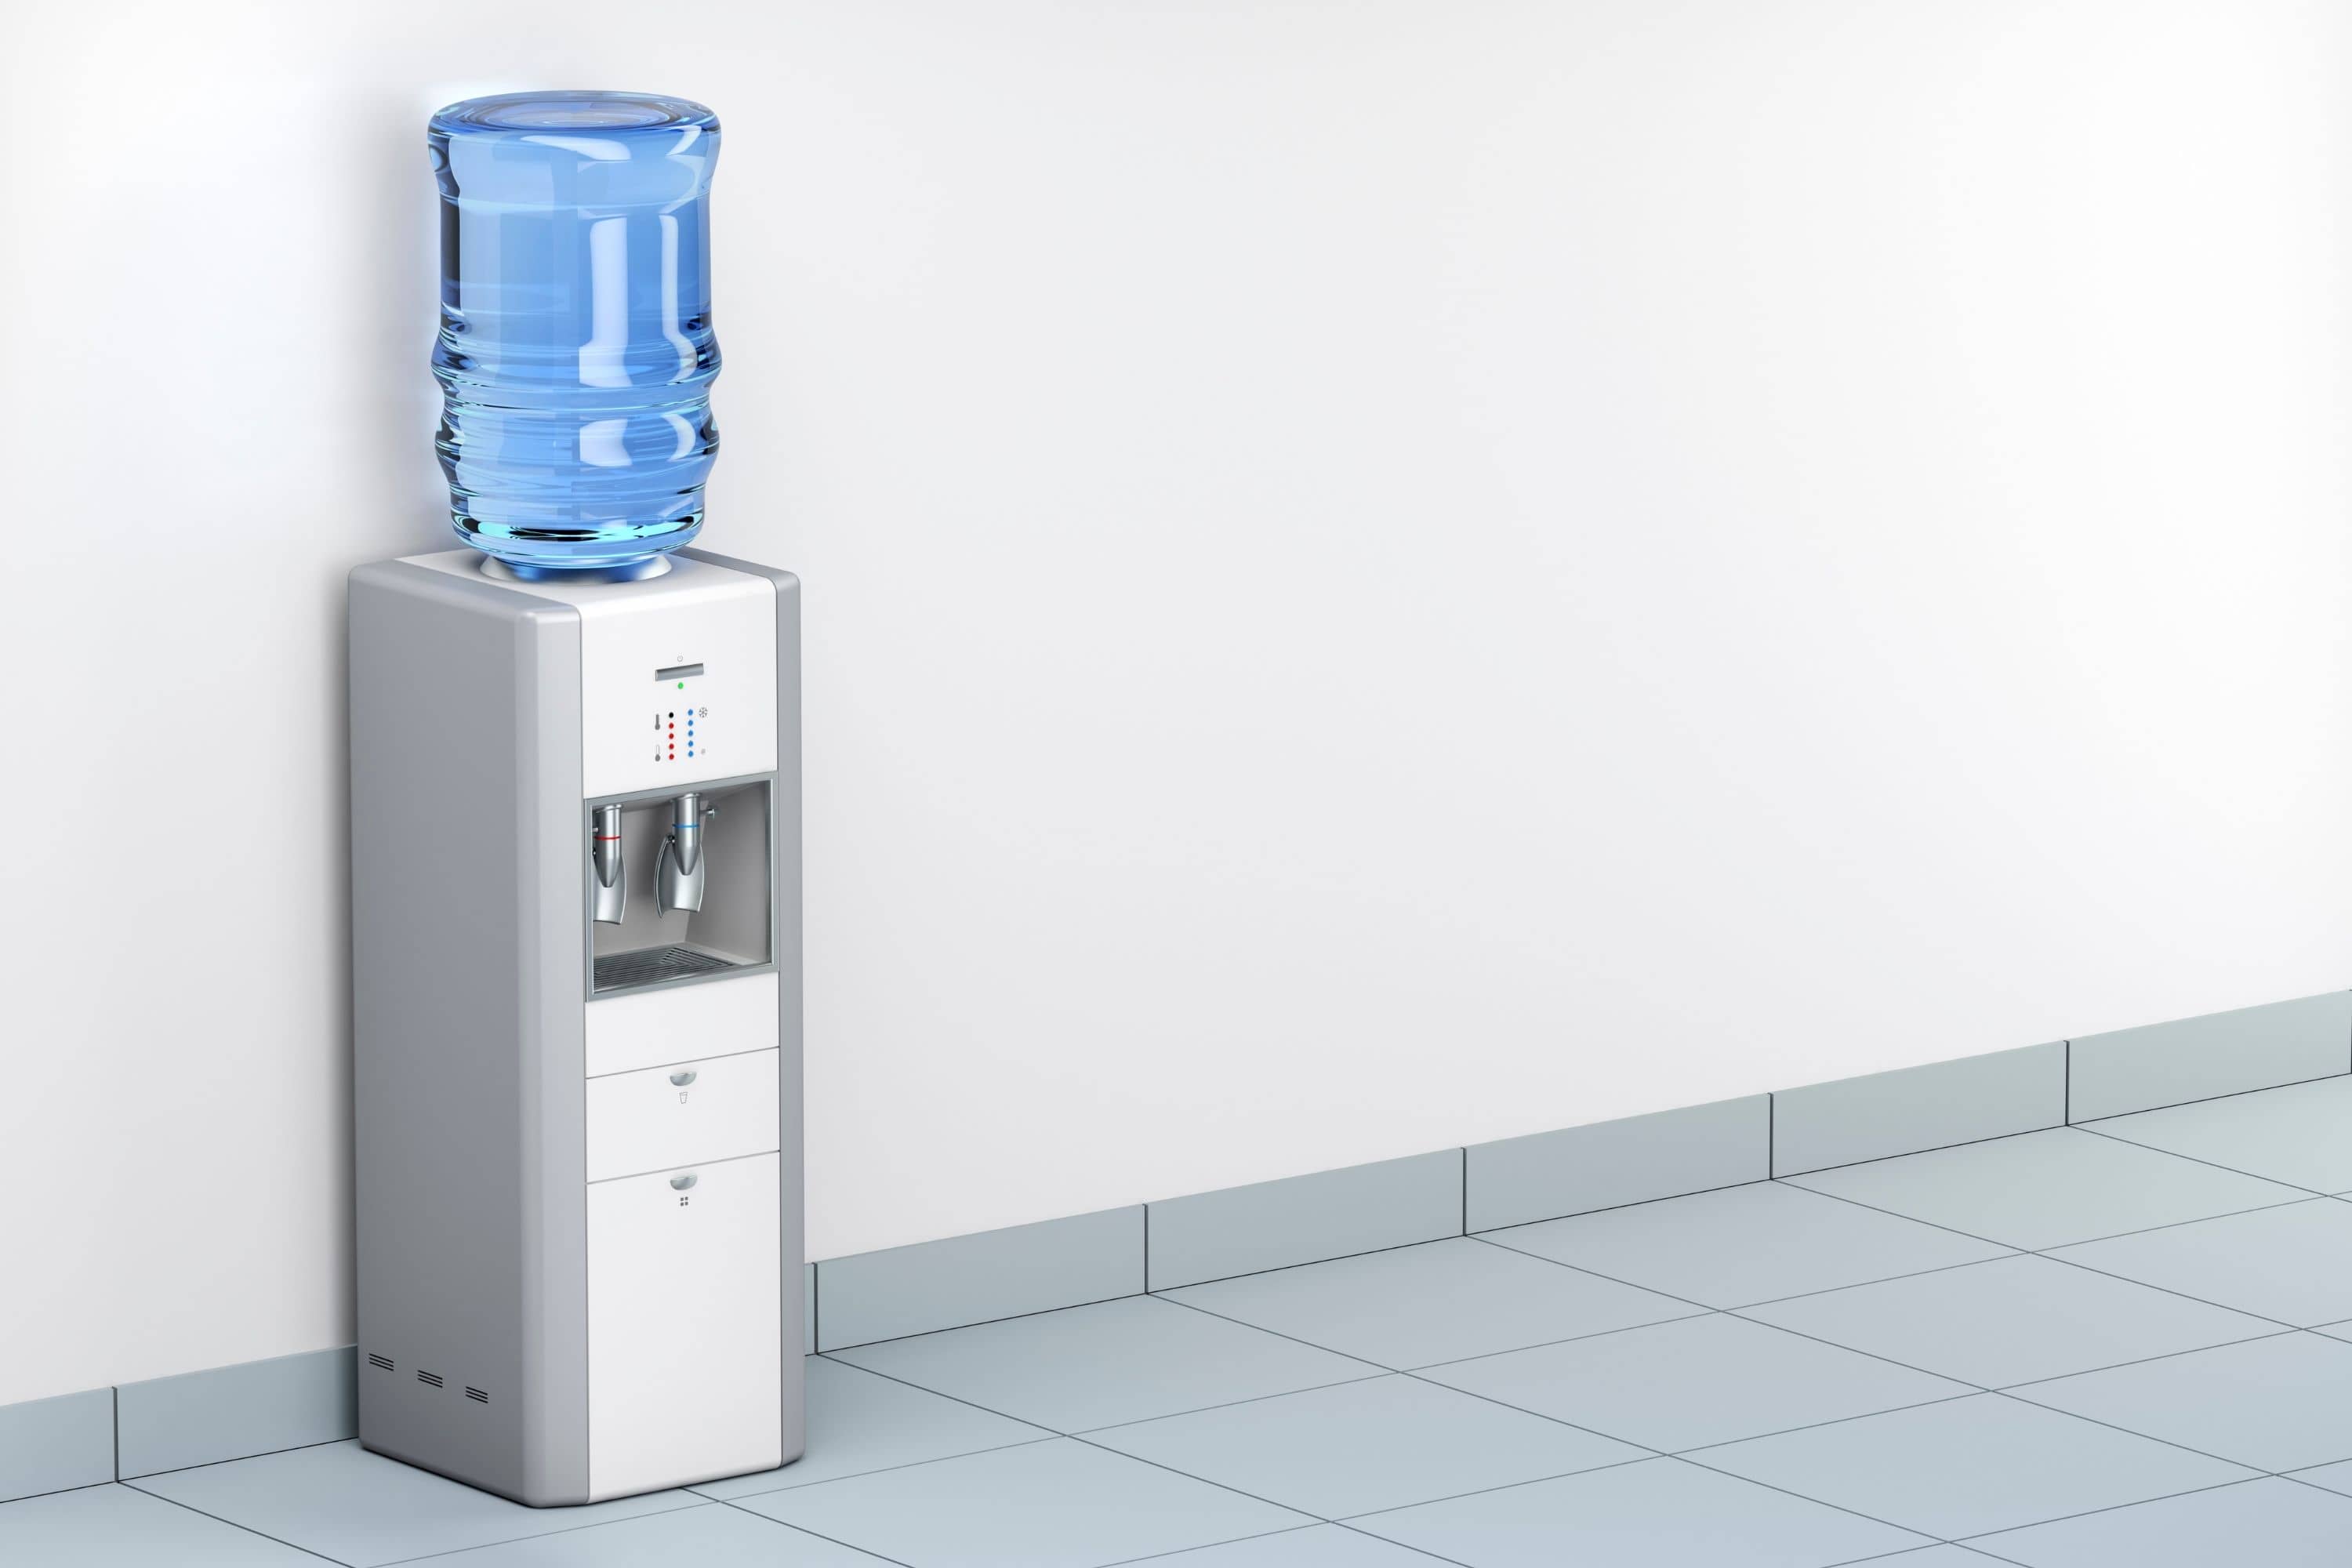
Well, if I recall it right, a 5-gallon bottle is 10.75 inches in diameter and 19.5 inches in height.