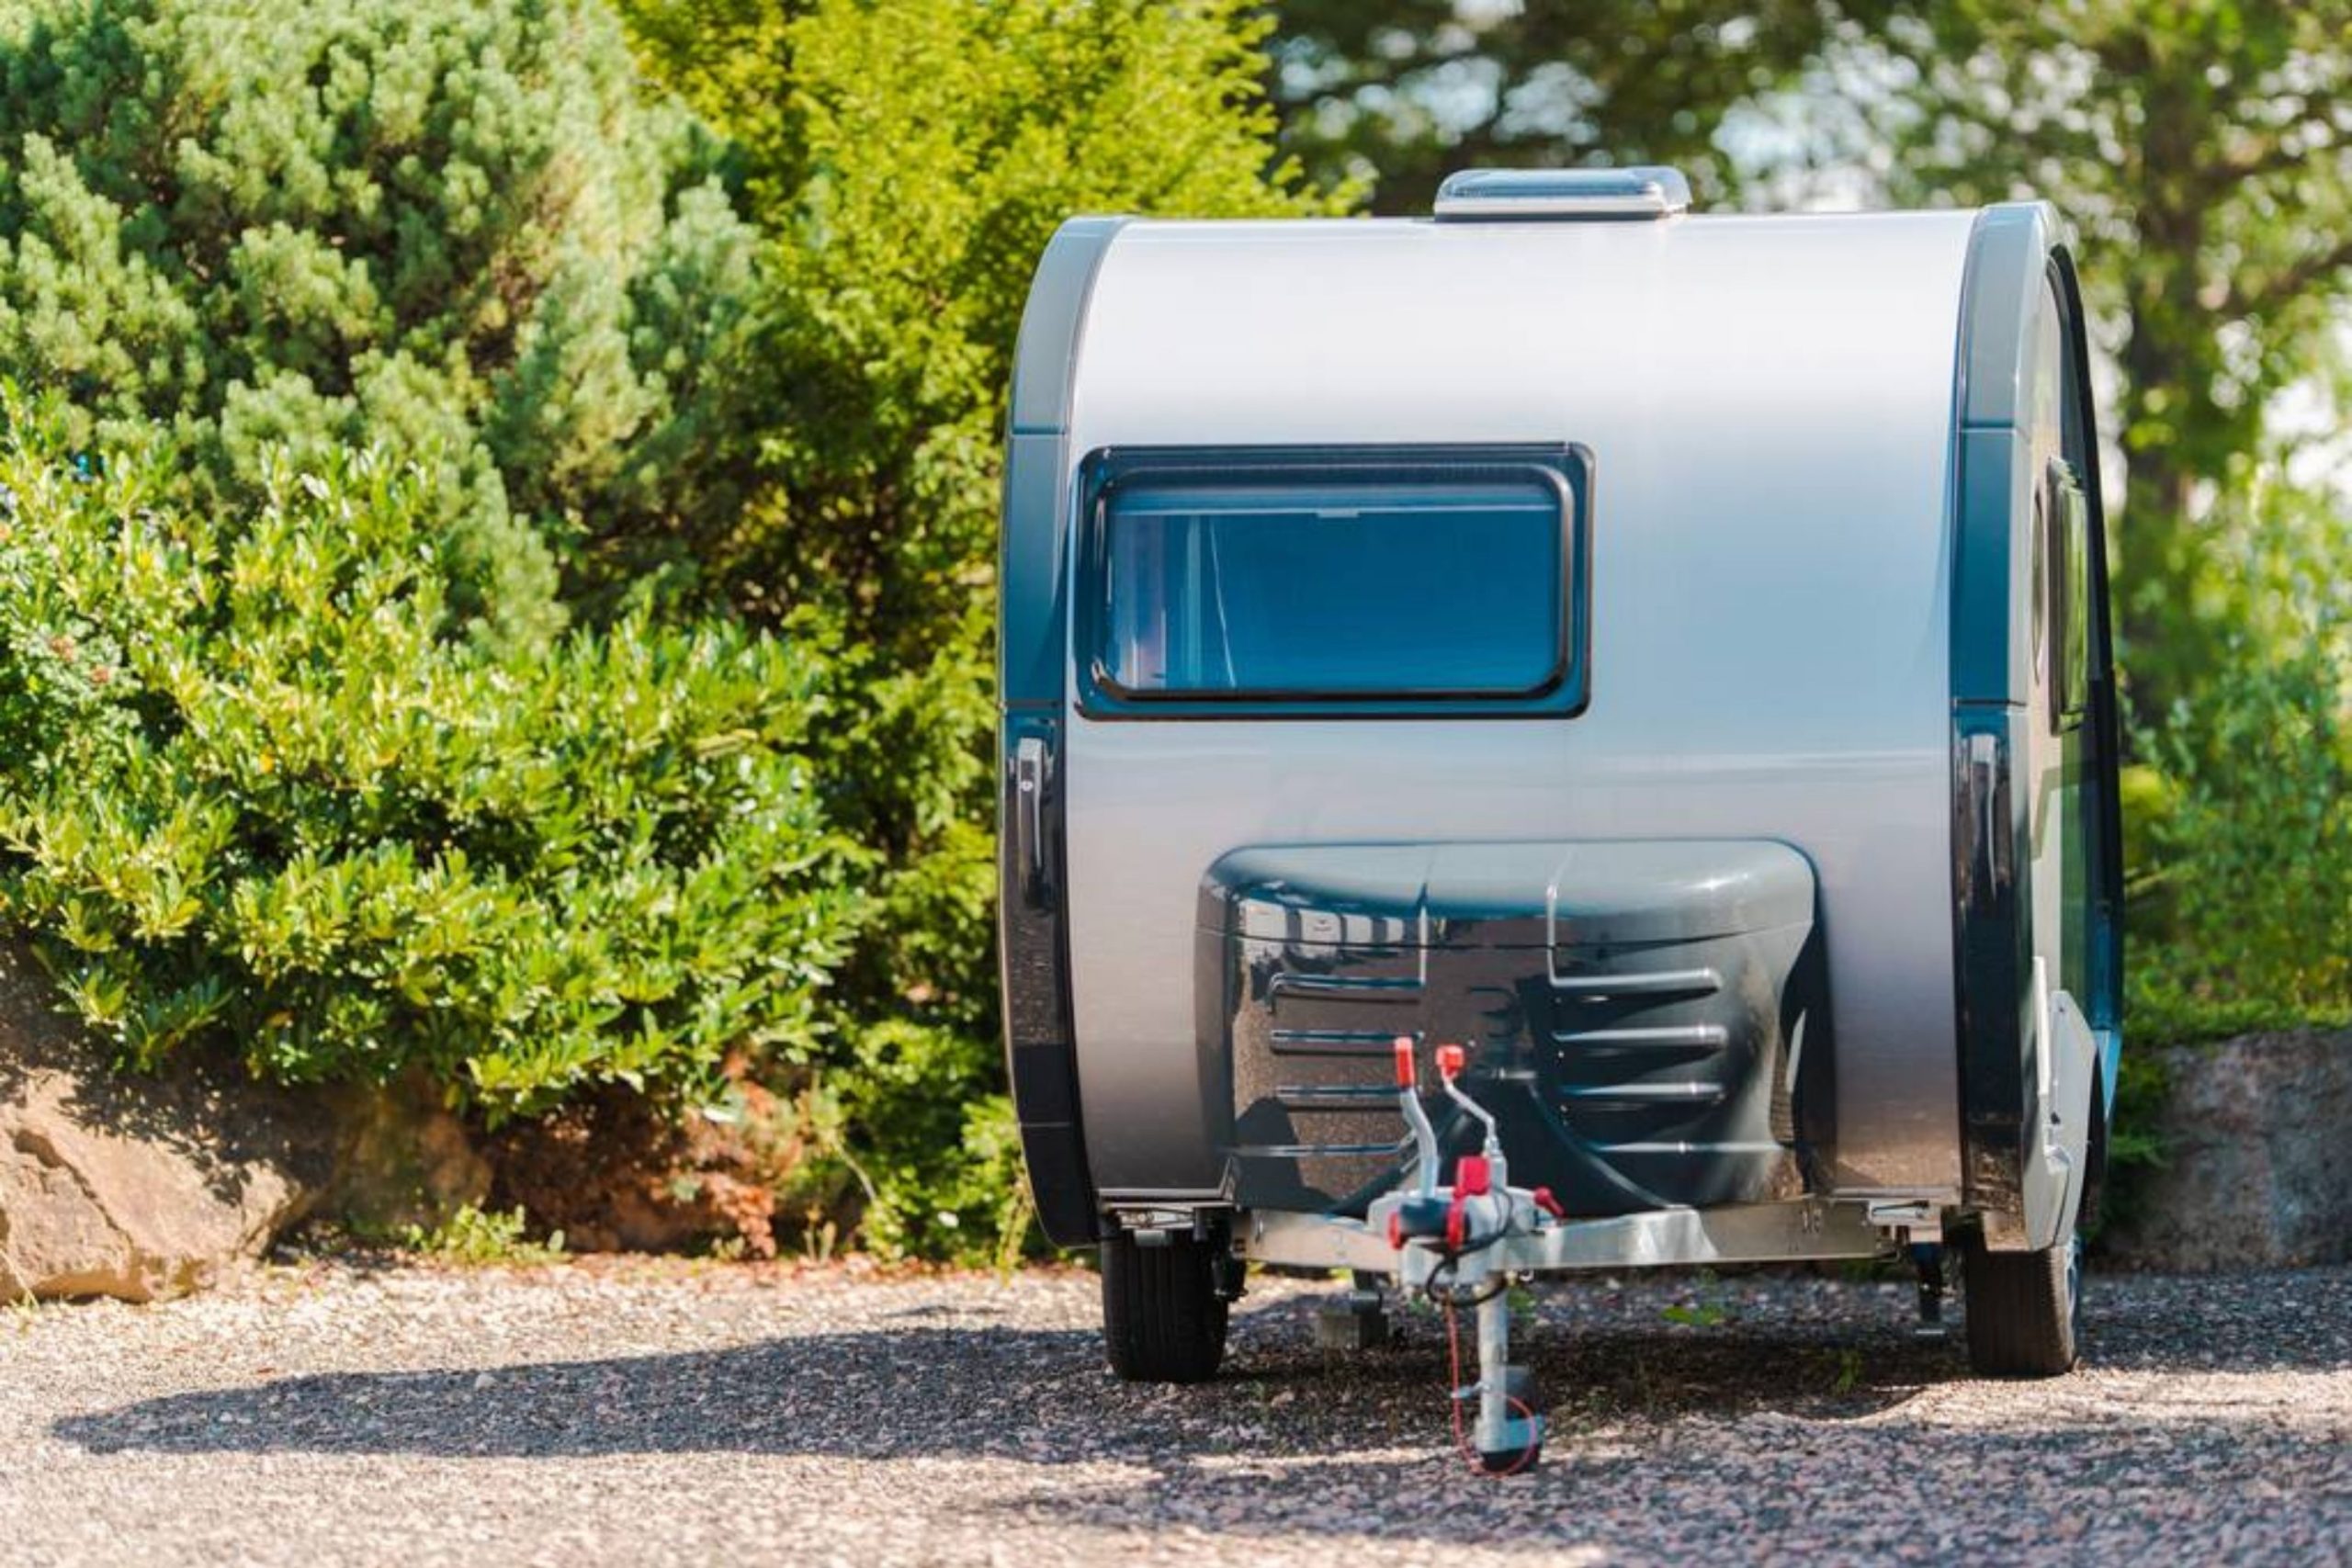
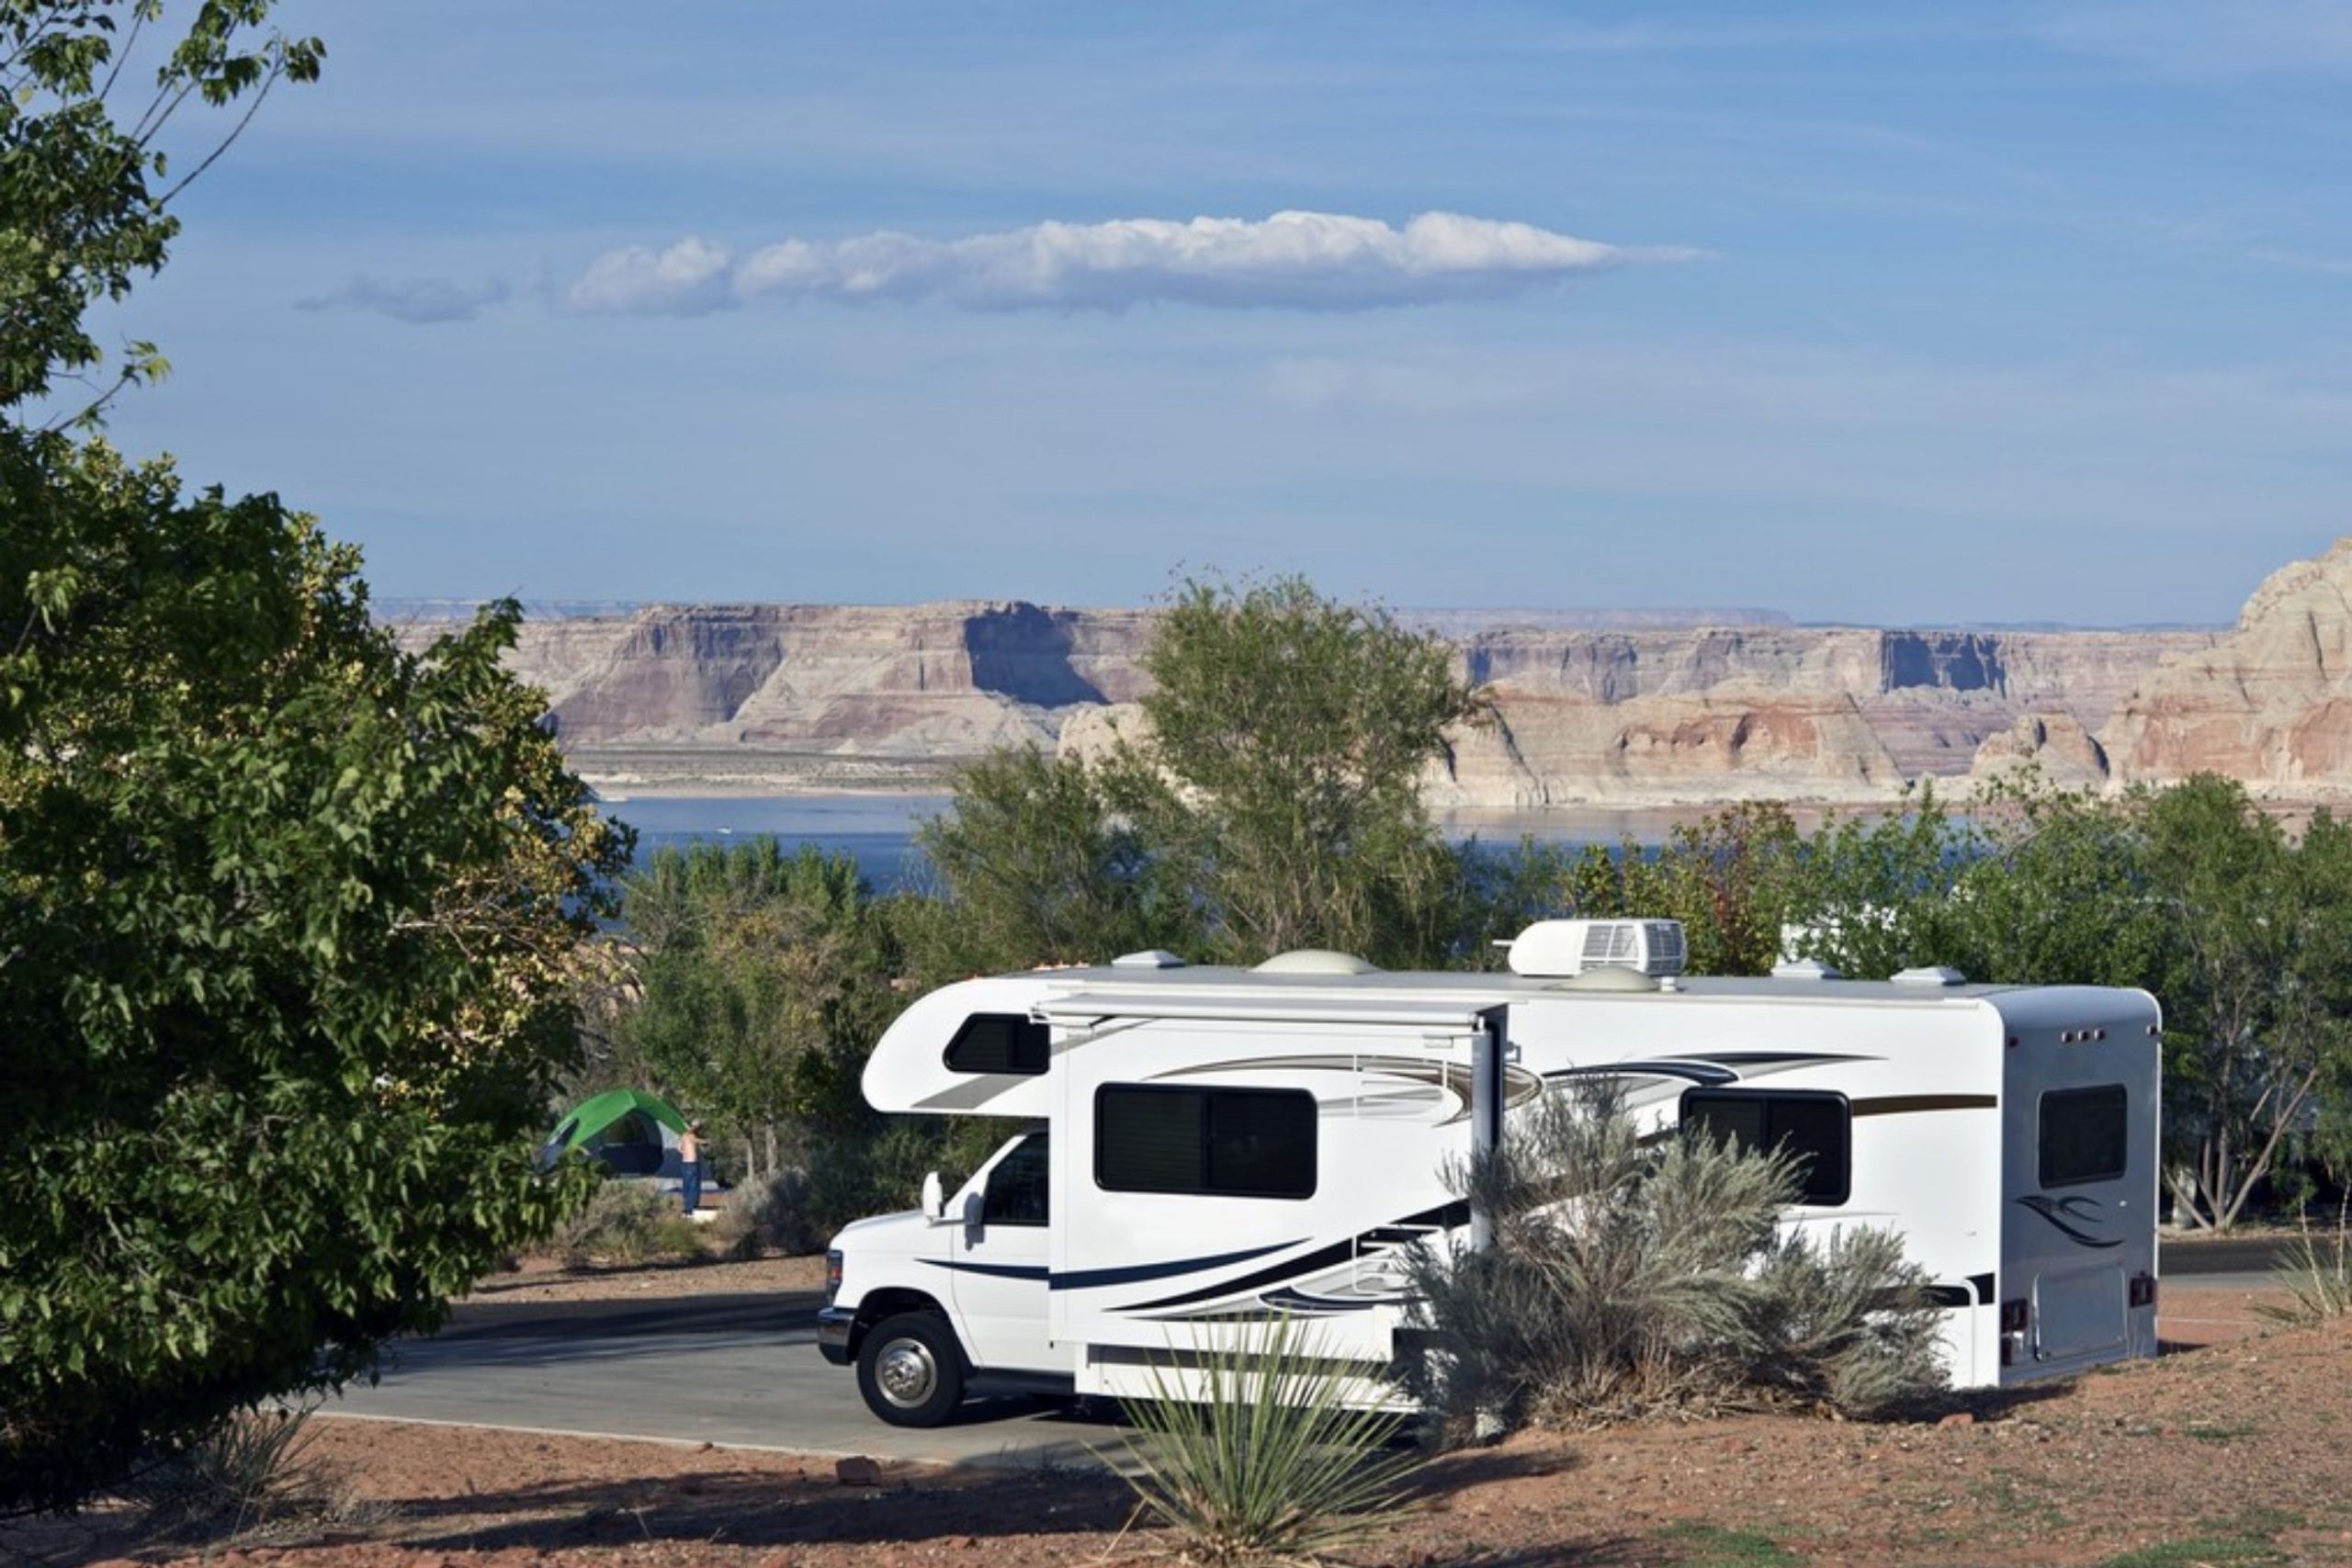
If you have a recreational vehicle that is more commonly known as an RV, you are able to travel almost anywhere you feel like with all the comfort that a regular home of brick and mortar can offer you!
Trailers also have toilets and showers, kitchen sinks and other regular home comforts and facilities that are so much needed during a long trip.
However, all these conveniences also mean that your recreational vehicle also transports a sewer system that holds all the produced waste materials.
Fortunately, unlike old days, modern RV campers don’t have to dig their waste into the ground or collect it in order to throw it into bodies of water later! Today, all modern trailers have what we call an RV septic system.
That means that you can dispose of all the waste with just the help of a hose!
Yes, you got it right! Your RV sewer hose cleans all the waste away whenever your trailer is on the go.
But along with this convenience, many RV owners have a question: how is it possible to connect an RV to the septic tank?
To answer it, we suggest you read this article attentively.
In it, we are going to provide you with a detailed and precise guide on how to undergo this procedure in a step by step sequence of actions.
Also, you will learn how RV camper’s septic tanks work and what can be done in order to keep it working well.
How to Hook Up Your RV Sewer to a Septic Tank Permanently?
First of all, we need to answer one of the most common questions of all the RV owners and say that you can in fact consider hooking your camper to the septic tank!
As you know for sure, many recreational vehicles provide all the possible comforts and conveniences of a regular home being equipped with sinks, toilets and showers.
Contained in large holding tanks, your trailer’s waste water is usually emptied into a sewer drain which has a flexible plastic hose.
However, when set up for long-term living in a campground or in an RV park, the holding tank drain can be permanently connected to a sewer drain.
If you undergo this procedure and you do everything correctly, you can be absolutely sure that it will save you from the hassle of attaching, removing and further cleaning the hose every time the tank is emptied!
Below, we will explain in detail what you should do to complete this process properly without causing any accidental damage to your RV septic system.

The First Step
Start with twisting a sewer hose adapter onto the trailer’s holding tank drain with your hands.
The Second Step
Now, you need to cut a vertical section of a sewer pipe. But first, you should take a measurement between the bottom end of the sewer hose adapter and the ground and subtract two inches.
Cut a section of three inch diameter PVC pipe equal to the measurement, minus the two inches, with a hacksaw.
For instance, if the distance from the ground to the bottom of your sewer hose adapter is 2 feet, cut the pipe to a length of 1 foot 10 inches.
When this is done, remember to clean the burrs from the cut ends of the pipe with 200 grit sandpaper.
The Third Step
Now you need to attach a four inch long section of three inch diameter rubber hose to the end of the sewer hose adapter with a hose clamp.
The second you do this, tighten the hose clamp in place using a screwdriver.
Now rub a few drops of any dish washing liquid onto one end of the vertical section of your pipe and work the pipe into the bottom end of the rubber hose that is attached to the sewer drain adapter.
The next step will be to fit a three inch diameter PVC elbow to the bottom of the vertical section of pipe.
At this point, it is important that you don’t glue the elbow to the pipe!

Step Number Four
At this stage of the process, you need to cut a 6 inch section of PVC pipe with the hacksaw.
Remember to clean the ends of the pipe with 200 grit sandpaper just like it was described in a previous step.
Once ready, scuf one end of the 6 inch section of the pipe and the inside of a 3 inch diameter PVC elbow with a piece of fine grade steel wool.
When this is done, clean up by wiping the scuffed surfaces clean with a dry cloth to remove any dust and leftovers.
Step Number Five
If you reached this step, apply PVC pipe cement primer and PVC pipe cement to the scuffed areas on one end of the elbow and one end of the 6 inch pipe, acting according to the product directions.
Then, push the six inch pipe and elbow together.
Twist the pipe one quarter turn now in order to distribute the cement evenly around the contact surfaces of the pipe and elbow. Place the 6 inch section of pipe into the sewer drain opening.

Step Six
Congrats, now you are almost at the finish! Cut a horizontal section of sewer pipe now and measure the distance between the bottoms of the two collars on the open ends of the PVC pipe elbows.
Cut a section of the pipe to fit between the elbows with the hacksaw then and test fit the horizontal section of pipe into the elbows.
Remove the pipe from the elbows and make any extra adjustments in the length of the pipe with the hacksaw, if you find it necessary (e.g. to make it fit better).

Step Number Seven
Finally, here is the last step! At this stage, you need to clean the ends of the horizontal pipe section with 200 grit sandpaper first of all.
Scuff the ends of the pipe and insides of the elbow sections with steel wool and wipe with a cloth then.
When this is done, proceed by applying primer and cement to the ends of the pipe and fit the pipe into the elbows, twisting the pipe one quarter turn to spread the cement.
Work the vertical section of pipe up into the section of rubber hose attached to the hose adapter so the elbow connecting the vertical and horizontal pipe sections is 2 inches off the ground.
Secure the rubber hose to the vertical pipe with a hose clamp and screwdriver.
Place a PVC pipe hanger upside down under the elbow connecting the vertical and horizontal pipe sections, for support.
So, now you folks know exactly what steps to take in order to be able to perform a correct RV septic hookup.
And now, let us answer a few more questions of yours that may appear when you face the necessity of dealing with your camper’s septic system.
Related: How to Heat Under a Mobile Home?
How Do Camper’s Septic Tanks Work?
To learn how the septic tank of your trailer works, you need to know that it has two separate compartments.
They filter through wastewater and separate solids from liquid.
As the natural bacteria in the septic tank breakdown the wastewater, it is dispersed into the soil. There, it sinks down and gets filtered through the soil.
However, not everyone is aware that septic tanks, in fact, require a specific balance between the bacteria and wastewater to work properly!
You might not be aware of this, but all the cleaning solutions and products, as well as wipes, toilet paper and even coffee grounds can cause huge damage!
If you make sure that you are not throwing excessive amounts of these, you will help your septic tank last much longer and work much better.

Related: How Much Wind Will Destroy a Mobile Home?
How Do You Connect to Your Septic Tank For a Camper?
Typically, you will find a clean out to be the simplest way to connect your recreational vehicle to the septic tank. To be precise, this is going to be a PVC pipe that comes out from the ground with a screw cap.
You can simply remove the cap and attach the sewer hose from your RV into this clean out.
However, we recommend you always to make sure that the hose is properly secured to the pipe opening!
You should weigh this down just in case so it doesn’t create any mess!
Also, when connecting to your septic tank, you can choose to leave it hooked up all the time as an option. Like this, any wastewater will automatically be going into the septic system directly.
As an alternative solution, you can choose to wait and empty the tank all at once.
But no matter which option you choose, keep in mind that some RV owners believe that, if you add too much waste to your RV septic tank at a time, it can cause serious damage to the system!
And since RV’s septic tank works using natural bacteria for breaking down wastewater, it is crucially important that you keep all the balances in check.
Except for all that, we would like to remind you of one more nuance.
In case your septic tank does not have a clean out, you might feel a temptation to make use of it to remove the lid.
However, even though it can technically be done, of course, we would not recommend this option since this is rather dangerous.
See, an exposure to an excessive amount of air may kill the natural bacteria that are located in the septic tank of your trailer.
And the gas that is trapped in the tank can actually be fatal to humans!
So even if you choose to do this, do make sure that you dump in the correct side!
You want to dump into the side that keeps the solids separate from the wastewater or the one that is located closest to the house.
Keep in mind that you cannot use an access port as a continuous way to drain RV wastewater as you will need to re-seal the port.

Tips For Keeping Your Septic Tank Working Well
You might think that it is enough to know how to hook up your RV to a septic system and do it correctly, but this is not quite like that in fact.
Also, you need to know what to do in order to make your RV septic tank work long and properly.
Connecting your recreational vehicle to the septic tank means that you need to take a few additional precaution steps so that you could keep the entire system working well and flawlessly.

- Make sure that you are not dumping too many extra chemicals down your drains, even products that are sold as septic tank cleaners can kill off the natural bacteria levels. These will only result in a cleaner system for a short period of time.
- Make sure that you don’t overload the system. As wastewater is put into the system, wastewater is pushed out. If too much wastewater is put in at a time, sludge can get into the leach lines and clog the system.
- Be prepared to have the system cleaned more frequently if you use the RV plumbing frequently. This will help prevent any problems later on down the line.
As you can see, being able to connect your trailer to the septic system makes it simpler to add functionality.
And if you make sure that you connect your recreational vehicle the right way and that you aren’t overloading your septic system, you can have additional living space and keep your septic tank working well at the same time.
[wp-faq-schema title=”Frequently Asked Questions”]