
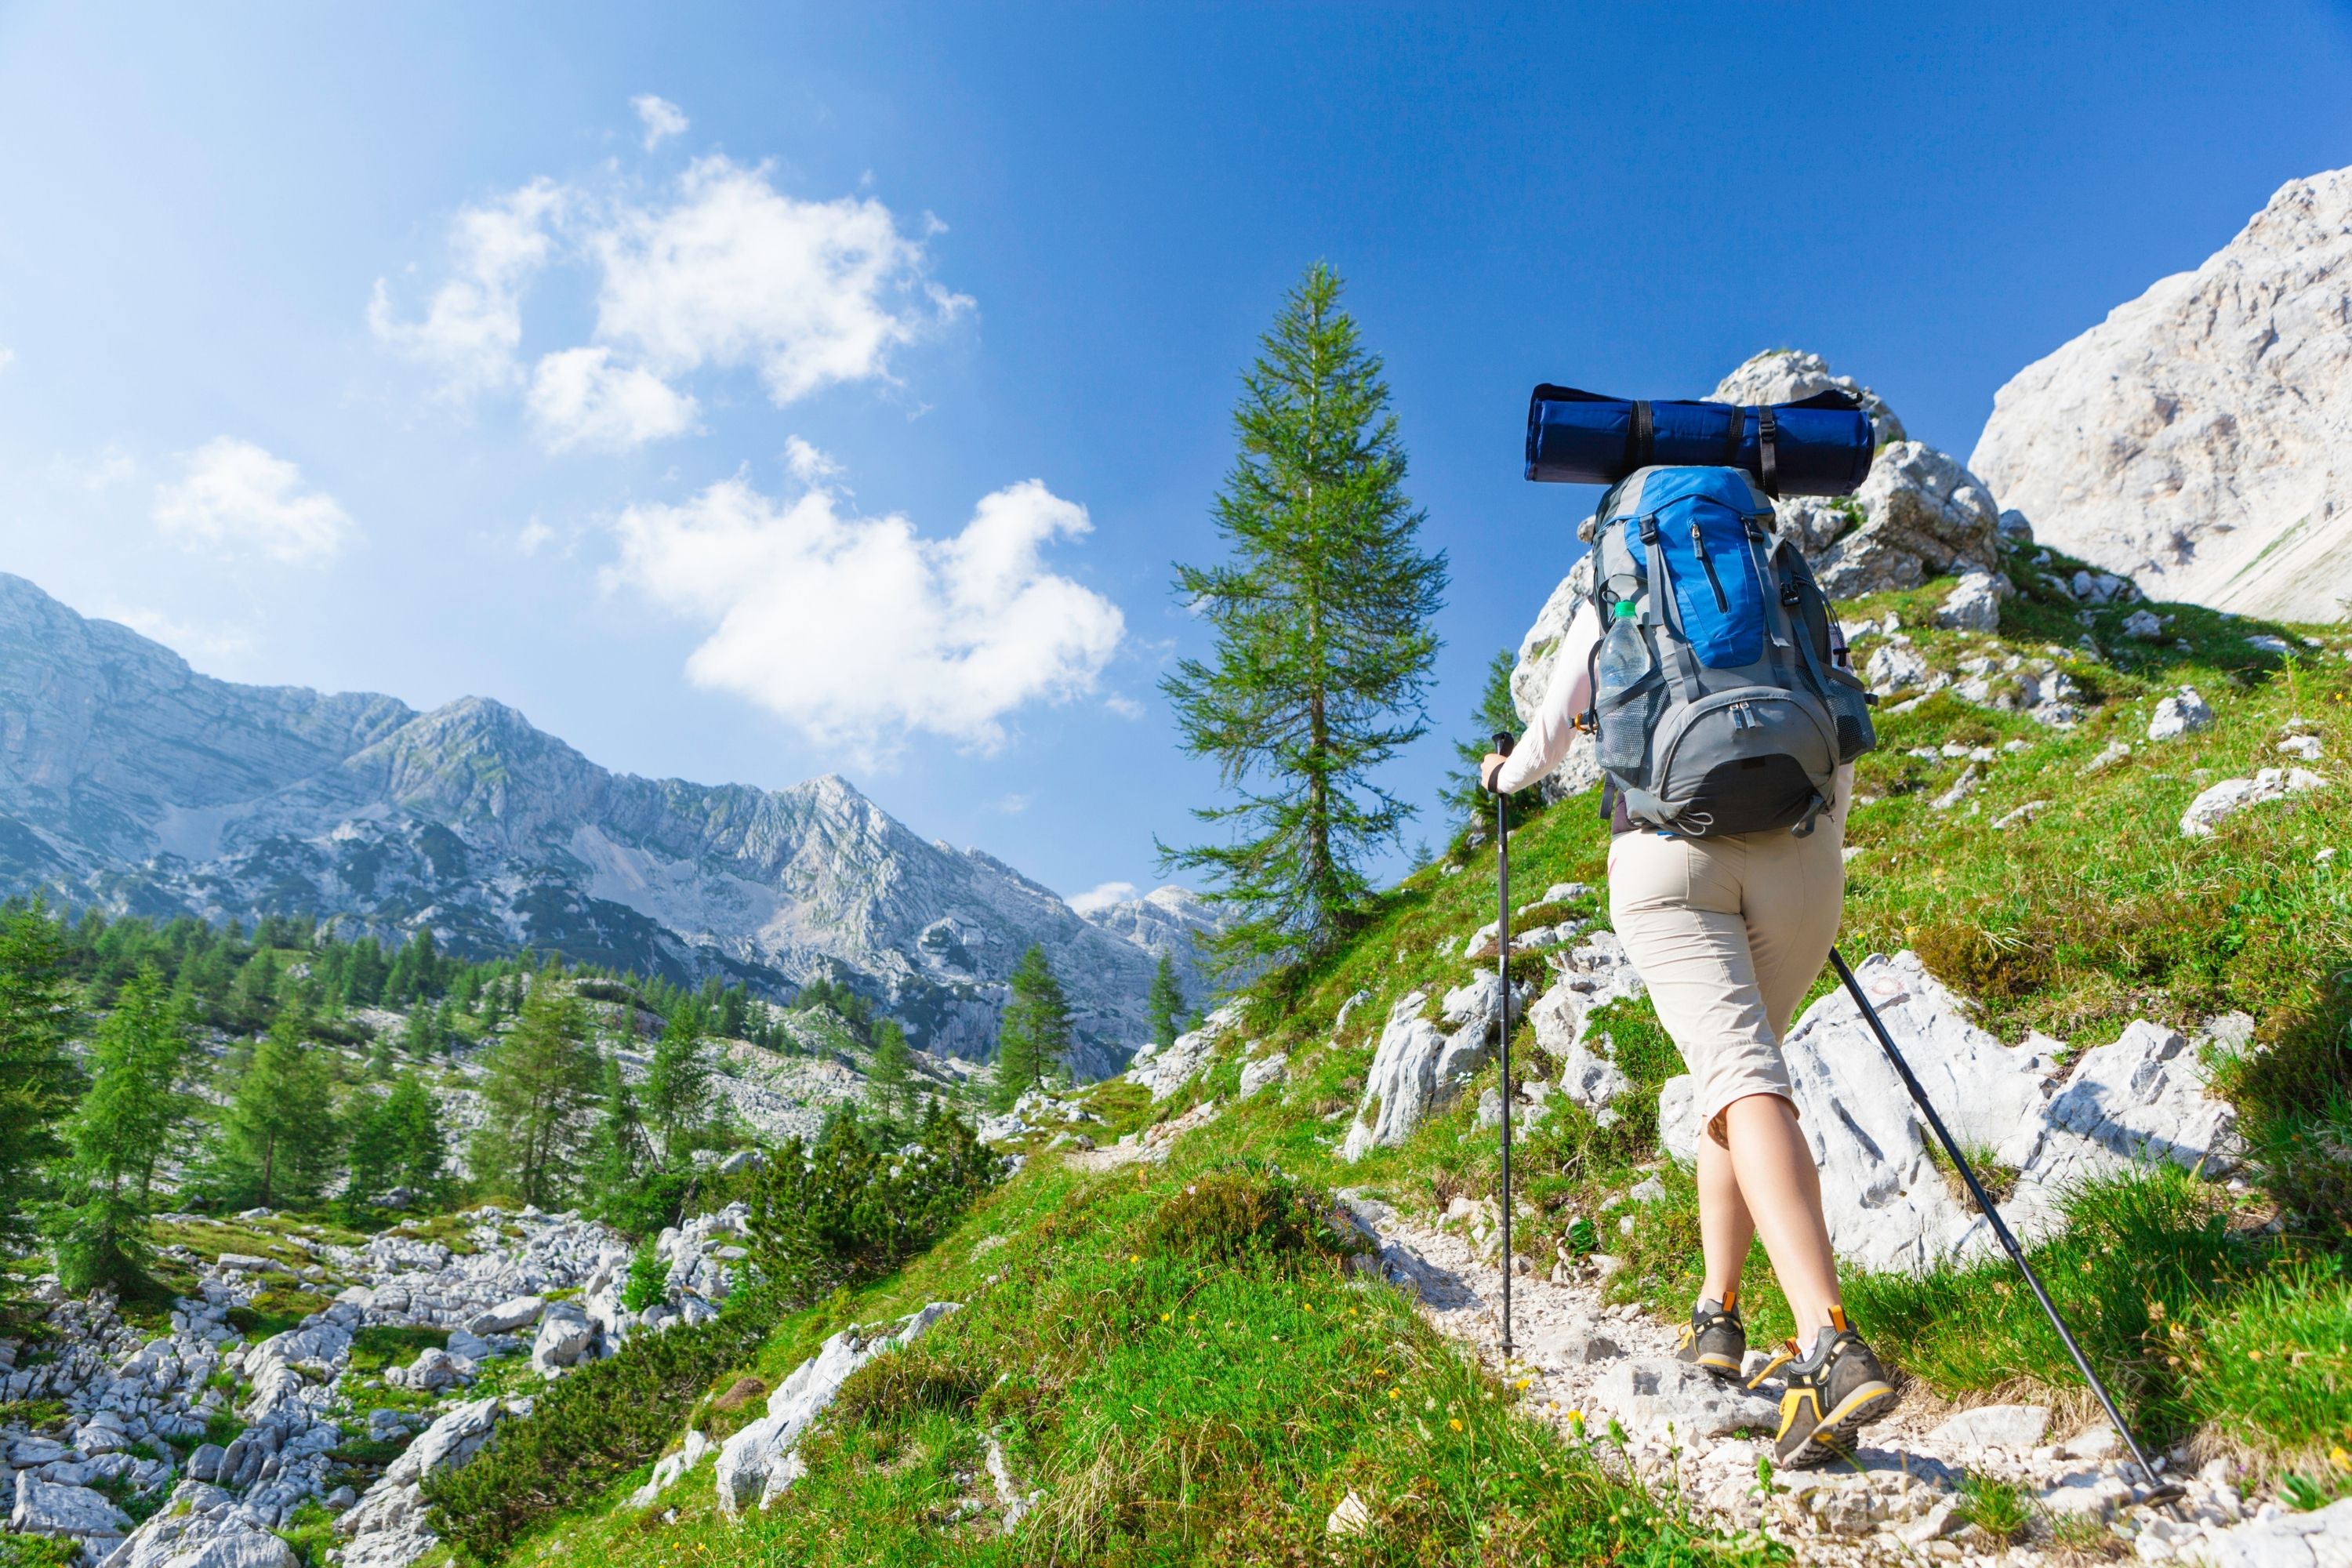
If you are hiking or trekking often enough, you might have thought of renovating your backpack so that it could provide you with enough water all the time while you are on the road. And if your current backpack is still in a good state and you don’t need to buy a new one, the only obvious solution in such a situation is to install a water bladder.
However, adding hydration packs may turn out to be quite a complicated task, especially if you have never done anything similar before! This is why today we decided to provide you with all the necessary information on this subject.
And except for getting a complete guide on how to install a water bag into your backpack, you will learn some extra useful information, so stay with us!
How to Add a Hydration Pack to Your Backpack?
Most of us usually take a water bottle with us in a backpack whenever we are going for a hiking tour. However, for a more comfortable trip, you’d better think of installing a proper hydration bag! Especially since the installation process is extremely simple and it will not take you much time, effort, or any specific knowledge or skills.
- you simply choose the place where your water bladder will be installed
- you make sure you attach and clip it tightly so that the reservoir does not move
- you test it before going out in the field to make sure that the hydration system is working properly
That’s basically it. Nothing more is required. Sounds simple, right? But we would still recommend you read the detailed instructions on how to do it right so that you will not miss anything important!
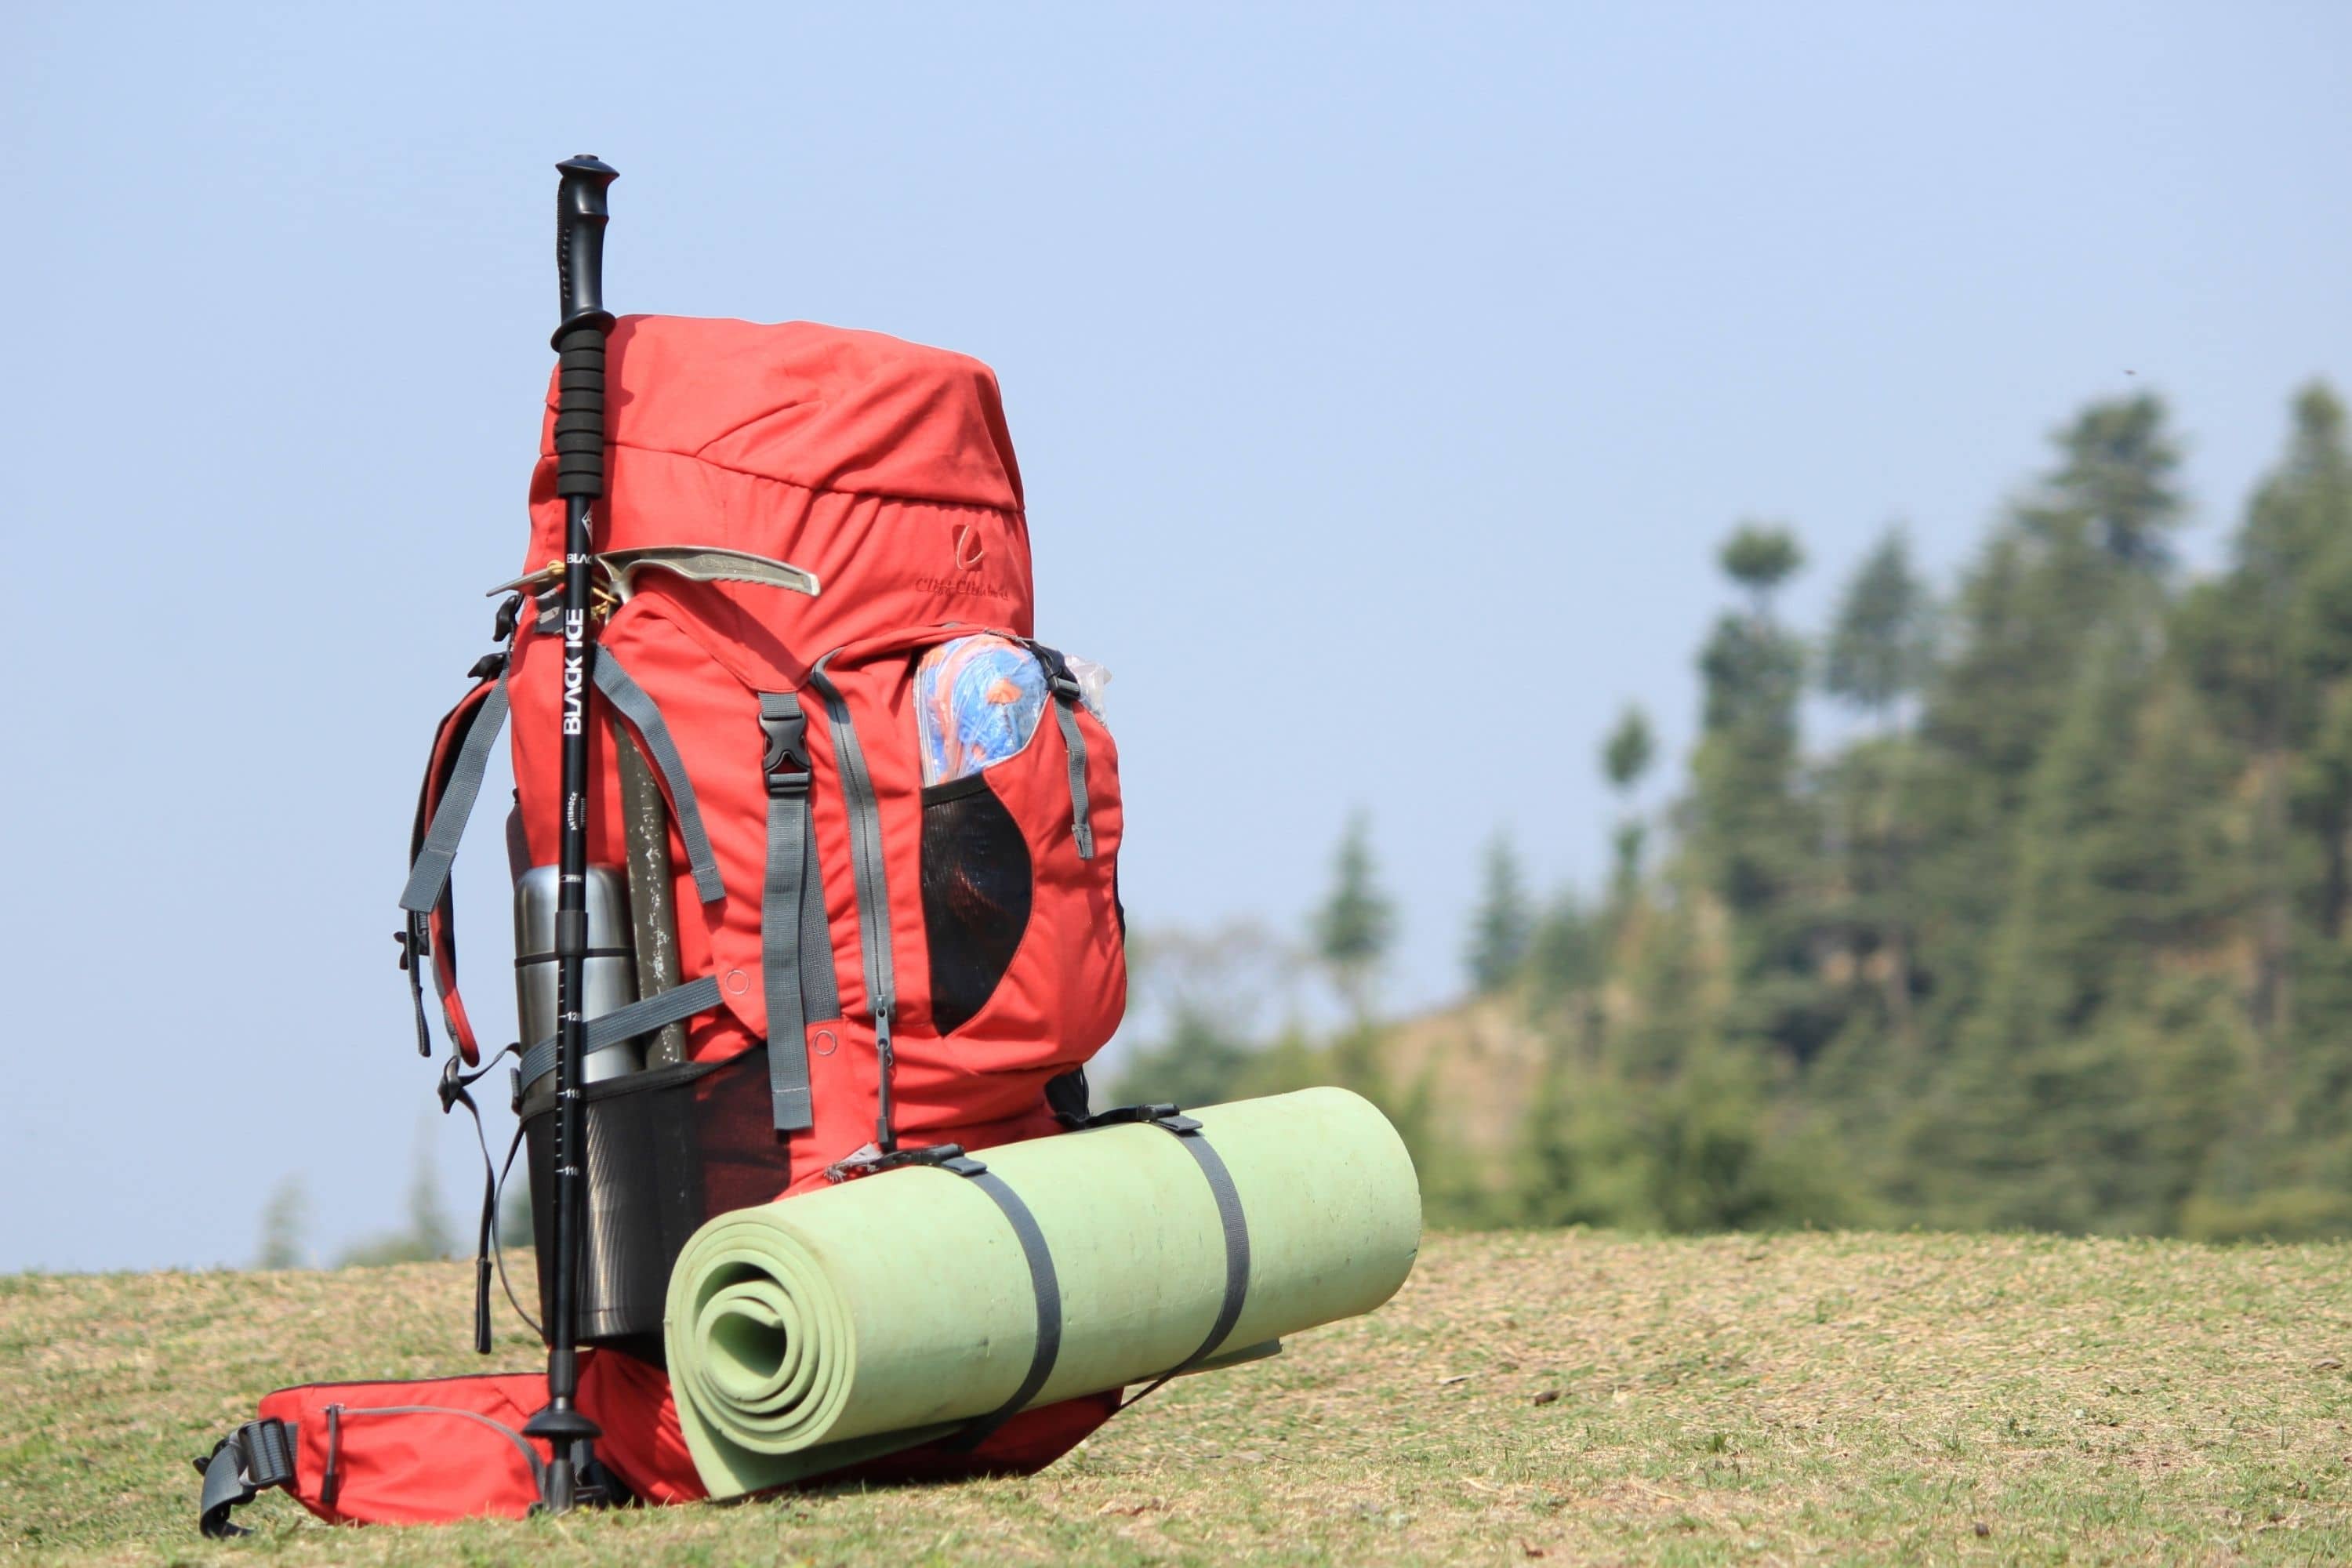
So first things first, you need to begin with deciding where exactly your hydro pack will be installed. Ideally, this must be the place that is able to hold the reservoir properly and securely. And at the same time, this place must be tight enough. Like this, the water reservoir will hold onto the backpack effectively. This is why the side pockets are usually the top choice of all the hikers!
The next step is to decide how you will place your water reservoir on the backpack. See, since the water bladder used for your backpack works on the basis of gravity, it is essential to make sure that the reservoir and the hose are located so that the tube exit is at the bottom of the pocket.
Now that you are almost there, you only need to properly clip the bladder to firmly hold it in place and exclude any chances for it to move while you will be walking. Make sure it holds on properly so that the reservoir could withstand any moves of yours including jogging and jumps.
Finally, before you set off on your next trip, we strongly recommend you test your new hydration system! Like this, you will be able to see in advance whether there are any flaws, such as twists or knots, on the water pack attached to your backpack. And if you see any of those, it will be easier for you to fix them beforehand to avoid the blockage of liquid. Basically, if you are able to sip through the hose without any resistance and the liquid flows easily, it means that you successfully installed the backpack water bladder.
As you can see, the overall process of installation is very easy to do, however, it is still vitally important that you do everything right. Otherwise, you can find yourself in the middle of nowhere with no water!
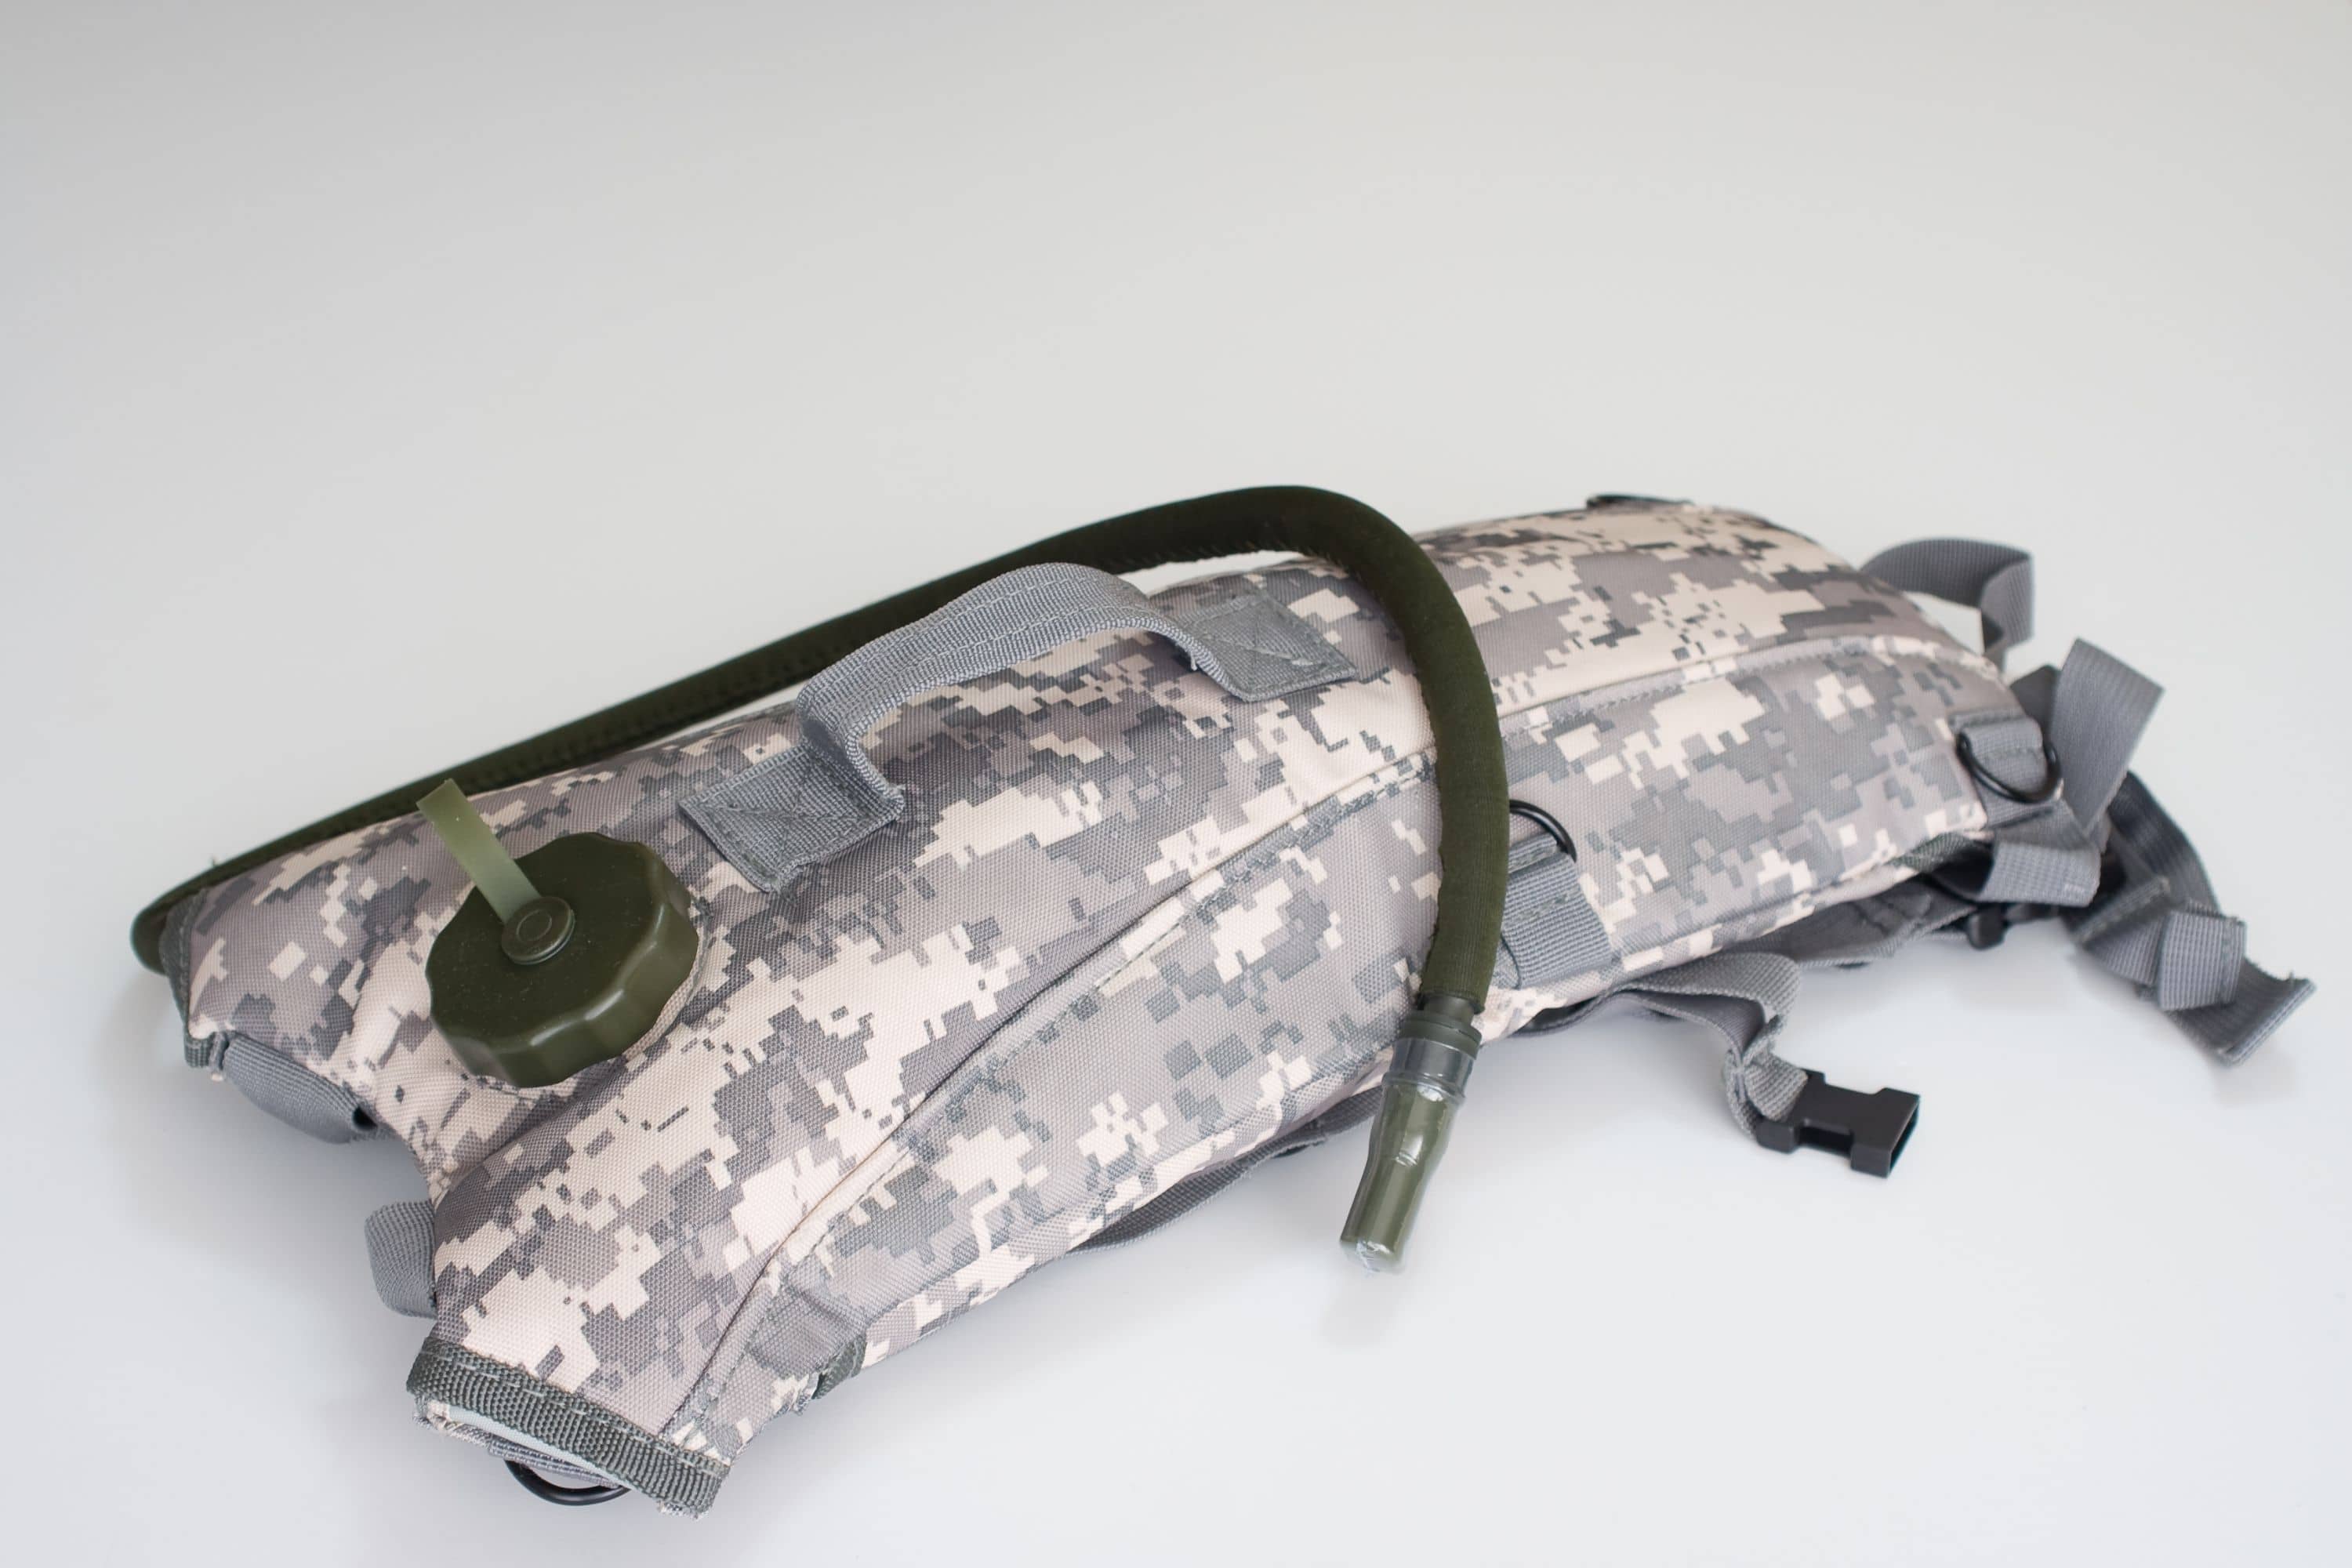
What Is That Bladder Used In Backpacks?
All right, so now you know how to install water pouches for backpacks, but what are they in fact? Simply speaking, a hydration bladder is a reservoir that one can make use of for carrying any type of liquid while hiking or trekking. Normally, you can effortlessly fit them into any backpack that you are using for outdoor activities.
Nevertheless, there are backpacks that already have pre-installed bladders. Those are called hydration packs or water packs.
How to Use a Hydration Bladder?
We have already mentioned that a hydration bladder works on the basis of gravity which is why it is very important to make sure you attach it properly to your backpack to allow the liquid flow easily.
However, this stuff has a few more specific nuances you should be aware of. First of all, its major purpose is to provide you with water while you are on the way hiking or trekking. It means that the reservoir must be able to hold the liquid safely for you inside of the backpack without any risk of spillage.
This is the reason why these containers are mostly made of plastic or polythene.
Also, all the bladders have hoses. Those are needed for sipping water through them so that you will not have to open the reservoir again and again.
What You Need to Consider In a Hydration Bladder
It may seem to be a very simple task to choose and install a water pouch for your backpack. However, we must warn you that there are several quite essential nuances you need to take into consideration before installing and even before buying the bladder!
1. What will the purpose of its use be?
Backpack water reservoirs can be used for many types of outdoor activities, that’s true. However, the same container can not always be utilized for different activities, and you must keep that in mind. The simplest solution is to buy a bladder that suits your type of activity most of all (or buy several different ones to fit all types of activities you enjoy!).
2. Install it in the right position
This is the guarantee that your backpack water carrier will work properly. Make sure that its tube exit is faced downwards. Like this, the water will flow easily through the hose of the hydration reservoir for the backpack being pushed by gravity.
3. Material matters
To be sure that your bladder reservoir will serve you long, choose the one that is made either of top-quality plastic or rubber. These materials are way more durable in comparison to cheaper sorts of plastic which means you will not experience any leakage on the way.
4. Is it comfortable?
Since you are going to carry this stuff on your back all the way through, you must be absolutely sure that it will cause you no discomfort or pain! And also, make sure your bladder holds exactly enough liquid for you to drink. If it is too big, it will be difficult for you to carry it. And if it is too small, you will not have enough water to drink.
5. Is it easy to refill and drink from?
Ideally, your hydration bladder must be able to allow water to smoothly flow through the pipe so that you could effortlessly drink it. Also, it is important that the reservoir can be easily refilled once it is empty.
6. Easy cleaning
Your hydration bladder must be easy to clean so that you could effortlessly keep it in a good state while on the trekking path. This is especially important since a clean reservoir is a guarantee of your health! So when choosing which bladder to buy, give your preference to the one that allows you to reach every corner of it to keep it clean.
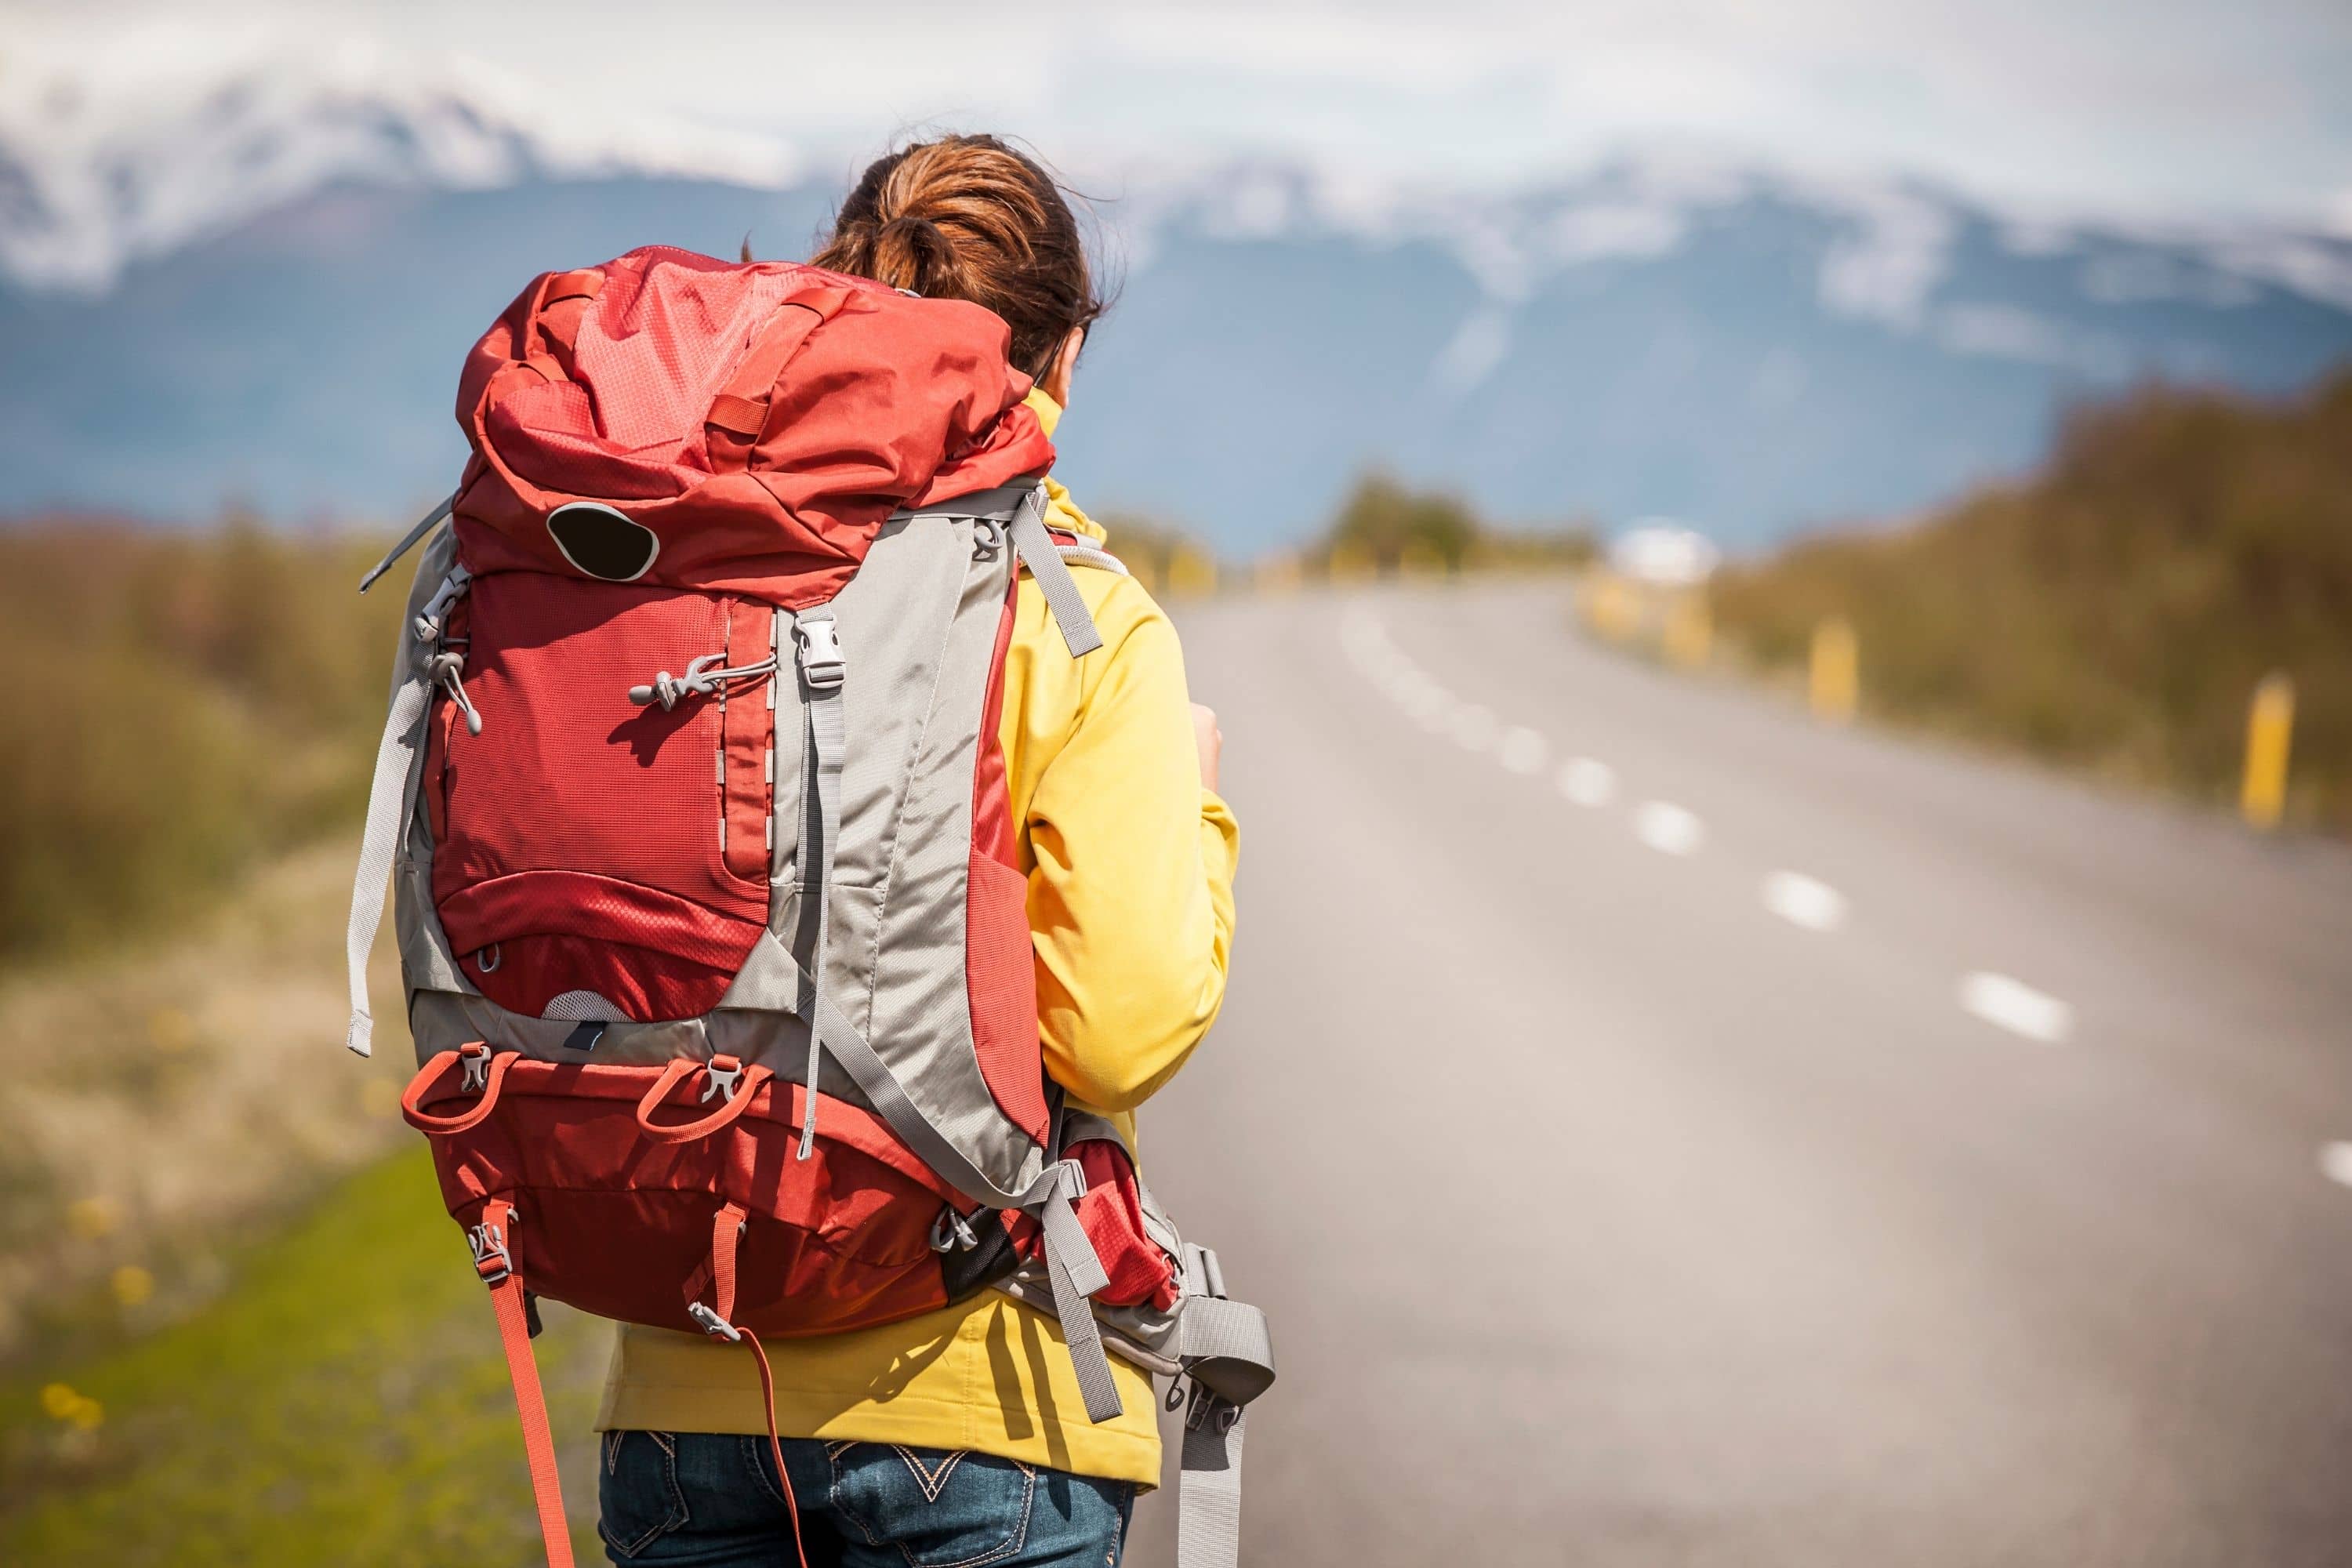
Can a Hydration Bladder Be Installed In Any Backpack?
This is one of the most frequent questions people ask, and the answer is yes. Since a hydration bladder is only a reservoir for water and other liquids that is designed for hanging either from your waist or from your backpack, you can attach it to any backpack.
The only thing you need to take into consideration is that your backpack must have efficient spaces for holding the reservoir.
What Benefits You Get When Installing a Hydration Bladder?
The most obvious answer is that you get constant access to water while being on the trekking route. However, this is not the only reason why you should think of installing this kind of reservoir onto your backpack (or buy a backpack that already has a pre-installed bladder).
- It is an easy and convenient way to get water while being on the track
- You have your hands free
- It contributes to your wellbeing
Well, as for the ease and convenience, it is all clear. If you have a water bladder installed on your backpack, you will always have access to water, and you will not have to ask anyone for help if you need to take a sip (in comparison to when you are carrying a bottle with you).
Another significant benefit is that water bladders keep your hands free. While trekking, it is especially important.
Finally, having such a hydration system takes care of your wellbeing during the trip. With such a water reservoir, you will be able to stay properly hydrated, especially if you are at higher altitudes. In addition, since this hydration system allows you to sip water, it will prevent you from gulping the liquid.
Thus it will allow you to avoid gag reflexes that tend to cause stomach jolts.
So now you are aware of how you can install a hydration bladder properly onto your backpack. And since you know all the important nuances of this process, we are sure you will have no problems with attaching and using this useful thing!

[wp-faq-schema title=”Frequently Asked Questions”]
How much does a backpack with a built-in water bottle cost? I’d like to buy one since I hike quite a lot and I realize that holding a bottle all the time when I’m on the way is not quite convenient for me. But since I’m slightly on a budget, I’d prefer something cheap enough.
If you mean a backpack that has built-in pockets for water bottles, those can cost around 70 dollars I guess. But if you need the one that has a built-in hydration bladder, its price will be somewhere around 100 bucks, I suppose.
Where can I buy hydration bladders for backpacks? I want to install one on my backpack but I found out that I can only find them in online stores. And I’d like to test the system or at least to hold it and see closer.
I guess you can visit any big store that sells tourist equipment and ask if they have water bladders. I bought mine in a store like that. At least it’s safer than buying them elsewhere since you can be sure that the hydration system is certified and of a good quality.