We use razors very often for shaving, and luckily, they are quite easy to clean. Typically, all you need to do is to rinse your cartridge under running water. However, sometimes you may face certain complications that will turn your razor-cleaning procedure into a challenge. We mean all sorts of buildup that often tends to accumulate between the blades.
How do you clean a razor in this case? Will it be enough to only rinse it? And how to clean hair out of your razor if it is stuck in between the blades along with the shaving foam buildup?
In this article, we will tell you how to get the hair out of a razor and how to unclog a razor. But except for learning how to properly clean a razor, you will find out how to store and maintain this tool correctly. Like this, your razor will remain sharp and thus serve you longer.
How to Clean Hair Out Of a Razor?
How to clean razor blades? We bet that this question is on your top list of questions regarding cleaning various home tools! And you might reply that it is usually enough to simply rinse the cartridge under the running water, but we would say that sometimes it is not enough.
If you are using your razor frequently enough, your hair, as well as skin cells and other debris will sooner or later start to accumulate in your shaving implement. As a result, this will dull the razor’s performance.
However, which is even worse, all this debris and buildup will sooner or later cause unsanitary conditions that can potentially lead to injury or even infection if you accidentally cut yourself!
This is why it is mandatory to keep your razor properly cleaned and maintained all the time. It will ensure that you get not only a comfortable but also a safe shave every time.
Whether you use a straight, safe, or multi-blade razor, the basic cleaning instructions will be the same: rinse the blade with hot water. It will easily remove the worst of the mess. Then, continue with a stiff-bristled brush to get rid of whatever is left. Finally, use a special solution to sterilize and disinfect the razor.
This is how cleaning razor blades should typically happen. However, we find it necessary to provide you with a complete and detailed guide, so read on to find out how to remove hair from a razor and how to keep this tool clean easily.
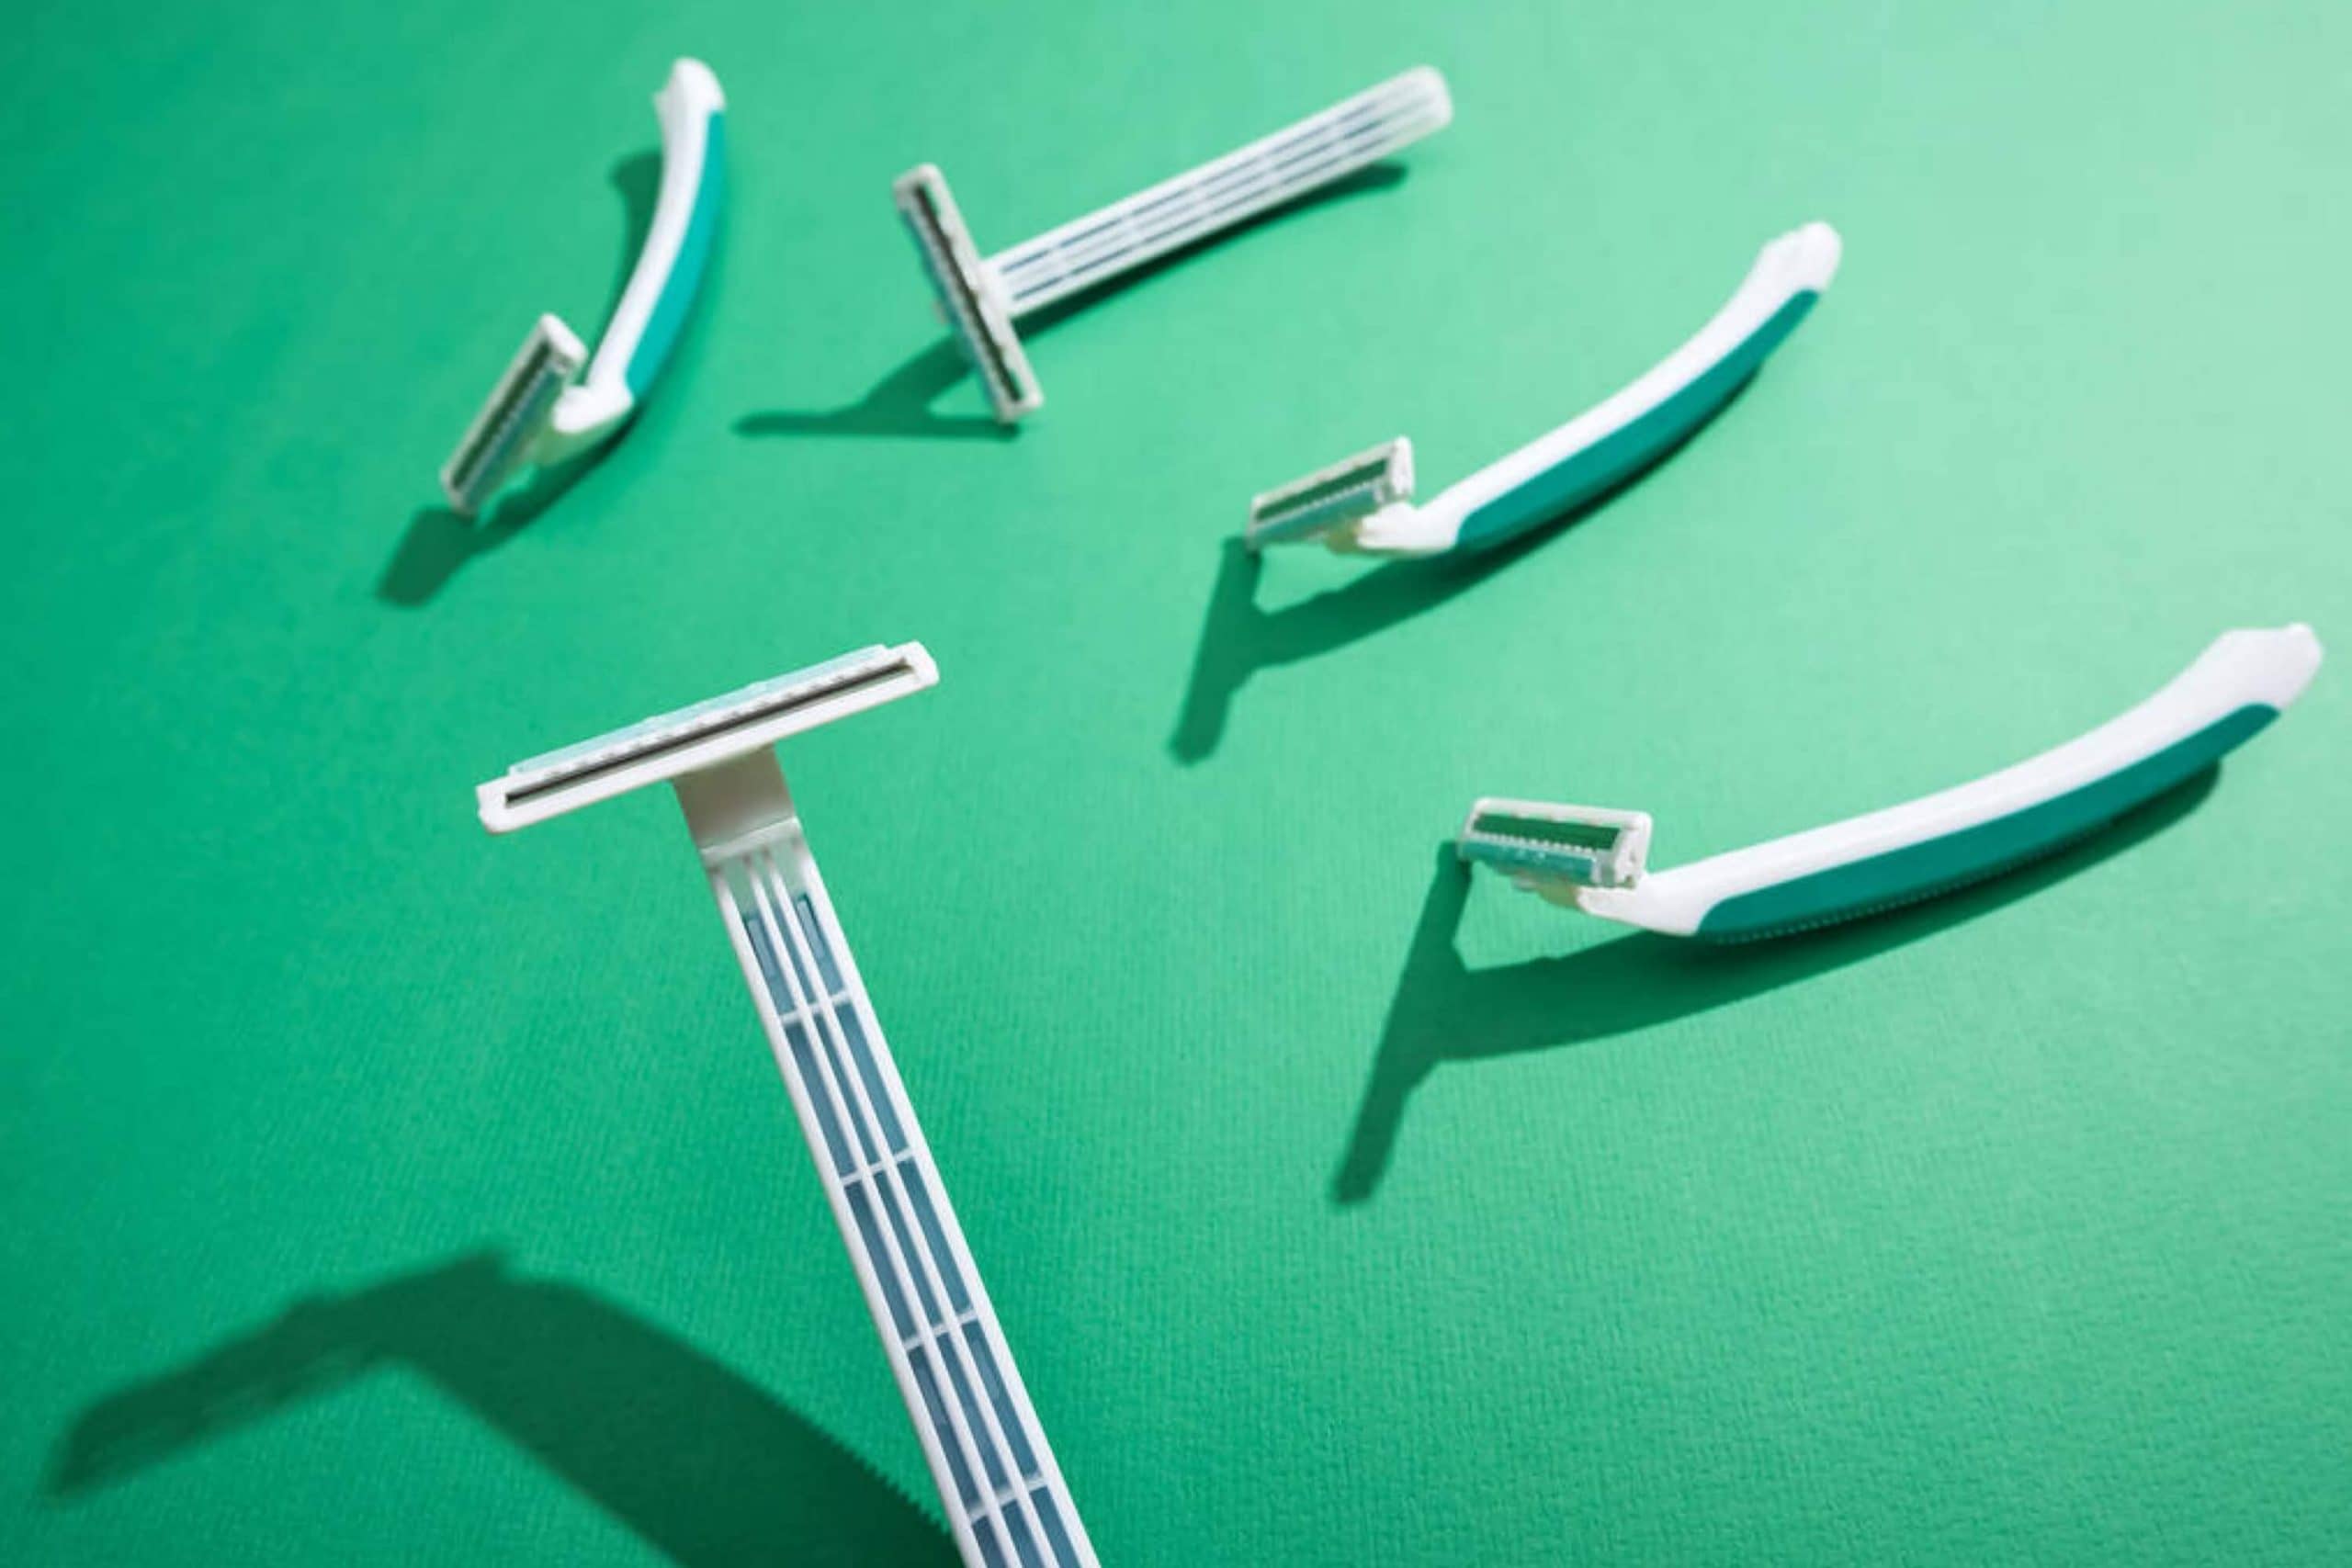
Get Rid Of All the Buildup And Debris
If you want to know how to clean a clogged razor, start with removing all the stuff that clogs it. To do that, you simply need to rinse off the razor blade.
- Rinse it and tap the razor against the edge of the sink.
- Hold the head of the razor under a powerful stream of water. If it is necessary to remove the blade for better cleaning, do it, but act very carefully.
- Rinse over the backside of the head as well. Like this, it will help flush out hair, shaving cream residue, and other gunk that might be stuck on the blade (or blades).
For more thorough cleaning, note that it may help if you rotate the razor as you rinse it. This way, you will be able to help the water hit it from different angles. As a result, all the stuck debris and gunk will be removed faster and simpler!
Also, it will be helpful if you give it a slight shake. Give the razor a light tap now and then as you rinse. But be very careful, otherwise, you may break the head or frame of the razor!
Use a Brush
You may find recommendations that say one should never use any brushes for cleaning the razors.
However, we would not be so narrow-minded! Sometimes, water alone may not be enough to clear out the blades. And this is exactly the moment when a special razor brush may come in handy!
All you need to do is to glide the brush over the blade vertically using smooth strokes. The bristles of this brush can easily reach deep into the spaces between the razor’s blades and sweep out the grime that is stuck and otherwise inaccessible. And since this brush is specifically designed for cleaning razors, you can be sure that it will not damage the razors and will not make them dull.
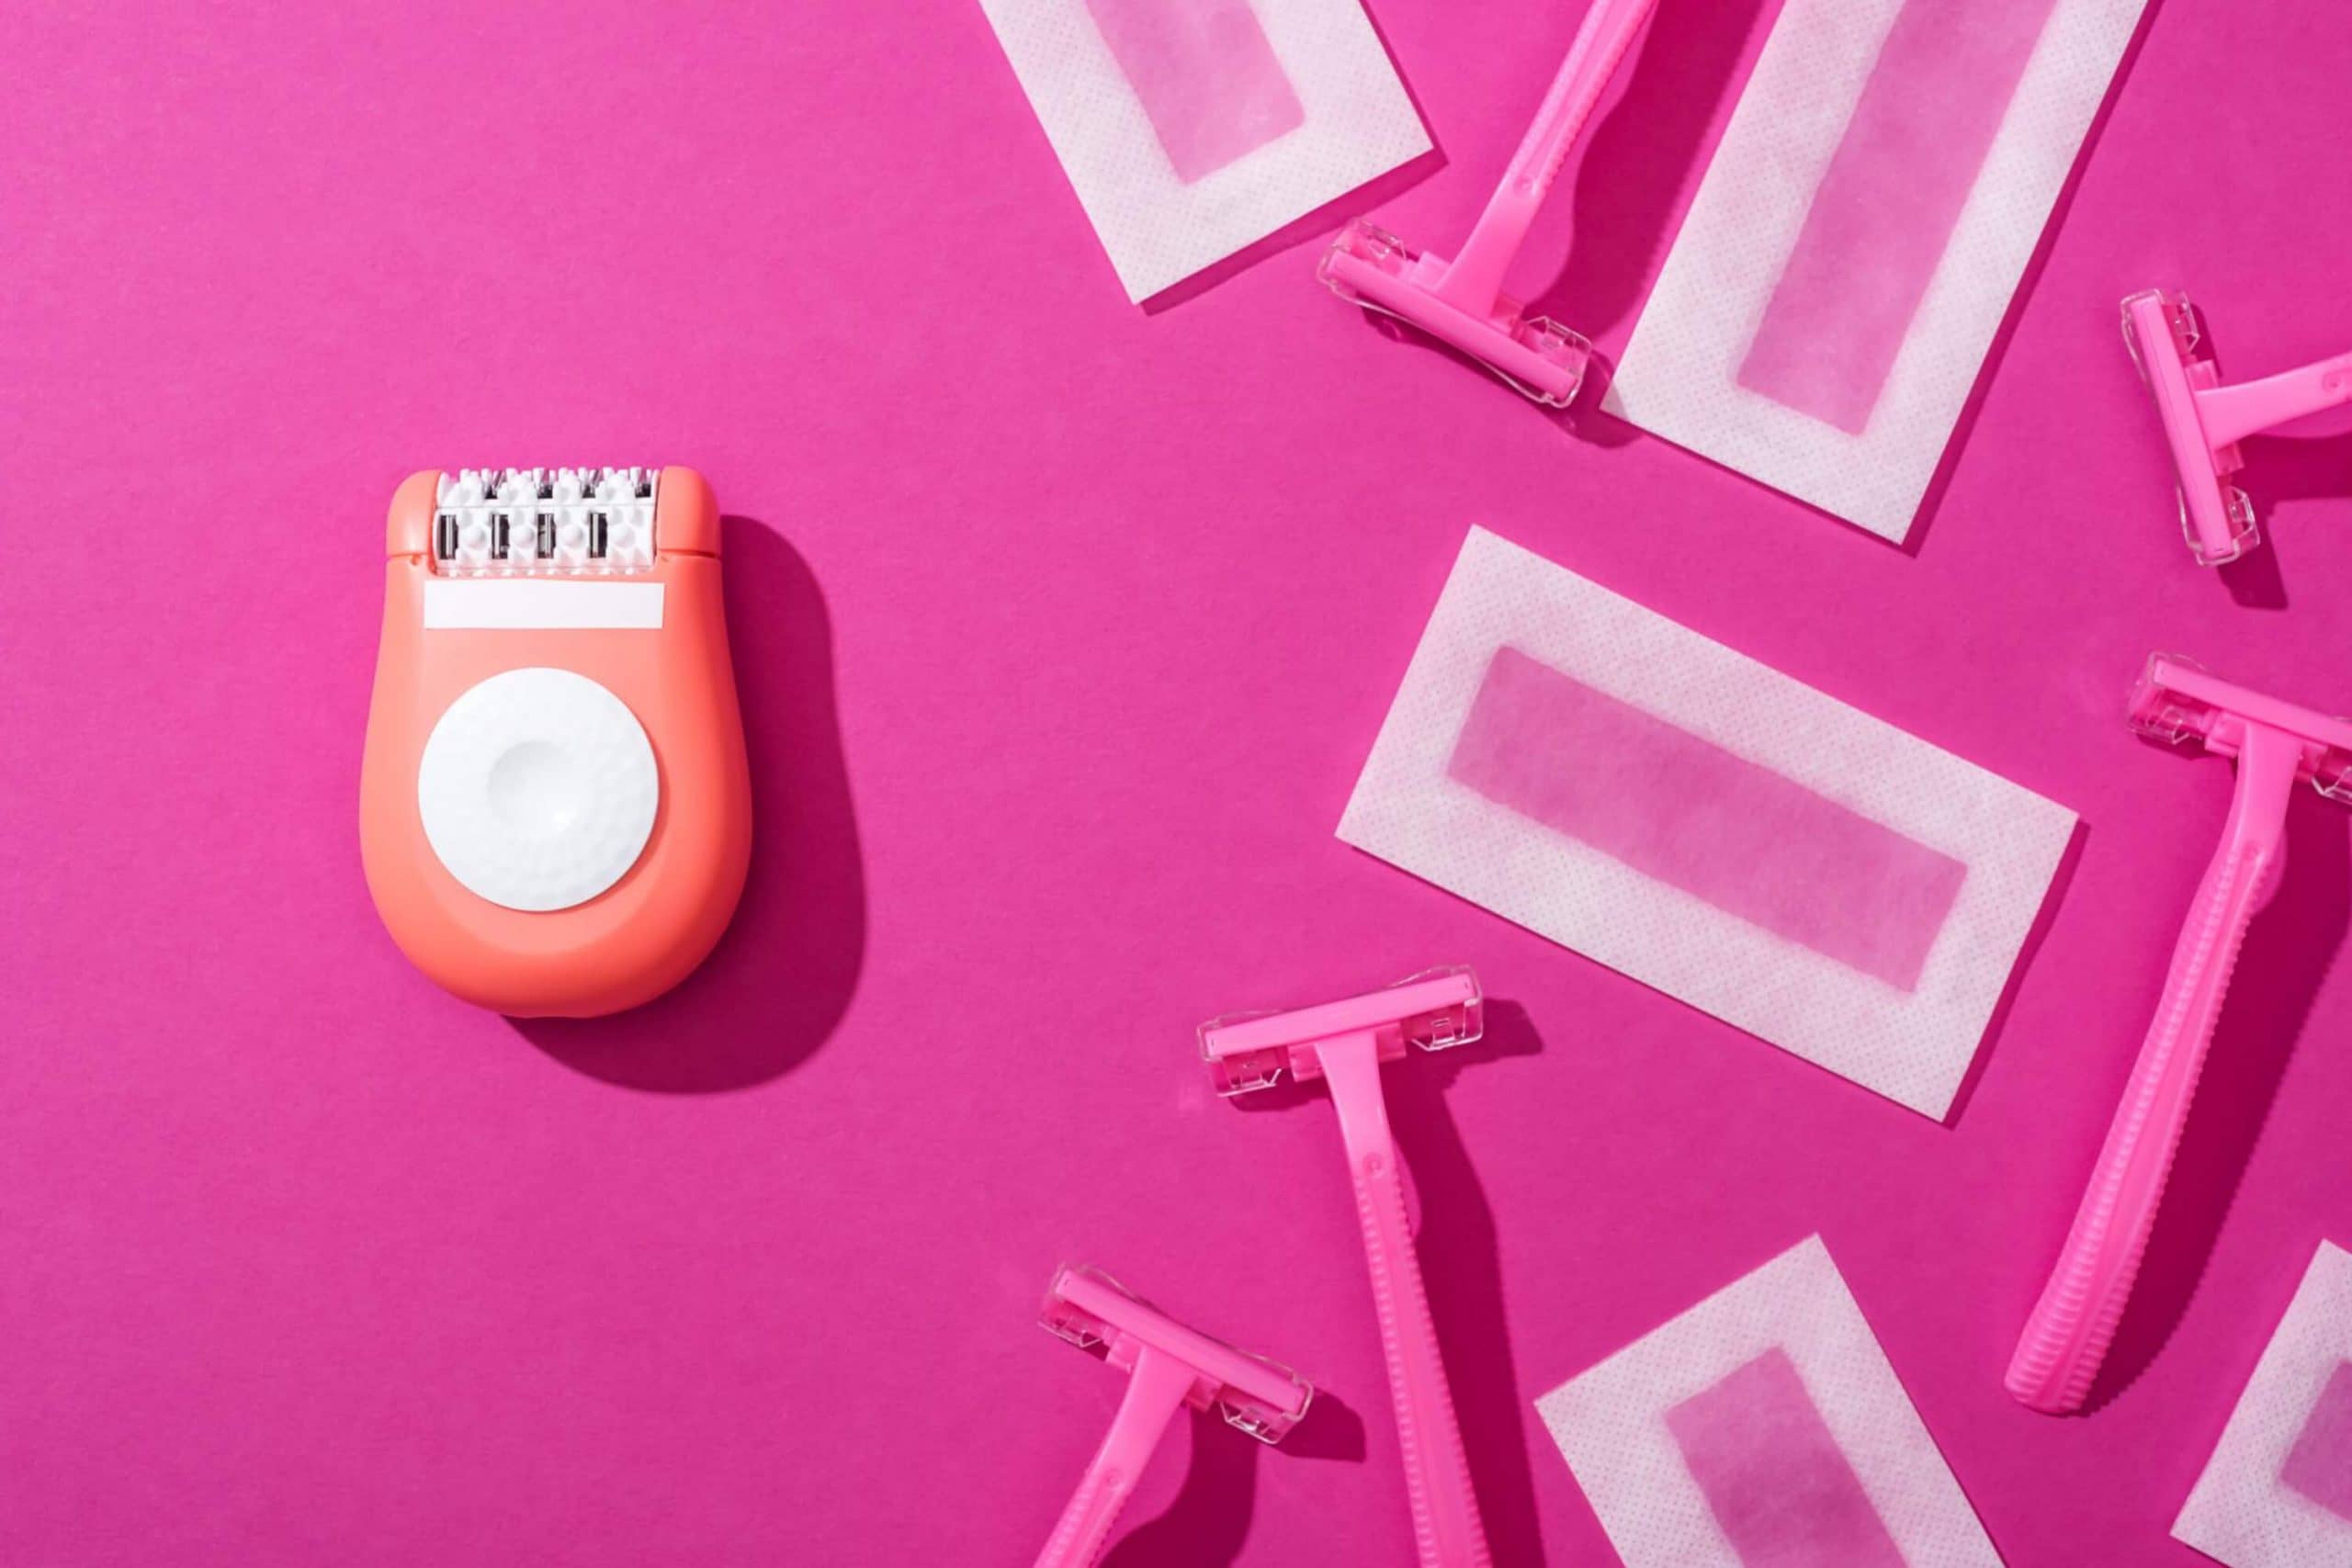
Let the Razor Dry
So, now you have removed as much buildup and gunk from your razor as possible. To finish the cleaning procedure, now you need to set the razor aside somewhere, preferably in the open to dry.
We recommend you leave it in a well-ventilated place where it can be exposed to constant airflow (for example, on your windowsill). You can then put the razor away in its usual storage area.
When drying your razor like this make sure that pets and/or children can’t reach it since it can be potentially dangerous!
As you can see, cleaning your razor is not a big deal in fact. And if you see that simple rinsing is not enough for removing the gunk and buildup from between the blades, you are now aware of what should be done.
However, if you think that this is all that you need to know about keeping your razor clean, you are wrong. Below, we have prepared more useful information for you. Read on to learn how to sterilize your razor and how to store it correctly.

How to Sterilize Your Shaving Razor Correctly?
Sterilizing is important, even though quite many of us tend to skip this step in a razor maintenance routine.
However, it should never be skipped! If you use unsterilized razors, chances are high that you can transmit infection in case you accidentally cut yourself! Why is that? Well, because gunk and buildup that tends to accumulate between the blades often create ideal conditions for various nasty things like bacteria to grow there.
Luckily, sterilizing your razor is very simple. Just make sure you follow the instructions below precisely, step by step, just as they are described.
Get the Sterilizing Liquid Ready
Take a clean and shallow container and fill it with rubbing alcohol. See, this liquid possesses natural antimicrobial properties that make it inevitable and irreplaceable for eliminating bacteria on personal hygiene products (for example, on razors).
So start with pouring enough rubbing alcohol into your container so that it completely covers the head of the razor.

Submerge the Razor
Now you need to submerge the head of the razor in the rubbing alcohol. It is fine if the head will be immersed completely. Swish the razor vigorously back and forth in order to help the gunk and buildup get loose.
A few seconds should be more than enough for getting rid of the pesky bacteria.
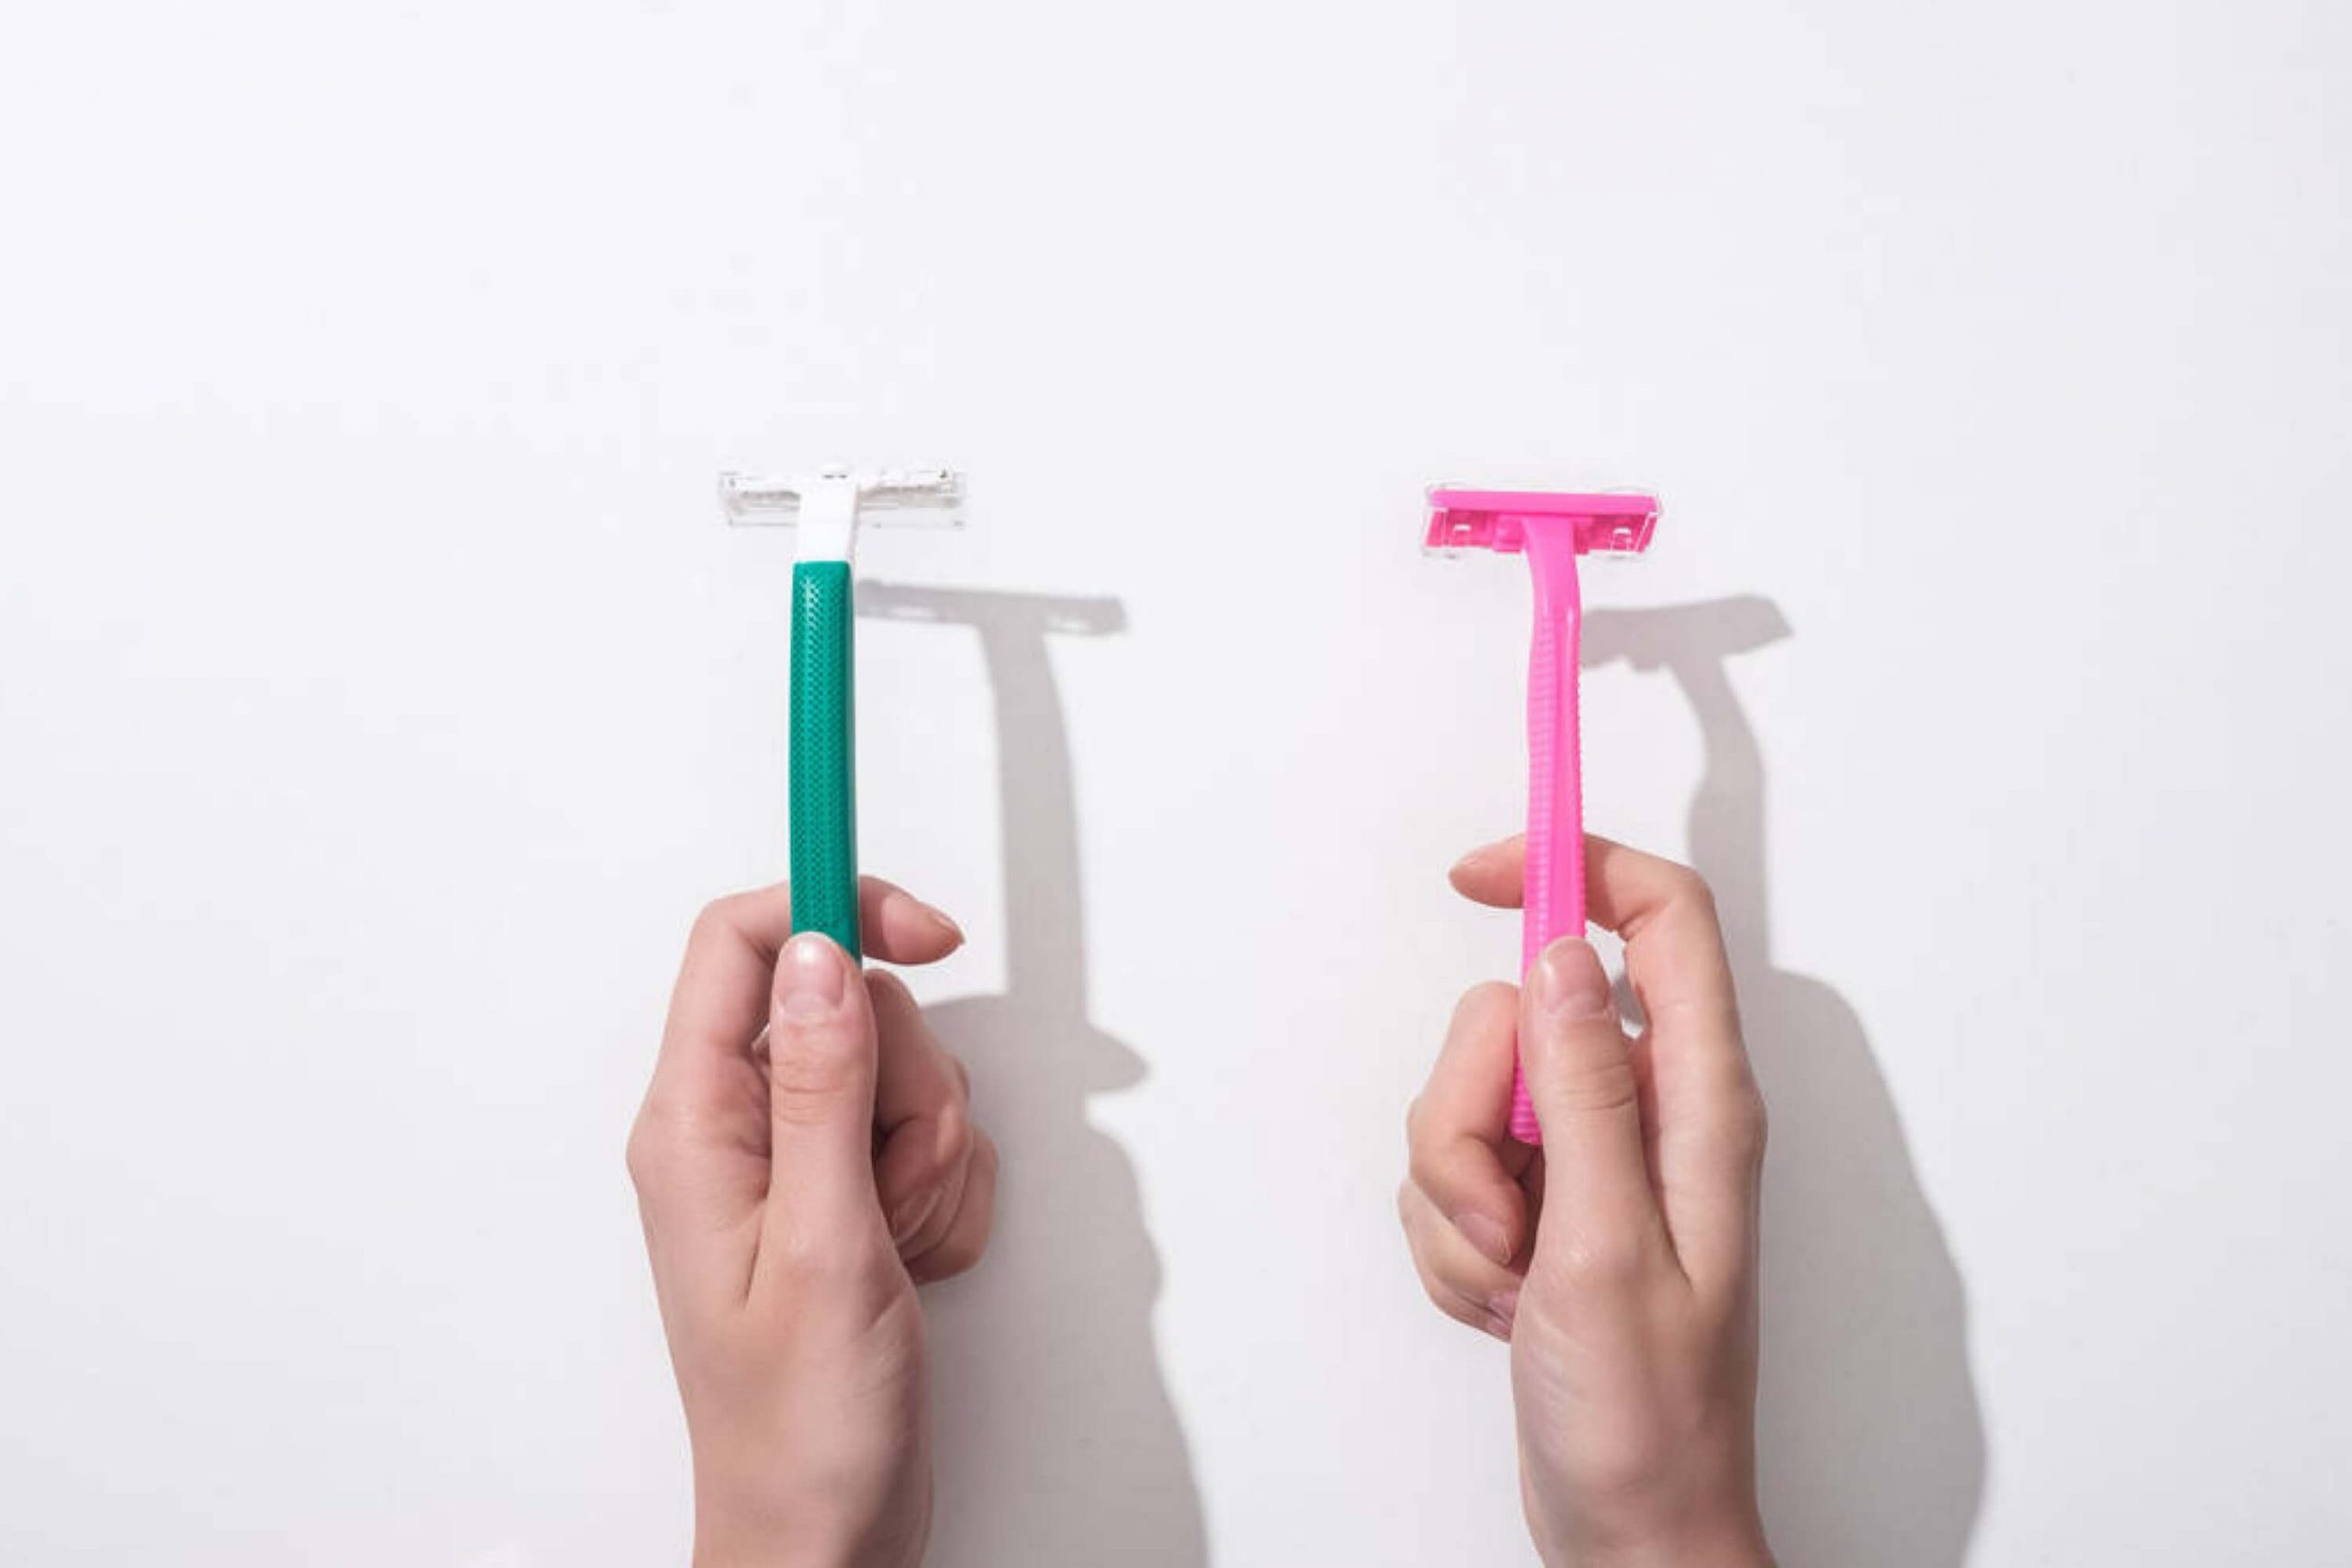
Let It Soak a Bit
After you removed most of the gunk, leave the blade to soak for 5 to 10 minutes more. Of course, if it has been quite a long since the last time you cleaned your razor, the blade might have accumulated extensive buildup.
In this case, you might want to give it a more thorough treatment.
Should this be the case, the longer you let the razor soak, the more time the rubbing alcohol will have to break down all that has accumulated in between the blades.
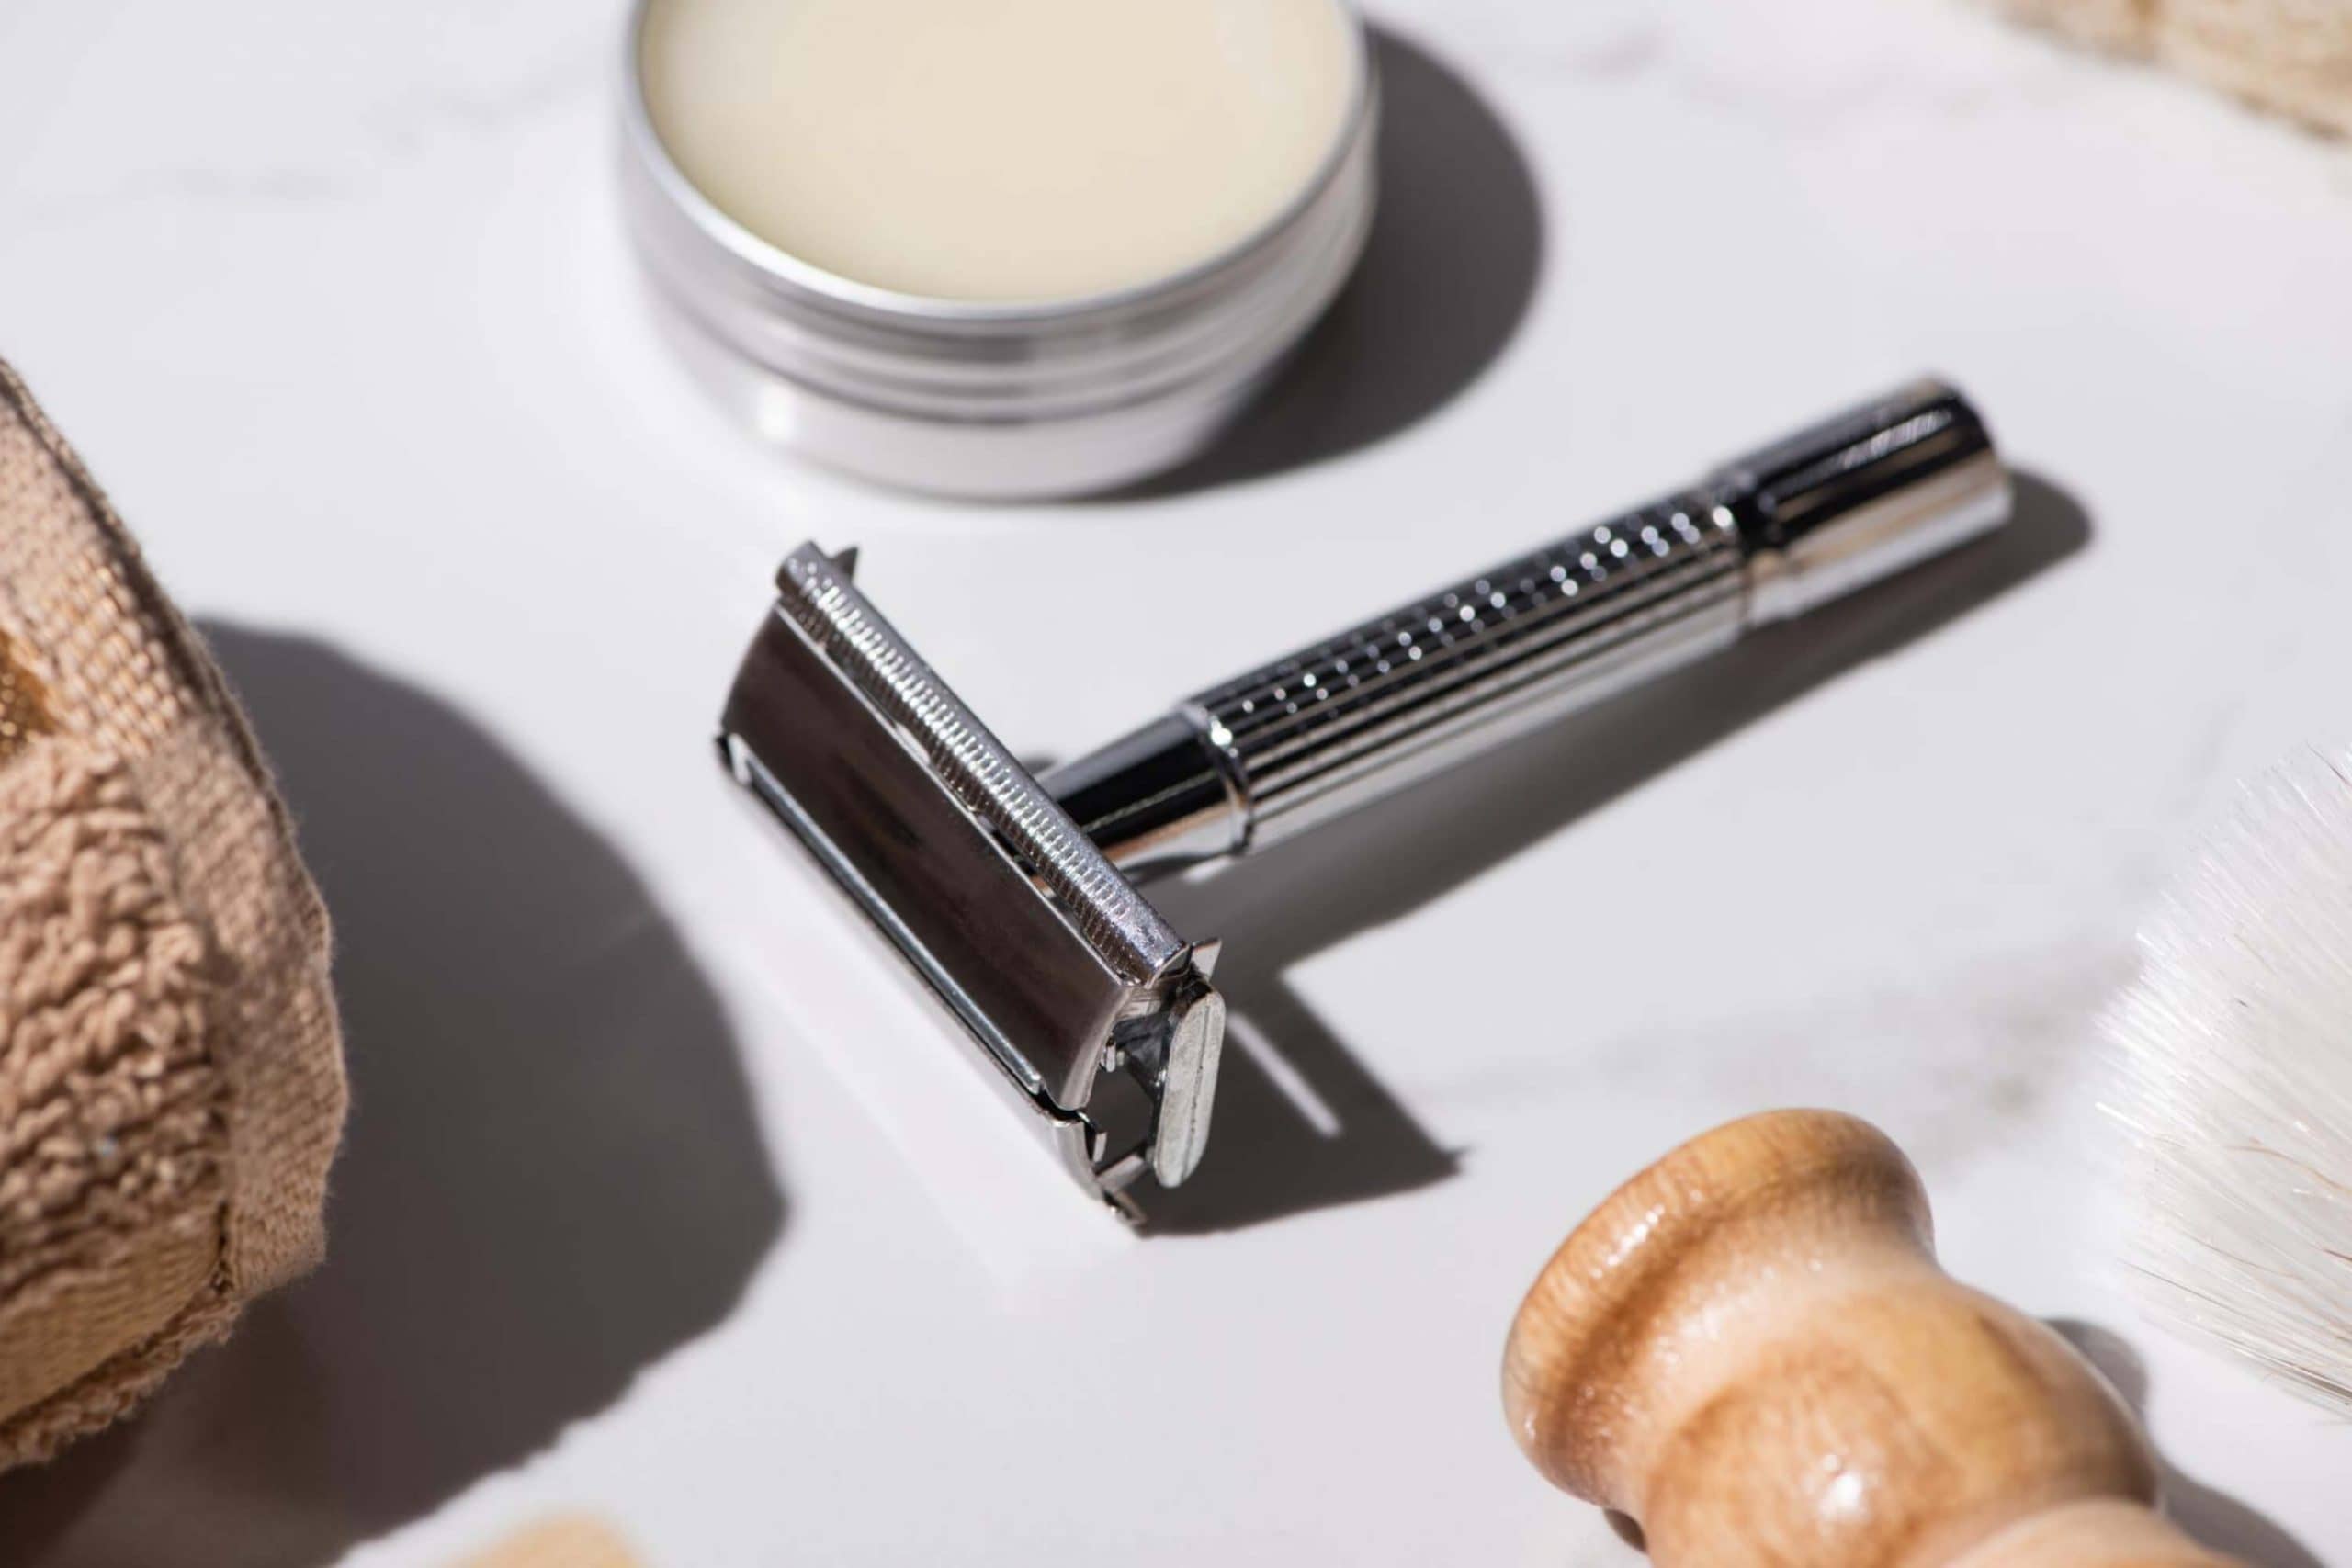
Let the Razor Dry
Finally, after you rinsed your razor and all the buildup was successfully removed, remember to dry the razor. There is no need to rinse the blade after an alcohol soak! Instead, simply shake off the excess alcohol and place the razor on an open surface. Leave it there until dry, which shouldn’t take long.
You probably know that rubbing alcohol evaporates quickly, so your razor will fully dry out much faster.
As you can see, sterilizing your razor is very simple. If you remember to undergo this sterilizing routine on regular basis, at least once a week, you can be sure that your razor is kept safe for you to use.
It is especially important for those of you who use safe or straight razors for shaving.
Extra Tips And Life Hacks For Cleaning Your Blade
Well, you are now aware of quite many tips and life hacks regarding the razor cleaning procedure. In addition, we have told you how to sterilize this tool. However, there is some more information we would like to share with you on this subject.
Washing
Check out a few handy washing recommendations that will help you avoid some common mistakes.
- Hot water will work much better than cold water for loosening dried gunk and buildup between the blades.
- Most of the time, a simple rinse is all you will need to clean your razor blades.
- When washing your razor, keep on tapping and flushing it until there are no particles left on and/or around the blade or blades.
- You can find razor brushes at most pharmacies, supermarkets, or wherever hygiene products are sold.
- An unused toothbrush will also be handy for cleaning between the blades.
Drying
There are some drying tips that you should be aware of if you want to be able to clean your razor correctly and use it longer.
- Prolonged exposure to moisture can cause rust to develop on the blade. So always make it fully dry!
- Water-logged razors can also lead to unsanitary mold growth.
- You can speed up the drying process by dabbing the blade with an absorbent microfiber towel or blasting it with a hairdryer on a low heat setting
Sterilizing
Proper sterilizing of your razor’s blades is the same important as correct cleaning and thorough drying.
- For best results, use rubbing alcohol that is at least 70% pure.
- Distilled white vinegar or hydrogen peroxide can be more than acceptable alternatives if you don’t have any rubbing alcohol on hand.
- Don’t be afraid to soak an entire shaving razor in the rubbing alcohol, vinegar, or hydrogen peroxide solution! This will destroy all the dried gunk around the handle and base of the blades.
Like this, you will be able to clean your razor even more effectively with just a few simple moves.
More About Your Razor Maintenance
To make your razor safe to use and serve you longer, proper and regular maintenance is key. Below you can check out what maintenance suggestions can help you achieve that.
Clean It Regularly
Clean the razor regularly. Make it your habit to rinse your razor blades after each use. This will prevent both your skin and hair particles, as well as soap and shaving foam scum (and other debris) from building up.
Keep It In a Suitable Place
Remember that your razor has to be kept in a clean, dry environment. The best way to store loose razor blades is to keep them in an enclosed case or other similar containers. Make sure that this case can be shut securely and tightly as well!
If you use the razor to shave, you can keep it on a separate base or stand. As an alternative storage option, it can be positioned upright in a cup. Either way, such a position will allow water to drain out of it.
After each use, keep the blade ventilated until it is fully dry, then put it away where it won’t become damaged or cause an accident.
Finally, remember to replace dull or rusty razors in time. How do you know that the razors need to be replaced? Oh, it’s very easy! Just pay attention to how they perform. If you notice that the razors don’t provide a clean cut on the first pass, it is time to replace them.
Also, if you experience any pulling, friction, or irritation while shaving, it is another sign that it is time to get rid of them. A good rule of thumb is to throw out your old razors every couple of weeks and stock up on new blades or cartridges (depending on what type of razor you use).

Conclusion
Well, now you are totally informed about how to get the hair out of your razor, and how to remove other gunk and buildup that might be stuck between the blades. In addition, now you know how to correctly wash your razor and how it should be sterilized.
Finally, with the storage tips that we shared with you, you will be able to keep your razors always in ideal conditions, safe, and ready to use.
[wp-faq-schema title=”Frequently Asked Questions”]
Hi! I need your help. See, I noticed that my razors get dull way too fast. Is there a way to keep them sharp longer?
Hello! Well, you can try and clena them with rubbing alcohol, even ifyou previously washed it. Alcohol will remove water and prevent rust, and thus prevent dulling.
Does anyone know how soon a razor gets dull? Mine doesn’t have the strips that fade when it’s time to replace the cartridge, so I don’t know whether it’s still ok.
Well, you can feel it when you’e using it. But usually, A razor usually goes dull after 5-7 shaves. I advise you make sure you replace your razor head to ensure that you do not get nicks and cuts.
Hi Thanks for such a useful information! hair in razors is my constant trouble… Could you please also explain how to get hair out of a disposable razor?
Hi! Cleaning a disposable razor is very simple! You just need to rinse it under cold running water. No soap or detergents are needed! If your razor has hair that clogged it, simply immerse its blades in warm water to soften the blockage, shaking the cartridge gently until all hair is removed.
How to get hair out of electric razor so that I don’t damage the blades?
It depends on whether your razor tolerates water. If it does, you can clean it by washing. But if it cannot get wet, simply use a dry brush to clean those hairs out. You can also use compressed air to blast out trapped hair. And after you clean it, use a Q-tip with a little rubbing alcohol to sanitize the blades or foils.
Hi! I’m here to ask a question. Does anyone know how to stop hair getting stuck in razor? It’s so bothersome to clean those hairs out each time I use the razor!
What I figured out is that to help prevent your multi-blade razor from clogging, you need to ensure you are using a water shaving oil, gel or foam. This product won’t create a buildup that’s hard to clean out. Busoluble t as far as I know, you’ll still have to rinse your razor now and then unless it has a self-cleaning option!