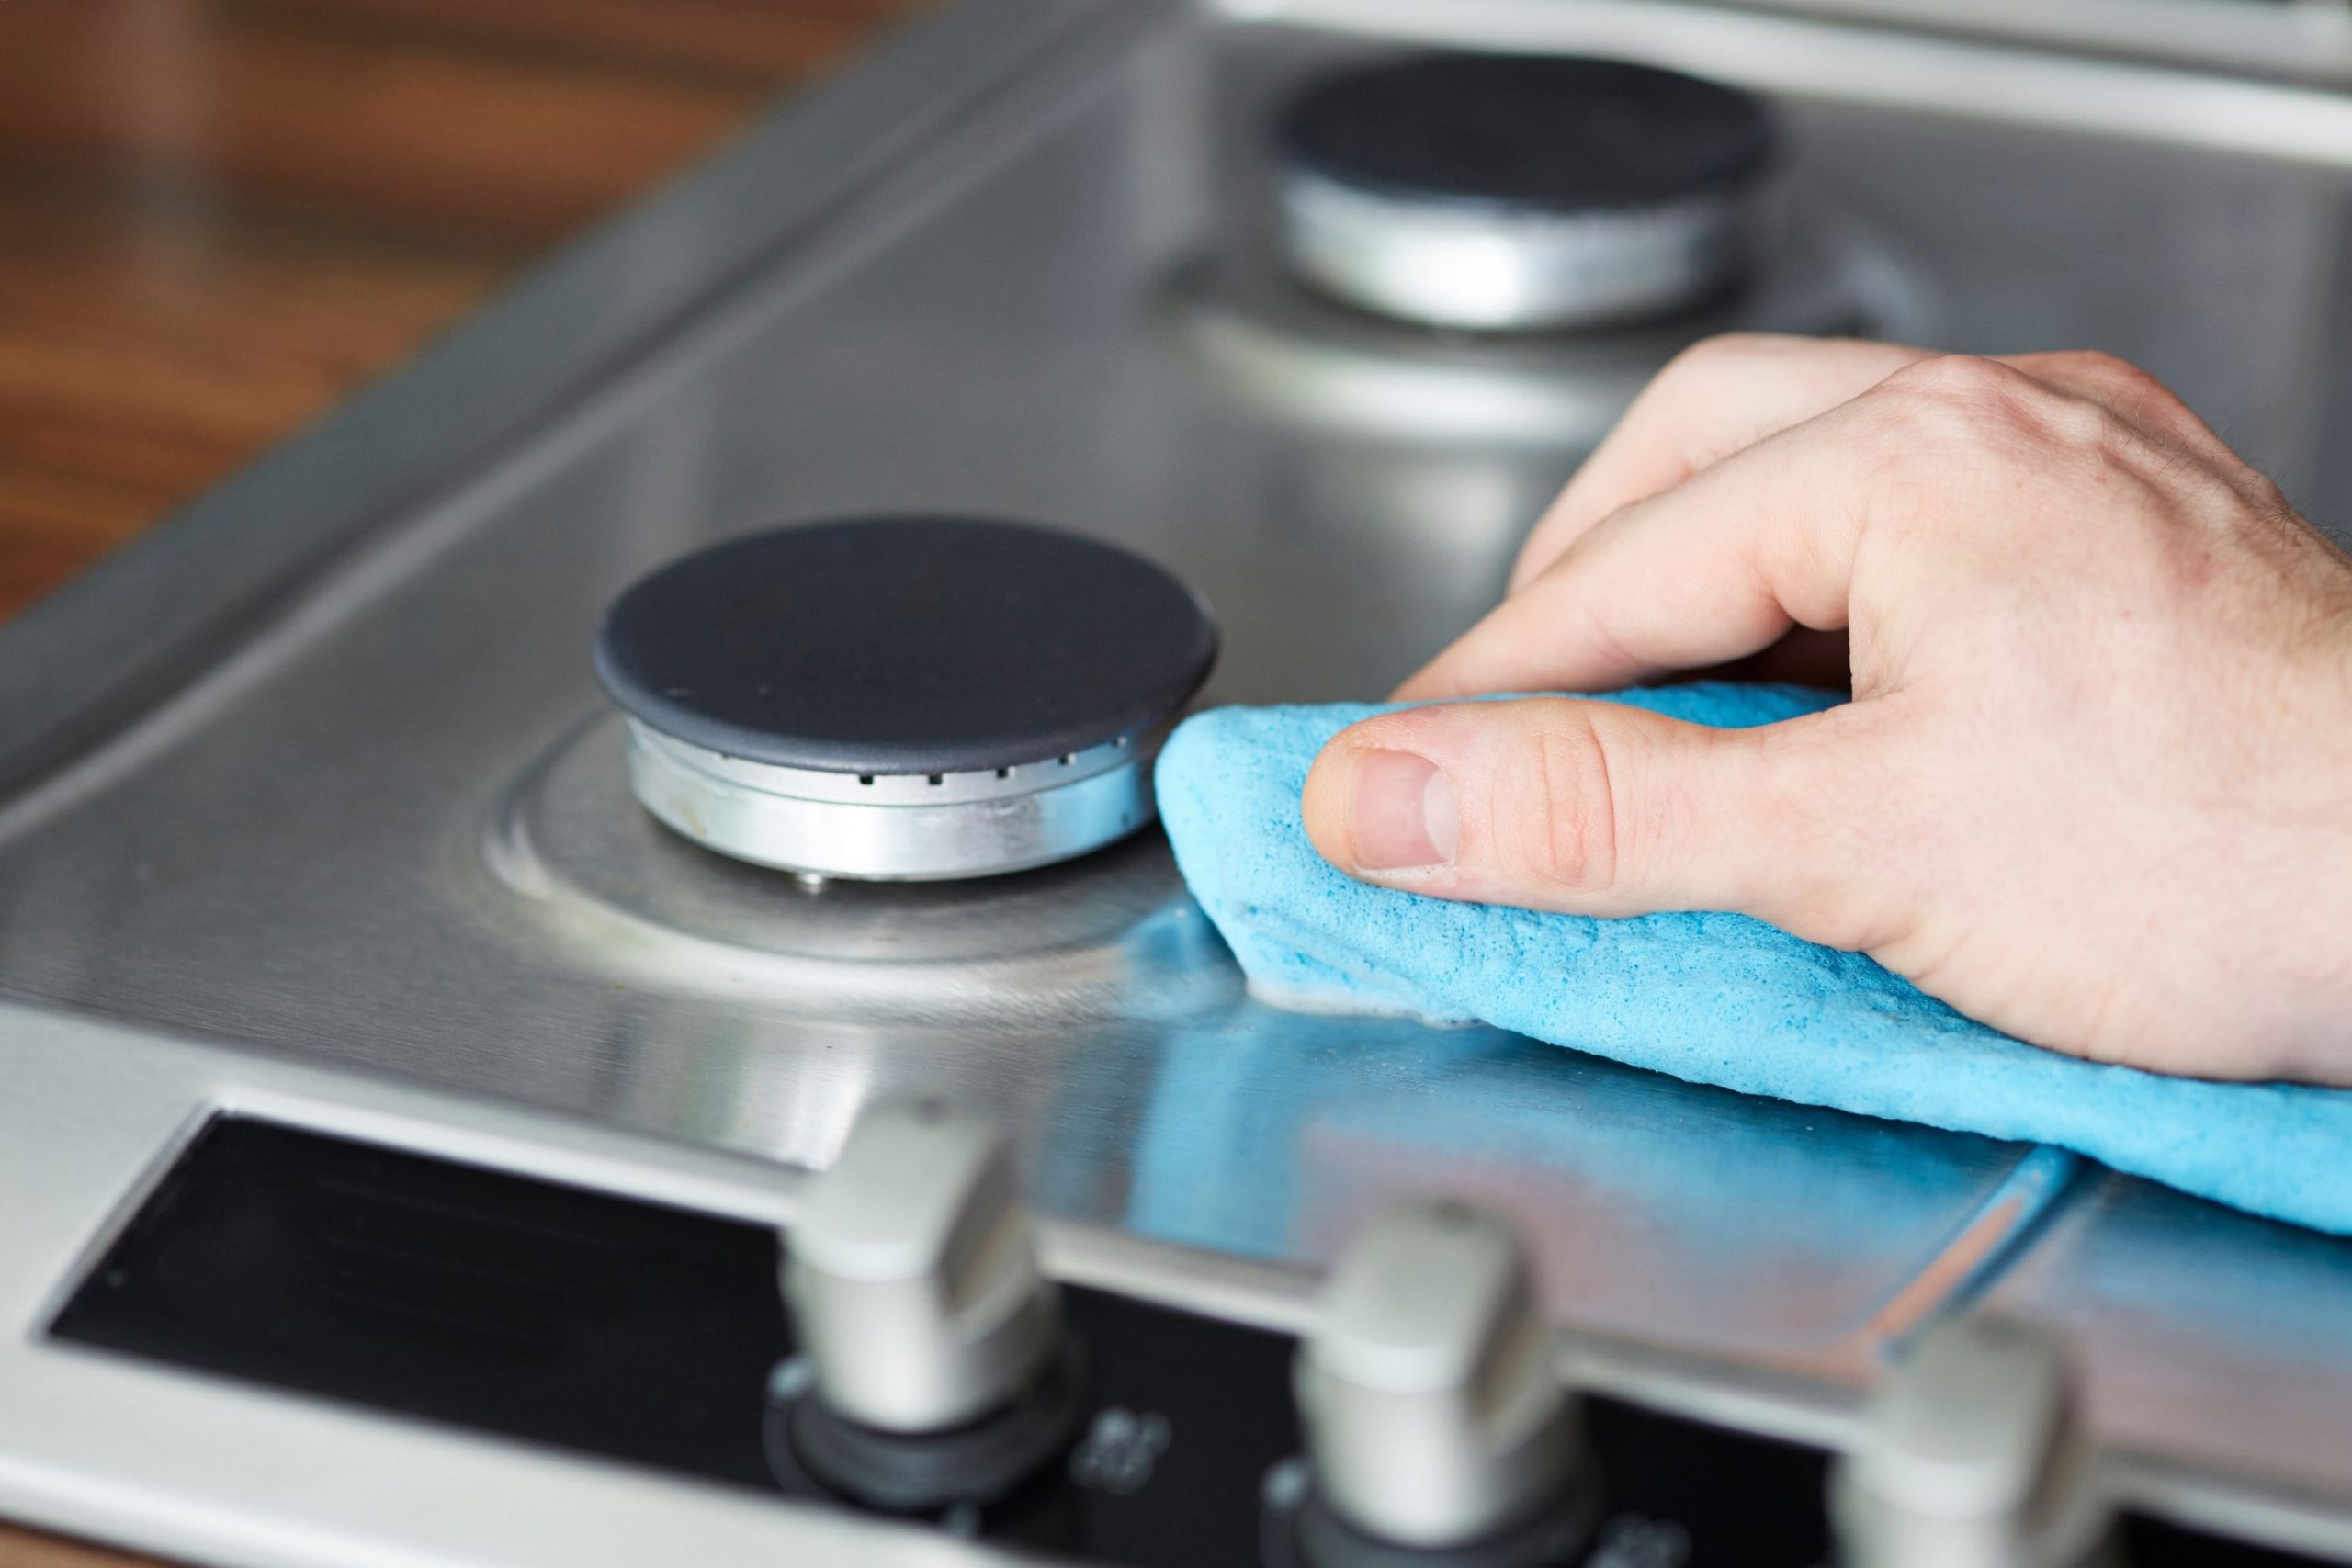
Like any appliances that use combustion, your pilot light can one day become clogged up with carbon residue and/or soot. This is why it is recommended to clean it periodically to keep it in a proper working state.
Have you ever noticed that the pilot light of your fireplace, thermostat, or water heater won’t stay lit? The reason might be the clogged or dirty pilot light! That is why it is important that you clean it up once a year at least. Like this, you will prevent it from getting excessively dirty.
In its turn, a properly cleaned pilot light is a guarantee of your gas appliances long service and safety because dirty or clogged pilots may become a cause of a dangerous gas leaking into your home! And of course, they can cause your gas appliances not working at all.
So today we will share a few tips with you on how to clean your pilot light properly without professional help. Don’t worry, it is not difficult at all!
How to Clean a Pilot Light. Tips And Recommendations
You might think that cleaning your pilot light is something difficult that only a professional can cope with, but in fact, anyone can do this. You just need some time and a few tools that will be used during the procedure.
So before you proceed and clean your pilot light, make sure you have prepared all the tools that you will need for undergoing this procedure.
- wire brush
- metal file
- pliers or wrench
- cloth or compressed air
Have you found everything from this list? Great! Then, it means that you are ready to move on and continue with the cleaning.
Now that you are fully equipped, you will have to undergo a series of simple actions that will lead to a clean and well working pilot light on any gas appliance you are about to clean.
Related: How Big Should Pilot Light Be on Gas Fireplace?
Turn the Gas Off
This is the most important, we would say, vitally important part of all the process! Before you start cleaning your pilot light, make sure that the gas valve is turned off! Spot the gas valve near the furnace and turn it off.
Related: How to Turn Off Pilot Light?
Then wait for at least five minutes before moving on to the next stage. This way, you will make sure that the gas escapes the pipe completely and it burns out in the pilot light.
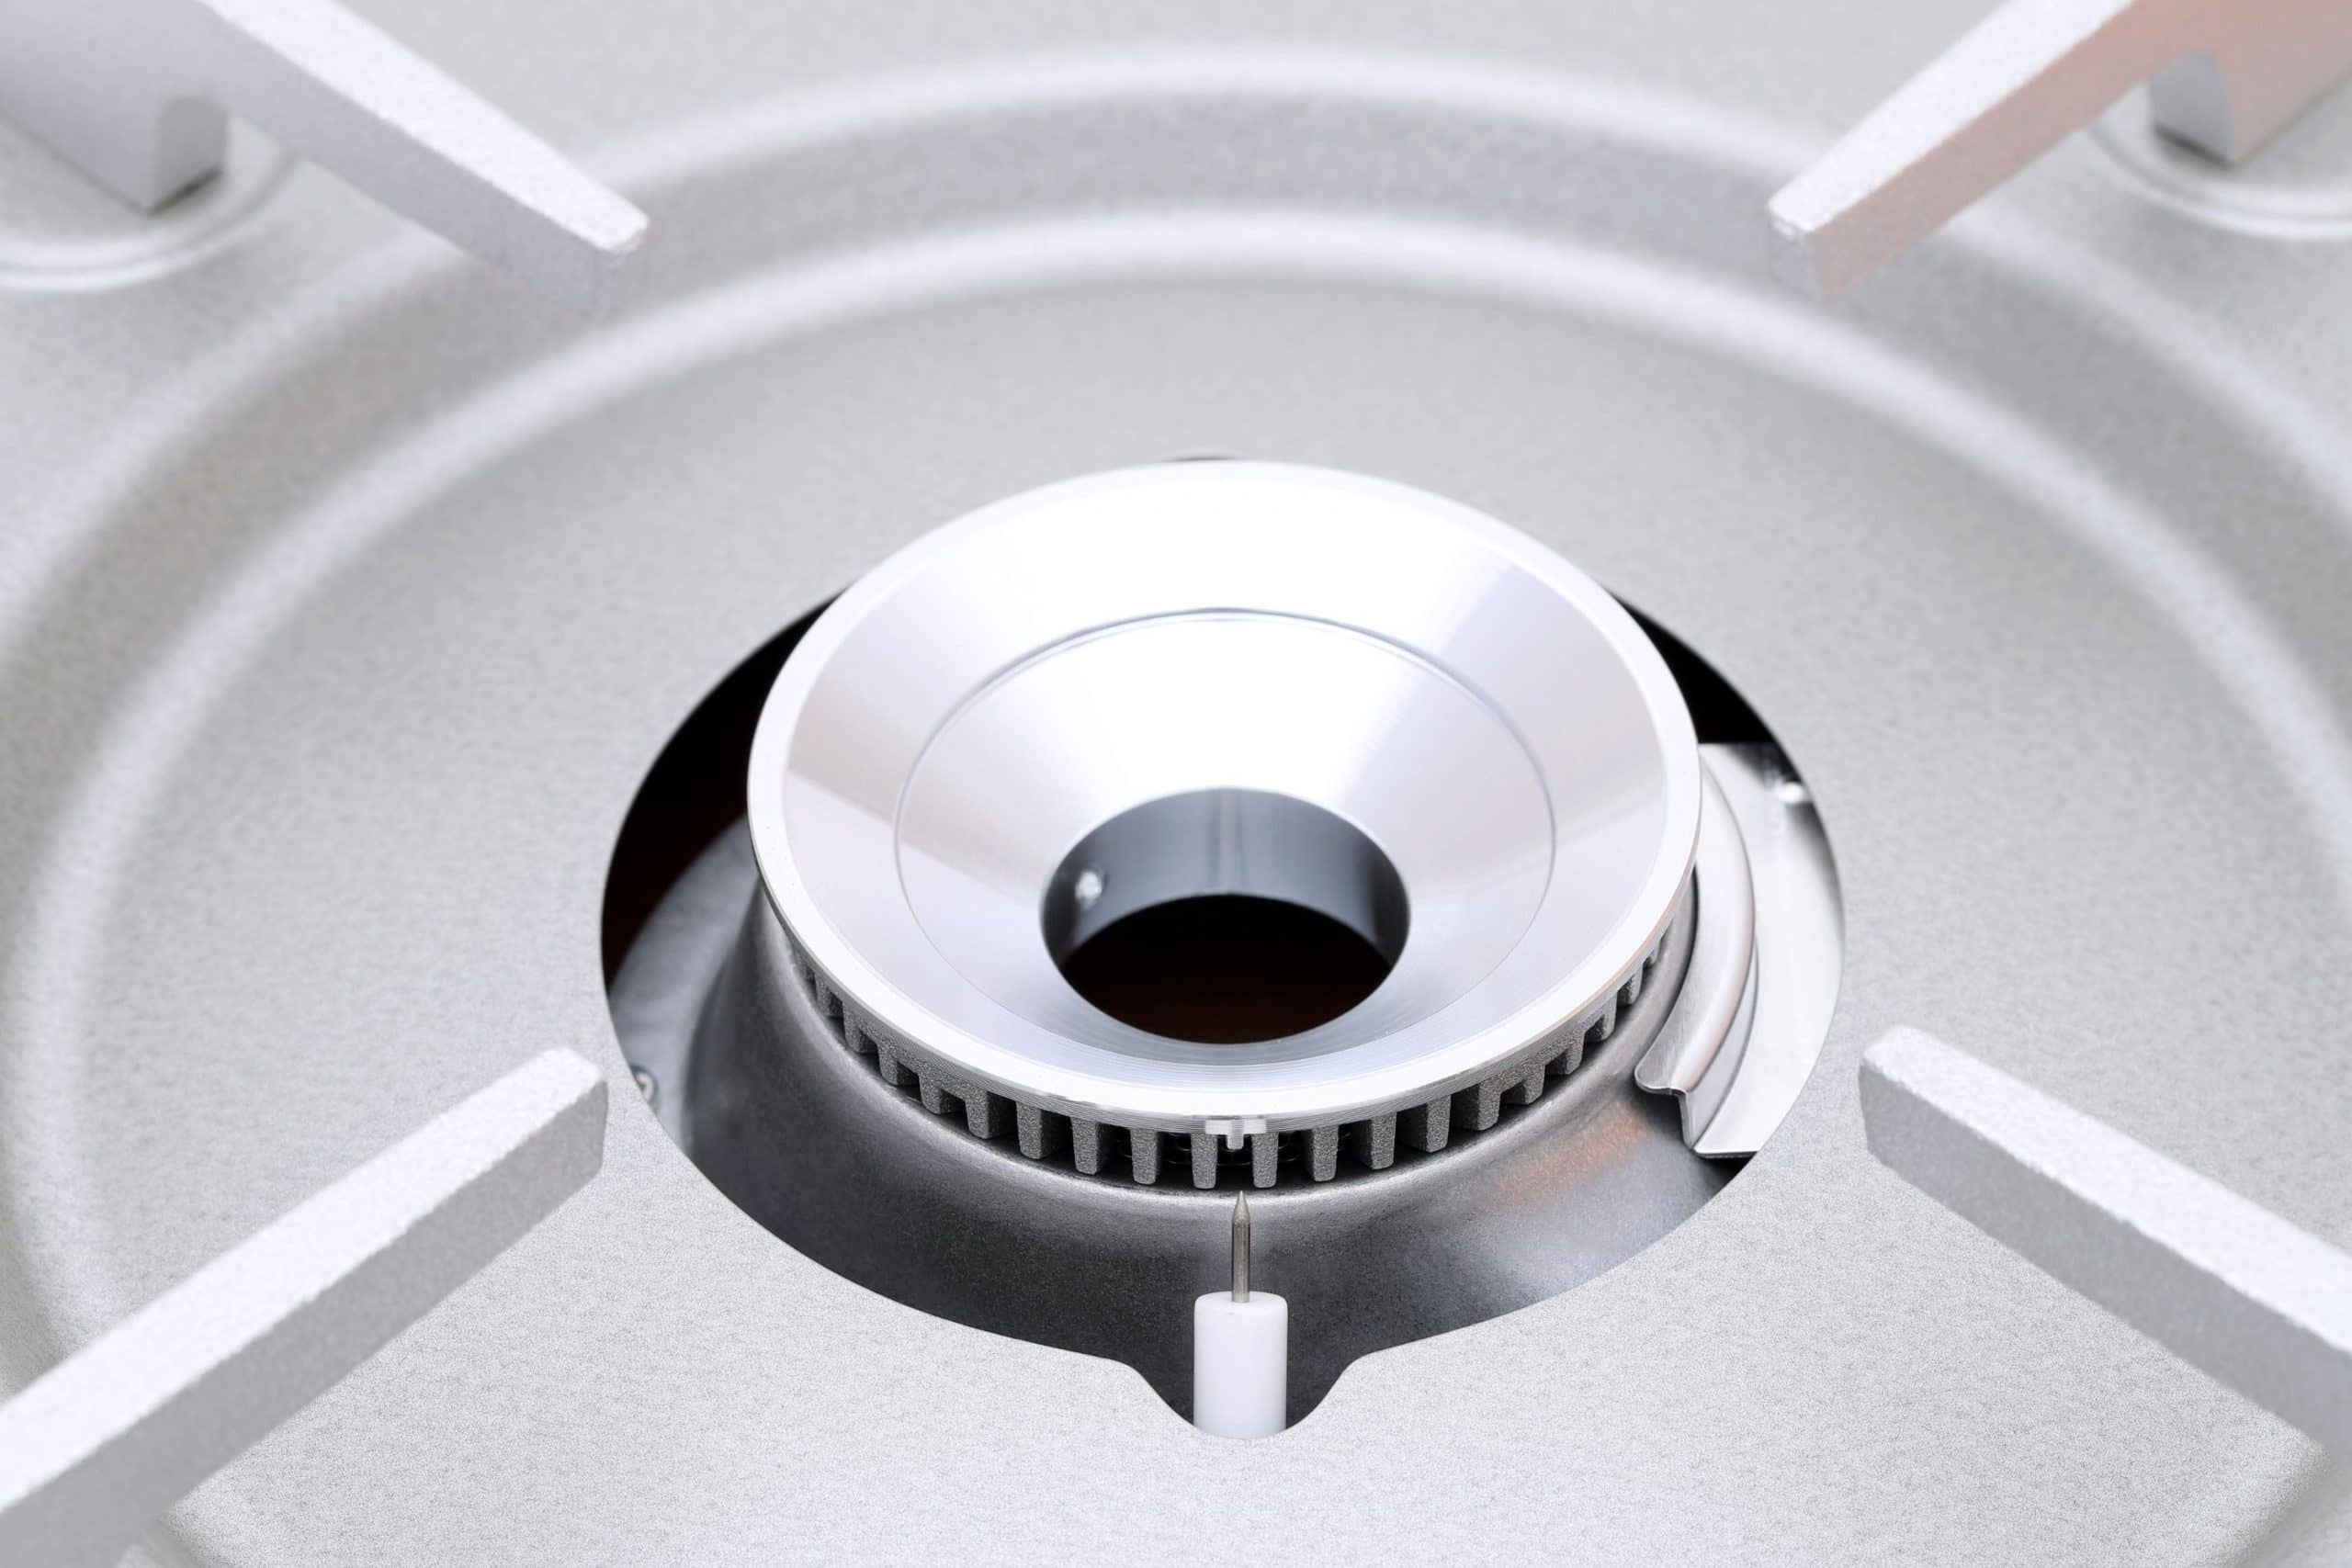
Access the Pilot Light
Now, it is the turn of your pilot light actually. Depending on the type of the pilot light you are working with, it may or it may not be possible for you to remove it for further cleaning.
Either way, even before you start working with it, it is important that you locate it. You might need to try and look at the owner’s manual or look up the model number online in case you can not figure out yourself where it is located.
Anyway, try to look at the appliance for a while first.
One the pilot light is found, try to figure out whether it can be easily removed. And again, you can define that from either your owner’s manual or by searching for the answer on the internet in case you are not quite certain.
However, you should always keep in mind that fireplace pilot lights, as well as thermocouples, must always be removed by a professional! On the other hand, if you are dealing with the furnace pilot light, it can be easily removed on your own.
Just take off the bracket that is holding the pilot light and thermocouple in place, and loosen the nuts holding the two in place with the help of a wrench.
In some appliances, it may not be possible for you to remove these pieces completely. However, you can still remove the supply line, and this should be done before cleaning begins!
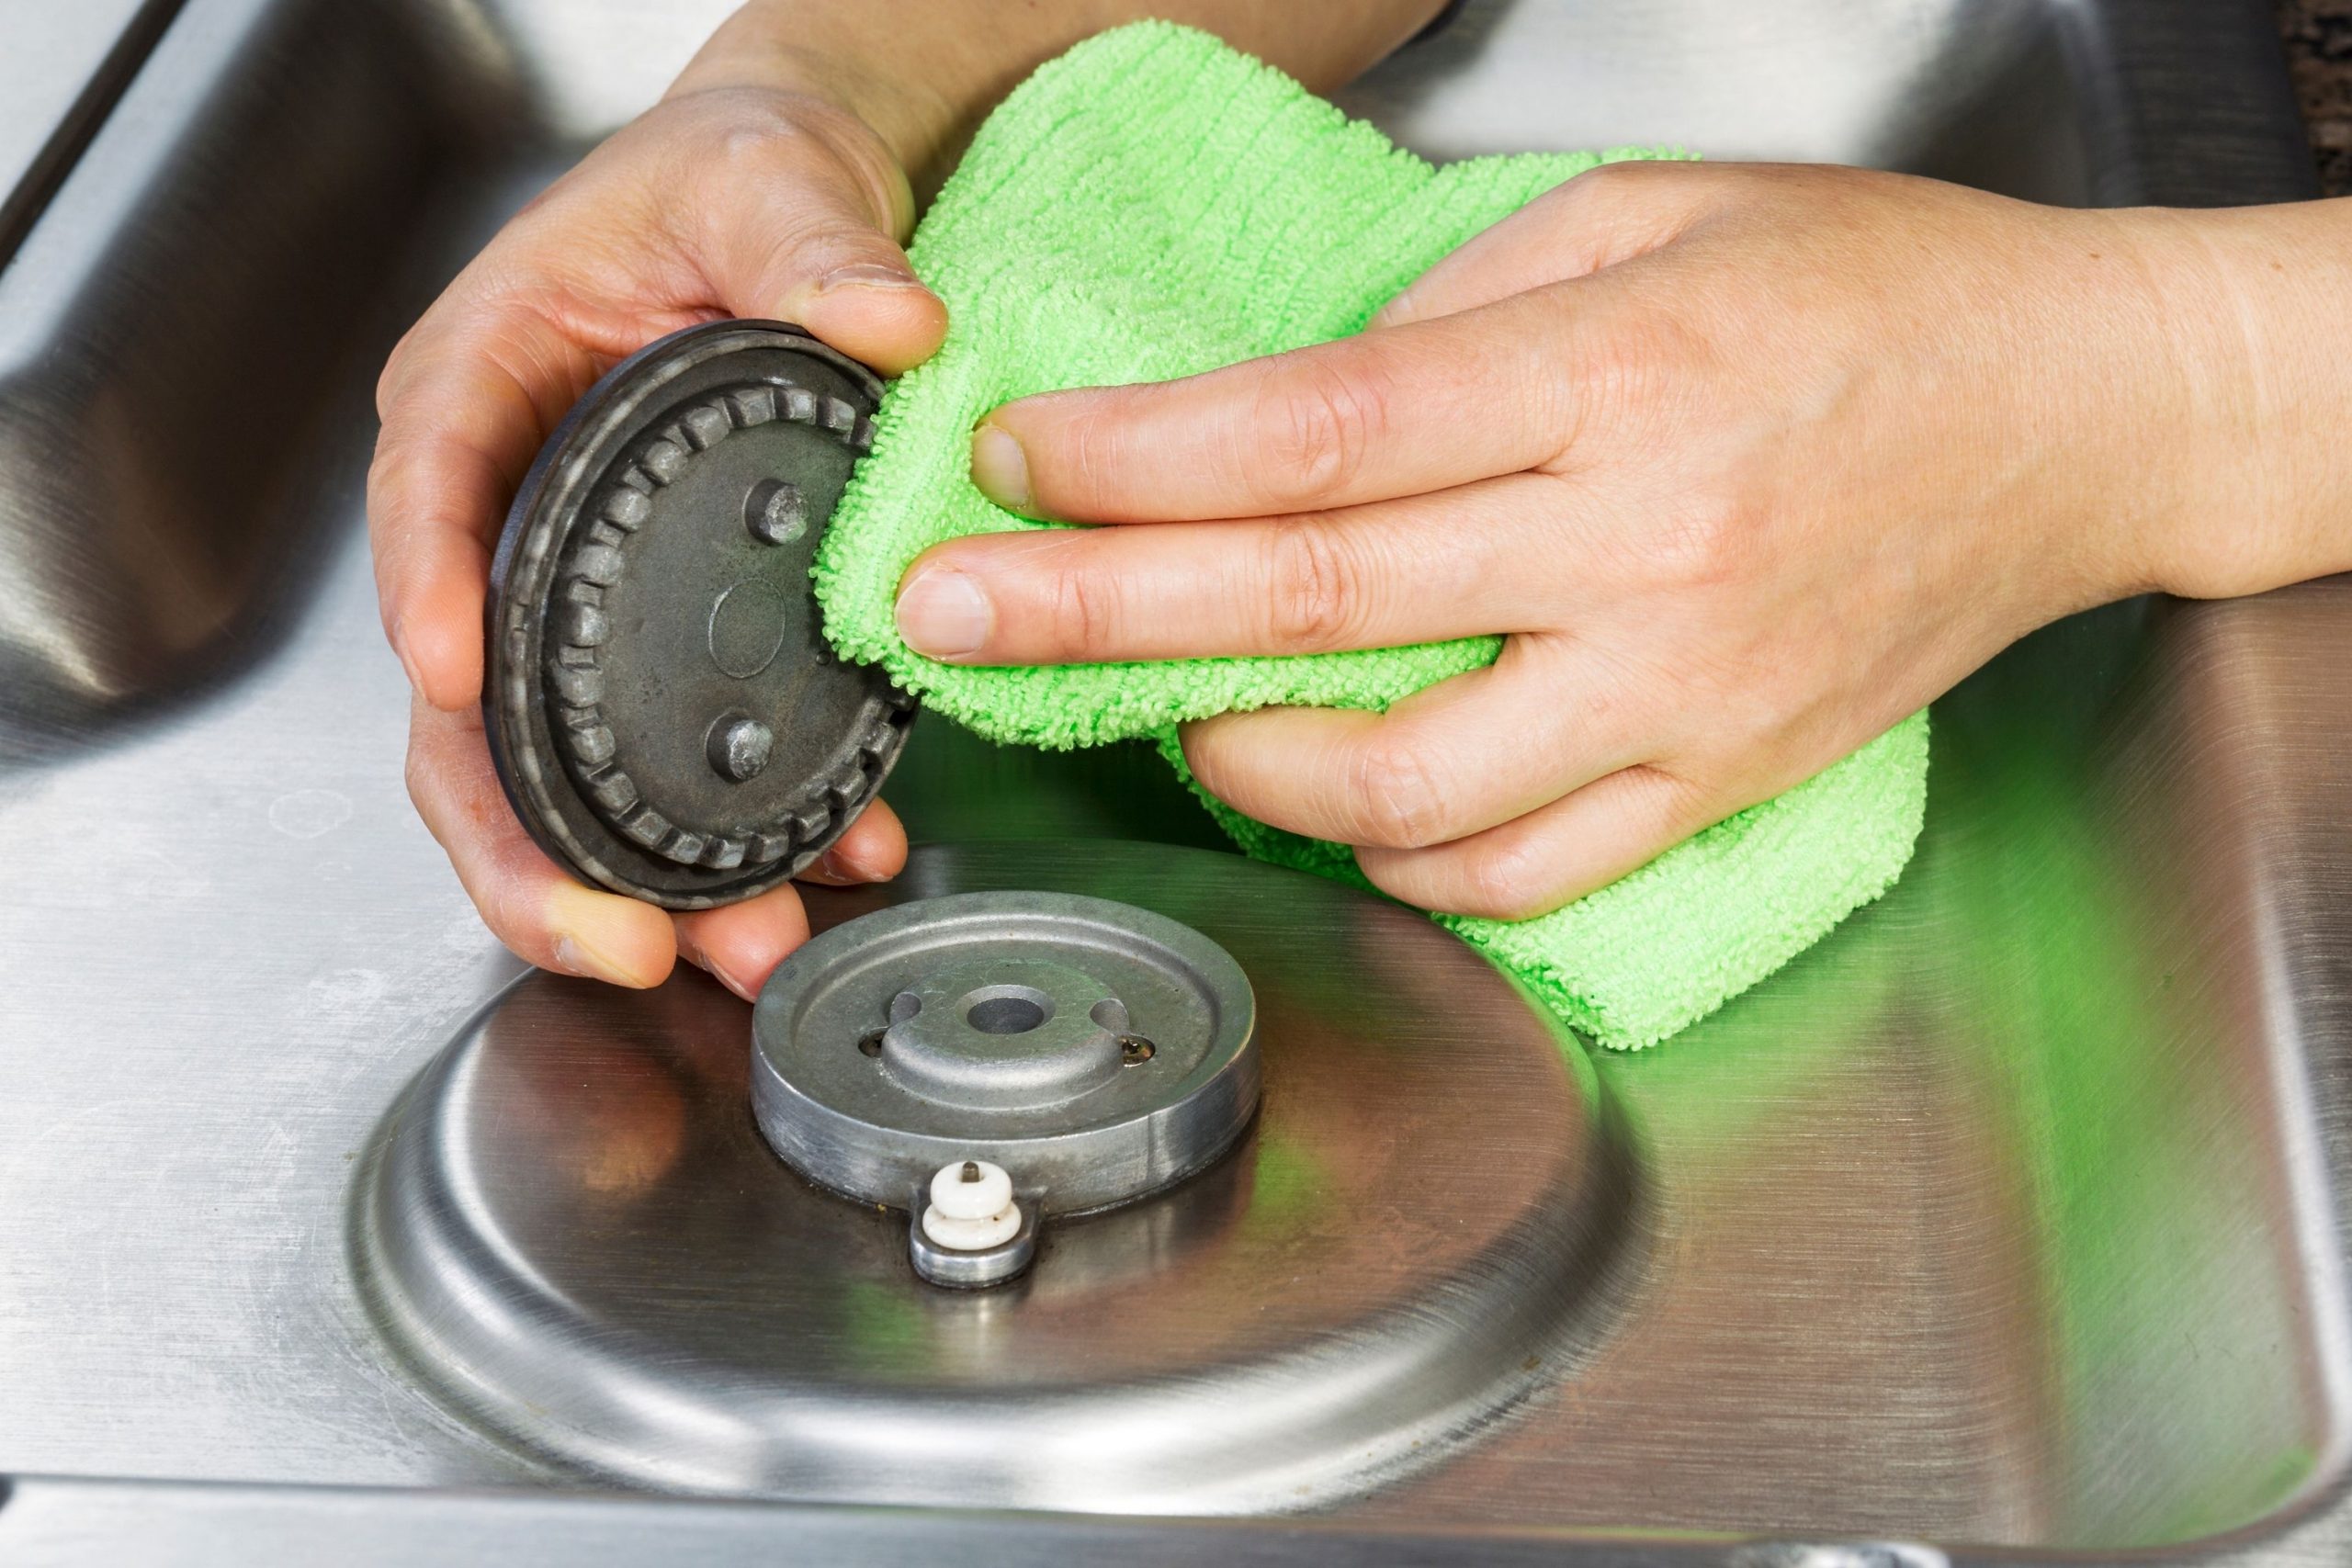
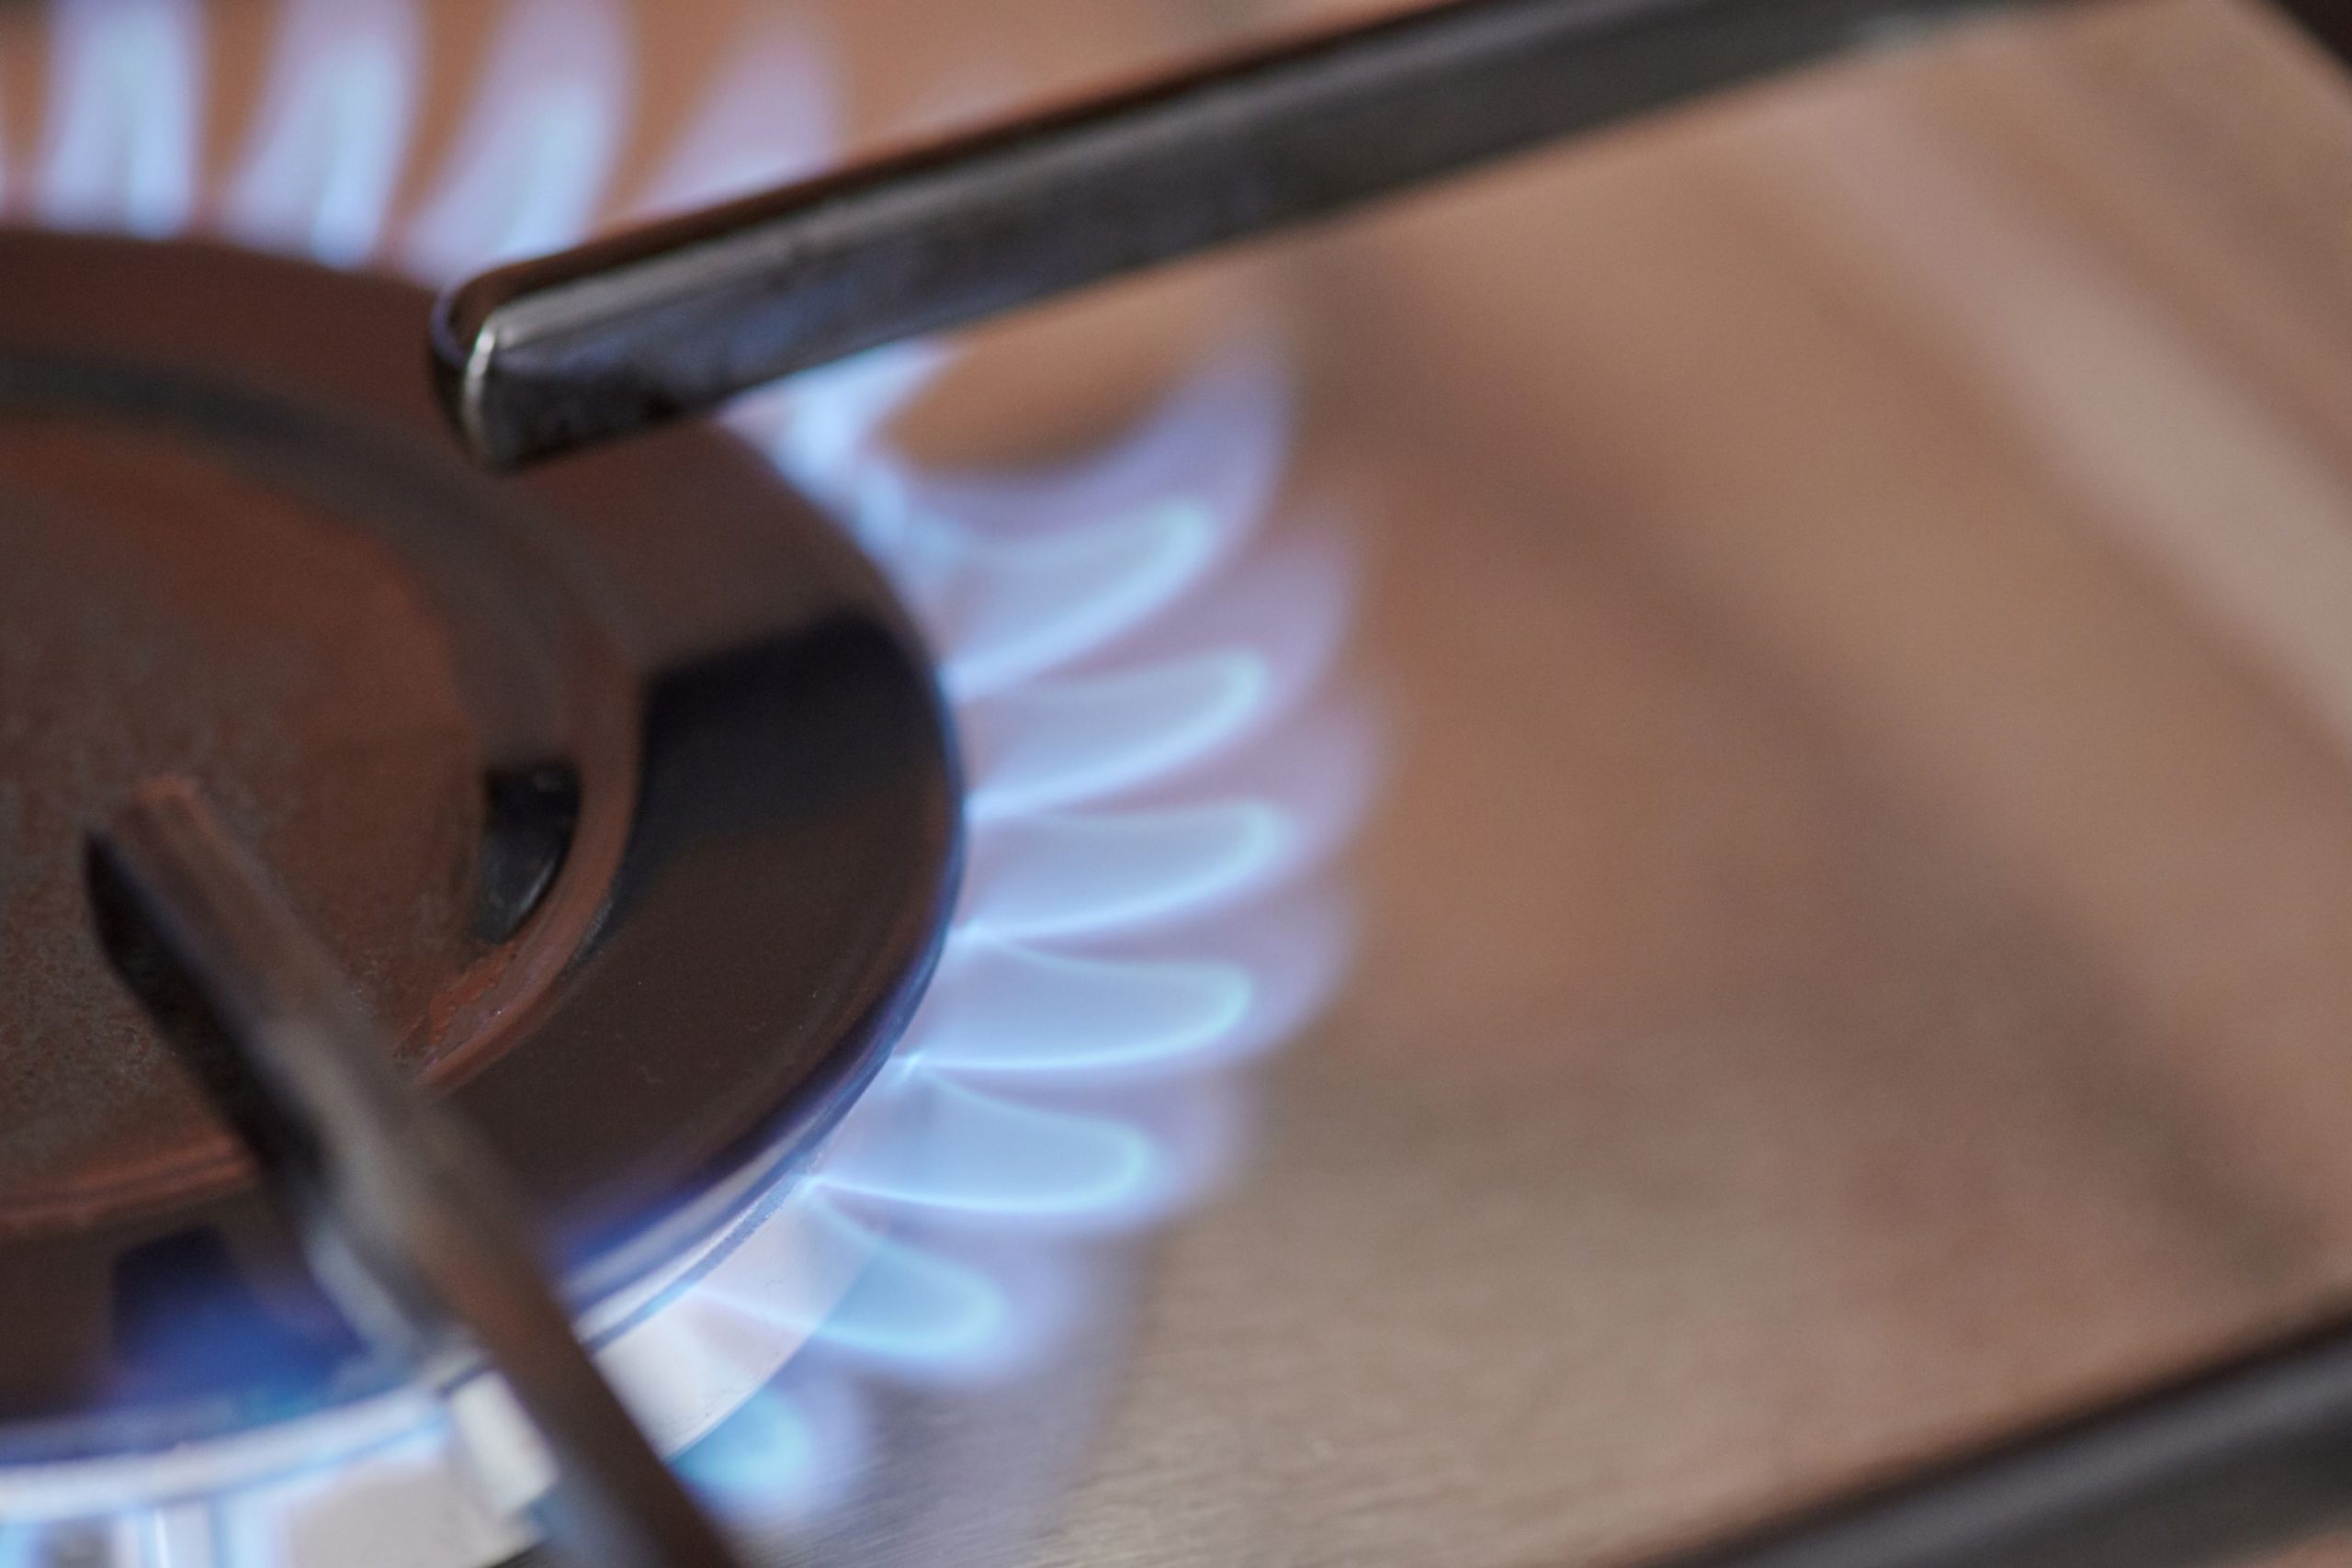
Clean Your Pilot Light
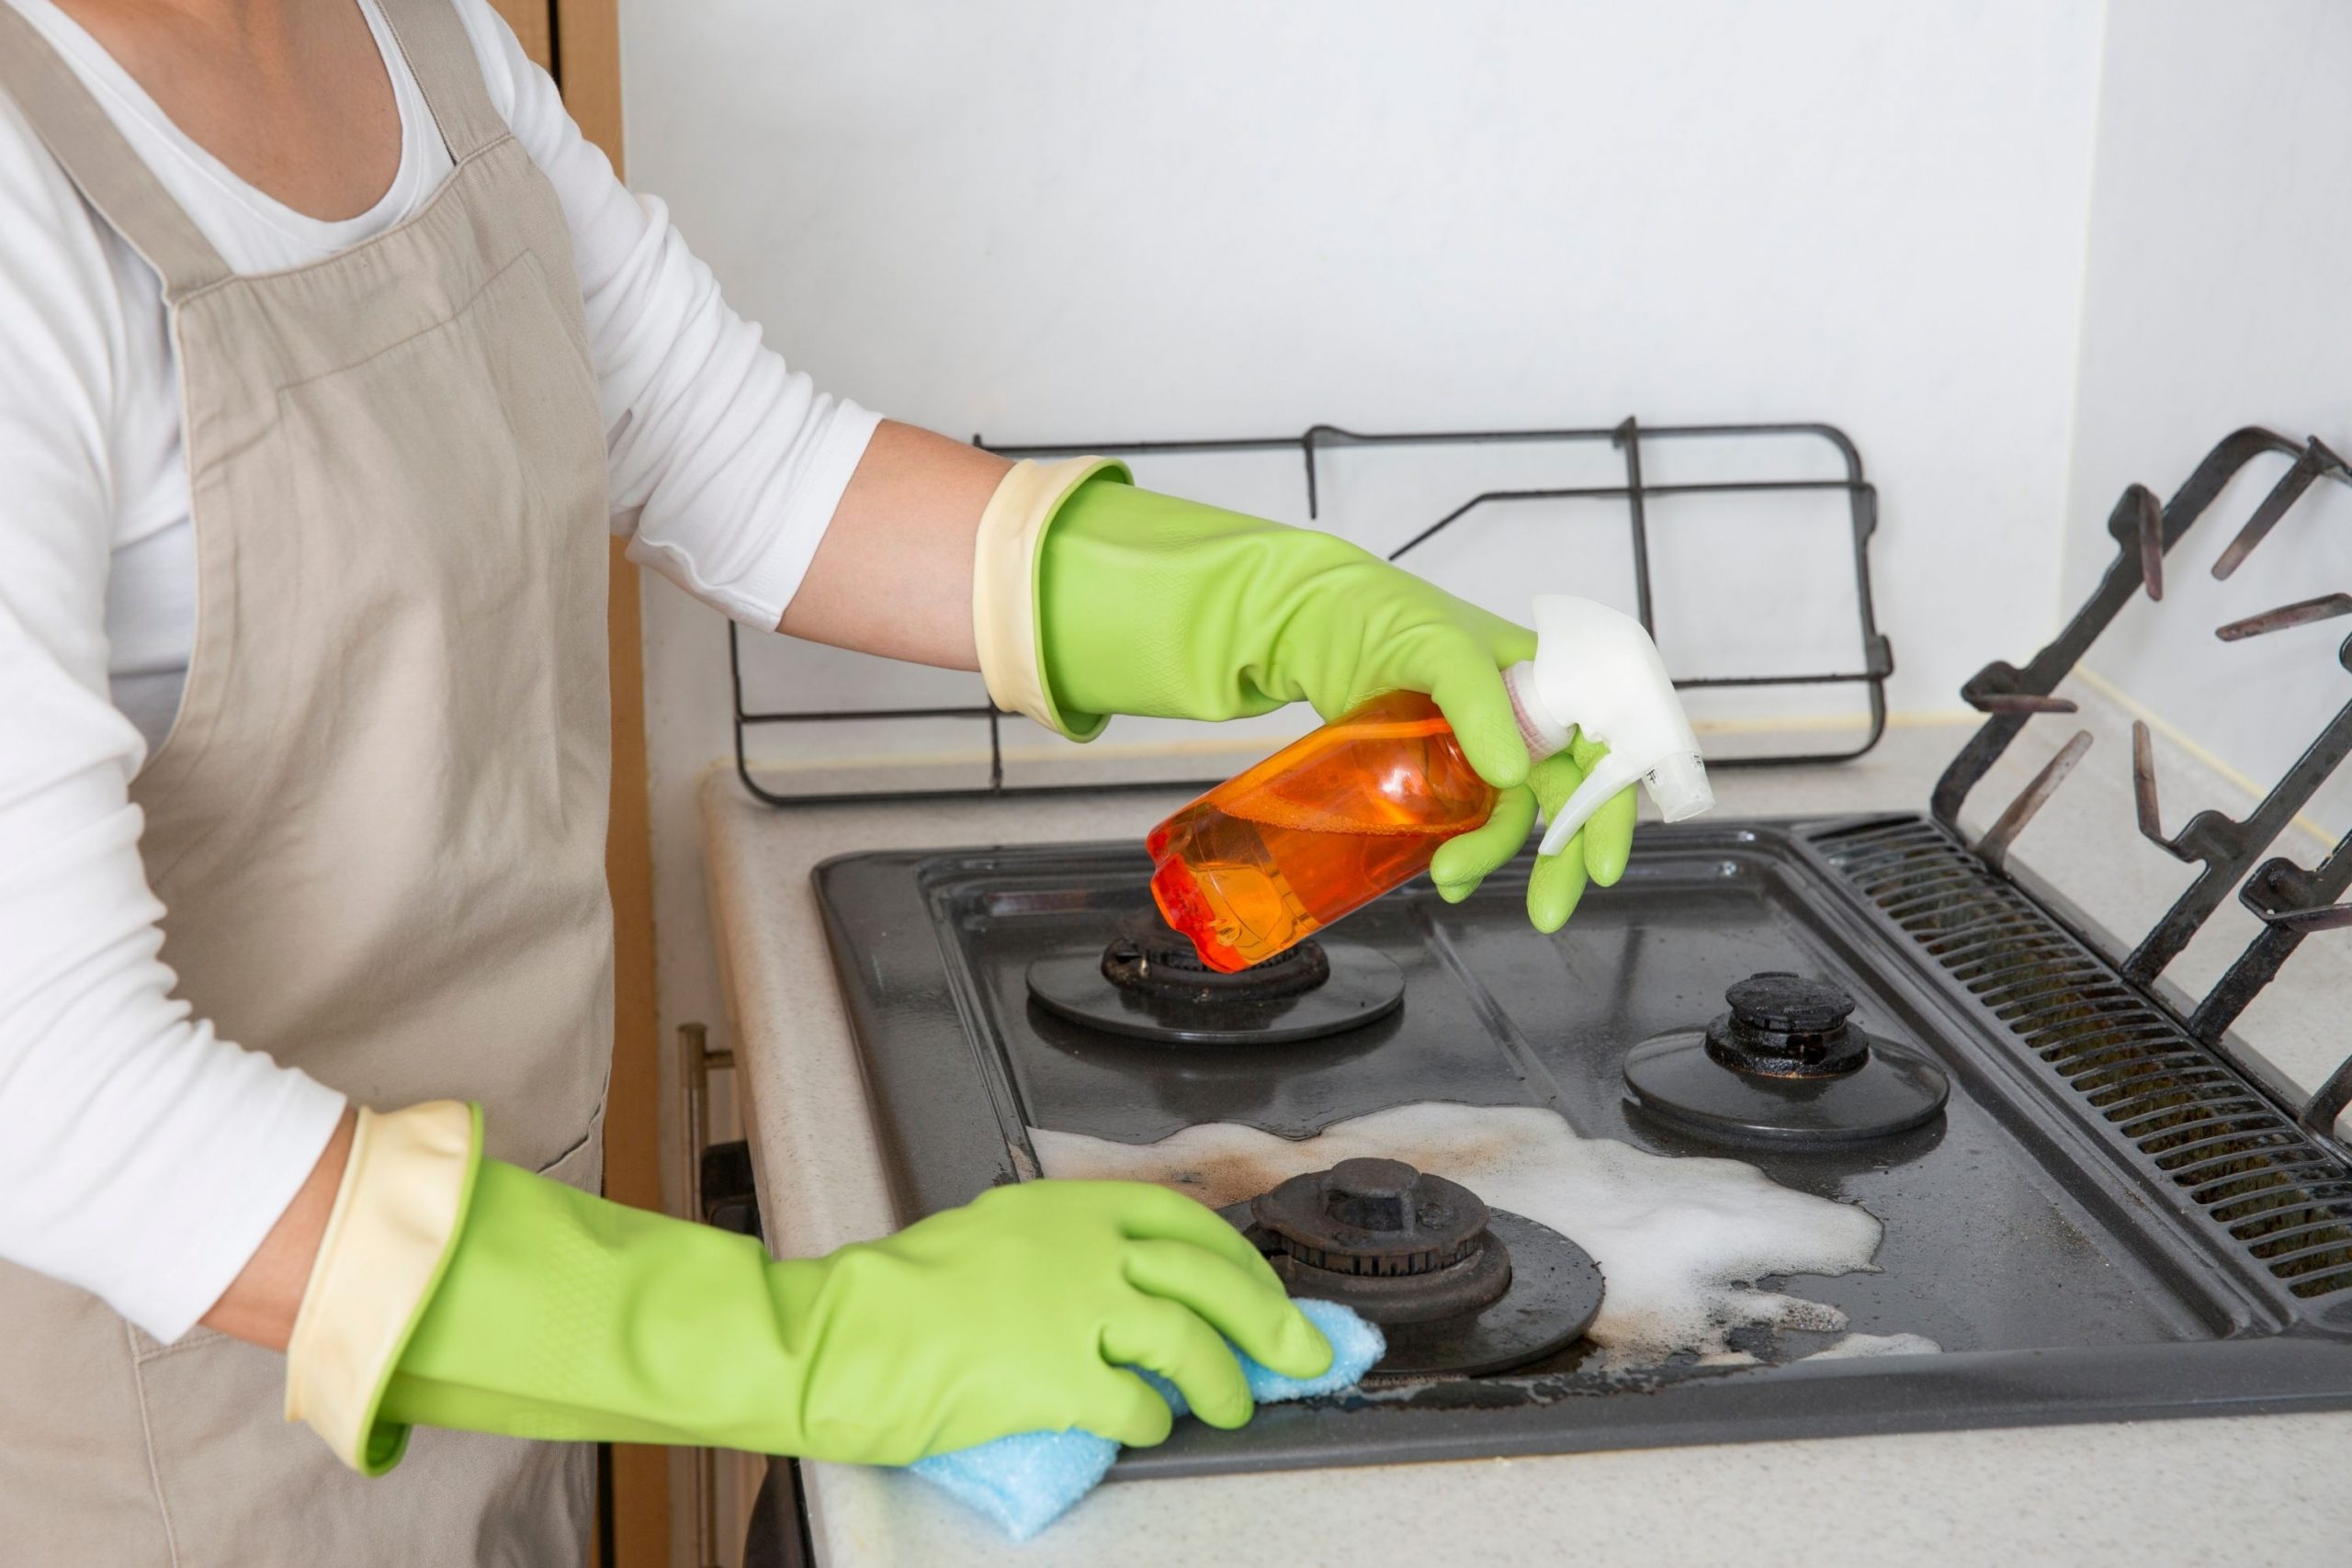
Finally, here is the most essential part of the whole process. Cleaning your pilot light. Whether you managed to remove it or not, you would still want to clean it. For this purpose, make use of a wire brush or a scrub to get rid of the carbon buildup and soot.
When going to clean its tip, you may remember that some say it is better to use a wire brush whilst others recommend to avoid it since it is way too harsh.
Anyway, rely on your best judgement and do care to make sure that your actions will not damage or break the pilot light! You want to clean it, not to ruin it!
However, if you do dent or bend it by accident, you’d better call a professional to evaluate the problem.
As for the thermocouple, it is less delicate in comparison to the pilot light, so feel free to clean it with the use of a wire brush.
And if you can see any debris that is especially difficult to remove, try to use a metal file delicately to get rid of that. And should you damage your thermocouple, you still have to call a professional.
After the cleaning part is over, and all the debris, residue, and clogs are removed, proceed with using canned air or an air compressor.
Apply it to blow inside the pilot light and thermocouple so that you could remove all the soot that could not be reached with the brush from the outside.
Finally, put the pilot light and thermocouple back to where they belong if you managed to remove them, and reattach the supply line in case it was disconnected.
Once everything is cleaned and properly connected back as it should be, turn the gas back on and relight the pilot light following the manufacturer’s instructions precisely (this process will vary depending on the type of appliance, its age, and also its model).
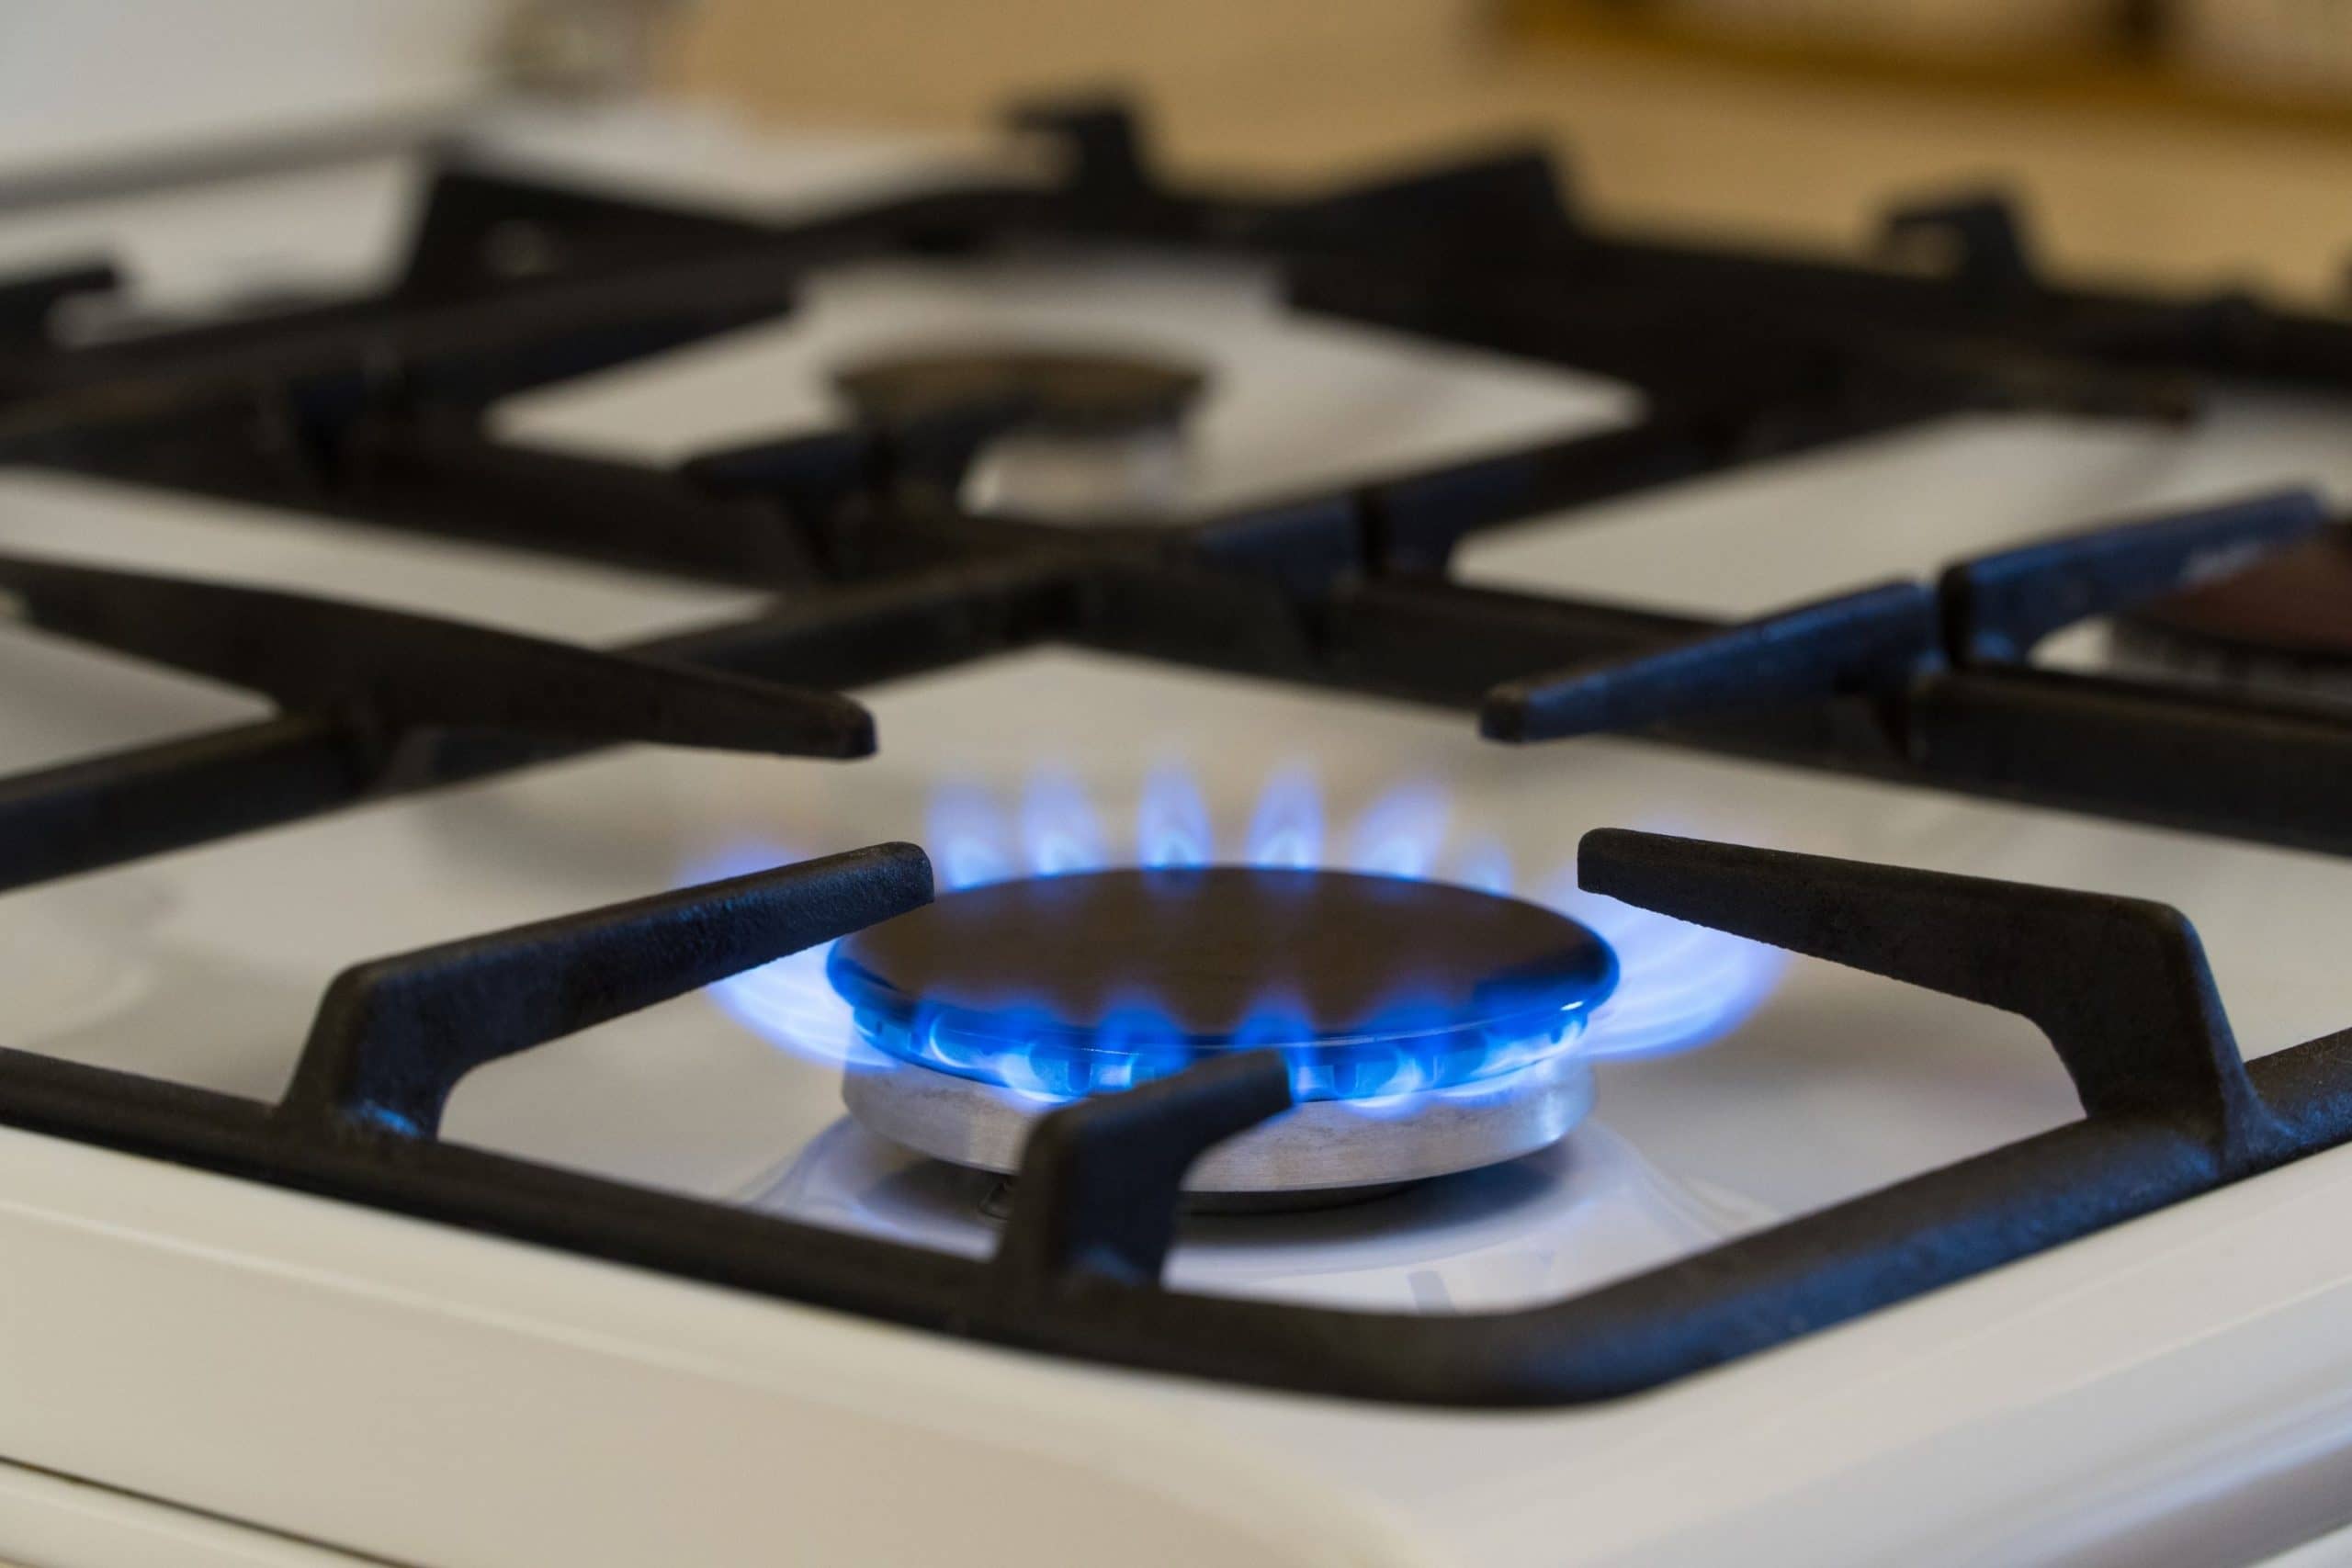
When your cleaned pilot light is relit, it must be burning with a blue or blue and white flame (it will depend on the gas type).
In case you see that more than just a tip of the flame is yellow, try to adjust the fuel feeds. But if you still see that the flame is of the wrong color, or if you have problems with lighting the furnace, you’d better turn the gas off and call a professional to arrive and examine the appliance.
The same must be done if you sense the smell of gas.
This is the basic instruction on how to clean a pilot light on different gas appliances. So if you were wondering how to clean a pilot light on a gas heater, or how to clean a pilot light on a gas fireplace, feel free to use this guideline.
Tips For Maintaining Your Pilot Light And Keeping It Healthy
Even though your pilot light must be checked annually at least once a year, it is good to know what could be the signs of its malfunctioning. And if you also know how to fix those, you can be sure that your pilot light will hardly ever cause you problems.
So to be able to figure out how your pilot light is doing, check out the following check-up questions:
- How does the pilot light tip look?
- Do you have sufficient gas?
- How is the thermocouple working?
- What color is the flame?
Now, let’s start from the beginning. The tip of your pilot light may have a tendency for clogging and developing residue and buildup that will block the gas flow. This is why always check your pilot light tip every six months and clean it if needed.
Related: Why Does My Pilot Light Keep Going Out? Ultimate Guide

If your pilot light does not stay lit long, the cause might be in the improper gas supply. What can be done to it?
Check the gas in your reservoir to see what pressure the gauge shows. And also, check the tubing since there might be kinks that prevent the gas from flowing smoothly.
As for the thermocouple, it works alongside the pilot light and it is used for determining whether it’s hot enough to trigger the gas to bring ignition.
However, if for some reason the thermocouple ends up being bent and it bends too far away from the pilot light, then the pilot light’s heat will not register.
Make sure that the flame is always close enough to feel the heat. Ideally, it should be lightly touching the thermocouple.
Finally, a healthy pilot light will be bright blue. If you see it is more of yellow or orange, there is definitely a problem!
So, now you know the basics of cleaning the pilot light on your own.
Also, we told you how to make sure it is working properly. Use this information to keep your pilot in a proper condition, and remember that any serious gas problems must be solved by a professional!
[wp-faq-schema title=”Frequently Asked Questions”]
How much does it cost to clean a gas fireplace and a pilot light? I know it must be done at least once a year so the sum of money should not be enormous. But still, could anyone tell me at least the approximate price?
Well, I remember I paid around 150 dollars last year. See, I’m too lazy to clean it myself, and besides, I don’t feel much confident about dealing with gas appliances, so I decided that I’d better pay a professional so that he could do the job instead of messing with the gas fireplace on my own!
Shall I leave my pilot light on all year round? I don’t think it will make my energy bills rise significantly, but still, how necessary is it to keep it burning?
I’d say it is not mandatory. I mean, you would want to turn it off seasonally because it does save quite a lot of money and energy, believe me! I once turned my gas fireplace pilot light off for the summer, and I was surprised at how much we saved that year on energy.