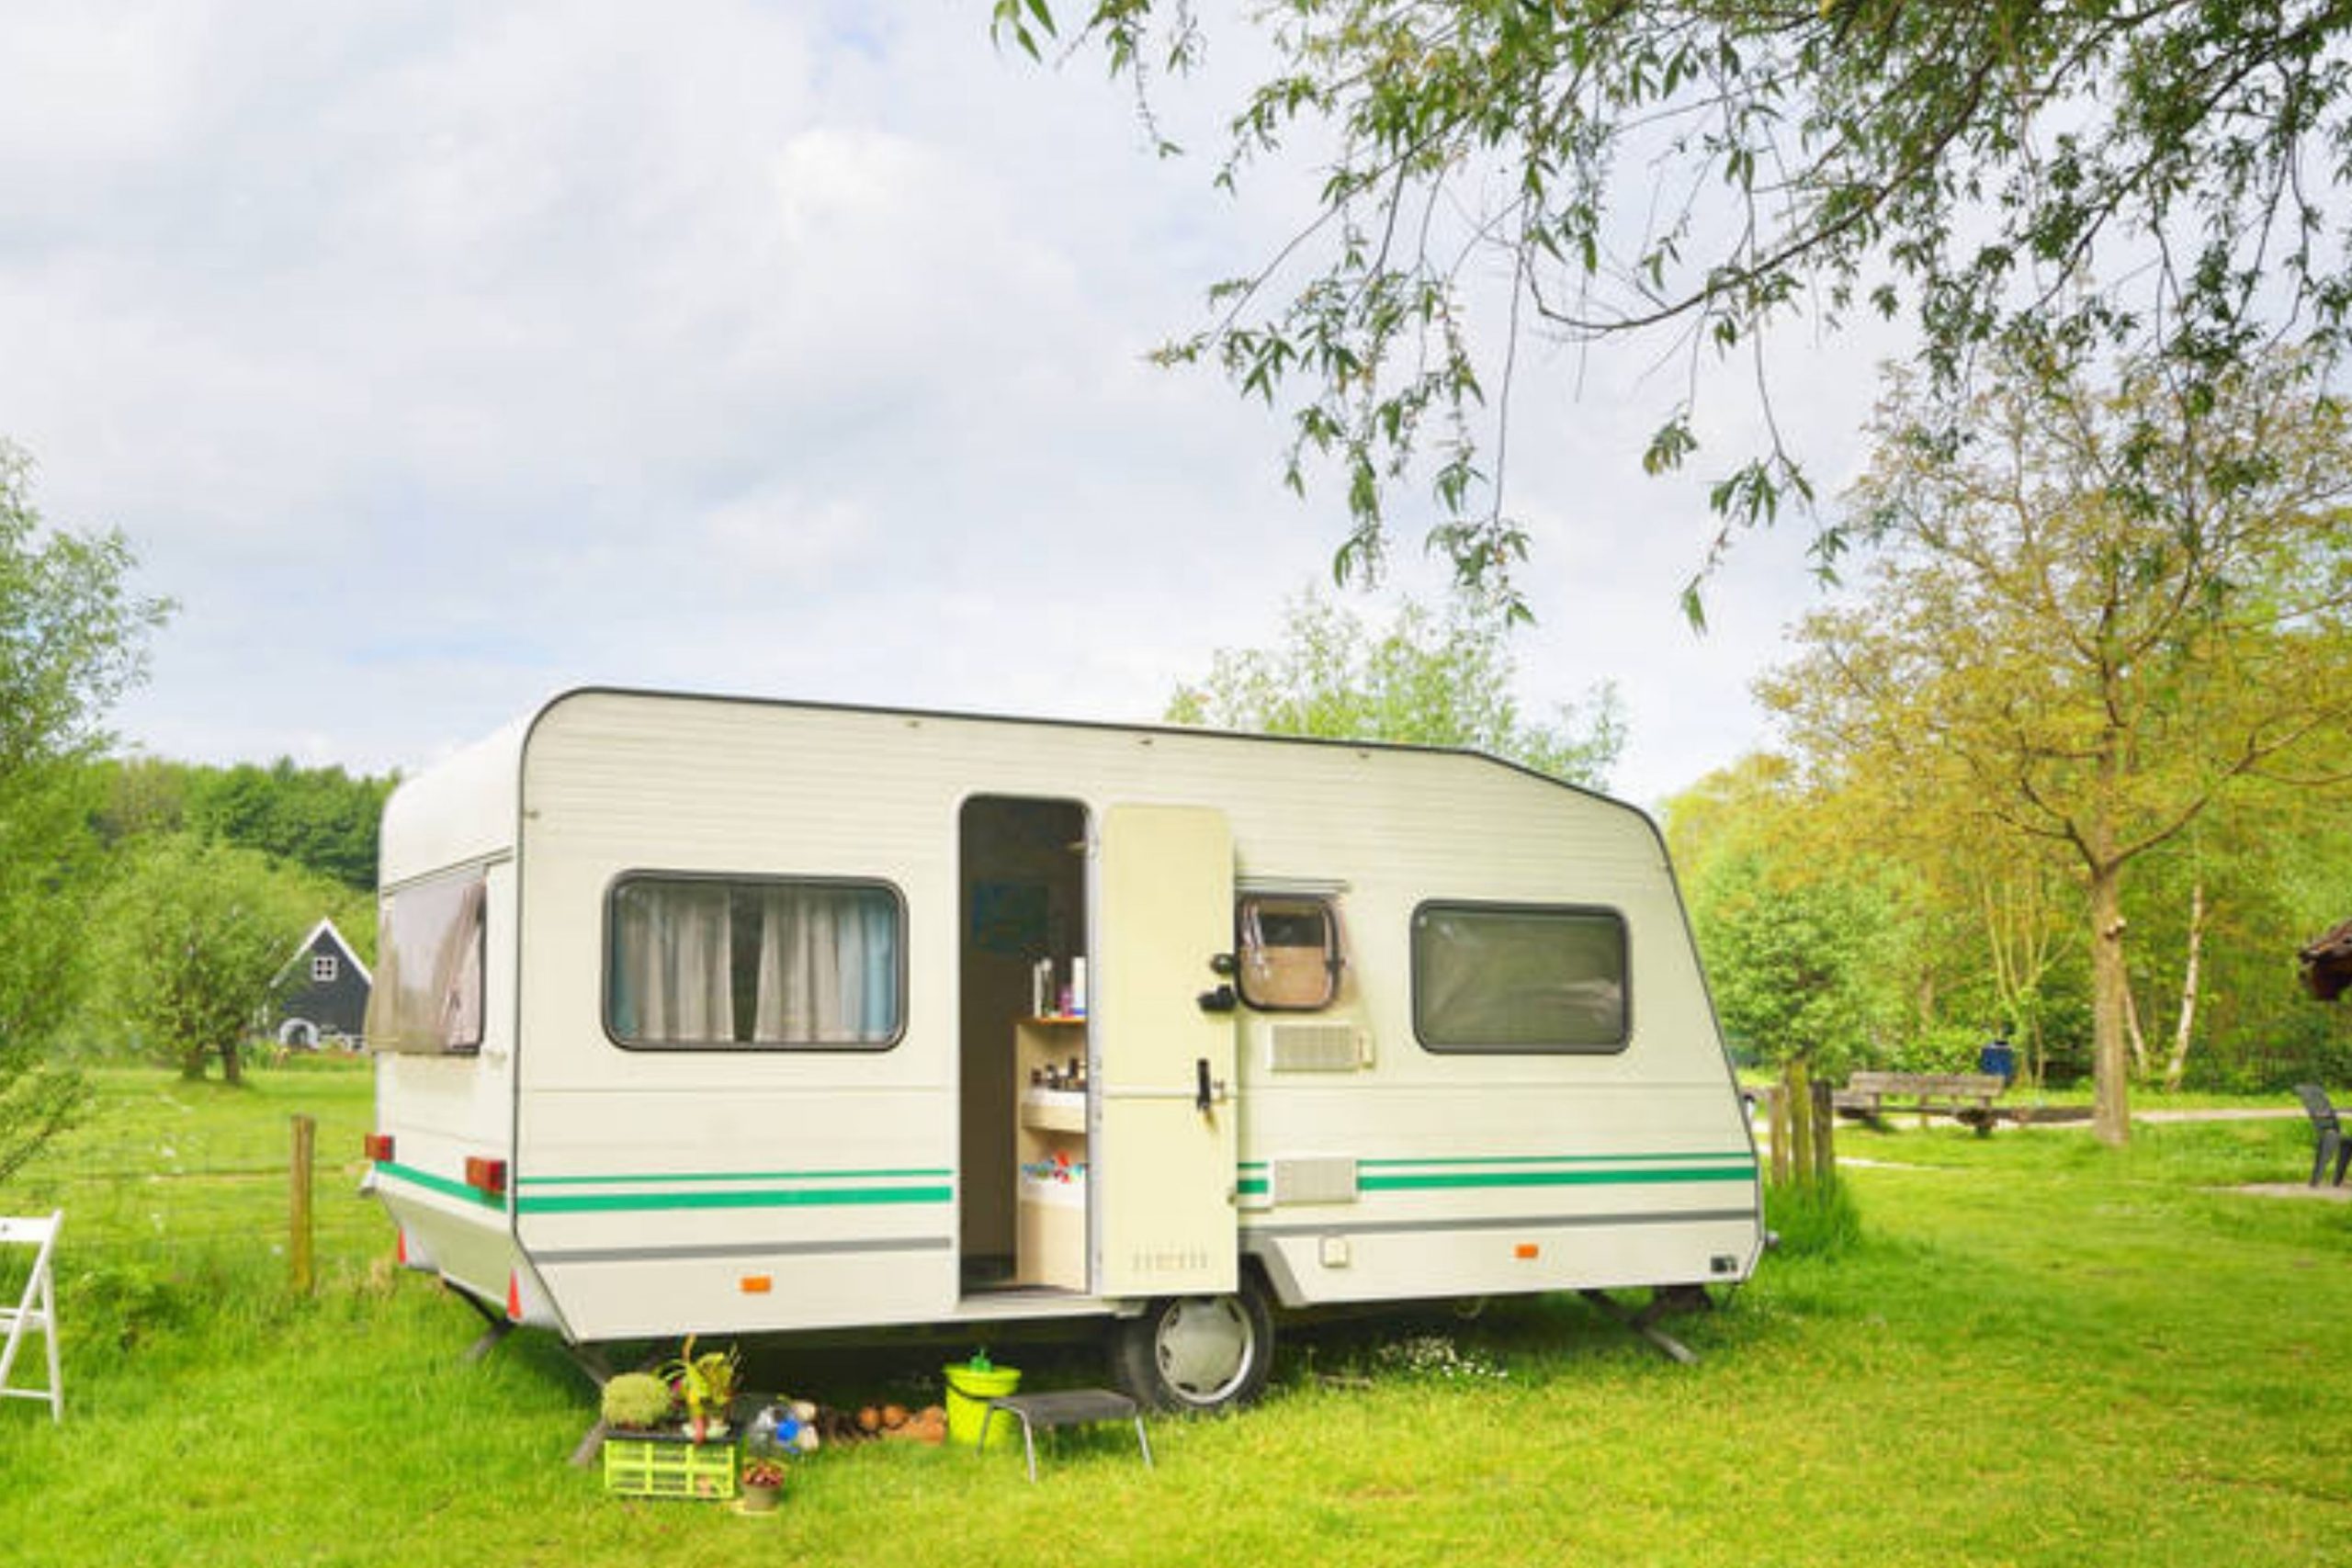
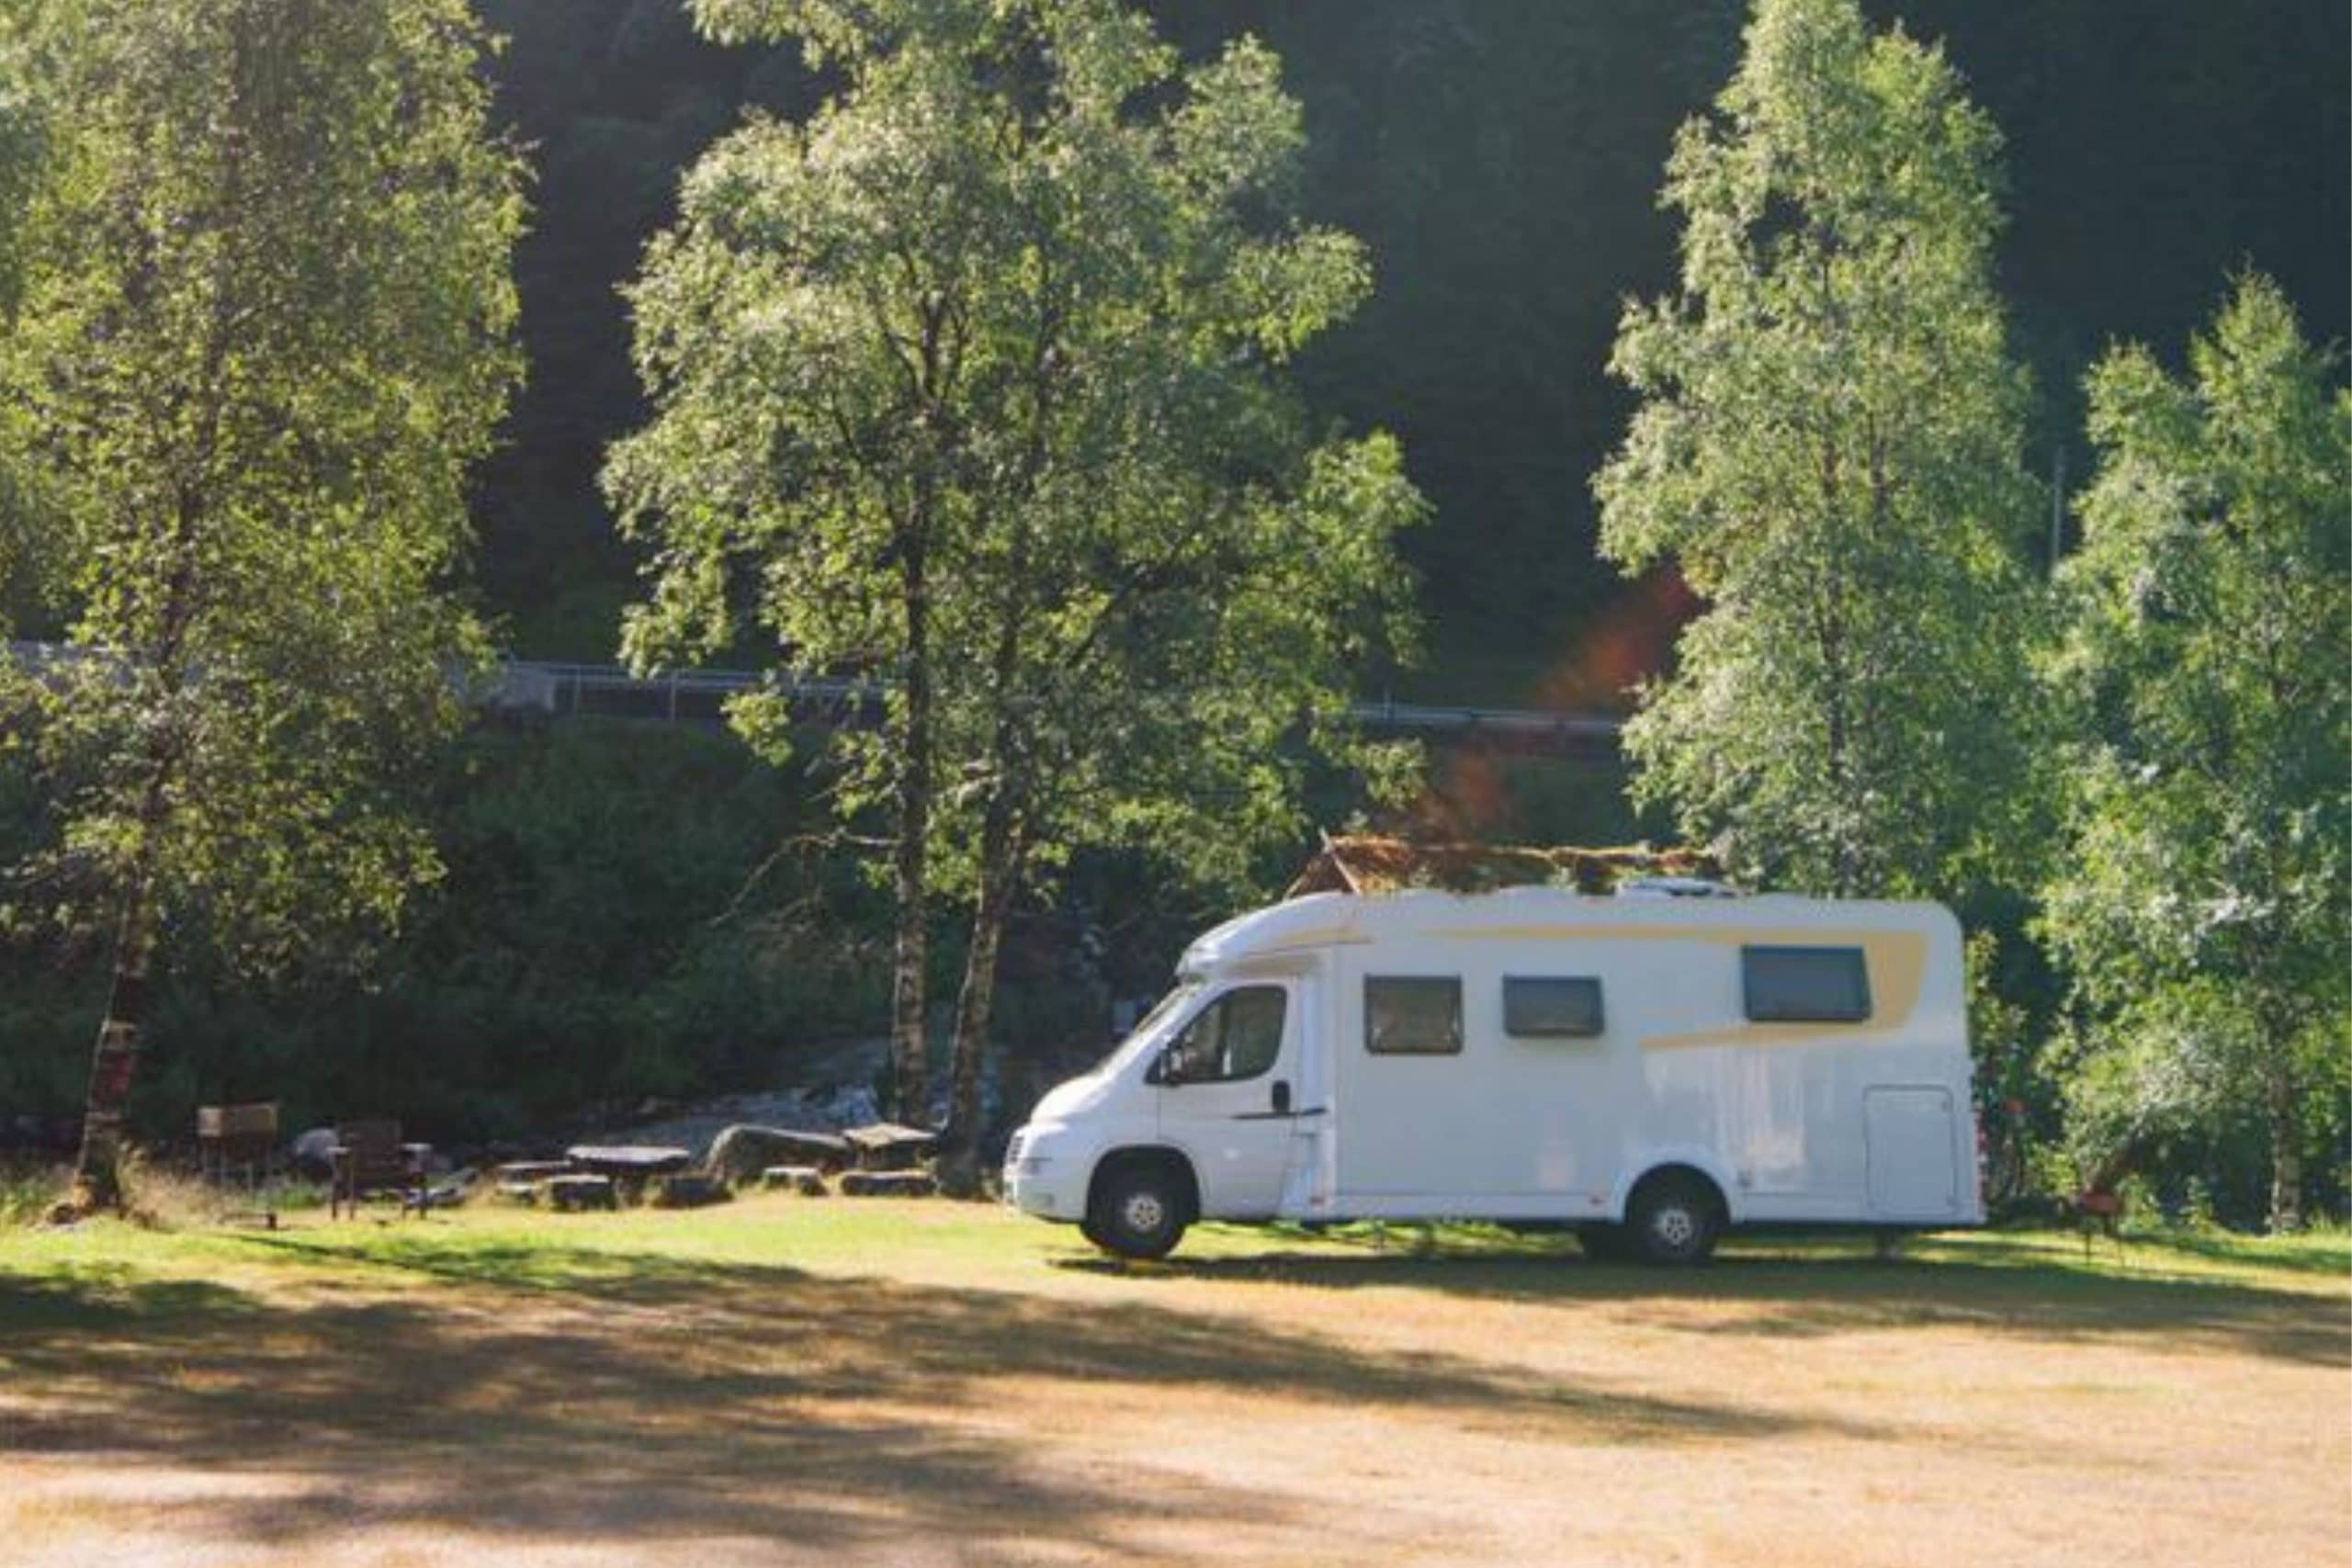
If you have a trailer, you are one of those lucky ones who can set off and travel all years round if they feel like doing so!
Recreational vehicles allow us to move around and visit new places, and they are definitely more comfortable than traveling tents!
However, if you want your trailer to remain the same cozy and warm (and dry!), you need to make sure that you maintain its roof properly.
This is why an issue of resealing your travel trailer’s roof may become a point of concern for many.
And in case you realize that it is time to reseal your camper’s roof, this article will be very useful for you.
It will tell you how often the procedure of resealing should be done to keep your recreational vehicle in a good state.
Also, you will learn why this is needed at all, and how this should be done step by step.
Finally, we will tell you how much you might pay for that, and how you can figure out that your trailer’s roof is in need of resealing.
How Often Shall I Reseal My Trailer’s Roof?
If you have faced your travel trailer roof sealing issue recently, you might also be asking yourself how often this procedure should be done.
Well, if you want to keep your trailer’s roof properly sealed and avoid any leaks, you need to consider resealing it once a year annually.
Like this, you will make sure that the roof is in a good state and you will also avoid not only leaks but even extend the lifespan of the entire trailer!
In addition, except for regular resealing of the camper’s roof, it is also recommended that you check the roof for leaks and sealant deterioration.
This should be done twice a year at least. It will help you to skip any mishaps that may come with the roof issues.
And please remember that without a properly sealed roof, recreational vehicles are way more prone to leaks, further degradation, and thus expensive repairs.
A proper and in-time reseal will prevent all this from happening, and keep you on the road in your trailer longer.
Now, we guess, you might be wondering how the sealing/resealing procedure should be done correctly, and whether it is ok if you do it yourself. Well, let’s figure this out!
How to Reseal a Travel Trailer Roof
If you know for sure that it is time for resealing your travel trailer’s roof, but you realize that it is way too pricey for you to handle it to the professionals, the only way out is to do the job yourself!
You might be wondering how to reseal a camper roof in this case. Well, luckily, the process is rather simple. You will just need some patience and time.
Follow the steps below precisely, and your camper roof will be like new again pretty soon!
- Remove old seals. We recommend you never skip this phase since, if you apply the new sealant on top of the old one, old cracking and crumbling sealant will not provide a smooth and solid surface for the new product to adhere. As a result, you will have the same leaking roof that you were striving to avoid.
- Remove an old sealant when replacing corner seals or the seals around the doors and windows. On the roof, just remove all crumbling and cracked sealant in order to provide a good foundation for the new stuff. In many cases, removal of the side seals requires using a razor blade. However, the seals on the roof should be removed with the use of something a bit more blunt (e.g. a putty knife) because the rubber roof can easily be cut and damaged.
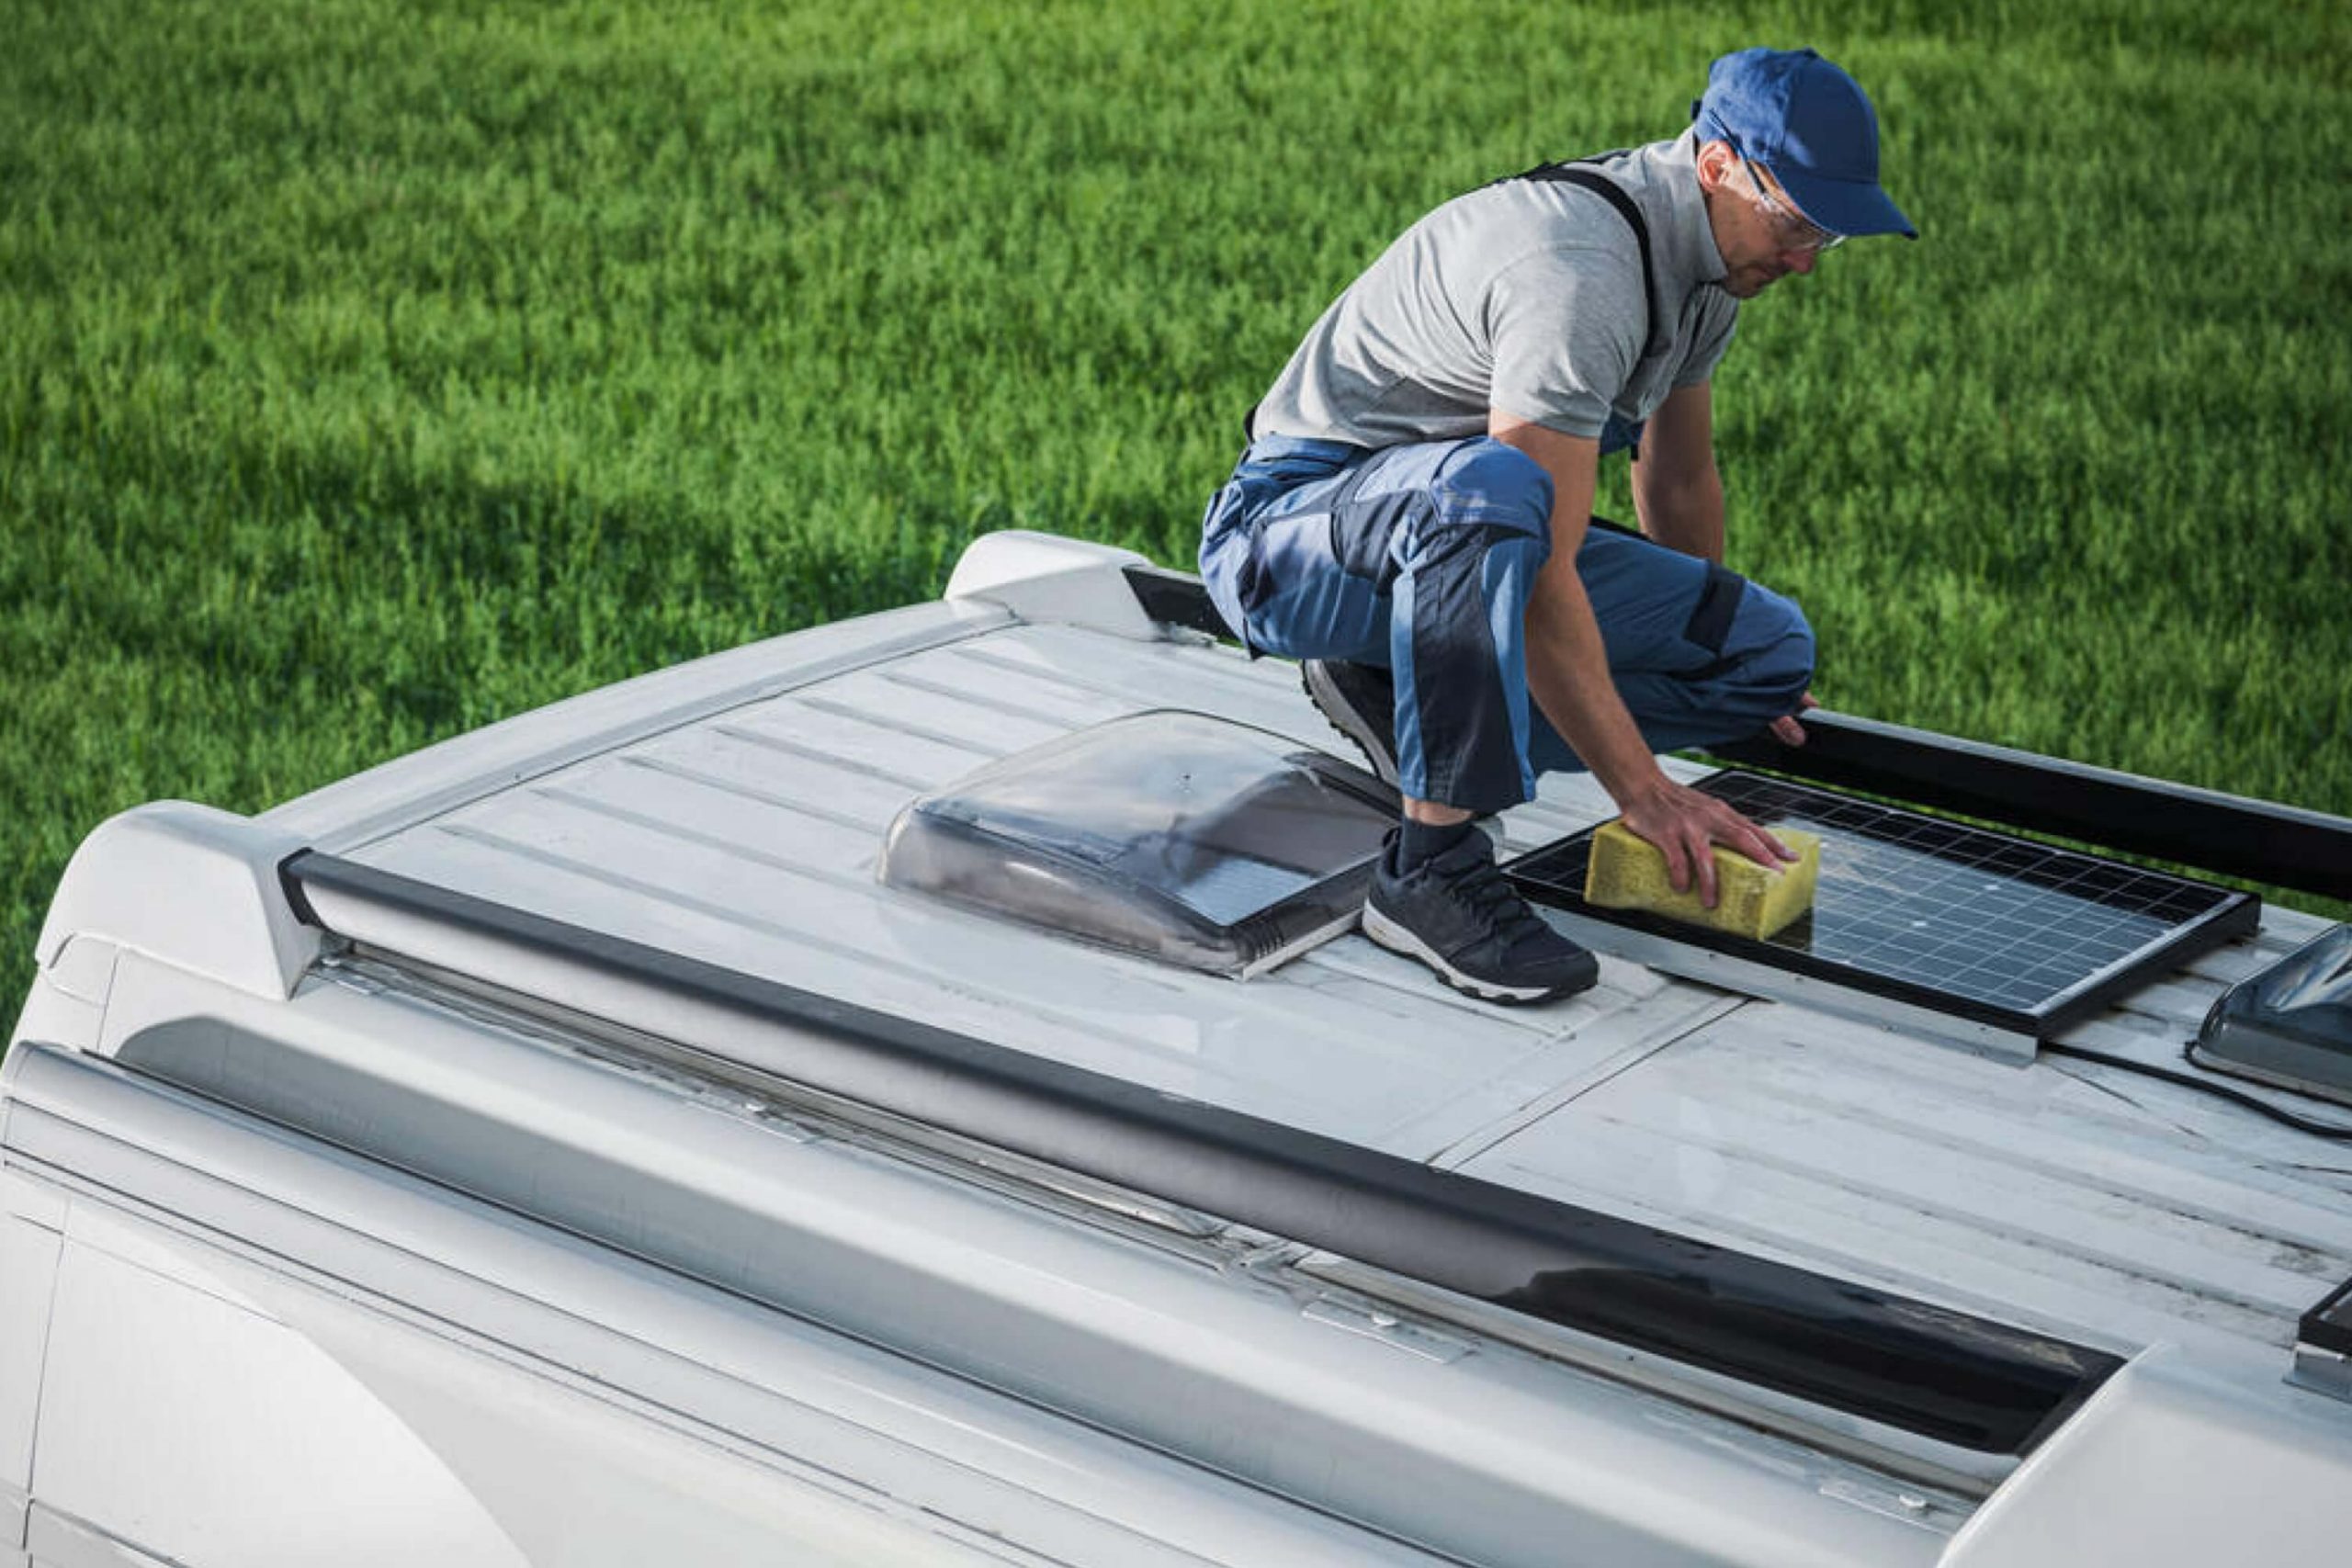
- Clean the roof after you remove the old sealant. Use denatured alcohol to get rid of dirt and debris, as well as of any old sealant’s residue.
- Apply the new sealant following the instructions in order to ensure the end seals are of the best quality. Usually, this means cutting the tip from a tube of Pro Flex (or similar) and applying a bead of sealant to all seams on the sides of the RV using a caulk gun. You will also need to take care of the roof seams with lap sealant using a caulk gun and making sure to cover the seam itself, as well as the space on either side, completely.
- Use salty water to apply it onto the side seams of your RV. All you need to do is to dip your finger into a cup of water with salt, and smooth out each bead of sealant. This helps the finished product look clean and evenly applied.
As you can see, there is nothing difficult about it. Of course, it might take you some time, especially if you’re doing it for the first time, but in general, anyone can manage that task!
Related: How Much Wind Will Destroy a Mobile Home?
Why to Seal Travel Trailer Roof
Of course, some of you, our dear trailer owners, may be still curious about why you should consider sealing your camper’s roof.
Naturally, the most obvious answer will be that once your roof starts leaking, it will quickly become your worst nightmare as a travel trailer owner!
Even the smallest holes in the roof of a camper can lead to quite significant damage and expensive repairs in future.
Because of this, it is strongly recommended that trailer owners regularly check the condition of their campers’ roofs, and have them sealed at least once a year.
However, this is not the only reason why you should bother about that. It may only seem that the reason is so easy and leaks can cause damage to the roof and the inside of the camper.
Nevertheless, you definitely know that leaks tend to appear because of different reasons! Below, we have listed some of the most common causes of roof leaks in a travel camper.
Related: How Much Solar Power Do I Need For My RV?
The Roof Is Damaged
This is the leading cause of a roof leak in fact. If there is any damage to the roof itself, you will sooner or later end up with it being leaky.
Why could that happen? Well, mother nature loves playing tricks on us sometimes!
Falling tree branches, strong winds, or sustained weight on the roof can all be examples of where that damage could come from and be followed by a roof leak.
The Sealant Is Faulty
You are surely aware that many of the pieces that are located on the roof of a trailer, such as the air conditioner or vents, are sealed with the use of a sealant system.
However, over time, and while being exposed to the elements (e.g. rain, snow or wind), these sealants can wear down or even dry up.
When it happens, the sealant will then pull away from the seam thus leaving cracks and spaces for water to get inside.
Aging
Time has no mercy both for humans and for our trailers! As the age of a trailer gets advanced so will the issues that occur over time. Things will not work as well as they used to when the camper was just bought.
Also, the seal might not work to the same ability as it did on a new model.
An aging roof of a travel camper can decrease its effectiveness to keep out water over time, regardless of care or maintenance.
Loosened Screws
There are a couple of things that can be screwed into the roof of your trailer, such as the access ladder, the air conditioner, and the screws holding the pieces together.
With time, these screws can loosen their hold and create enough space for water to pass by and enter the interior portions of your roof.
As you might already guess, these were just the most common reasons for why leaks might appear on your trailer’s roof.
This is why regular check ups to inspect the current condition of your travel trailer’s roof, from both the inside and the outside, is essential in order to catch these leaks before they happen or progress too far.
How to Know That Resealing Of Your Camper’s Roof Is Needed?
All right, you may say. Now we know why sealing is needed, and how often it should be done.
But how do I know that the roof of my camper needs that procedure? Are there any visible signs?
Or shall I just wait until water starts dripping right from the trailer’s ceiling?
Of course, you must not let it happen! The roofs of travel trailers are typically made out of different materials, such as rubber, TPO, plastic, aluminum and fiberglass.
So even before you do anything to the roof, we would suggest you check out your owner’s manual in order to figure out which material exactly is present on your very model.
It will allow you to find the best way to care for the roof that you have.
And of course, you need to know the face of your “enemy” which means that, during the regular roof check ups, you should know for sure what you are looking for when searching for any flaws.
It will allow you to easily recognize the signs that show you the roof is in need of a reseal.
Also, remember that you must be very careful while you are on the roof of your trailer!
Not all roofs are designed to hold the weight of a human on top!
So if your trailer does not have an attached ladder, this most likely means that you should not take a risk and climb on top. Instead, you want to use a personal ladder to move it around the perimeter of the roof during your examination.
So what exactly should be done in order to spot any flaws? First of all, inspect all the seams closely for any areas that may look like they are separated from the trailer.
You can also use a small tool, such as a screwdriver or a plastic scraper, to poke the sealants.
It will help you to test it for elasticity. If it gives under the applied pressure, and returns to its original state, the sealant is still in a good condition.
These are the most noticeable ways to tell if a trailer needs to be resealed.
How Much Does Sealing Of a Travel Trailer’s Roof Cost?
Surely, if you have to check the roof of your trailer once a year and do check ups at least twice a year, you might be wondering how much it might cost you.
Here you need to know that, as with the majority of services that need to be performed regularly on a travel trailer, the service of sealing or resealing the roof is typically provided by most professional shops.
In this case, the job will be done much faster and definitely more effectively than if it is done at home by yourself.
However, if you decide to hire professionals to deal with your trailer’s roof, you might be rather concerned about the price.
The cost of having a professional reseal of your trailer roof will usually depend on a few factors:
- the length of your trailer
- the materials your roof is made of
- the amount of labor intensive work involved
On average, a roof reseal for a travel camper might cost you in the range of a few hundred dollars up to a few thousand!
But if this is way too expensive for you, sealing the roof of a camper is the sort of task that can relatively easily be done by yourself.
To do it, you will not have any special skills or expensive tools.
And of course, it will be a much cheaper alternative!
How to Reseal a Camper Roof Step By Step?
All right, so if spotted water in your RV and you realize that it’s the leaking roof that is the reason. What’s next? Next, you need to reseal it! If you have never done this before, don’t stress out!
The process of resealing your camper’s roof is pretty simple. Just make sure that you get ready properly, and you follow all the instructions given below precisely. And you will surely succeed!
Get Ready For the Procedure
It is important to not only undergo the resealing process correctly. You should also take care and make sure that you will be safe while doing it. Why is that? Well, because, in order to apply the sealant, you will have to get onto the roof of your camper!
This is why before you begin, we recommend you check your RV manual to see if your roof is intended to support a person’s weight.
If not, you’d better place a ladder as close to the side of the trailer as possible and carefully climb up until you can easily work on the leaking skylight without leaning too far.
Remove the Caulk
Using a putty knife, scrape off the existing caulk that is surrounding the skylight.
By removing the caulk, you will take some pressure, but make sure you don’t press hard enough! If you do so, it might damage the screws or rivets that hold the skylight accessory in place.
Clean Up the Skylight
After the caulk is mostly removed, pour a small amount of paint thinner or mineral spirits onto a cloth or soft brush and rub any residue off from the original putty.
Remember the simple rule of thumb: the cleaner the skylight of your camper is, the better the replacement caulk will be able to adhere to the surface.

Apply the New Caulk
Now it is time for the new sealant application finally.
- Insert the tube of roofing cement into the caulk gun, facing its pointed nozzle away from the trigger gun.
- Cut off the tip of the nozzle with a sturdy pair of scissors or a utility knife.
- Apply a ring of caulk evenly all the way around the seam where the metal or plastic flanges of the skylight meet the roof of the trailer.
- Make sure the caulk completely covers any gaps between the flange and the roof skylight.
At this point, it is not necessary to pump the putty gun continuously. We would rather say, you will be able to produce a more uniform flow if the trigger is pulled at constant pressure until no further pressure can be pressed.
Done! Now the new sealant is applied. See, it is very simple and does not require any special skills or experience from you.
What Types Of RV Roof Sealants Can I Use?
This is quite a common question that RV owners ask if they need to reseal the camper’s roof, but they haven’t done this before. If this is also your case, you might be a bit confused as well since there are plenty of sealing products now on the market. So which one should you choose?
A good and high-quality RV roof sealer is crucially essential for your mobile home since it helps you to prevent leaks, moisture, and mold, as well as the accumulation of fungi and bacteria. It is very important to apply it, especially if you live or travel in areas where humidity is a frequent “guest”.
Also, using a proper sealant is a must during the rainy seasons (especially if they are very long) or where weather conditions are very adverse.
This is why, in order to give the roof of your mobile home proper conditioning without having to pay more, we are going to present you with the best roof sealants that can be applied by yourself at home.
Transparent Sealant
This type of RV roof sealant is elastic. It is able to flex with any fluctuations and changes in temperature around the vehicle and with the wind as well. It is transparent and remains transparent after you apply it. Another great thing about it is that this type of sealant does not turn yellow over time.
Usually, transparent RV roof sealants are able to easily last twenty times longer than asphalt! By the way, this sealant possesses excellent resistance to ultraviolet rays, is resistant to mold, and it is able to adhere to most ceiling patches.
Since it is very easy to apply, you can simply paint it over the roof of your trailer! And thanks to its ability to freeze, you can leave it in your garage without heating.
Liquid Rubber Protective Coating
It is a superior liquid rubber waterproof sealing product that is specifically designed for all types of home and industrial waterproofing applications. Its certification makes it ideal for your RV roof applications as well.
Since this product is water-based, it has a low content of volatile organic compounds. This is why it can be easily applied even when it is cold outside. And due to its uniform rubber membrane, this sealant is specifically designed to protect your mobile home perfectly.
Acrylic Roof Cladding
This type of sealant looks like regular cladding, only this one is transparent. This sort of sealant can be used on many types of surfaces, including EPDM rubber roofs, polyurethane foam, modified bitumen, asphalt, mobile homes, RVs, concrete, woods, etc. As you can see, it makes this type of sealant quite versatile stuff!
This fortified acrylic roof sheathing is designed to cool roofs and provide energy savings. And one more huge benefit of it is that, with the ten years of protection, you will not have to worry about reapplying it every year!
Waterproof Sealant
Also known as liquid rubber, it is a highly effective and easy to apply liquid rubber sealer. This waterproof roof coating is ideal not only for RV owners but also for construction contractors.
This type of roof sealant is environmentally friendly, and thanks to its flexible technology, it allows the waterproof rubber liquid to become a sealant bridge in concrete. You can even choose between the different color options available to fit your trailer’s exterior!
Reflective Roof Coating
It is a pure acrylic reflective roofing coating. Since it has an incredible ability to extend over the roof, this provides long-lasting protection and reflectivity. As a result, it helps to extend the life of your trailer’s roof.
Like this, you will now be able to better understand what type of roof sealant you need, and what product exactly will suit your needs. Even with such a brief comparative guide, we hope that you will find it much simpler to navigate between different types of sealants in search of your very own suitable option.
How to Seal an RV Sunroof?
Sealing your trailer’s sunroof might be another point of concern. You surely know that the sunroof on your RV can often be prone to a great deal of leakage, especially if it is not properly maintained. And if not fixed in time, these leaks can later lead to serious damage to the interior of your camper!
Of course, you realize how much that might cost you! You will spend more money on your interior repair rather than on sealing the sunroof properly. So if you want to prevent this from happening, you can seal your camper’s sunroof in a few simple steps.
But before you start, we want to remind you that it is important that you make use of the correct type of gasket for your car sunroof. The type of gasket you need typically depends on the car model. You’d better consult your RV dealer regarding this information in case you are unsure of the brand to use.
Once you are done with all the preparations, you just need to undergo a few simple steps:
- Locate the outer and inner edges where the original stamp begins.
- Mark these ends to remember the exact position of the original stamp.
- Pick up the old seal manually. Start from the ends, where the seals meet.
- Put non-abrasive adhesive remover on a dry cloth, and apply it to the places where the previous seal was removed from.
- Clean the area thoroughly and remove any sealant leftovers.
- Hold onto the protective cover, and let it cover 2 inches of your new seal.
- Position the new gasket following the marks you made to properly align it on the sunroof.
- Continue to pull the paper cover off the new back of the seal.
- Check for excess seals on the edges of the sunroof, and cut off the excess with a razor blade.
You might be wondering why you should use a non-abrasive adhesive remover during the procedure. See, this will help you remove any sticky glue residue, as well as clean the area in order to get rid of other residue or dirt.
Well, now that you know how to define whether your trailer’s roof needs sealing, and how to seal it yourself, you will be able to maintain your camper even better than before. make sure you give it regular checkups, and you will have to spend less time and money on repairs (or not spend them at all) if your RV is in a great condition.
[wp-faq-schema title=”Frequently Asked Questions”]
I reseal my RV every year. But I’d like to know, maybe you guys can suggest any tips for keeping its roof in a good state longer?
Hi! Could anyone please tell me how to maintain an RV rubber roof correctly? It’s our first trailer with this type of roof and we have no idea of what to do with it! Thanks.
Hello there! This type of roof can be maintained by using lap sealant or special tape to seal sealant gaps. It may be necessary to loosen the fitting for an RV roof fixture to remove and reapply a caulking mixture. Then refitting the roof fixture will recreate the seal effectively.
Does anyone know here whether or not an RV roof recoating is a must?
Hi. Well, as far as I know, when you apply RV roof coating solutions, they can add a new layer to further protect a rubber roof. This is a form of liquid rubber that can be applied to roofing areas where the rubber is breaking down. So I guess that it is a good option, but it’s not mandatory.
Hi! Thank you for this article, I found a lot of helpful information in it! Could you also tell me how to seal an rv roof yourself, please? And is it possible to do it yourself at all?
Hi! Yes, you can seal your RV roof yourself, but you will also have to clean it in advance. In general, the process is rather simple but the exact scheme will depend on the type of your roof. See, for a fiberglass roof, you will need another approach than for a rubber roof.
Do you guys know how long rv roof cleaning and sealing takes? I have only one day off but I’m not sure whether this amount of time will be enough.
When sealing an RV roof, the process should be completed in one day unless you have some complications and/or your roof needs any repairs before the sealing. So I’m pretty sure you will manage in less than 24 hours! Especially if you ask someone to help you.
Hey! Could anyone recommend me the best rv roof sealant? I’d prefer those that you tried yourself please.
Hello! I used Dicor lap sealant and to me, it is certainly one of the greatest types of sealant in the market today. It has a strong adhesion level on all types of materials, including vinyl, fiberglass, aluminum, and wood! So this is my number one choice.
How long does a silicone rv roof sealant last if not used? I bought too much of sealant last time so I still have one that’s sealed. Do you think it can still be used?
Well, the shelf life of a silicone roof coating is typically two years. That means you need to properly store it and prepare it after potentially 24 months on a shelf. If you stored it improperly, however, chances are that it’s already degraded.